![]()
![]()
- The purpose of these instructions is to show you how to create buttons within the cascade site by editing the code. Make sure that the edits you make are still related to the theme you have been using so far with cascade practices.
- You are going to have three sections in the page.
-
- Top: Headline and Banner 870×300 pixels (It is smaller for subpages make sure the file is sized appropriately.)
- Middle: Sub header (Font Heading 3), email button with contact info to the right, and a horizontal line.
- Bottom: An icon (make your own psd), section header (Font Heading 4) with text and a rounded button (pick your own color).
-

- I recommend making your own banner and icons and uploading them to Cascade before starting on coding/layout. Just so the process of putting it together is easier. Refer to Step Four on how to make your Icon.
Step One: Creating a Page
- Add a new page to your STA test site to practice creating your own layout and buttons.
- Test Site > Click “Add Content” > Make New Page (make sure it is visible in the navigation”
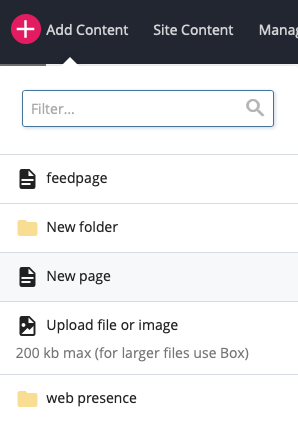
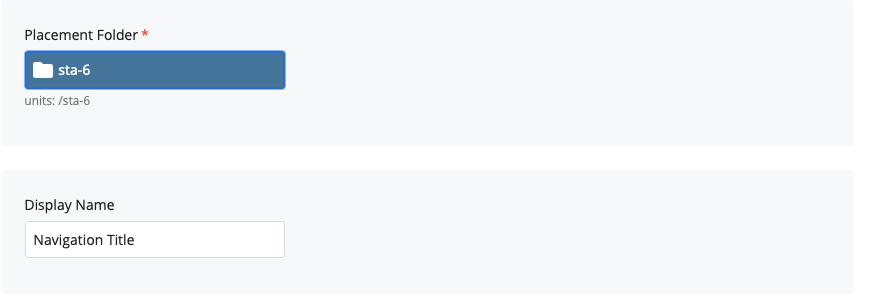
- Name the Page According to the theme of your page.
Step Two: Adding Buttons
- Use this page as reference for the coding you do and the layout of the buttons. Do not make any edits to this page at all. https://cms.la.utexas.edu/entity/open.act?id=aa305bd7ac1148aa6d2e151b60189a21&type=page
- To add buttons to a page in Cascade you have to find the CSS for the existing buttons and copy it to your own page. On the reference page go to edit > main-content > tools > source code
- In red is the code for the contact button (Always leave orange). In green is the code for the body buttons.
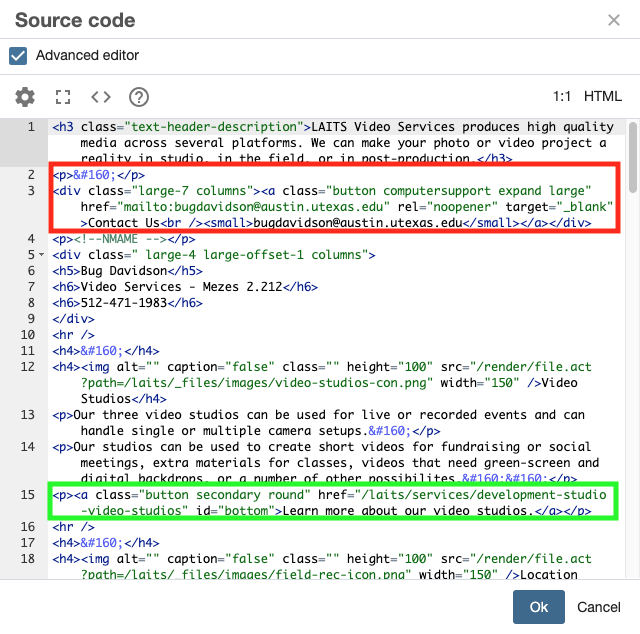
The link in the step above is to this page. You are expected to edit your page to have the same formating with minimum of three buttons, icons, text, hyperlinks, and page breaks.

Step Three: Customizing Buttons
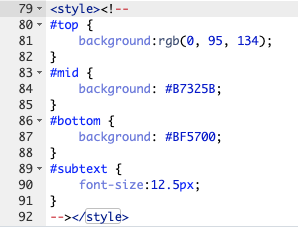
- Find the code for the buttons and the style code so you can change the color of the rounded button. All three of the buttons you make will be the same color.
- Alter the code to customize the,—change the green links, the text…right now the rounded button is orange because it says id=bottom”, but you can make it another color by changing the id.
![]()
Step Four: Making an Icon
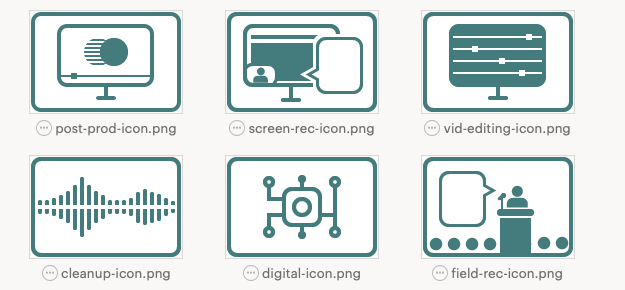
- Make your icon (150 x 100px) and relate it to your theme. Do not use the pen tool only the shape tool (keep the design simple and bold).
- Use the following STA volume folder for reference on the photoshop files: smb://file.laits.utexas.edu/sta/Bridget-Kessler/audio/video pages
YOUR ICONS MUST:
- Be all one single color
- Contain a different image for each icon
- Have a minimum of three created
- Include the rounded rectangle border as shown in the example above.
Step Five: Finished
- Save everything and check to see if it is live on the web.
Troubleshooting Tip:
You may run into an issue where you receive an error code after pasting code into the Cascade editor. If this happens, just close out the editor and log out of Cascade before trying again.