
The purpose of this basic training is for familiarizing yourself with scanning slides that professors may bring to the office. This process is more involved than simply scanning pages of a document. The scanner used in the office is the EPSON PERFECTION V700 PHOTO.
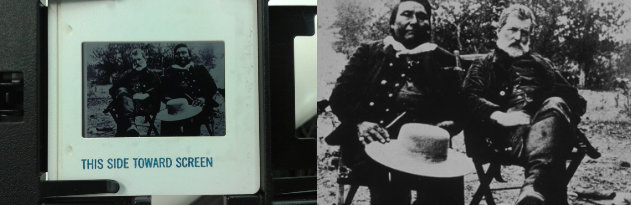
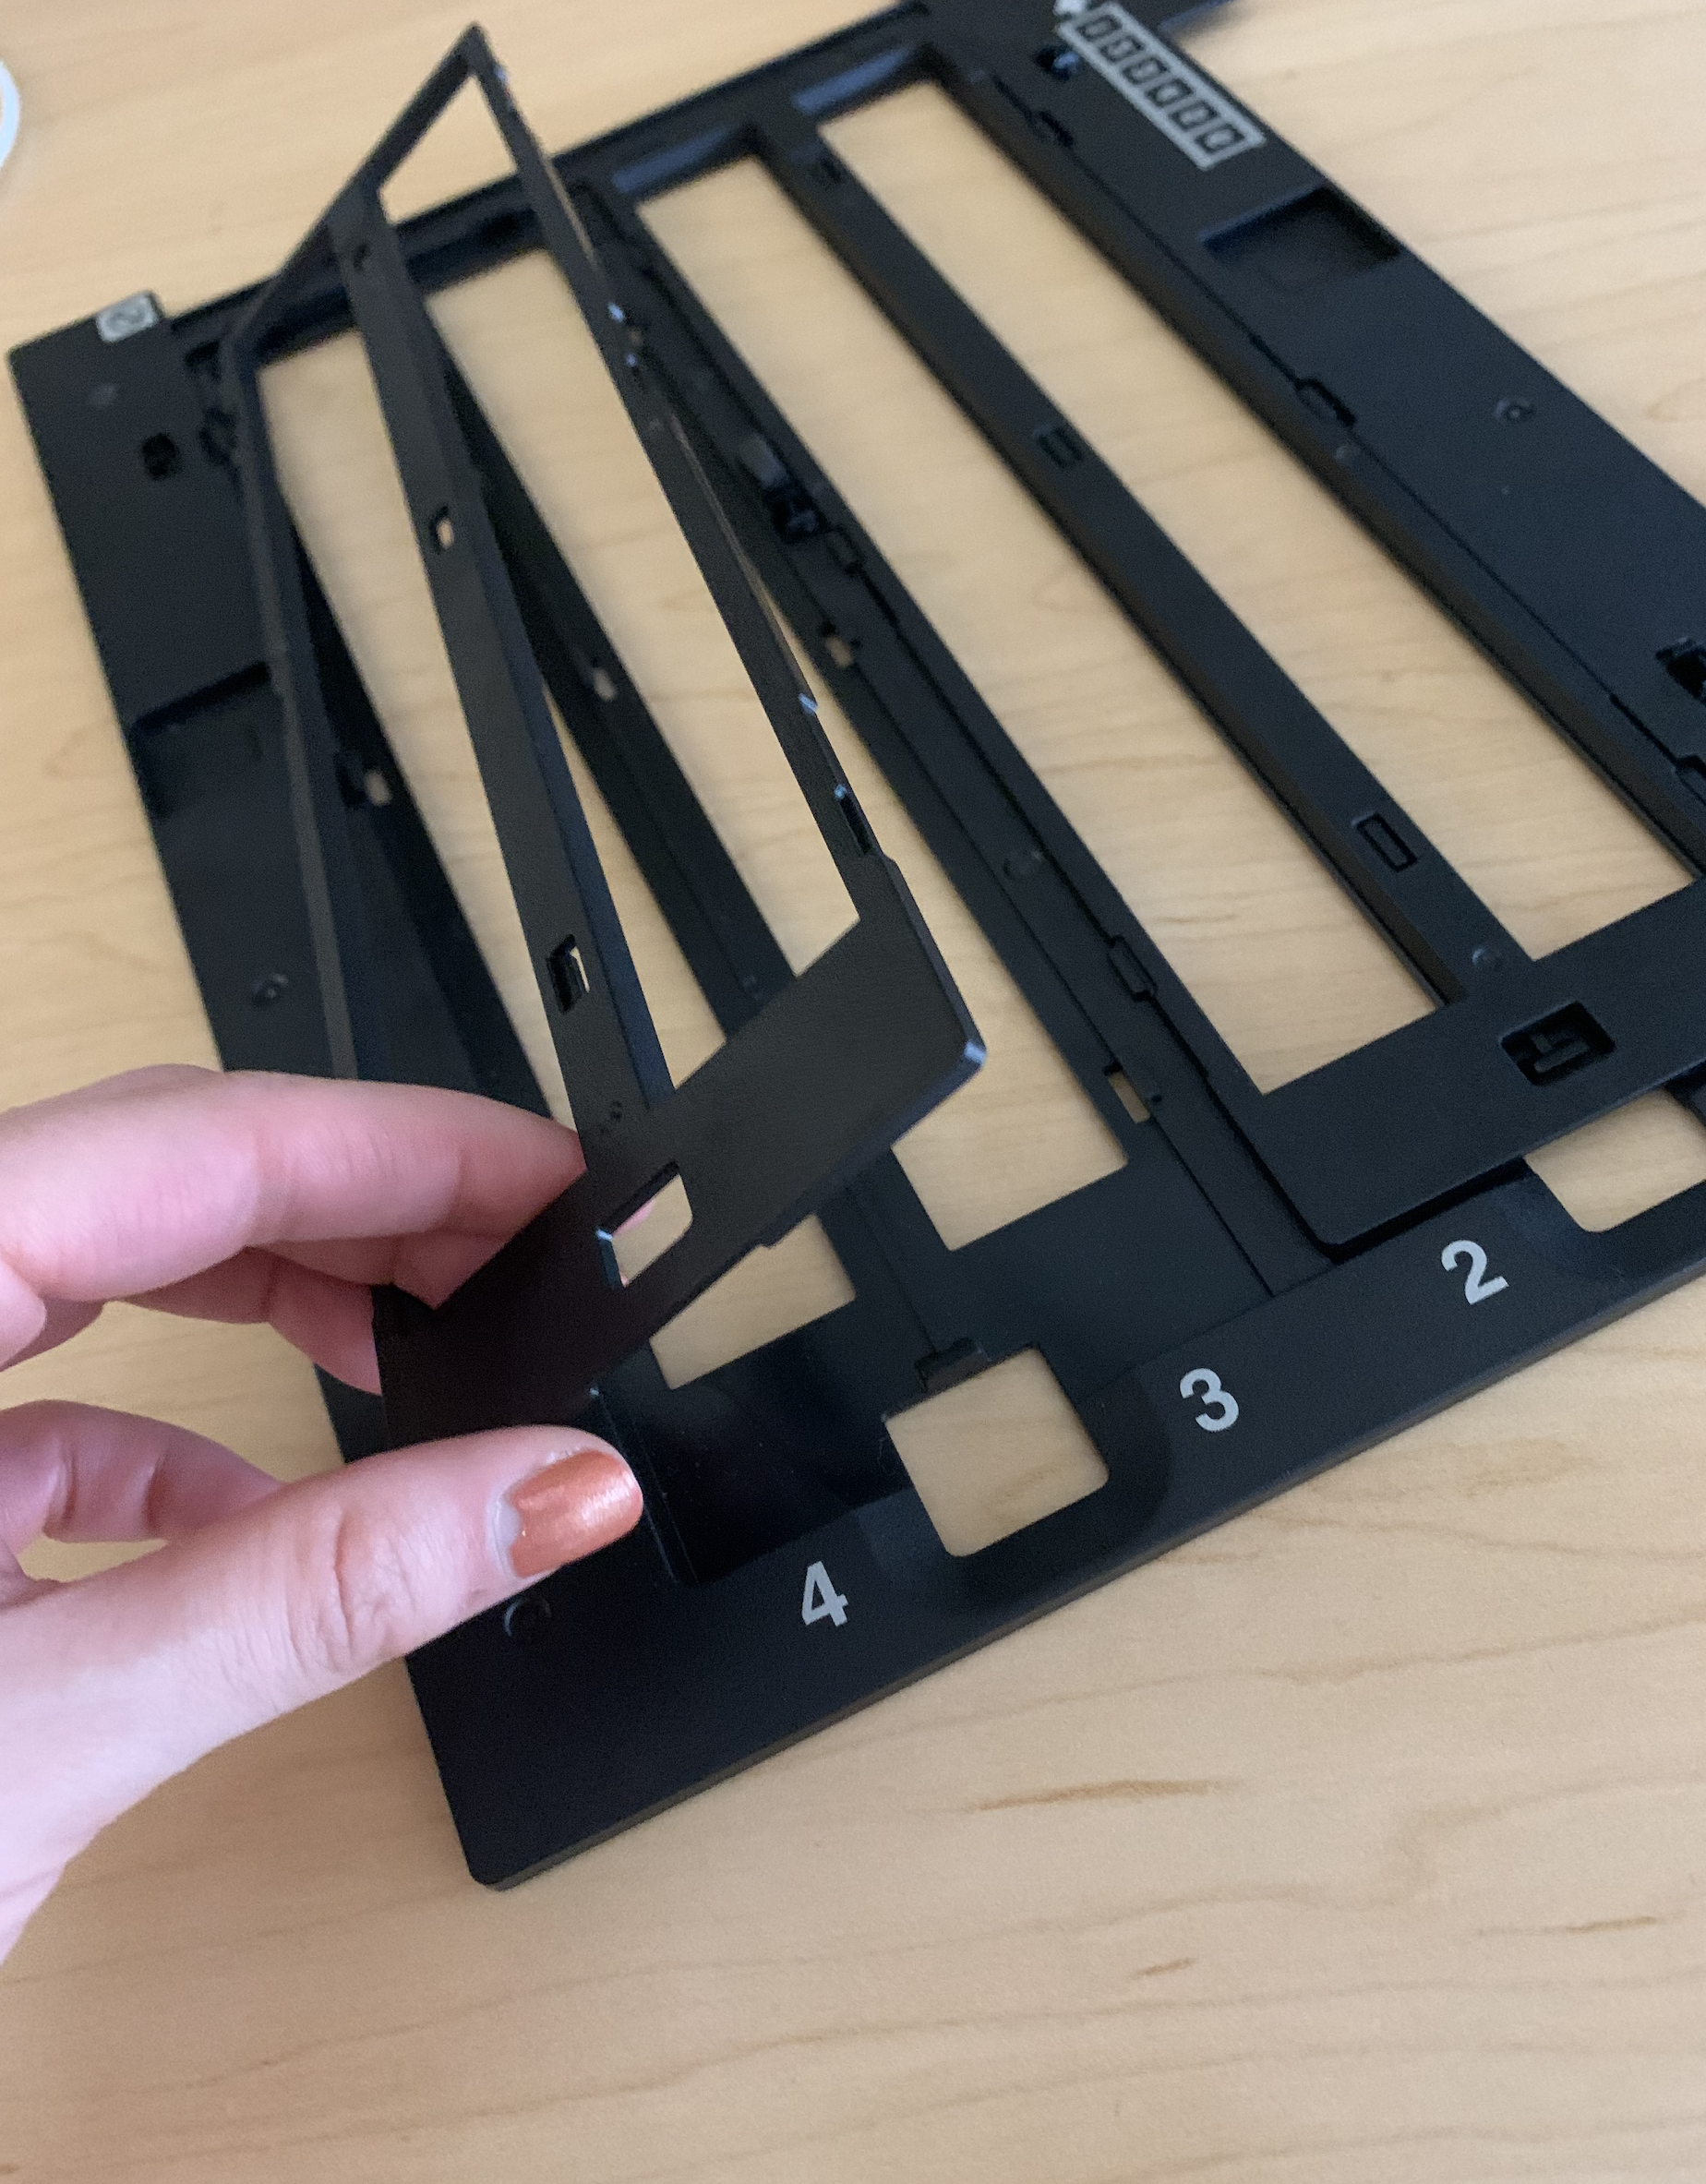
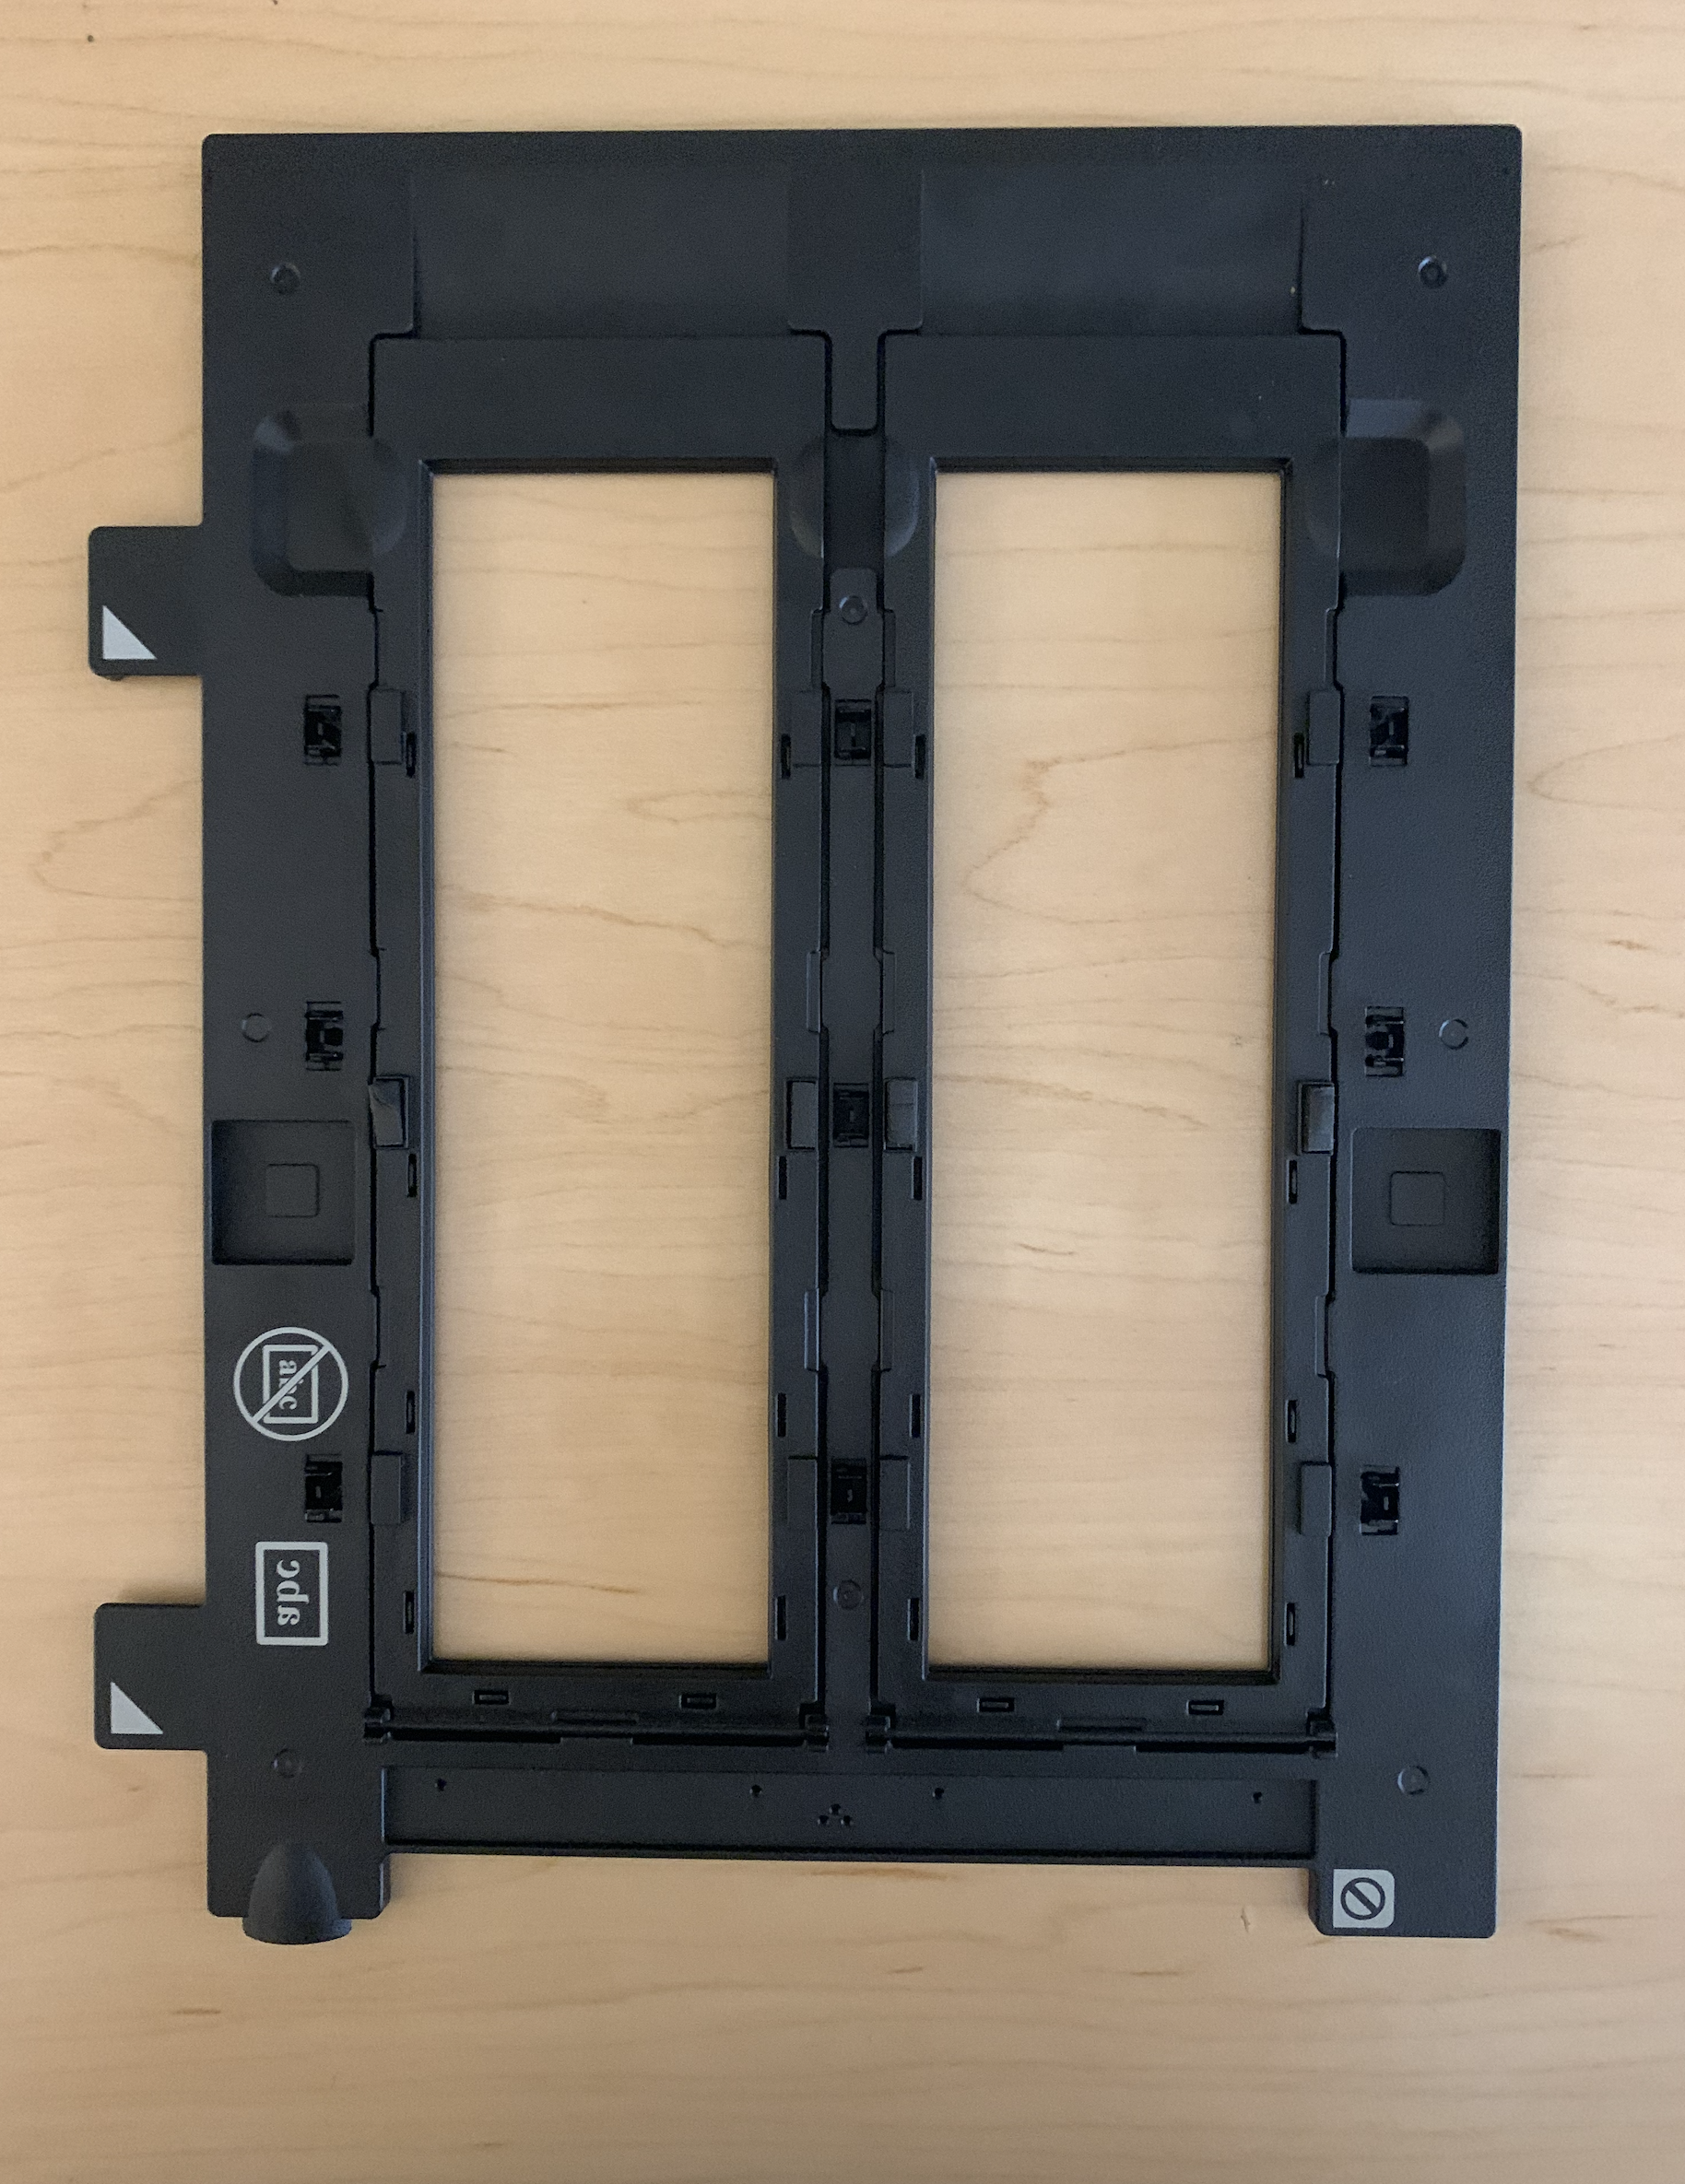
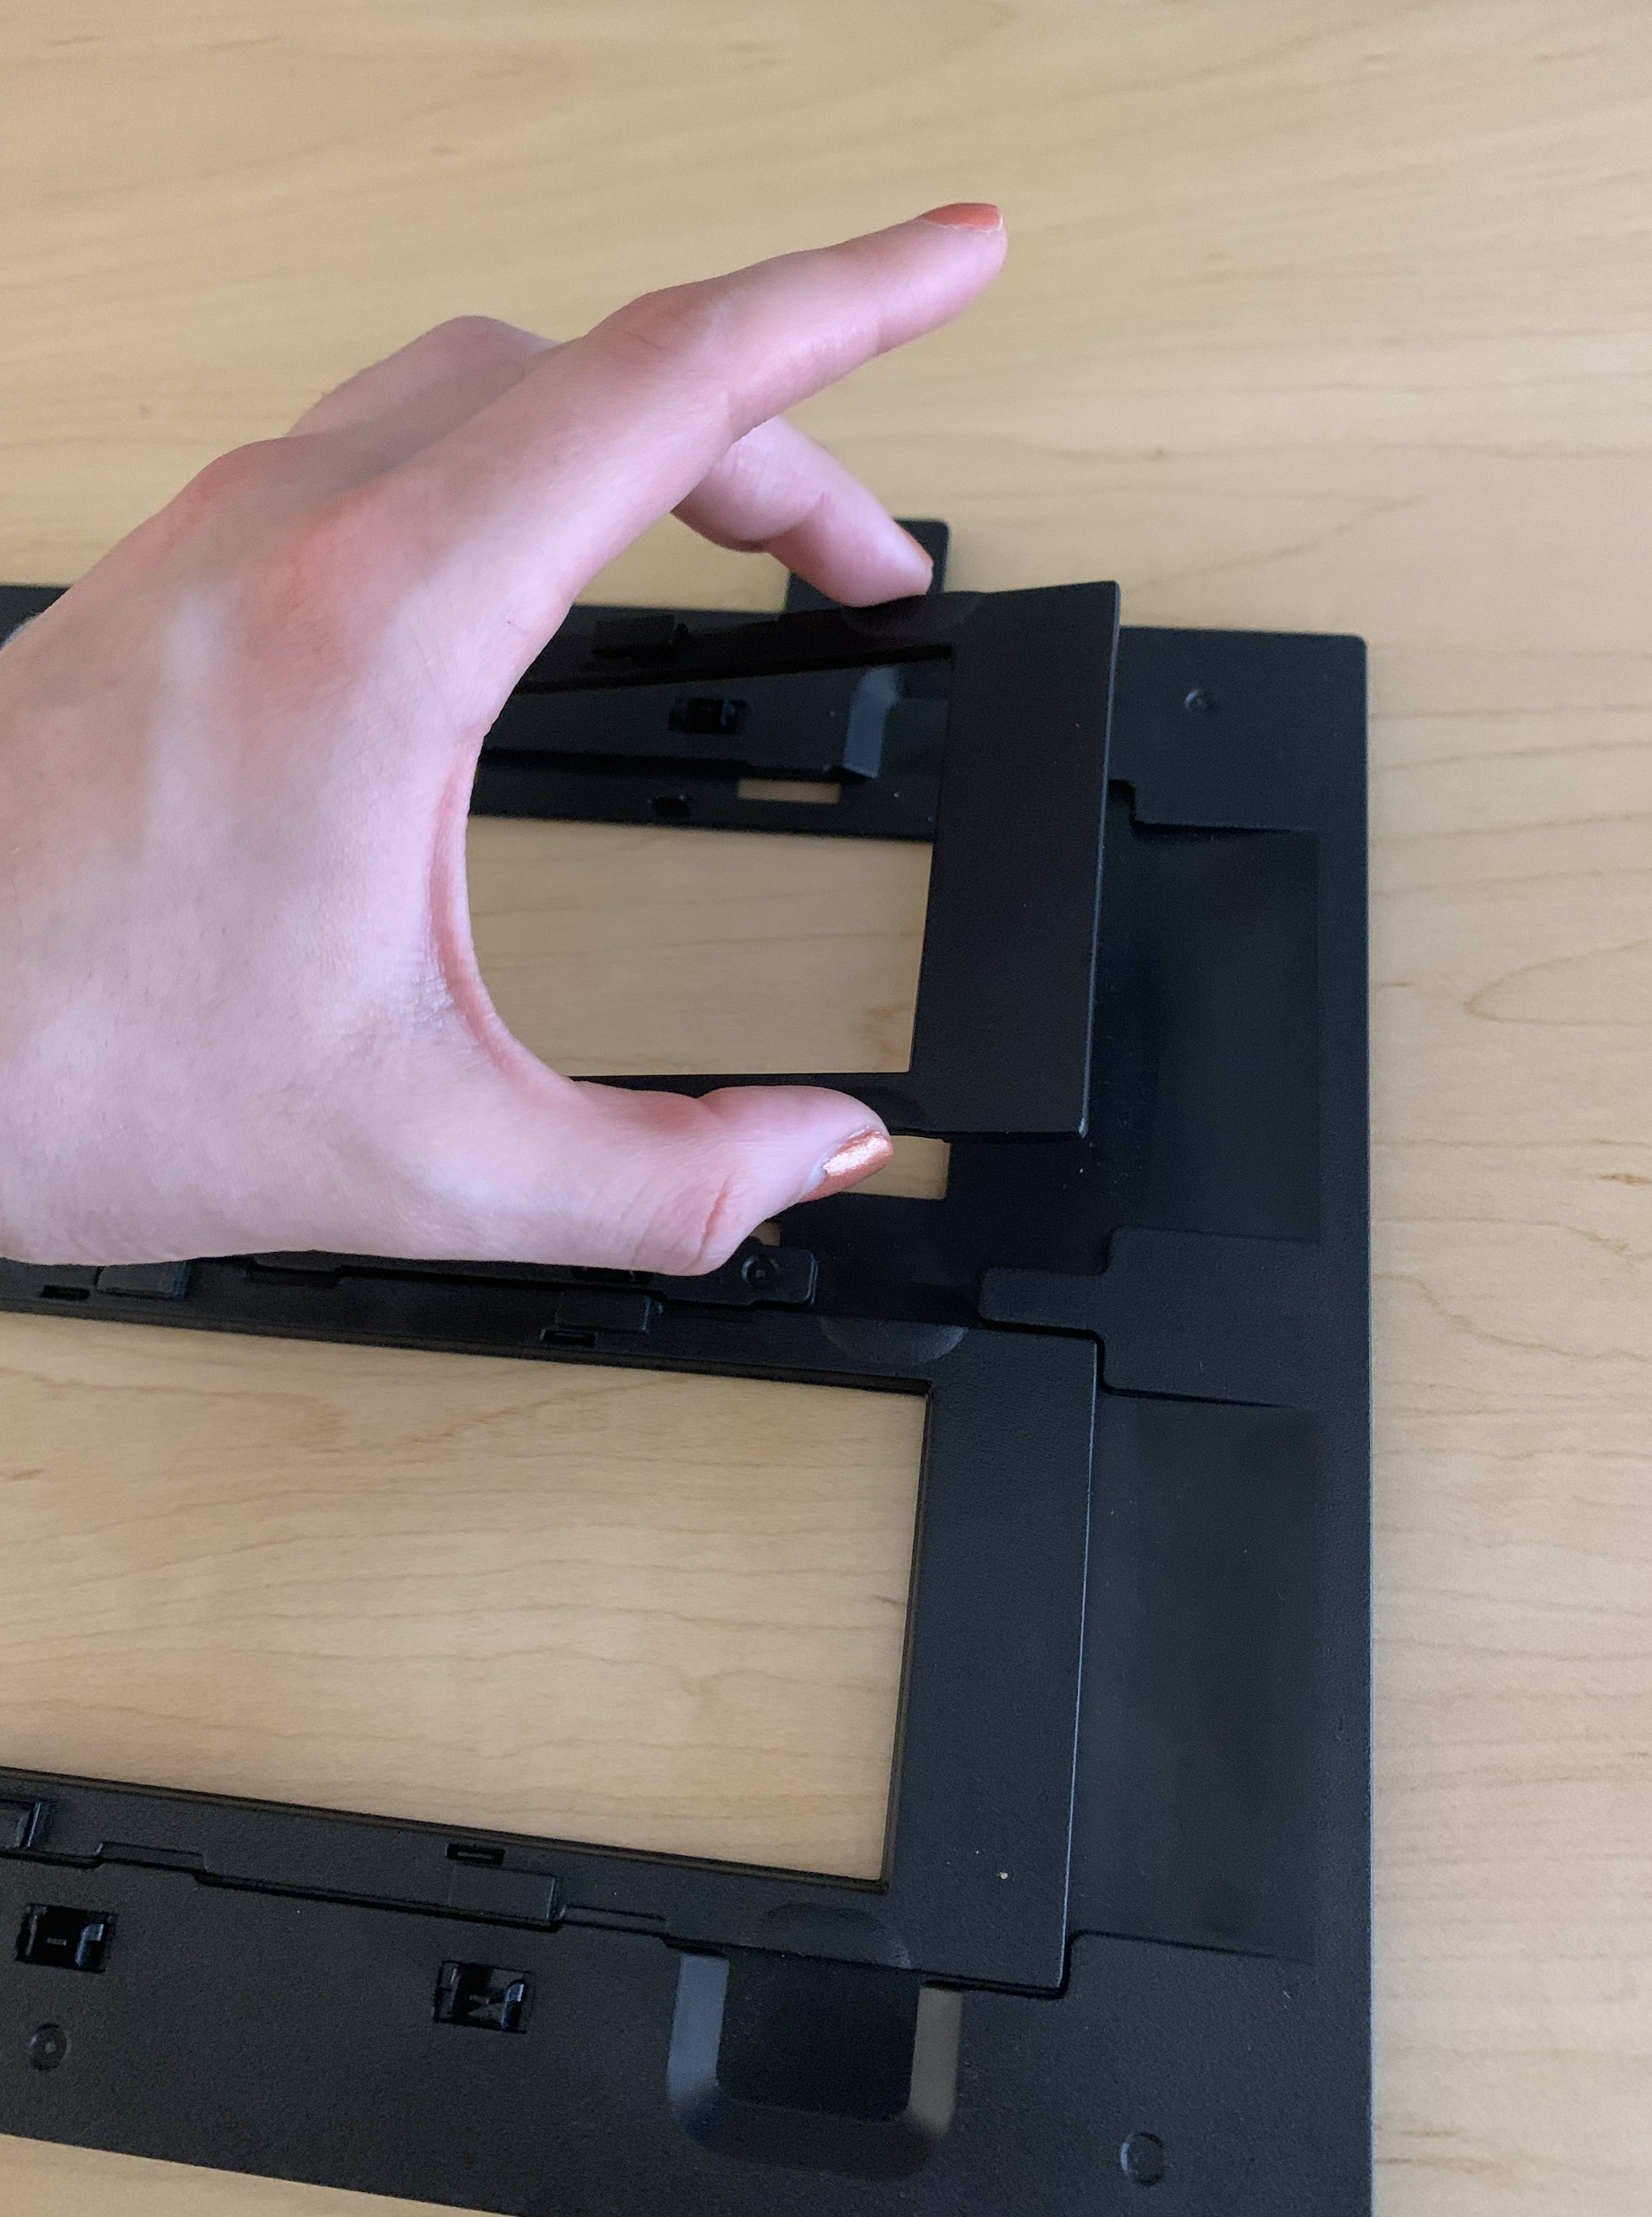
Slide Holder
Step One: Setting up the Scanner
- Place the slides into the slide holder horizontally flipped relative to their true orientation. The scanner will scan a mirror image of the slide.
- Remove the white cover from the inside of the lid of the scanner.
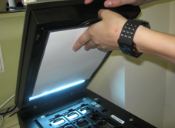
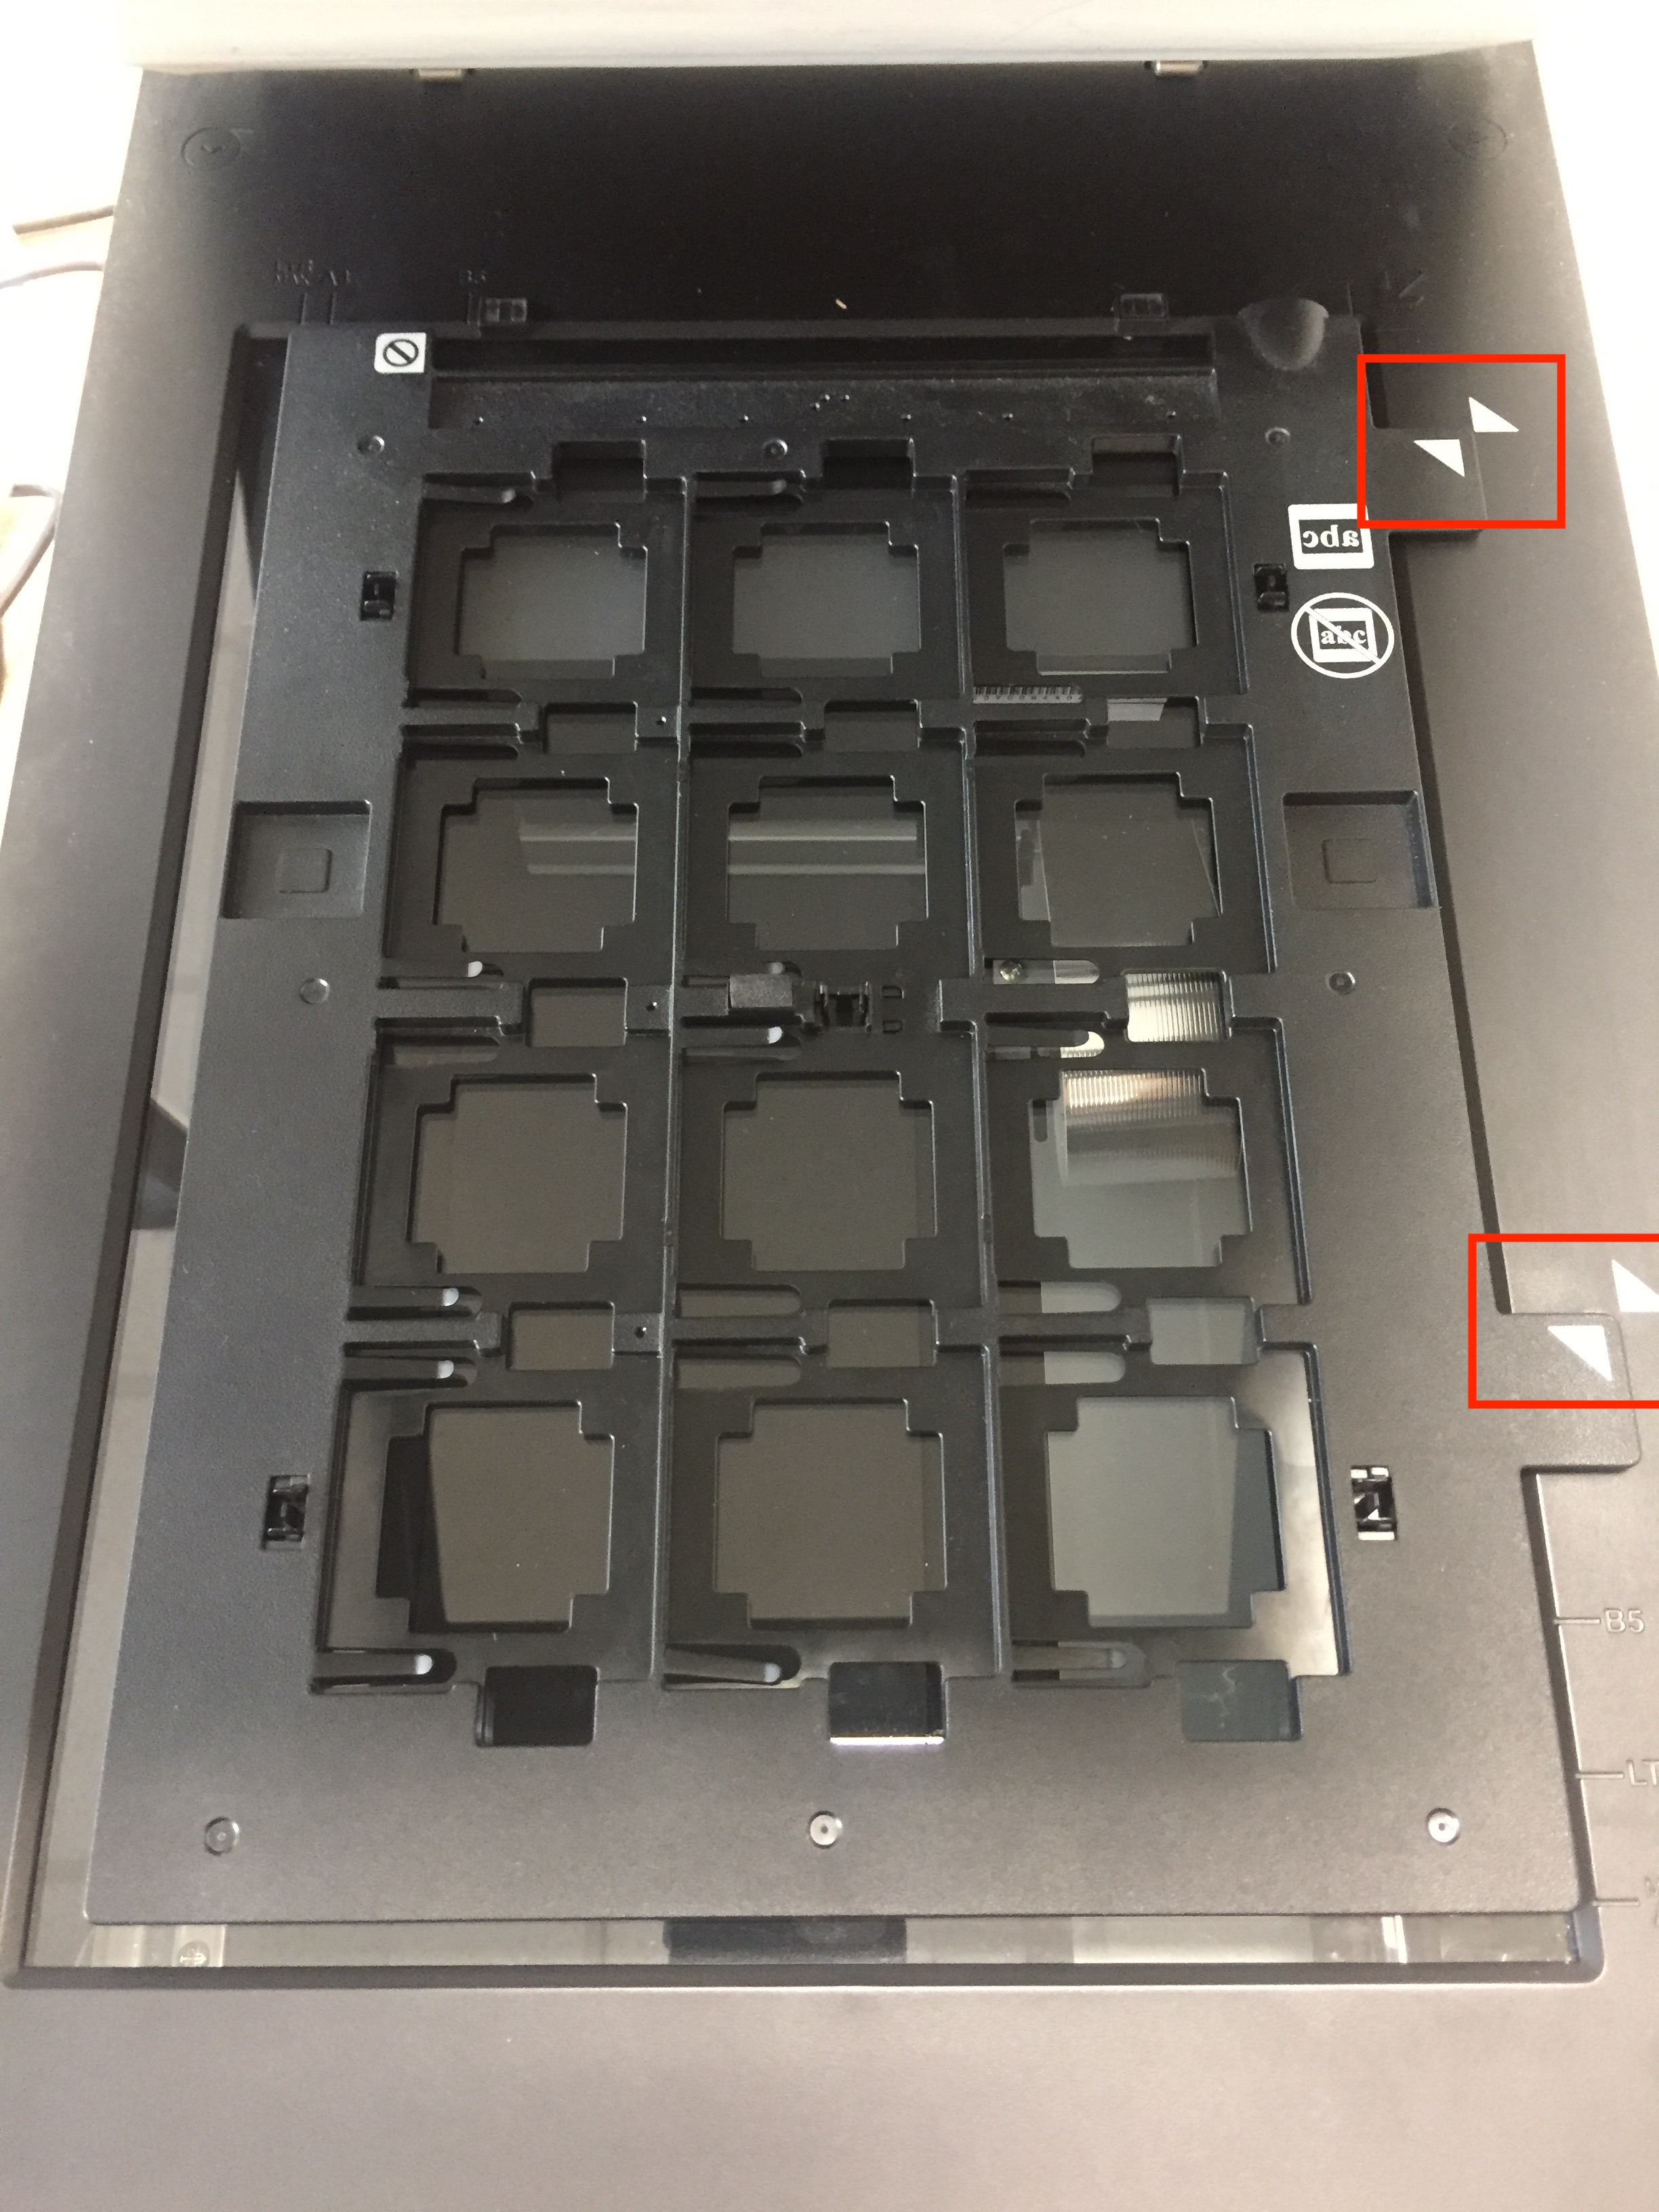
- Place the slide holder with the slides onto the bottom plate having the two holes line up on the right side edge of the glass.
Step Two: Settings
- Open up the EPSON Scan 2 application on the computer connected to the scanner.
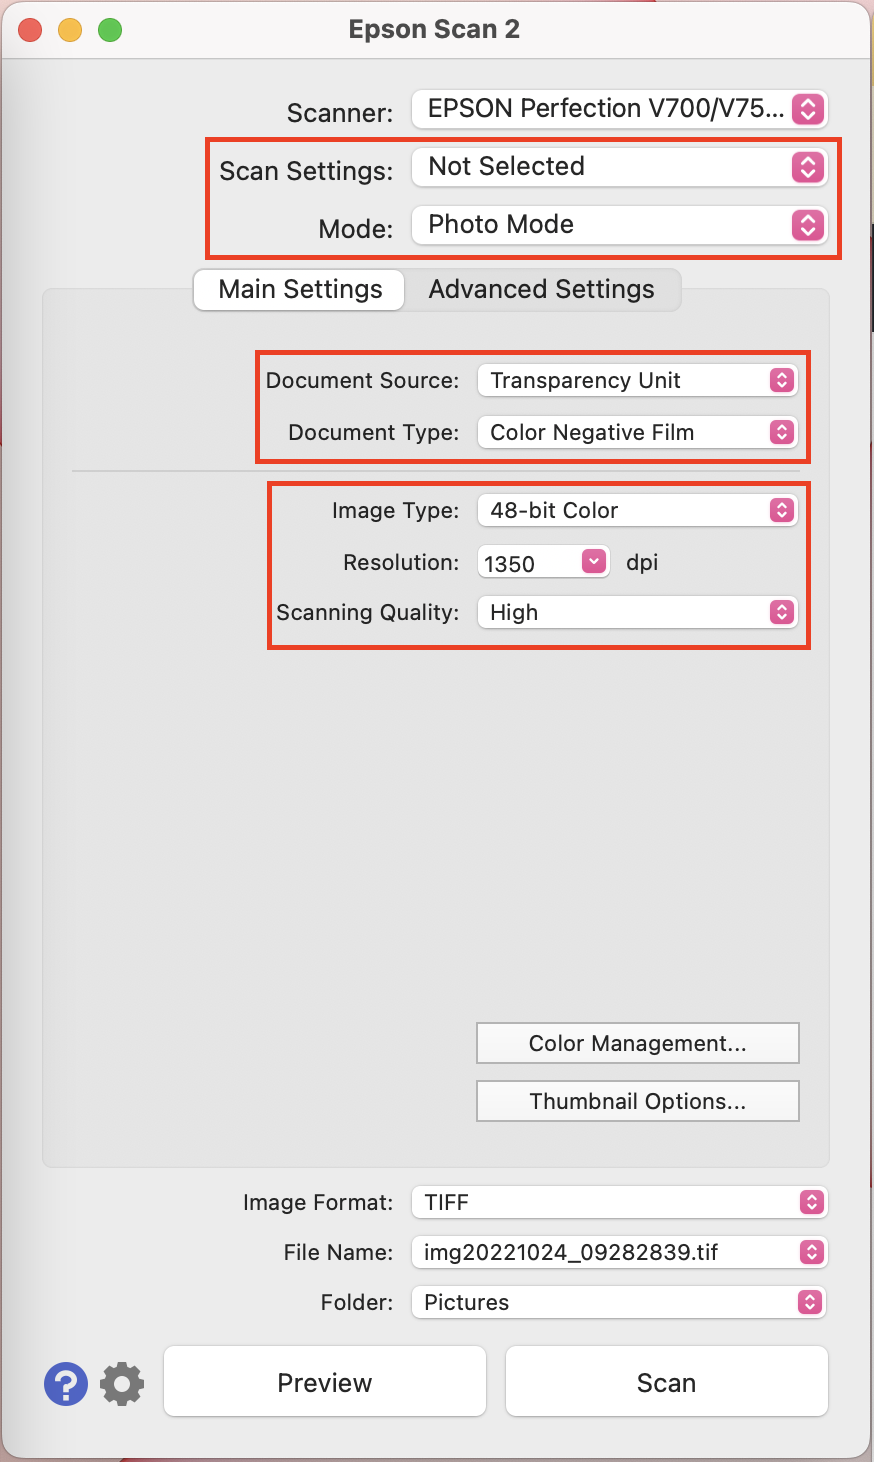
- Make sure you are in “Photo Mode”
- Document Source: “Transparency Unit”
- Document Type: “Color Negative Film”
- If scanning color slides: “48-bit Color to Highlight detail”
- If scanning grayscale: “16-bit Grayscale”
- Resolution: “1350 dpi” The higher the resolution the longer it will take to scan. Do not use less than 1200 dpi.
- Scanning Quality: High
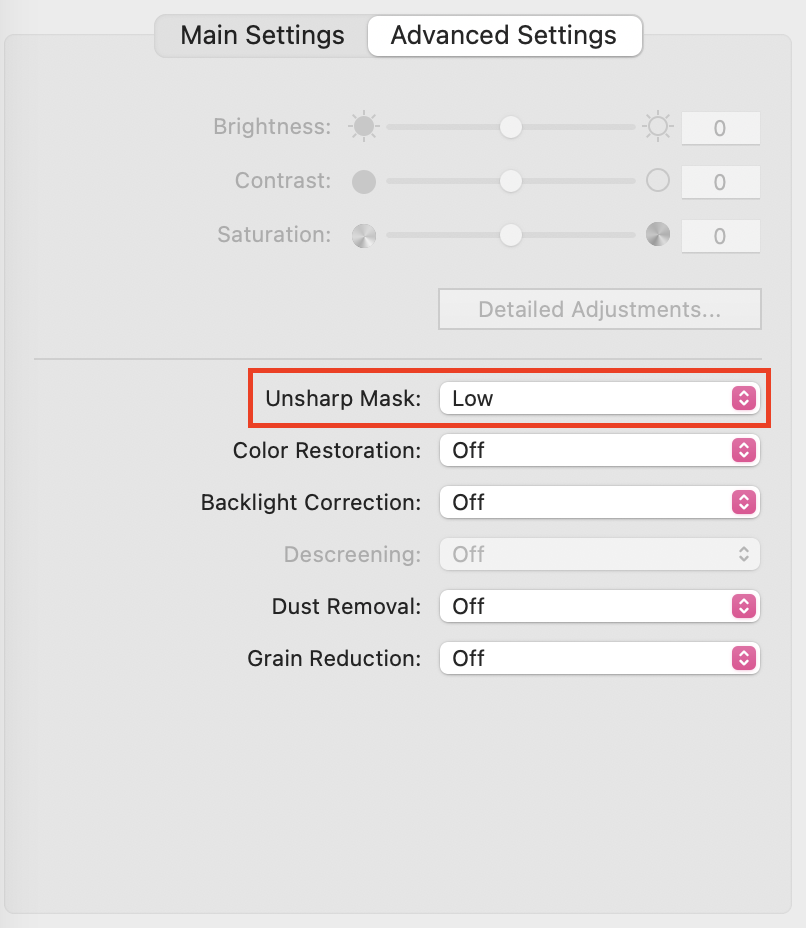
- For Adjustments
- Unsharp Mask Level: Low or unchecked
- Backlight Correction: Check if images are coming out very dark
All else unchecked
Step Three: Test Scan
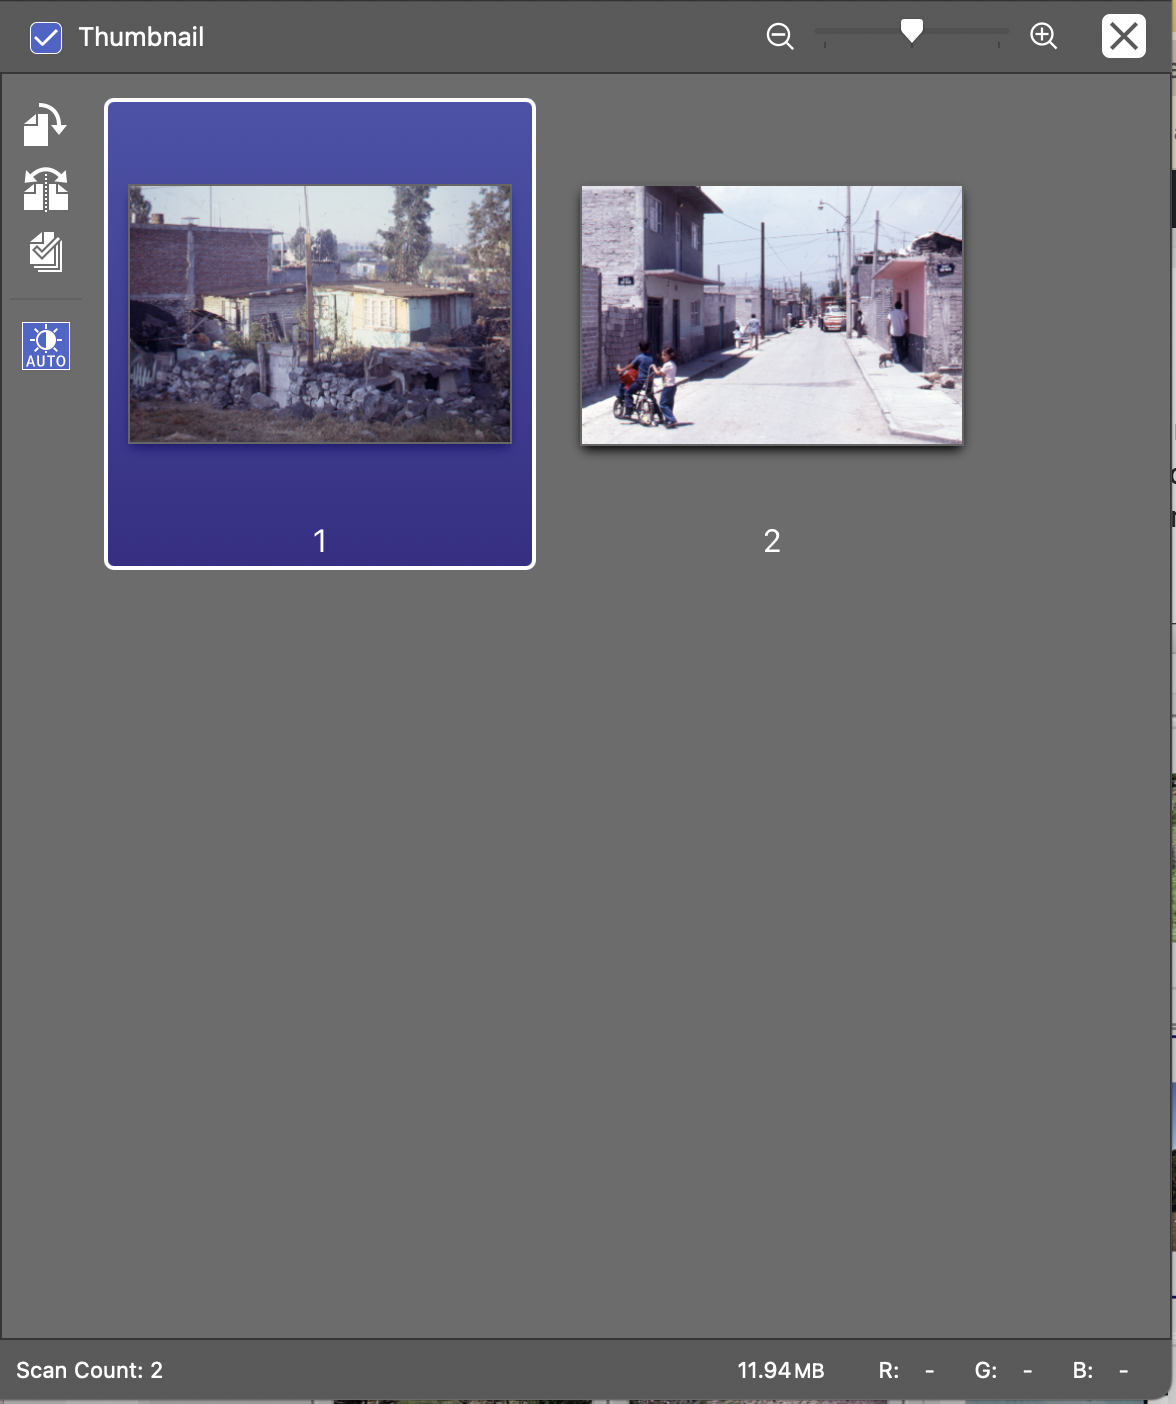
- Click on “Preview” to see how all the scans show up. Then click “Scan”.
- When the window pops up with single thumbnails of each slide, select no more than two to scan at a time. Any more than this will make scanning take longer than necessary. Then press “scan”.
Step Four: Saving
- Save as .tif to avoid compression. NOT MULTI-TIFF
- Work from .tif files and only save final versions as .jpeg for professor unless they request .tif format files.

- Sometimes clients can pay for extra editing to refine/recolor the image. To do this you would make the adjustments in photoshop following along the “PSD Color Correction” basic training. Edit at least one of your scanned slides like this.
- In your STA Basic Training folder for Scanner slides, upload your scanned images with appropriate titles.
- In Basecamp post the pathway to your images and include a PNG of your scanned slides. Update the STA Blog about this training.
35mm Film Holder

Step One: Setting up the Scanner
- To remove plastic to insert film, lightly squeeze edges in to pop it off.
- Place the film into the holder flipped reflectively. The scanner will scan a mirror image of the film. Make sure it is all the way to the edge and locked under the plastic clips.
- Place the plastic frame back inside on top of the film. You should hear a click when all the locks are set in place.
- Remove the white cover from the inside of the lid of the scanner.
- Place the holder inside making sure that that the holes line up in the top right corner.
Step Two: Settings
- Open up the EPSON Scan 2 application on the computer connected to the scanner.
- Make sure you are in “Photo Mode”
- Document Source: “Transparency Unit”
- Document Type: “Color Negative Film”
- If scanning color slides: “48-bit Color to Highlight detail”
- If scanning grayscale: “16-bit Grayscale”
- Resolution: “1350 dpi” The higher the resolution the longer it will take to scan. Do not use less than 1200 dpi.
- Scanning Quality: High
Step Three: Test Scan
- Click on “Preview” to see how all the scans show up.
- When the window pops up with single thumbnails of each photo, select no more than two to scan at a time. Any more than this will make scanning take longer than necessary. Then press “scan”.
Step Four: Saving
- Same as step 4 in “Slide Holder” section of instruction sheet above.
Medium Format Film Holder
Step One: Setting up the Scanner
- To remove plastic to insert film, lightly pull off from the side.
- Place the film into the holder flipped reflectively. The scanner will scan a mirror image of the film. Make sure it is all the way to the edge.
- Place the plastic frame back inside on top of the film. You should hear a click when all the locks are set in place.
- Remove the white cover from the inside of the lid of the scanner.
- Place the holder inside making sure that that the holes line up in the top right corner.
Step Two: Settings
- Open up the EPSON Scan 2 application on the computer connected to the scanner.
- Make sure you are in “Photo Mode”
- Document Source: “Transparency Unit”
- Document Type: “Color Negative Film”
- If scanning color slides: “48-bit Color to Highlight detail”
- If scanning grayscale: “16-bit Grayscale”
- Resolution: “1350 dpi” The higher the resolution the longer it will take to scan. Do not use less than 1200 dpi.
- Scanning Quality: High
Step Three: Test Scan
- Click on “Preview” to see how all the scans show up.
- When the window pops up with single thumbnails of each photo, select no more than two to scan at a time. Any more than this will make scanning take longer than necessary. Then press “scan”.
Step Four: Saving
- Same as step 4 in “Slide Holder” section of instruction sheet above.
Large Format Film Holder

Step One: Setting up the Scanner
- To remove plastic to insert film, lightly pull off from the side.
- Place the film into the holder flipped reflectively. The scanner will scan a mirror image of the film. Make sure it is all the way to the edge.
- Place the plastic frame back inside on top of the film. You should hear a click when all the locks are set in place.
- Remove the white cover from the inside of the lid of the scanner.
- Place the holder inside making sure that that the holes line up in the top right corner.

Step Two: Settings
- Open up the EPSON Scan 2 application on the computer connected to the scanner.
- Make sure you are in “Photo Mode”
- Document Source: “Transparency Unit”
- Document Type: “Color Negative Film”
- If scanning color slides: “48-bit Color to Highlight detail”
- If scanning grayscale: “16-bit Grayscale”
- Resolution: “1350 dpi” The higher the resolution the longer it will take to scan. Do not use less than 1200 dpi.
- Scanning Quality: High
Step Three: Test Scan
- Click on “Preview” to see how all the scans show up.
- When the window pops up with single thumbnails of each photo, select no more than two to scan at a time. Any more than this will make scanning take longer than necessary. Then press “scan”.
Step Four: Saving
- Same as step 4 in “Slide Holder” section of the instruction sheet above.