
Course schedulers have access to all CLA courses. Consult the Course Scheduler Guide for more thorough information.
Use the following instructions to assign a course scheduler role to users in the COLA Web Editor.
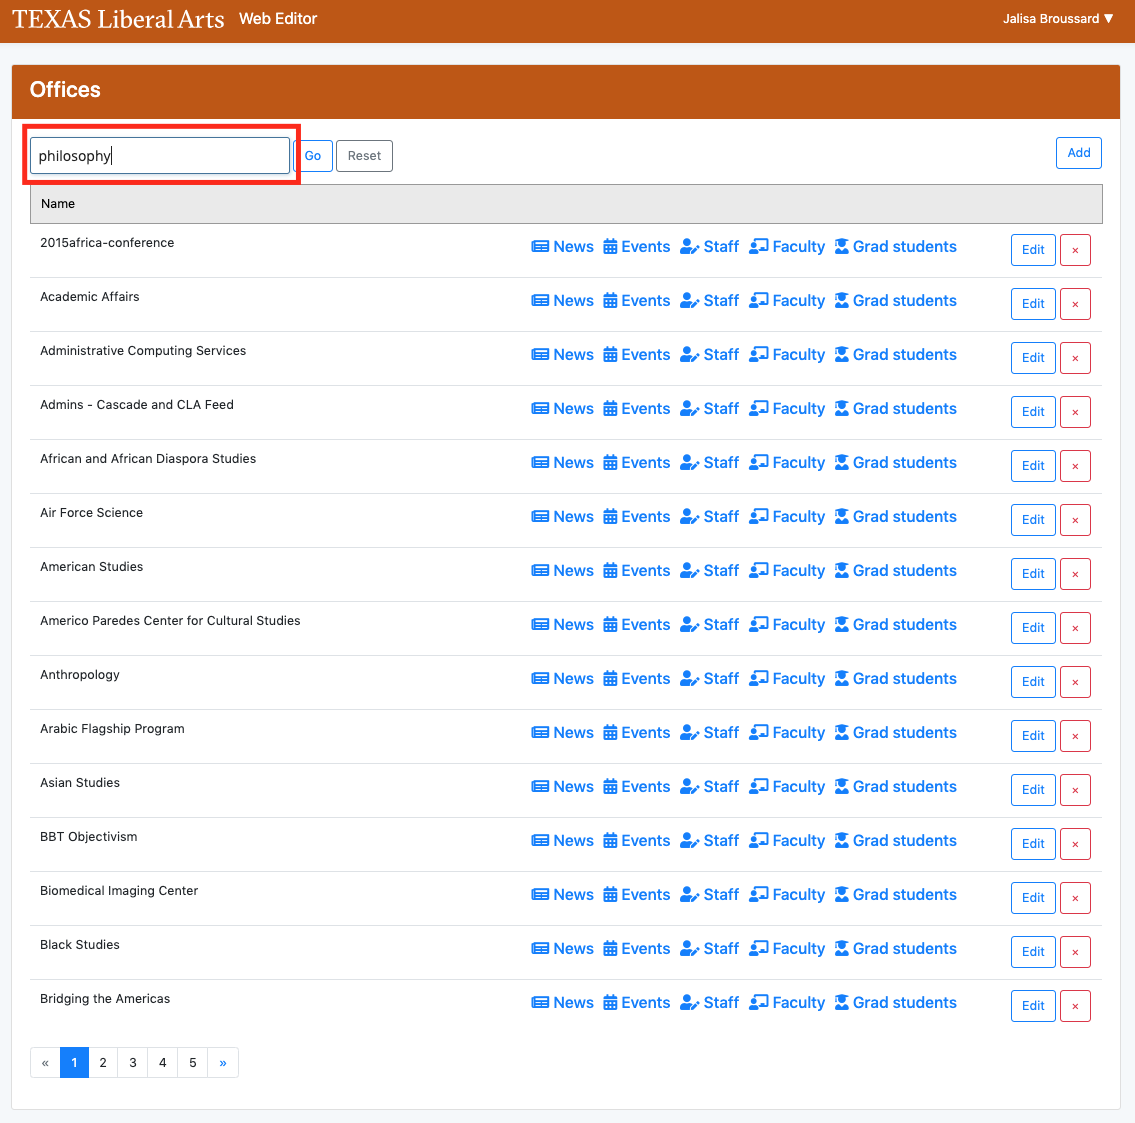
1) Log In and Navigate to “Offices”
Once you have logged into the Web Editor, click on the dropdown menu that is your name in the top right-hand corner of the page. Click on “Offices.”


2) Search for user’s office.
In the “Search” text box, enter in the department of the user you wish to edit and press Enter.
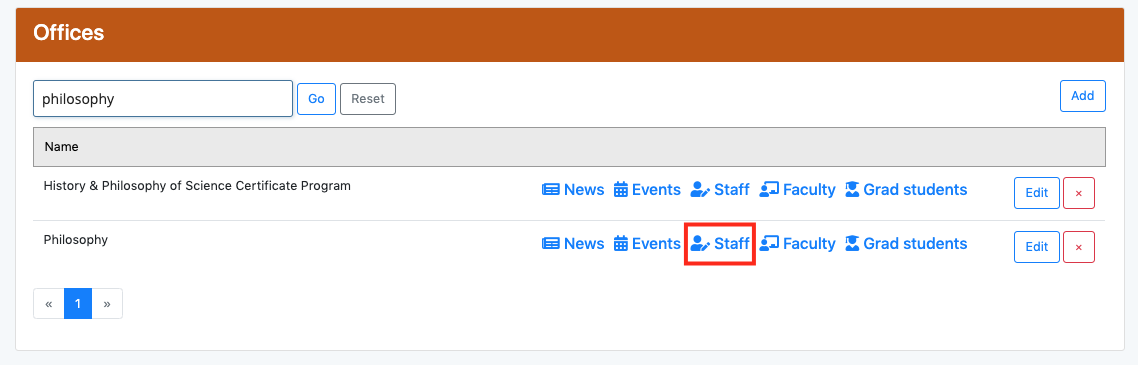
3) View staff list.
To the right of the department name, click the “Staff” button to see a list of users within the department.
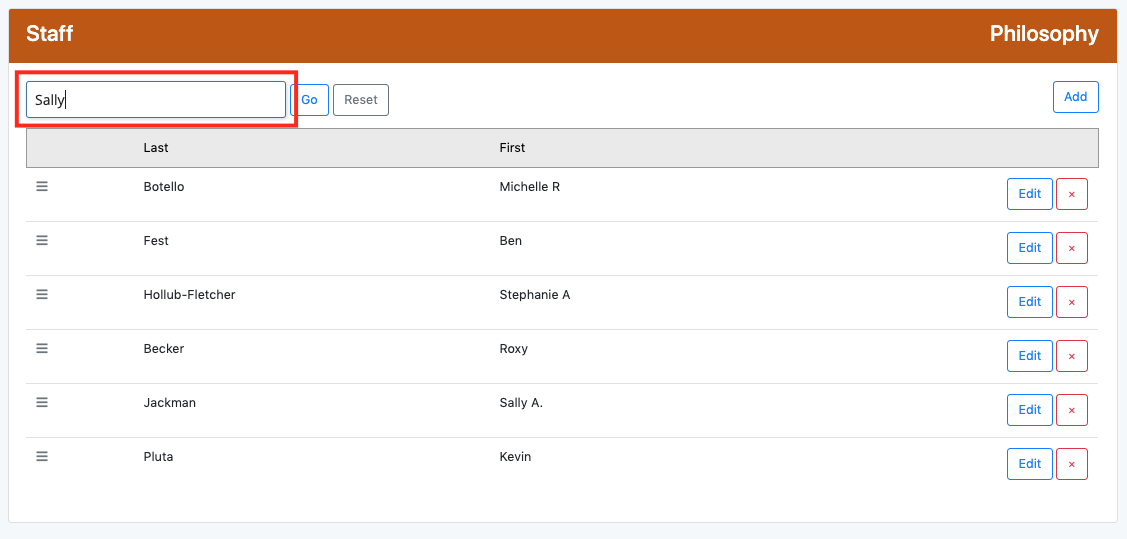
4) Locate desired user.
In the “Search” text box, enter the user’s name and press Enter to narrow your results.
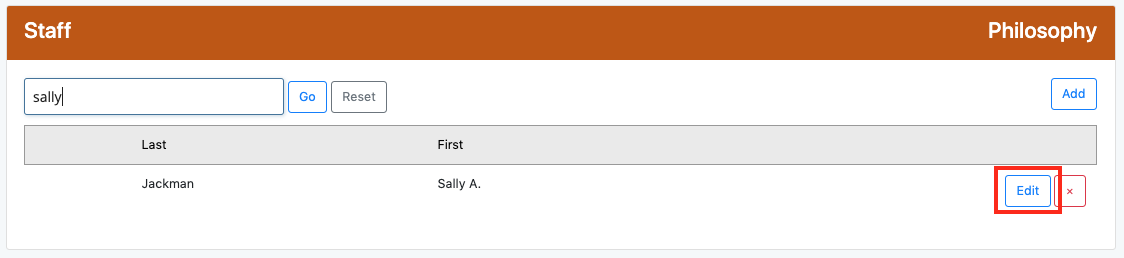
5) Edit user settings.
Next to the desired user’s name, click the “Edit” button to open the “Edit Staff” window.
6) Add course scheduler role.
In the “Edit Staff” window, check the box next to “Course Scheduler?” and press “Save Changes”.

You will see this “Saved.” pop-up to confirm that the changes have been applied.
