![]()
In this Photoshop training you will be designing a set of beautiful flash cards, you’ll sharpen your technical skills, and conceptual skills, such as:
- familiarizing yourself with choosing copyright-free icons from the Noun Project that look consistent in line wight/style & that work best for your flash card set
- PSD layer cropping
- PSD layer organization
- PSD layer effects
- PSD layer exporting
- your skill in visual representation of abstract concepts
- using and appreciating alphabets from different cultures
- noticing how a set of images seen in succession & that contain a mixture of symbols, icons and unfamiliar alphabets can convey a sense of poetry and emotion
- creating a MetaSlider in WordPress!
Create 5 vocabulary flashcards in Photoshop, then create a slideshow in WordPress using these cards, which you will add to your STA Blog.
Your Icons should visually represent, a mixture of abstract concepts and literal objects that work together to tell a sort of story that has impact.
Example objects and concepts for a set of flash cards:
Brain (literal)
Heart (literal)
Respect (abstract)
Strength (abstract)
Struggle (abstract)
View examples of flash card designs created by previous STAs:
- Object and concept oriented design: Tate Gibson’s Flashcards: https://sta.laits.utexas.edu/author/atg729/page/13/
- Object oriented design: Thuy H Nguyen’s Flashcards: https://sta.laits.utexas.edu/kb-psd-flashcard-training/
Part 1: Design PSD Flashcards
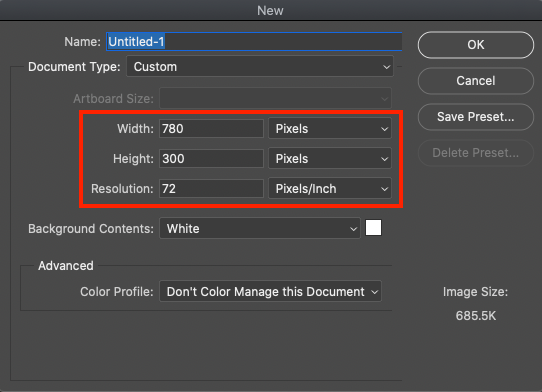
- Create a new Photoshop file with these specs:
- 780 x 300 px
- 72 pixels/inch resolution
- Get icons.
- Go to https://thenounproject.com/. This will be your source of copyright-free icons. If you do not have an account on this site, go ahead and create a free one.
- Choose a theme for your flashcard (i.e. musical instruments). All of your icons should be revolving around this theme.
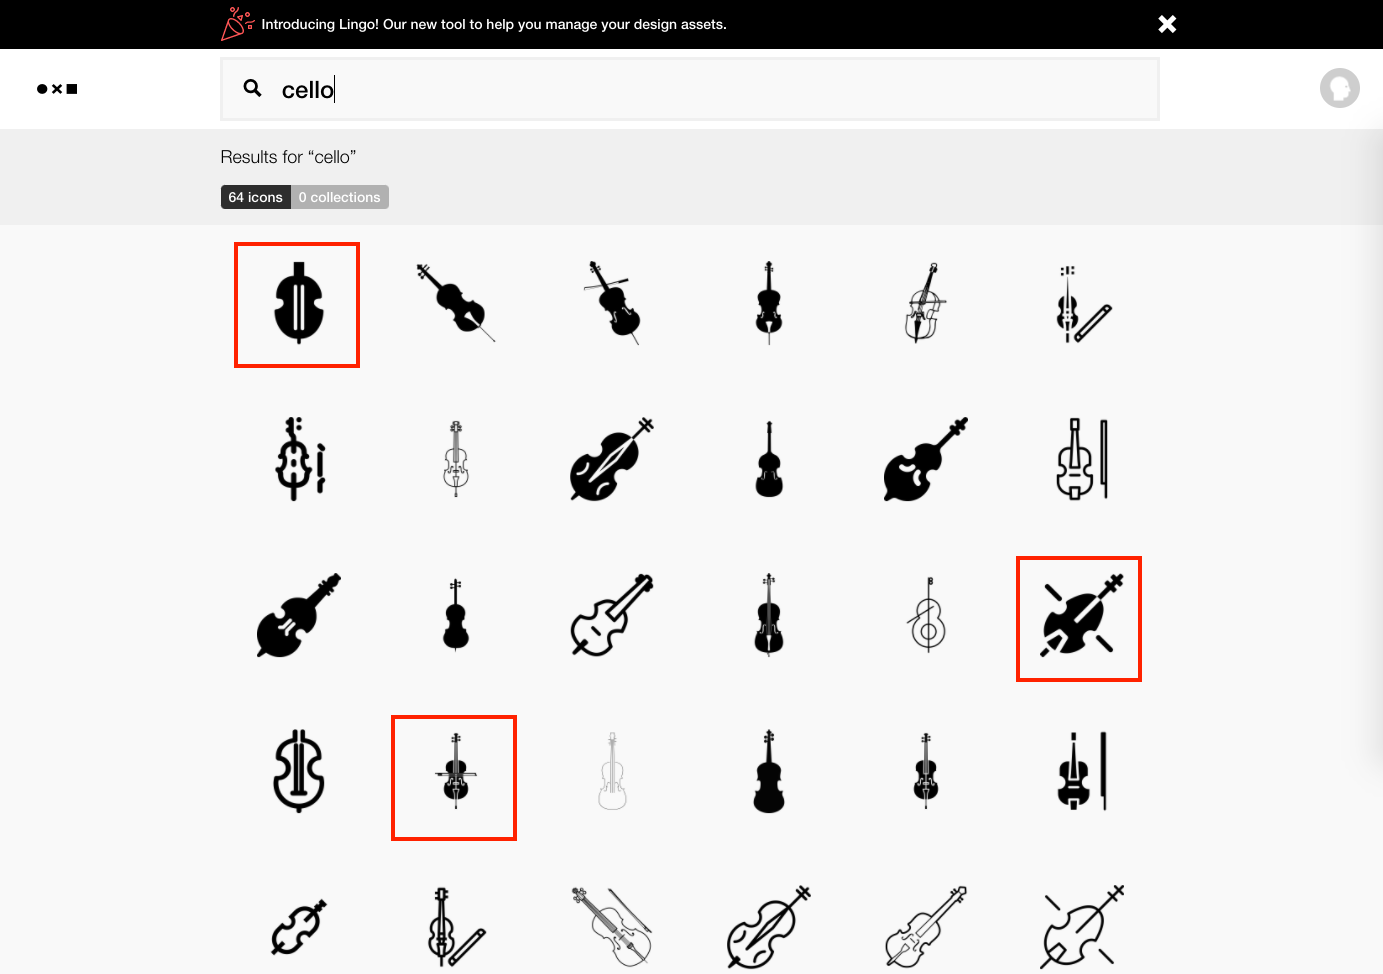
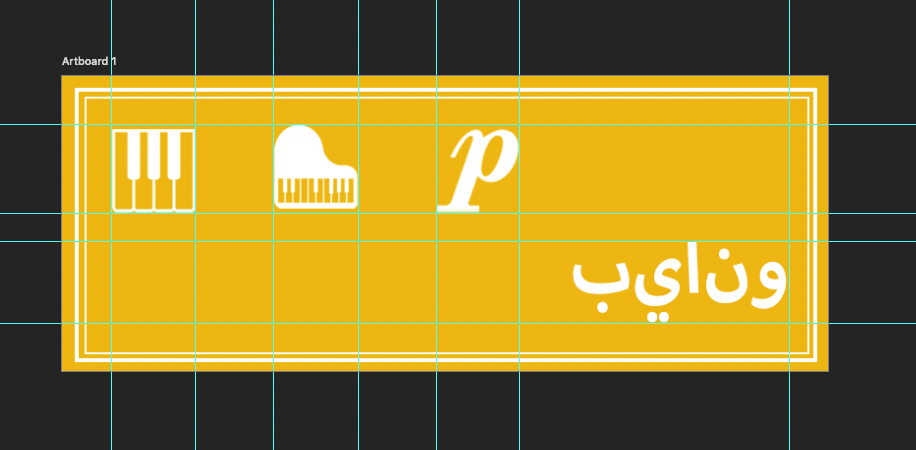
- Search for these icons. For each flashcard, you will have 3 icons representing each word. These 3 icons must be in different styles. For example, I chose these 3 styles for the single object “cello.”
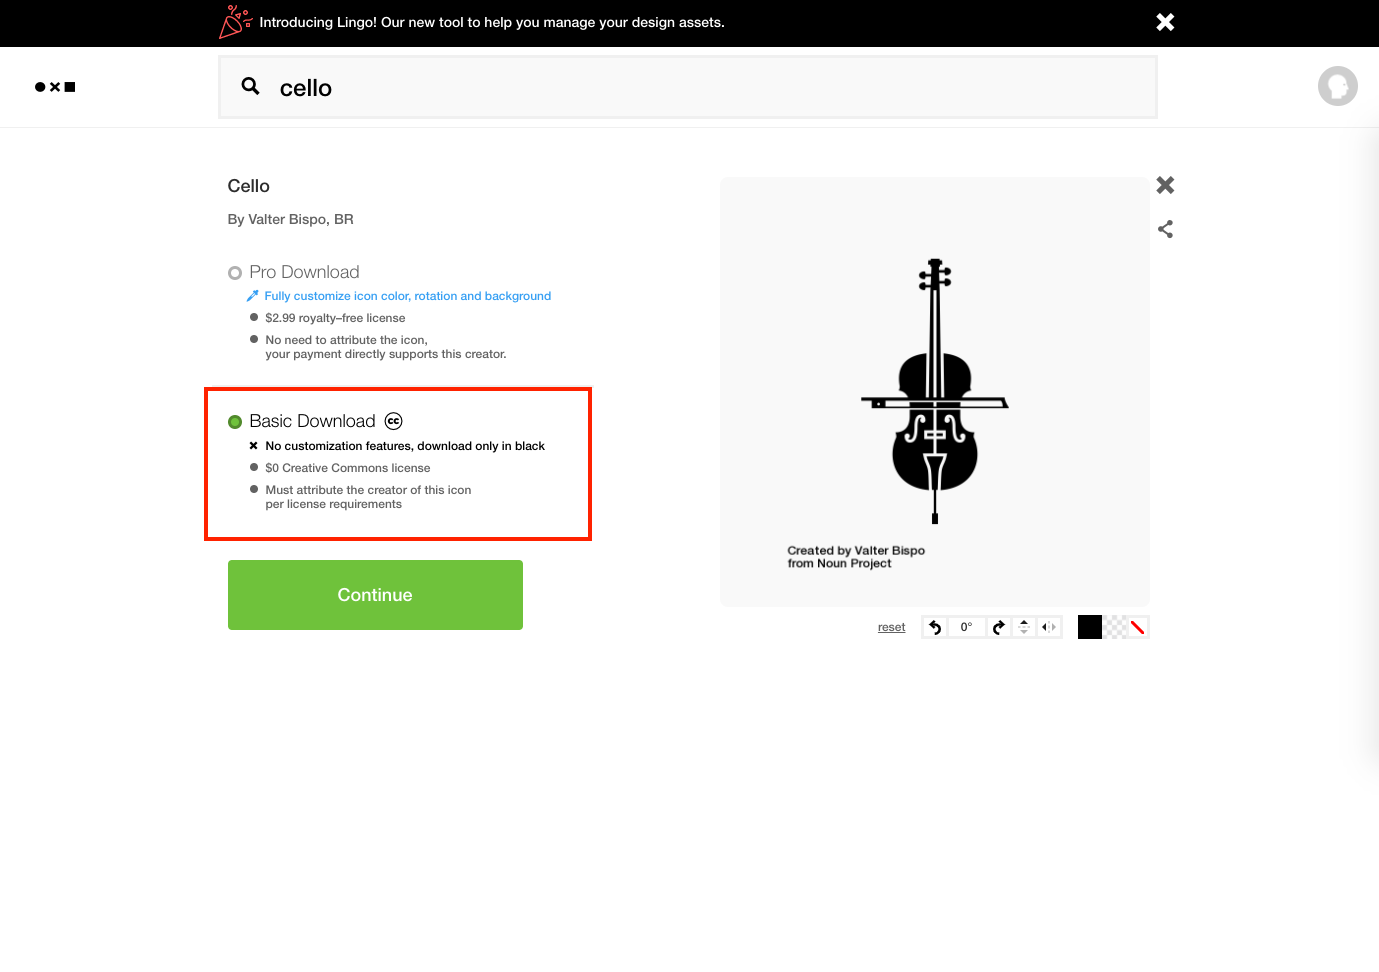
- Click on the icon that you want, then click “Get this icon.” Choose “Basic Download, ” then click “Continue.”
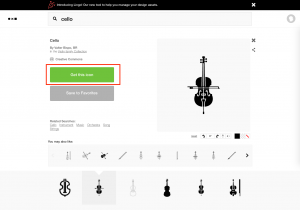

- Download the icon as a PNG.
- Do the same thing for all of the icons of your 5 objects. You should have a total of 15 icons at the end.
- Choose background colors. You will need to choose bright, full-saturated colors.
- Go to this site: https://coolors.co/ and click “Start the Generator.”
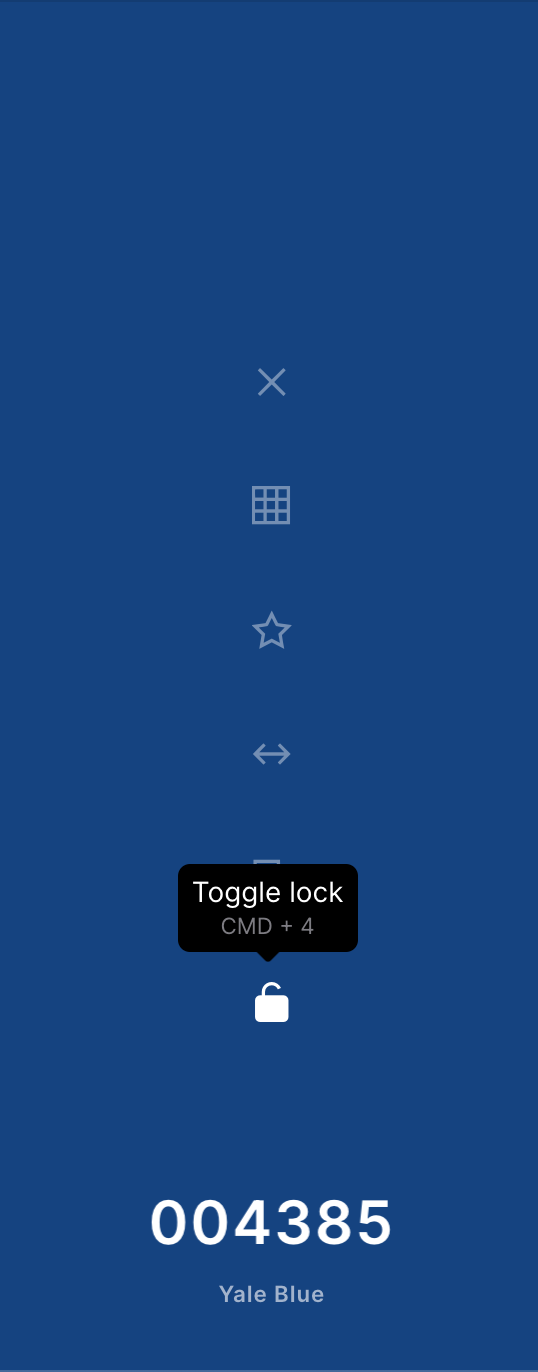
- Keep clicking the spacebar until you get all the colors that you like. If you see a color that you like, lock that color.
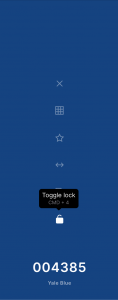
- Copy the HEX codes for the colors by clicking on them. Use these HEX code as the background colors of your cards.
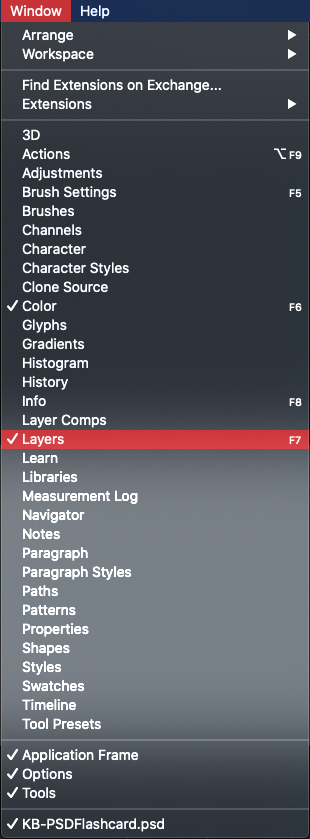
- Go back to your Photoshop file. Make sure that you have the “Layers” panel visible on the screen. If it is not, go to Windows > Layers.
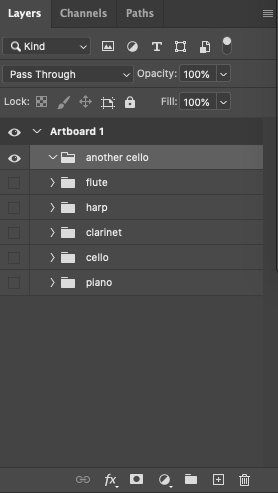
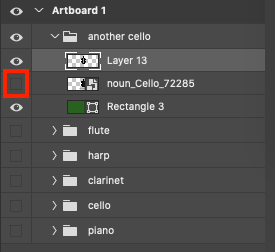
- Each of your card will be a group, and they will overlay each other. On the “Layers” panel, create a new group. Name the group after the name of your object.

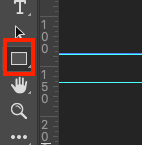
- Color in the background. With the new layer selected, click on the “Rectangle Tool,” or use the shortcut U.
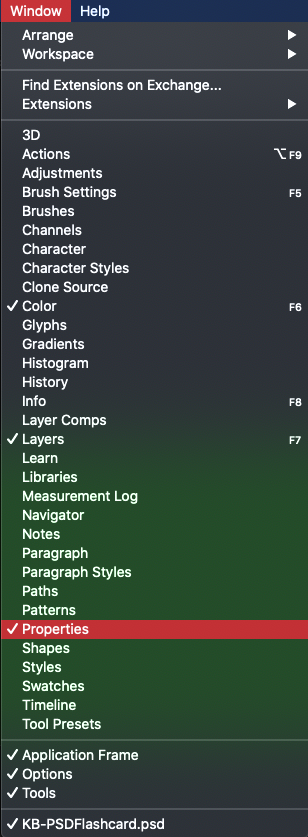
- Draw a rectangle the cover the entire canvas. Change its color under the “Properties” panel. If you don’t have this panel visible, go to Windows > Properties.

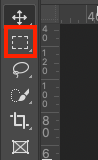
- Bring in the icons you’ve downloaded by dragging the icon into Photoshop. Click on the “Rectangular Marquee Tool,” or use the shortcut M.
- With the icon layer selected, drag the marquee so that it crops the icon nicely, eliminating the attribution text at the bottom. You will add these text in your blog later. Then Right-click > Layer via Copy.

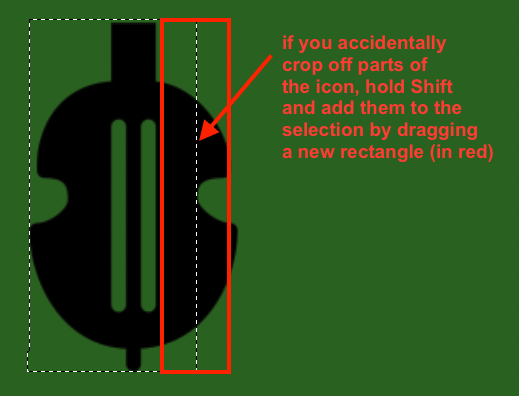
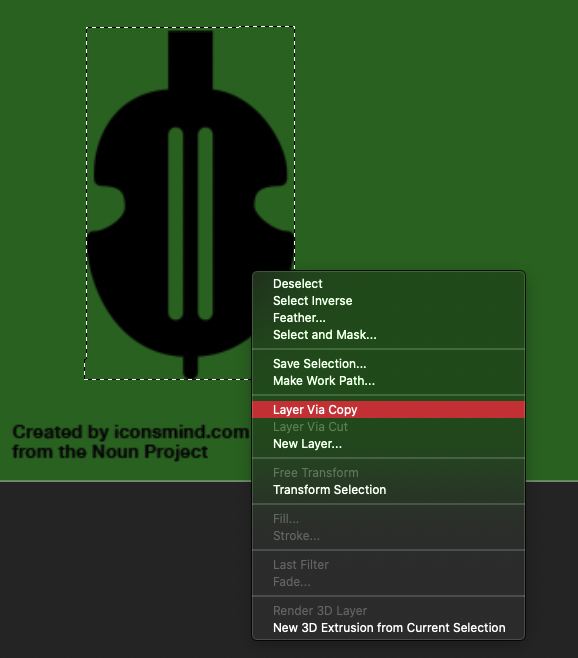
- You will see that the new layer created doesn’t have the attribution text. Hide the original layer by toggling its visibility.
- Do the same thing for the other 2 remaining icons you downloaded for this object. Adjust the sizing of these icons to your liking.
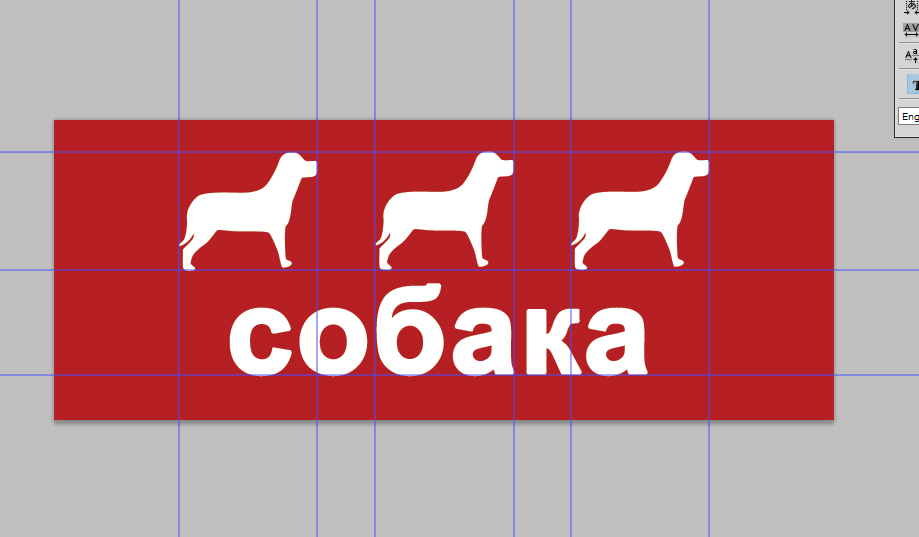
- Next, you will align these icons evenly across from each other. Select all 3 of them, and click Layer > Distribute > Horizontal Centers.

- Add the name of your object in the language of your choice. I used Google Translate for this.

- Now it is your choice to choose how you want to layout your icons. Here are some examples. Feel free to choose another layout, if you’d prefer.
- Center aligned
- Top-left aligned
- Center aligned
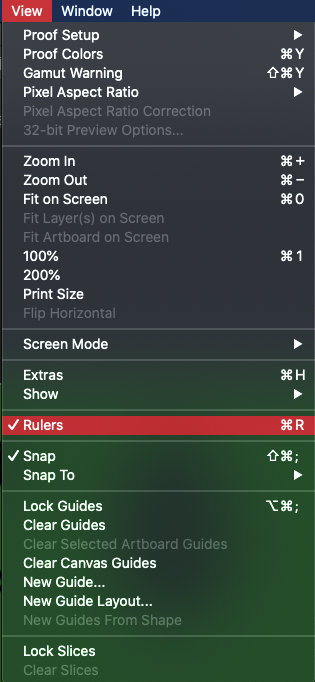
- After you’ve decided on the layout you want, create guides for your future cards / icons. Click and drag from the horizontal ruler for horizontal guides, and vertical ruler for vertical guides. If the ruler is not visible to you, go to View > Rulers.
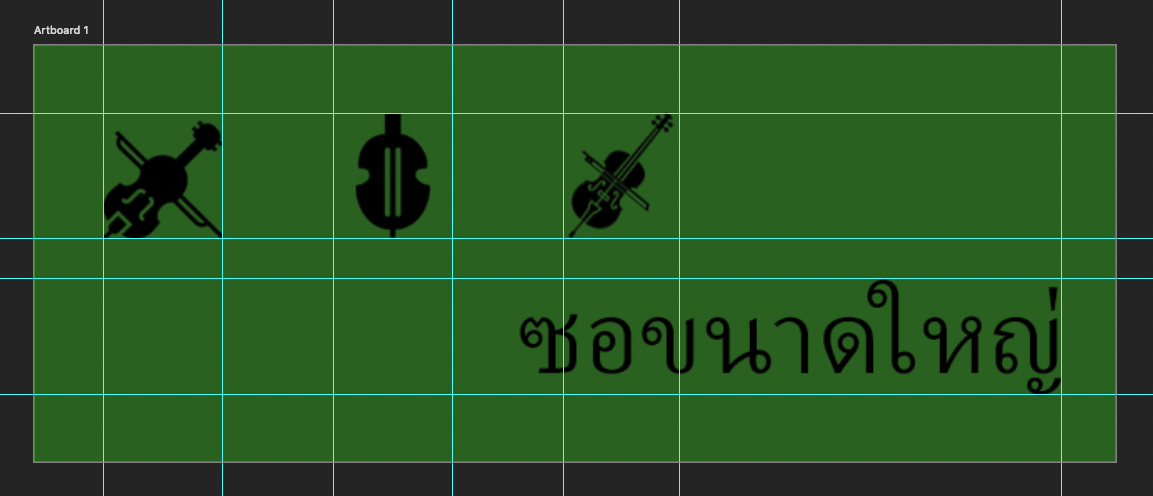
- Your final guides should look something like this.
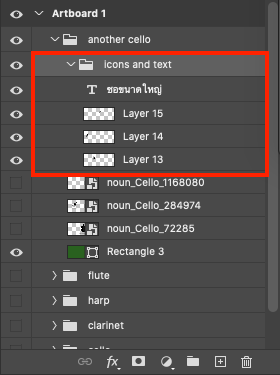
- Next, you will make the icons and text white. Select all of these layers and group them under one layer. Make sure that this group is nested within your card group.
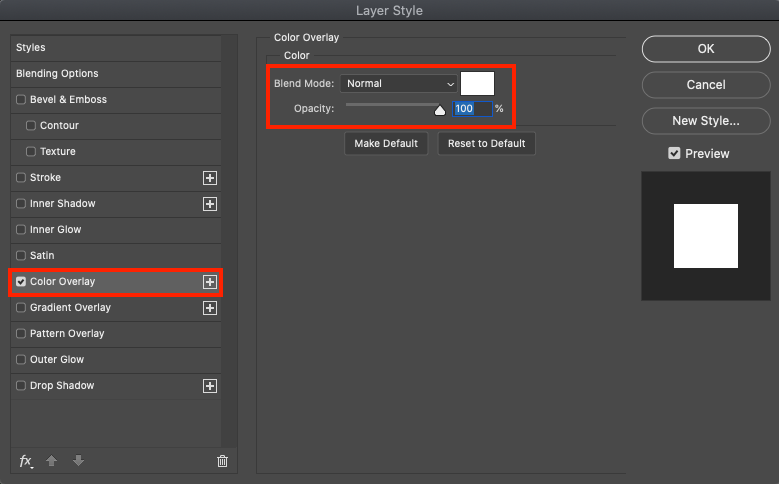
- Double click on this group to open the “Layer Style” panel. Apply a “Color Overlay” of white onto these objects like this. Click “Ok.”
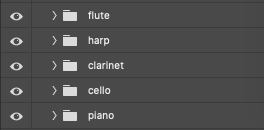
- You’re done with your first card! Now apply the same steps above to create 4 more cards. Each card should be in a different language! You should have your layers organized like this in the end.
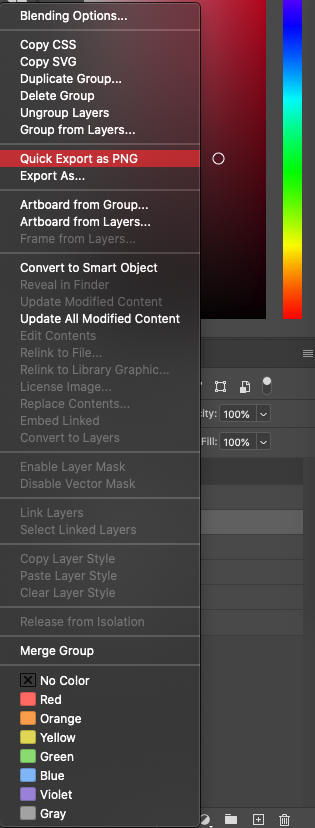
- You will now export your card. Right-click on the card group > Quick Export as PNG.
- Export all of your cards and you’re done for this section. Upload your cards to Basecamp for review and update your blog with your progress and experience / feedback.

Part 2: Create a MetaSlider in WordPress
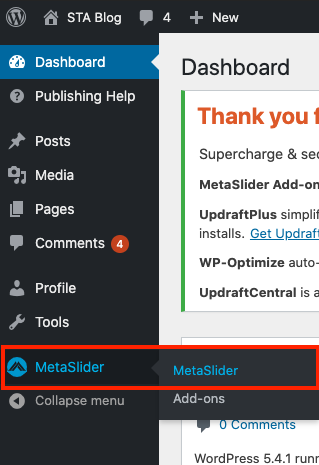
- Log in to your STA Blog WordPress account. On your left sidebar, click MetaSlider > MetaSlider.
- Click “New Slideshow.”
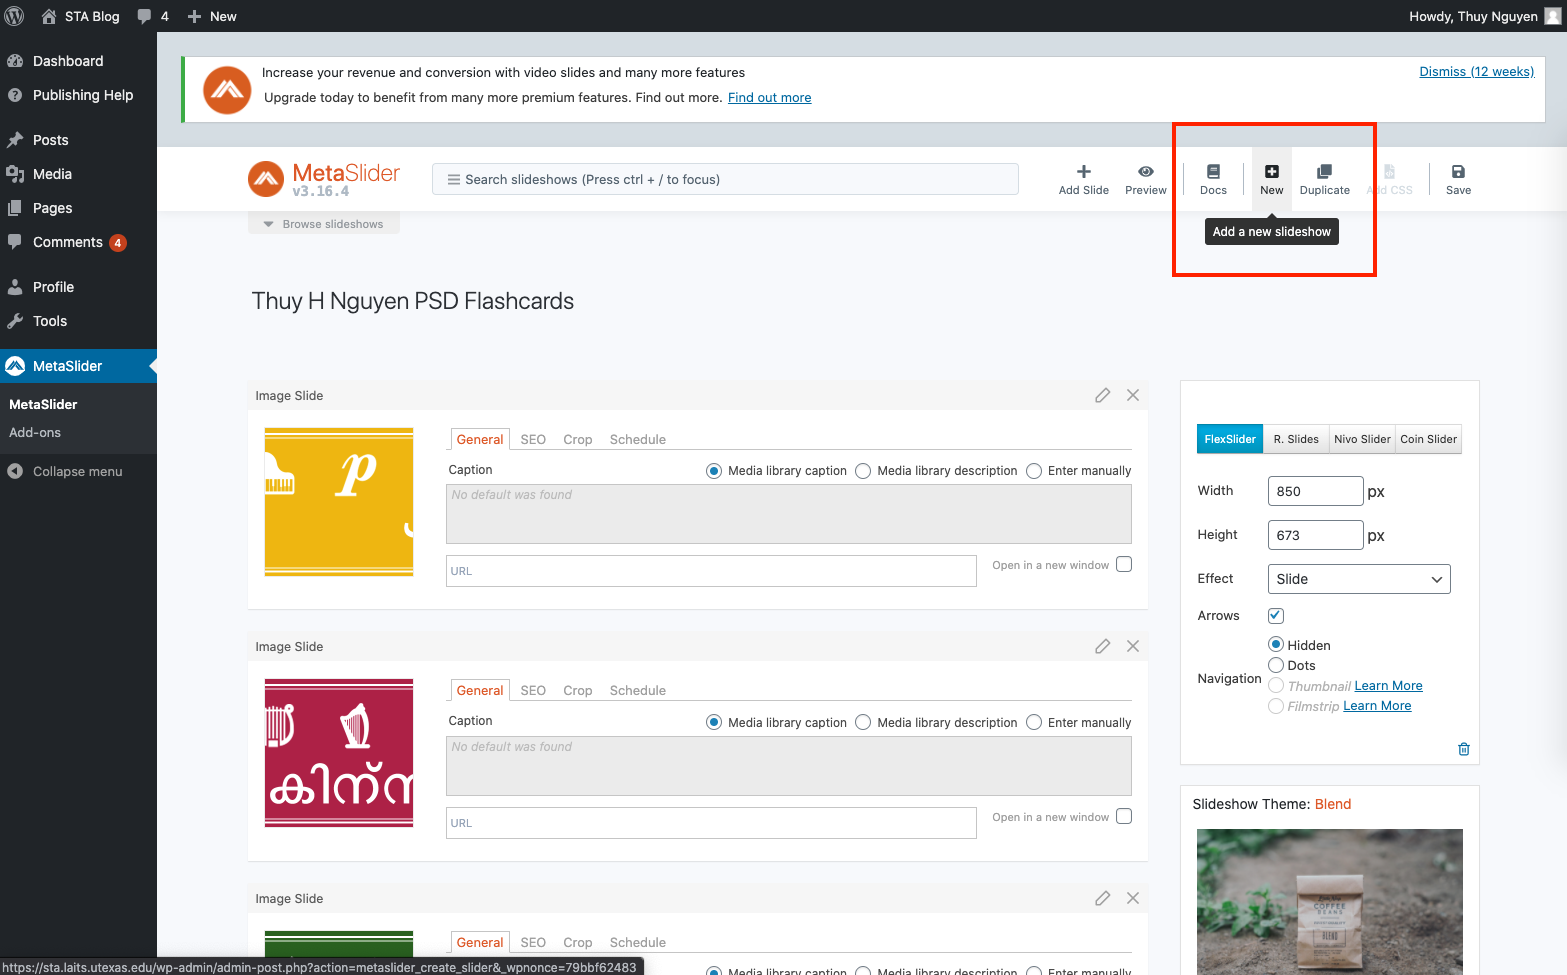
- Upload all of your card PNGs and select them, then click “Add to Slideshow.”
- When you’re done, scroll down. On the right side-bar, locate a card named “How to Use.” Copy the orange code snippet by clicking on it.
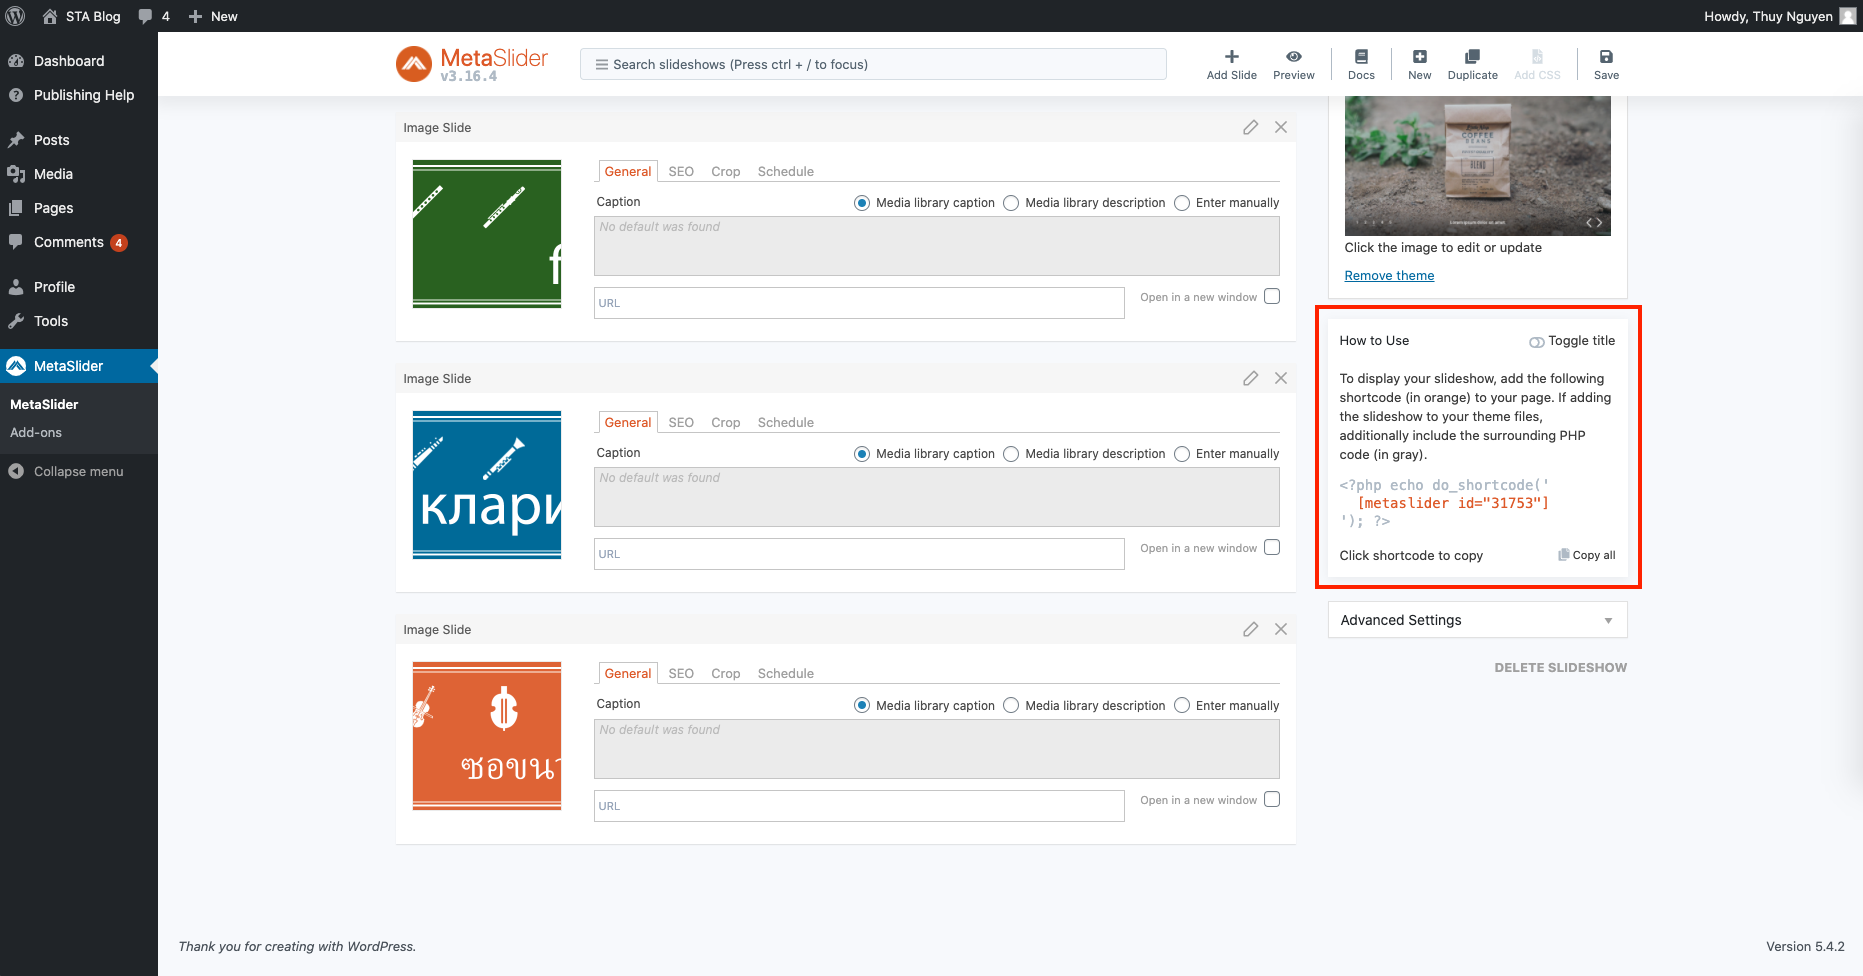
- Create a new blog post. In the body, paste the code you’ve copied.

- Lastly, input all of the credits for your logos into your blog post.