In the COLA Web Editor, all users can be given new affiliations.
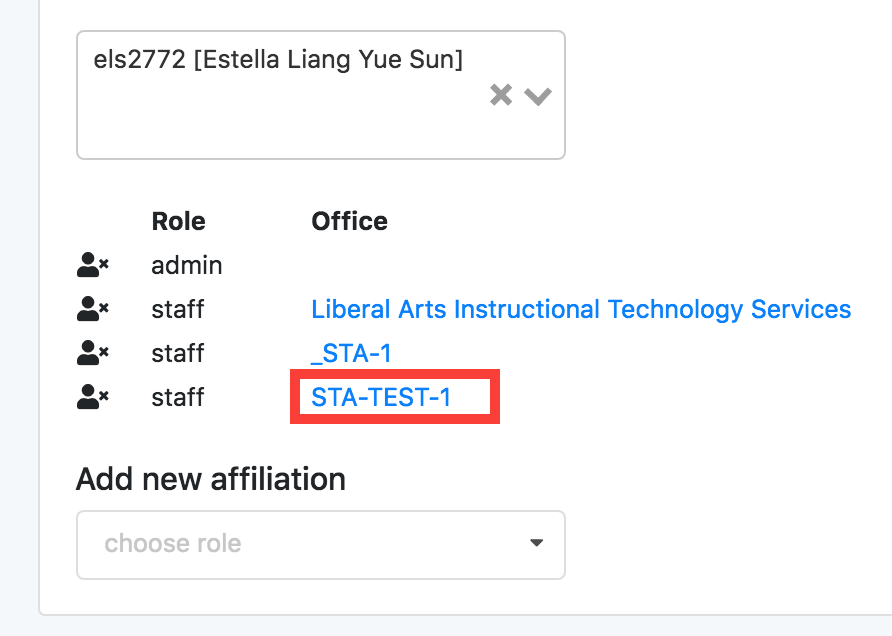
An affiliation is the department, program, institute, center, etc. (called Offices in COLA Web Editor) that the user belongs to. A user may have multiple affiliations.
A role indicates the position of the user. Users can be: faculty, staff, admin, or graduate student.
Staff get administrative access to the content of their affiliated office’s website.
Admin get global access to all of the offices in the COLA Web Editor, and so will not have an office affiliation.
Use the following instructions to assign roles and affiliations to users in the COLA Web Editor.
1) Log In and Navigate to “People”
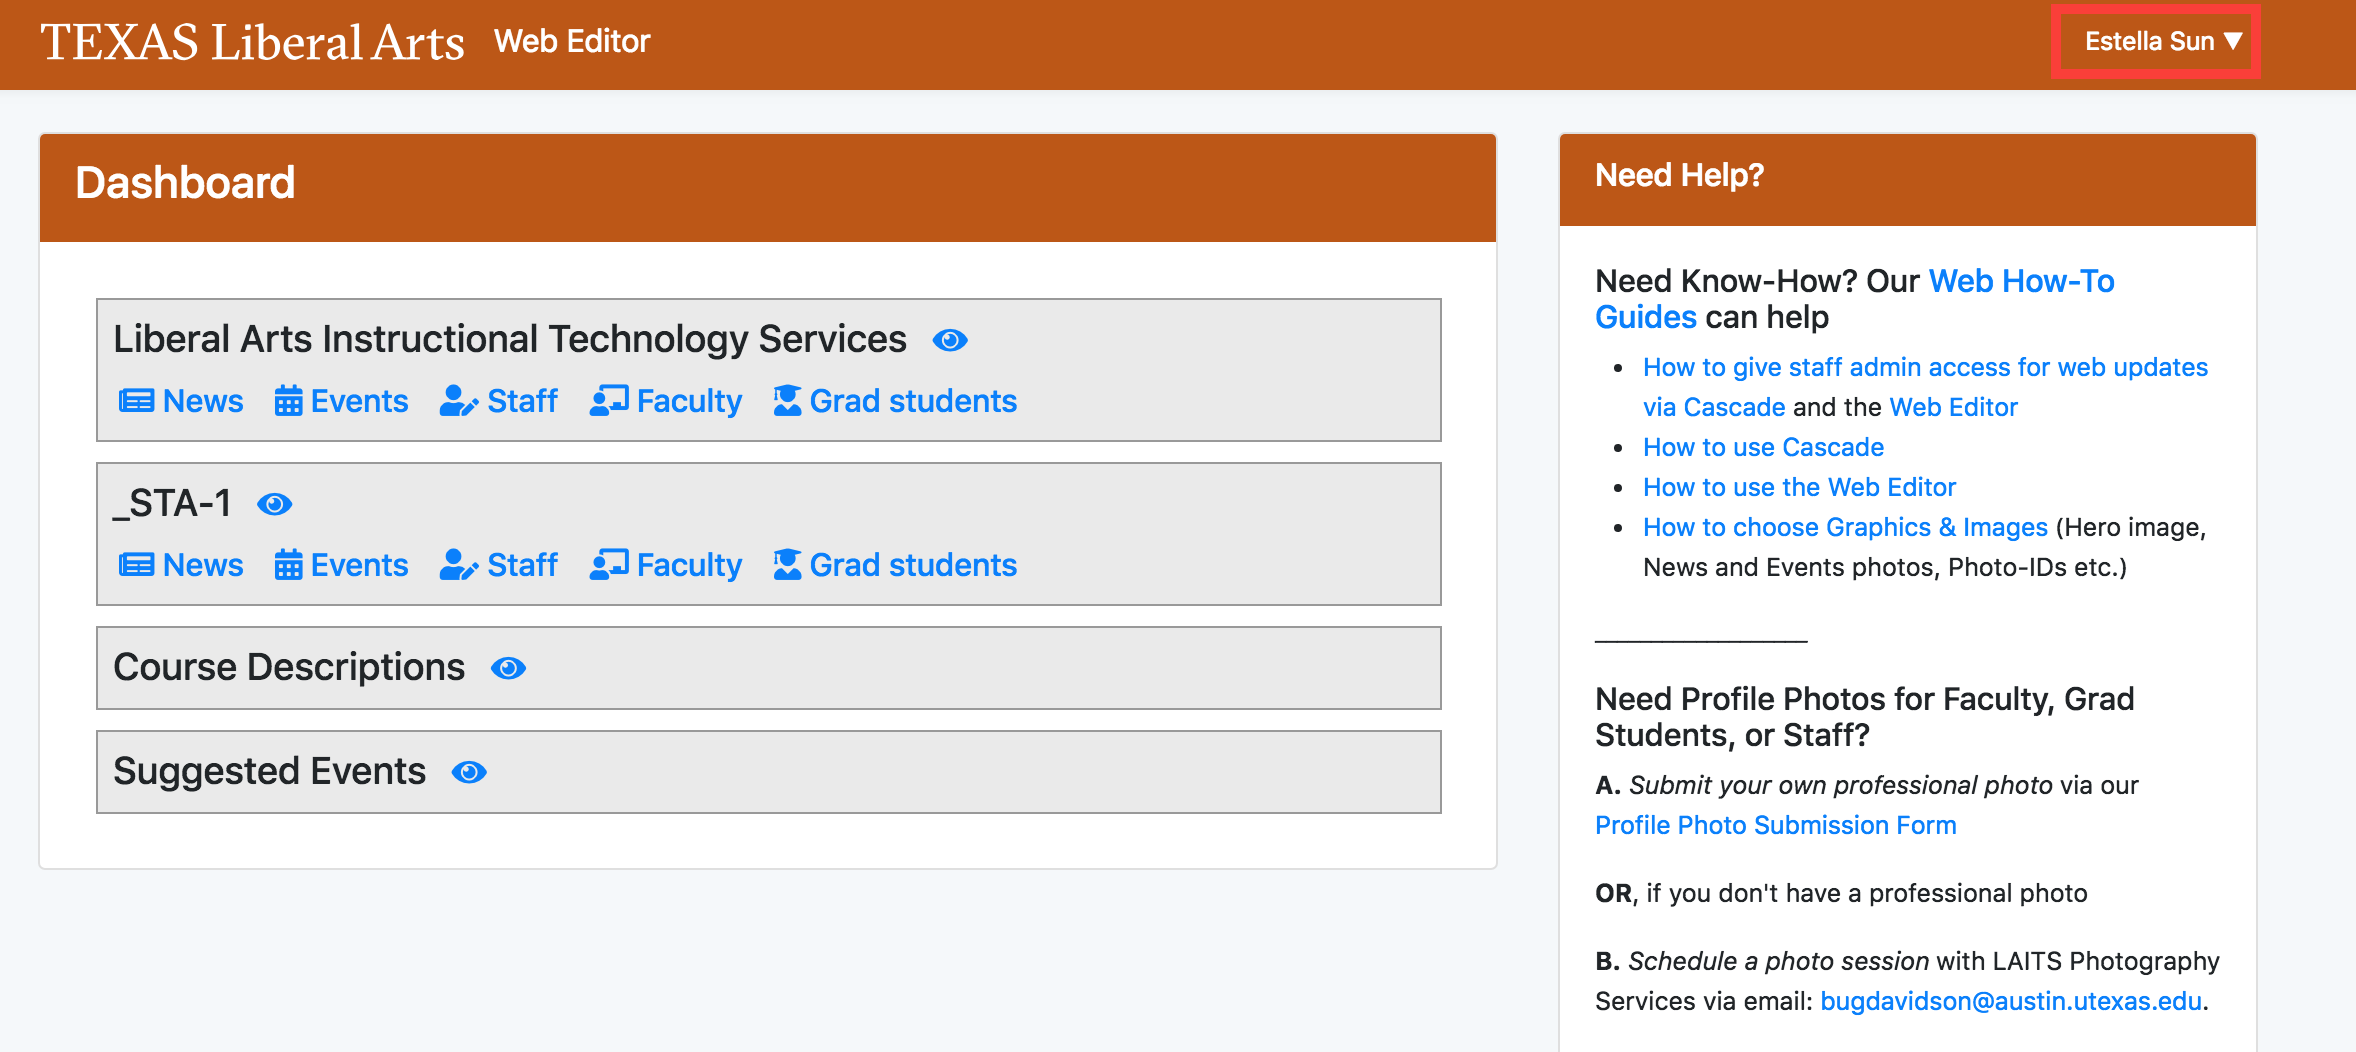
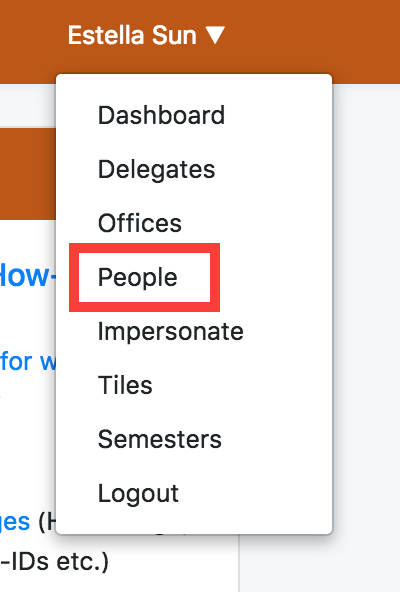
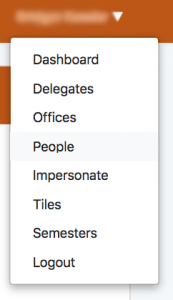
Once you have logged into the Web Editor, click on the dropdown menu that is your name in the top right-hand corner of the page. Click on “People.”
2) Search for desired User.
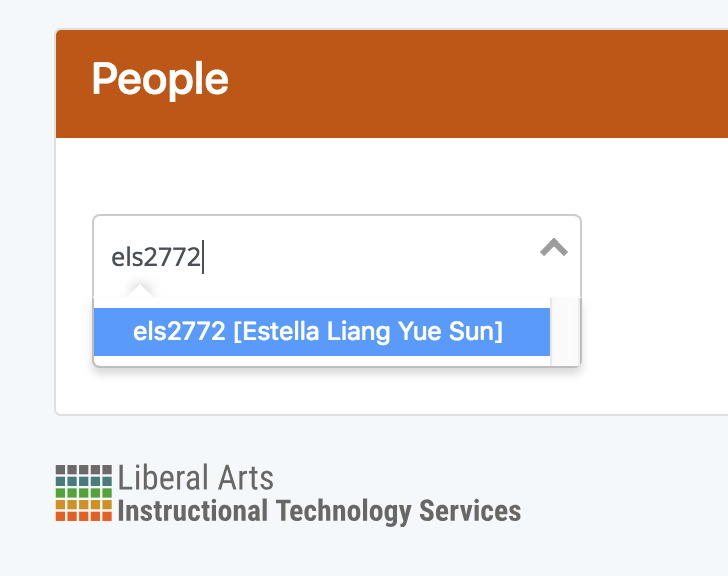
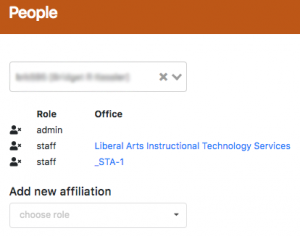
In the “Search by EID…” text box, enter in the UT EID of the user you wish to edit and press Enter.
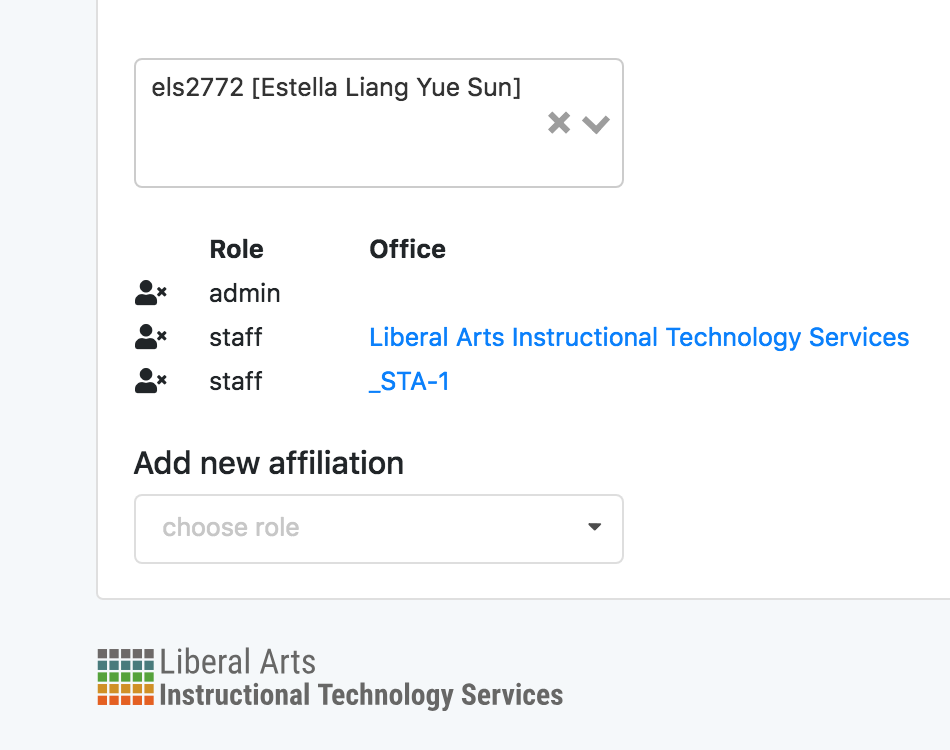
Under “Add new affiliation”, click the dropdown and choose the type of role for your user.
Then click the dropdown and choose the office your user belongs to. Click affiliate.
The affiliation should pop up under your name and the other listed affiliations.
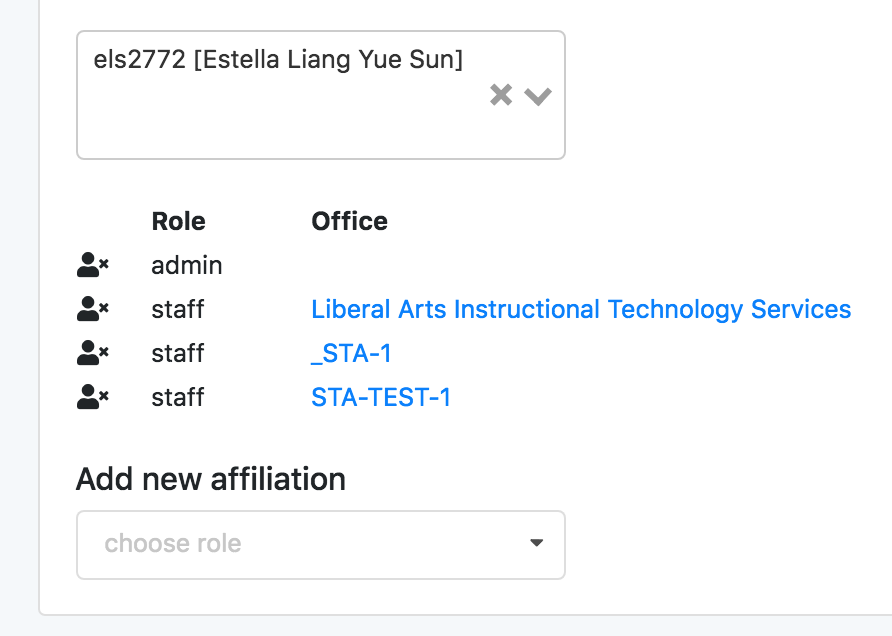
Note: For the admin role, no affiliated Office is listed with it because admins have global access to all sites in the COLA Web Editor.
Should you want to remove a user from an affiliation, follow the instructions below. There are two ways to remove an affiliation.
First Way
1) Click on the affiliation Office.
This will take you to the staff list of the Office.
2) Click on the red “x” to remove.
Locate the name of the user and next to “edit”, click on the red “x” button.
A confirmation message will pop up. Click “Remove”.
OR, Second Way
1) Search for a person using the ‘People’ tab.
Click the icon to the left of an affiliation and remove it.
Grant Course Scheduler Permissions
Only admin can be granted the role of course scheduler. Course schedulers have access to all CLA courses. Consult the Course Scheduler Guide for more thorough information.
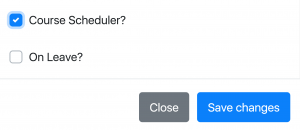
1) At the bottom of a admin’s profile, check the box that says “Course Scheduler?” and save the changes.

