
Grav is a flat-file content-management system (CMS) we use to develop custom websites for LAITS clients.
MAMP is a free server environment you can use to create websites locally (local = on your own machine with no web hosting required).
Step 1.
Download and install MAMP here if not already on your LAITS machine
For Mac: MAMP – Mac, Apache, MySQL, and PHP
For Windows: WAMP – Windows, Apache, MySQL, and PHP
Step 2.
On the Grav site, download from the “Grav Core + Admin Plugin” button

Step 3.
Unzip the Grav folder and rename it from “grav-admin” to “TestSite”
Step 4.
Back in MAMP, go to MAMP > Preferences > Web Server.
You should copy your “TestSite” folder into the Document Root folder that is listed in MAMP.
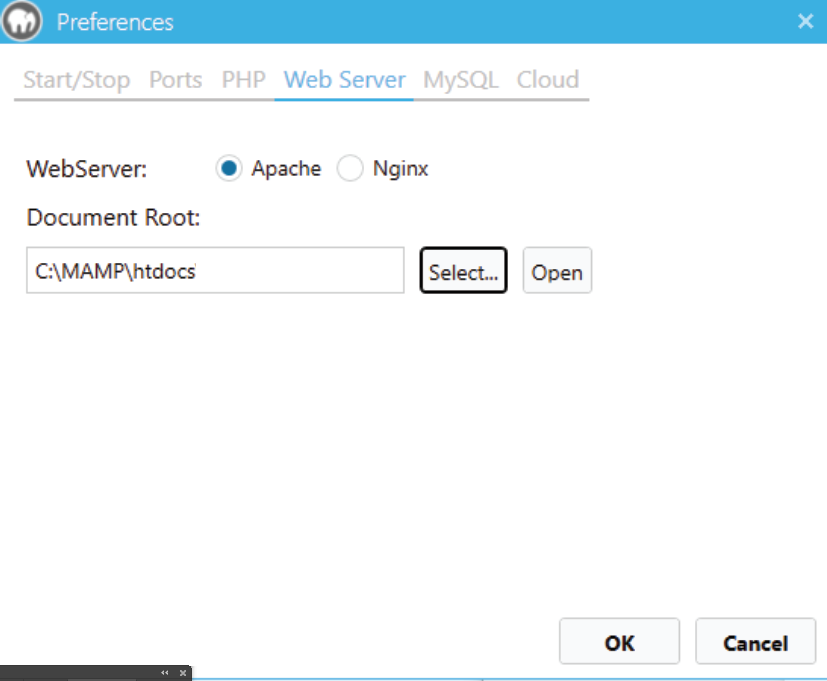
^ This is the Document Root path – “C:\MAMP\htdocs”
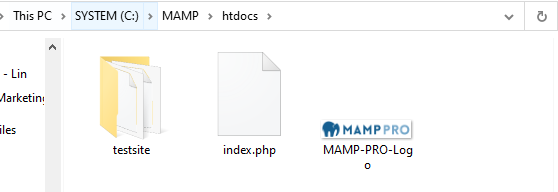
^There is our TestSite Grav folder moved into htdocs 🙂
Step 5.
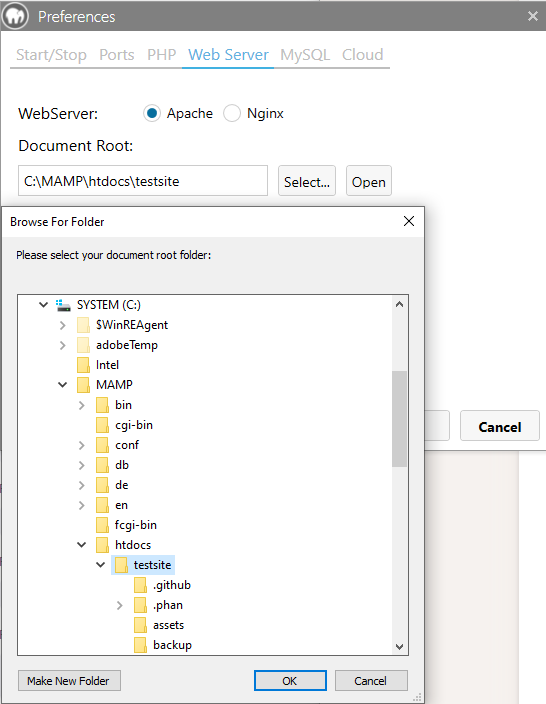
On MAMP’s “Select…” button choose your “TestSite” folder and hit OK.
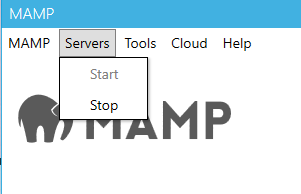
Step 6.
Make sure your MAMP servers are on.
Step 7.
In your web browser, navigate to your local host – “localhost/admin”

Installing Gantry 5
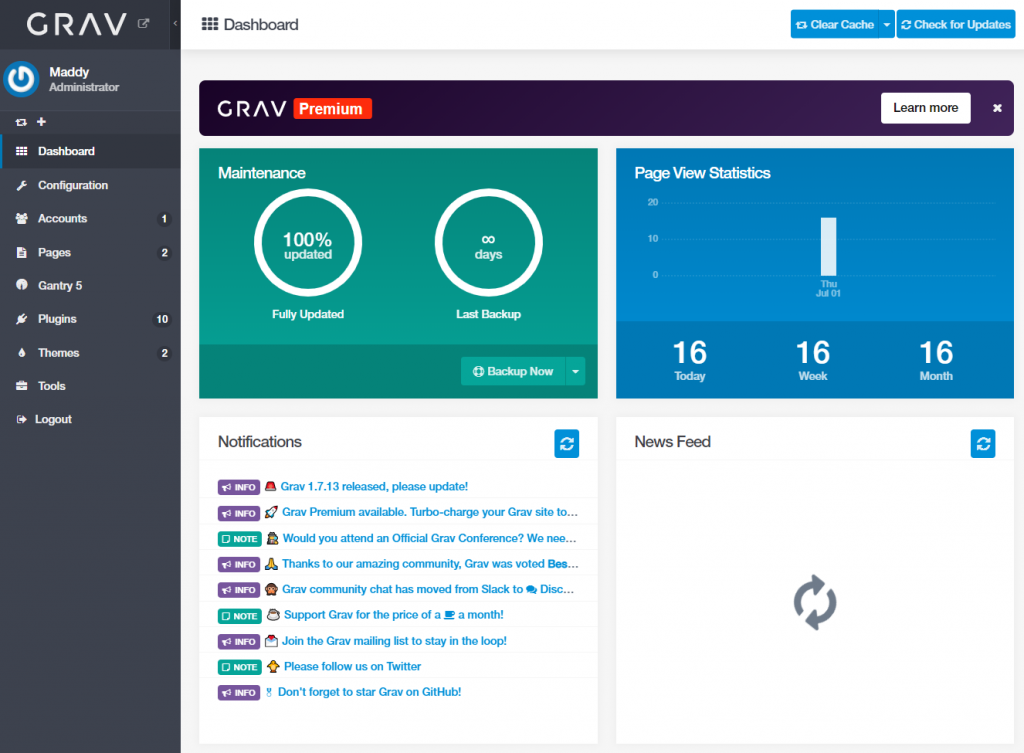
Step 1.
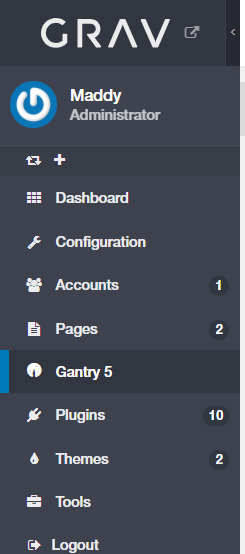
OK now you are logged into your local Grav dashboard which looks like this:
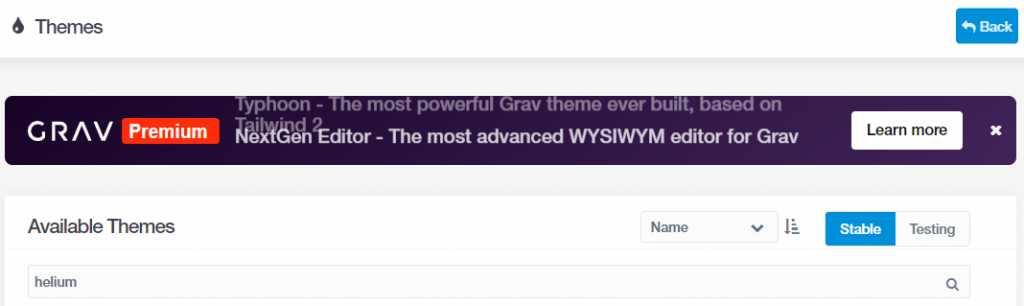
Step 2.
In the left-hand menu under Themes, click +Add and search and select the theme “Helium”.
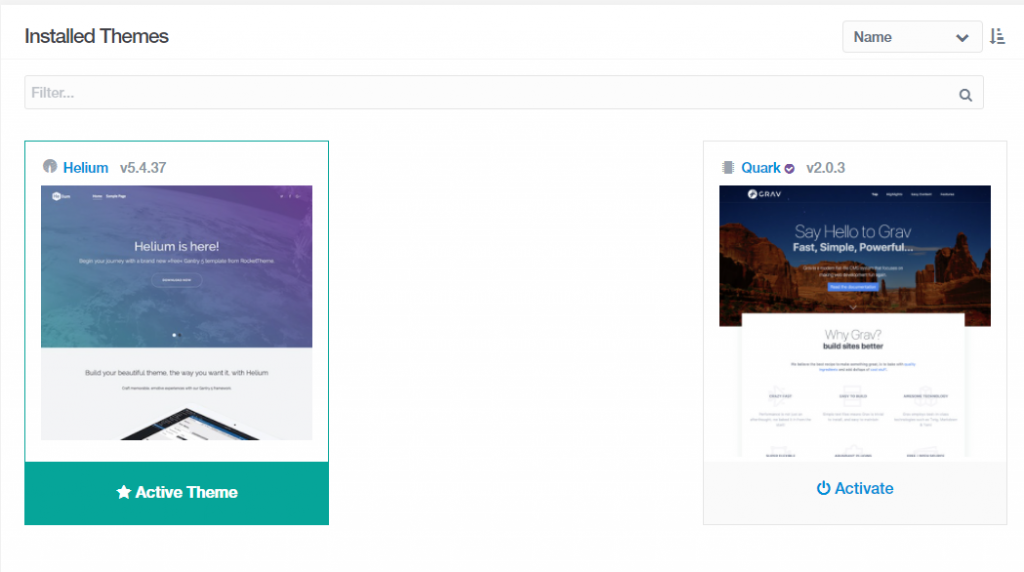
Click Activate on Helium to make sure it is your active theme.
Step 3.
To install Gantry, on the Plugins tab, search and install “Gantry”. You should then see Gantry 5 tab in your left-hand menu.
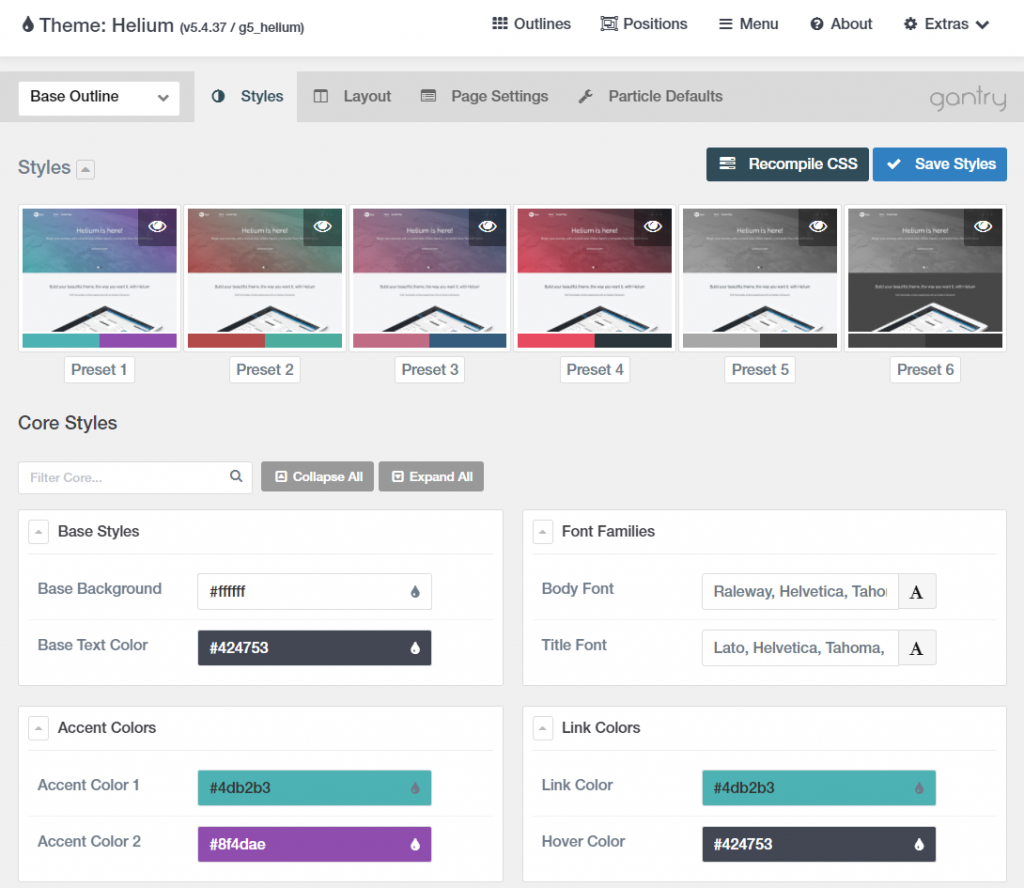
Now you have Gantry installed, it’s homepage will look like this:
Step 4.
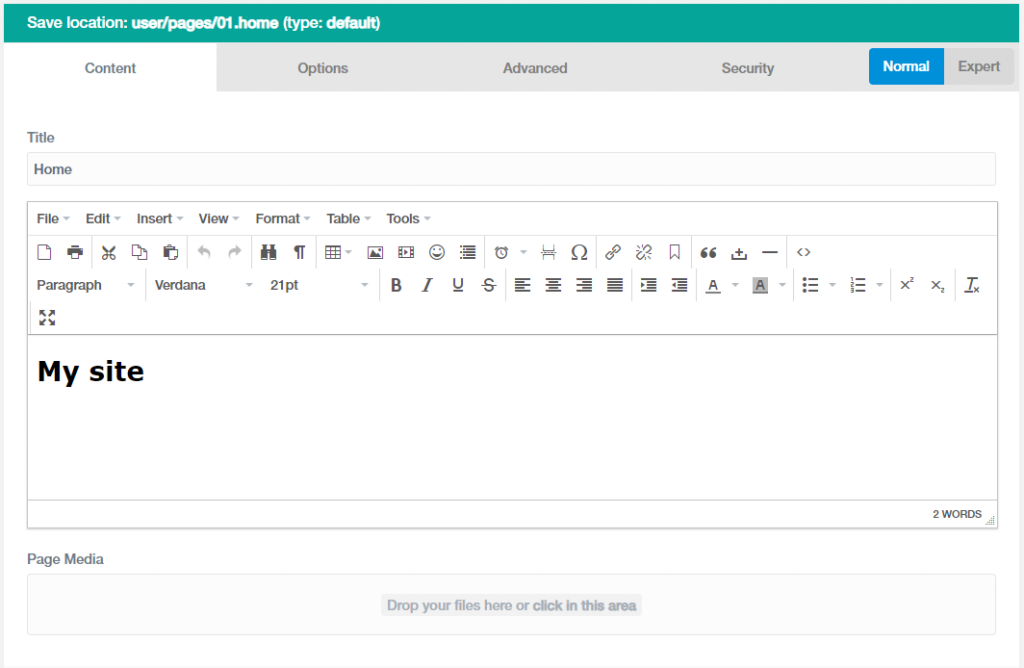
This isn’t Gantry-related, but to use a WYSIWYG editor in the Pages editor mode, install the TinyMCE Editor Integration.
You’re done and ready to start development!