
In this training, you will how to design tier 3 course graphics requests which are animated stingers and class pre rolls.
How to Edit the Animated Stingers
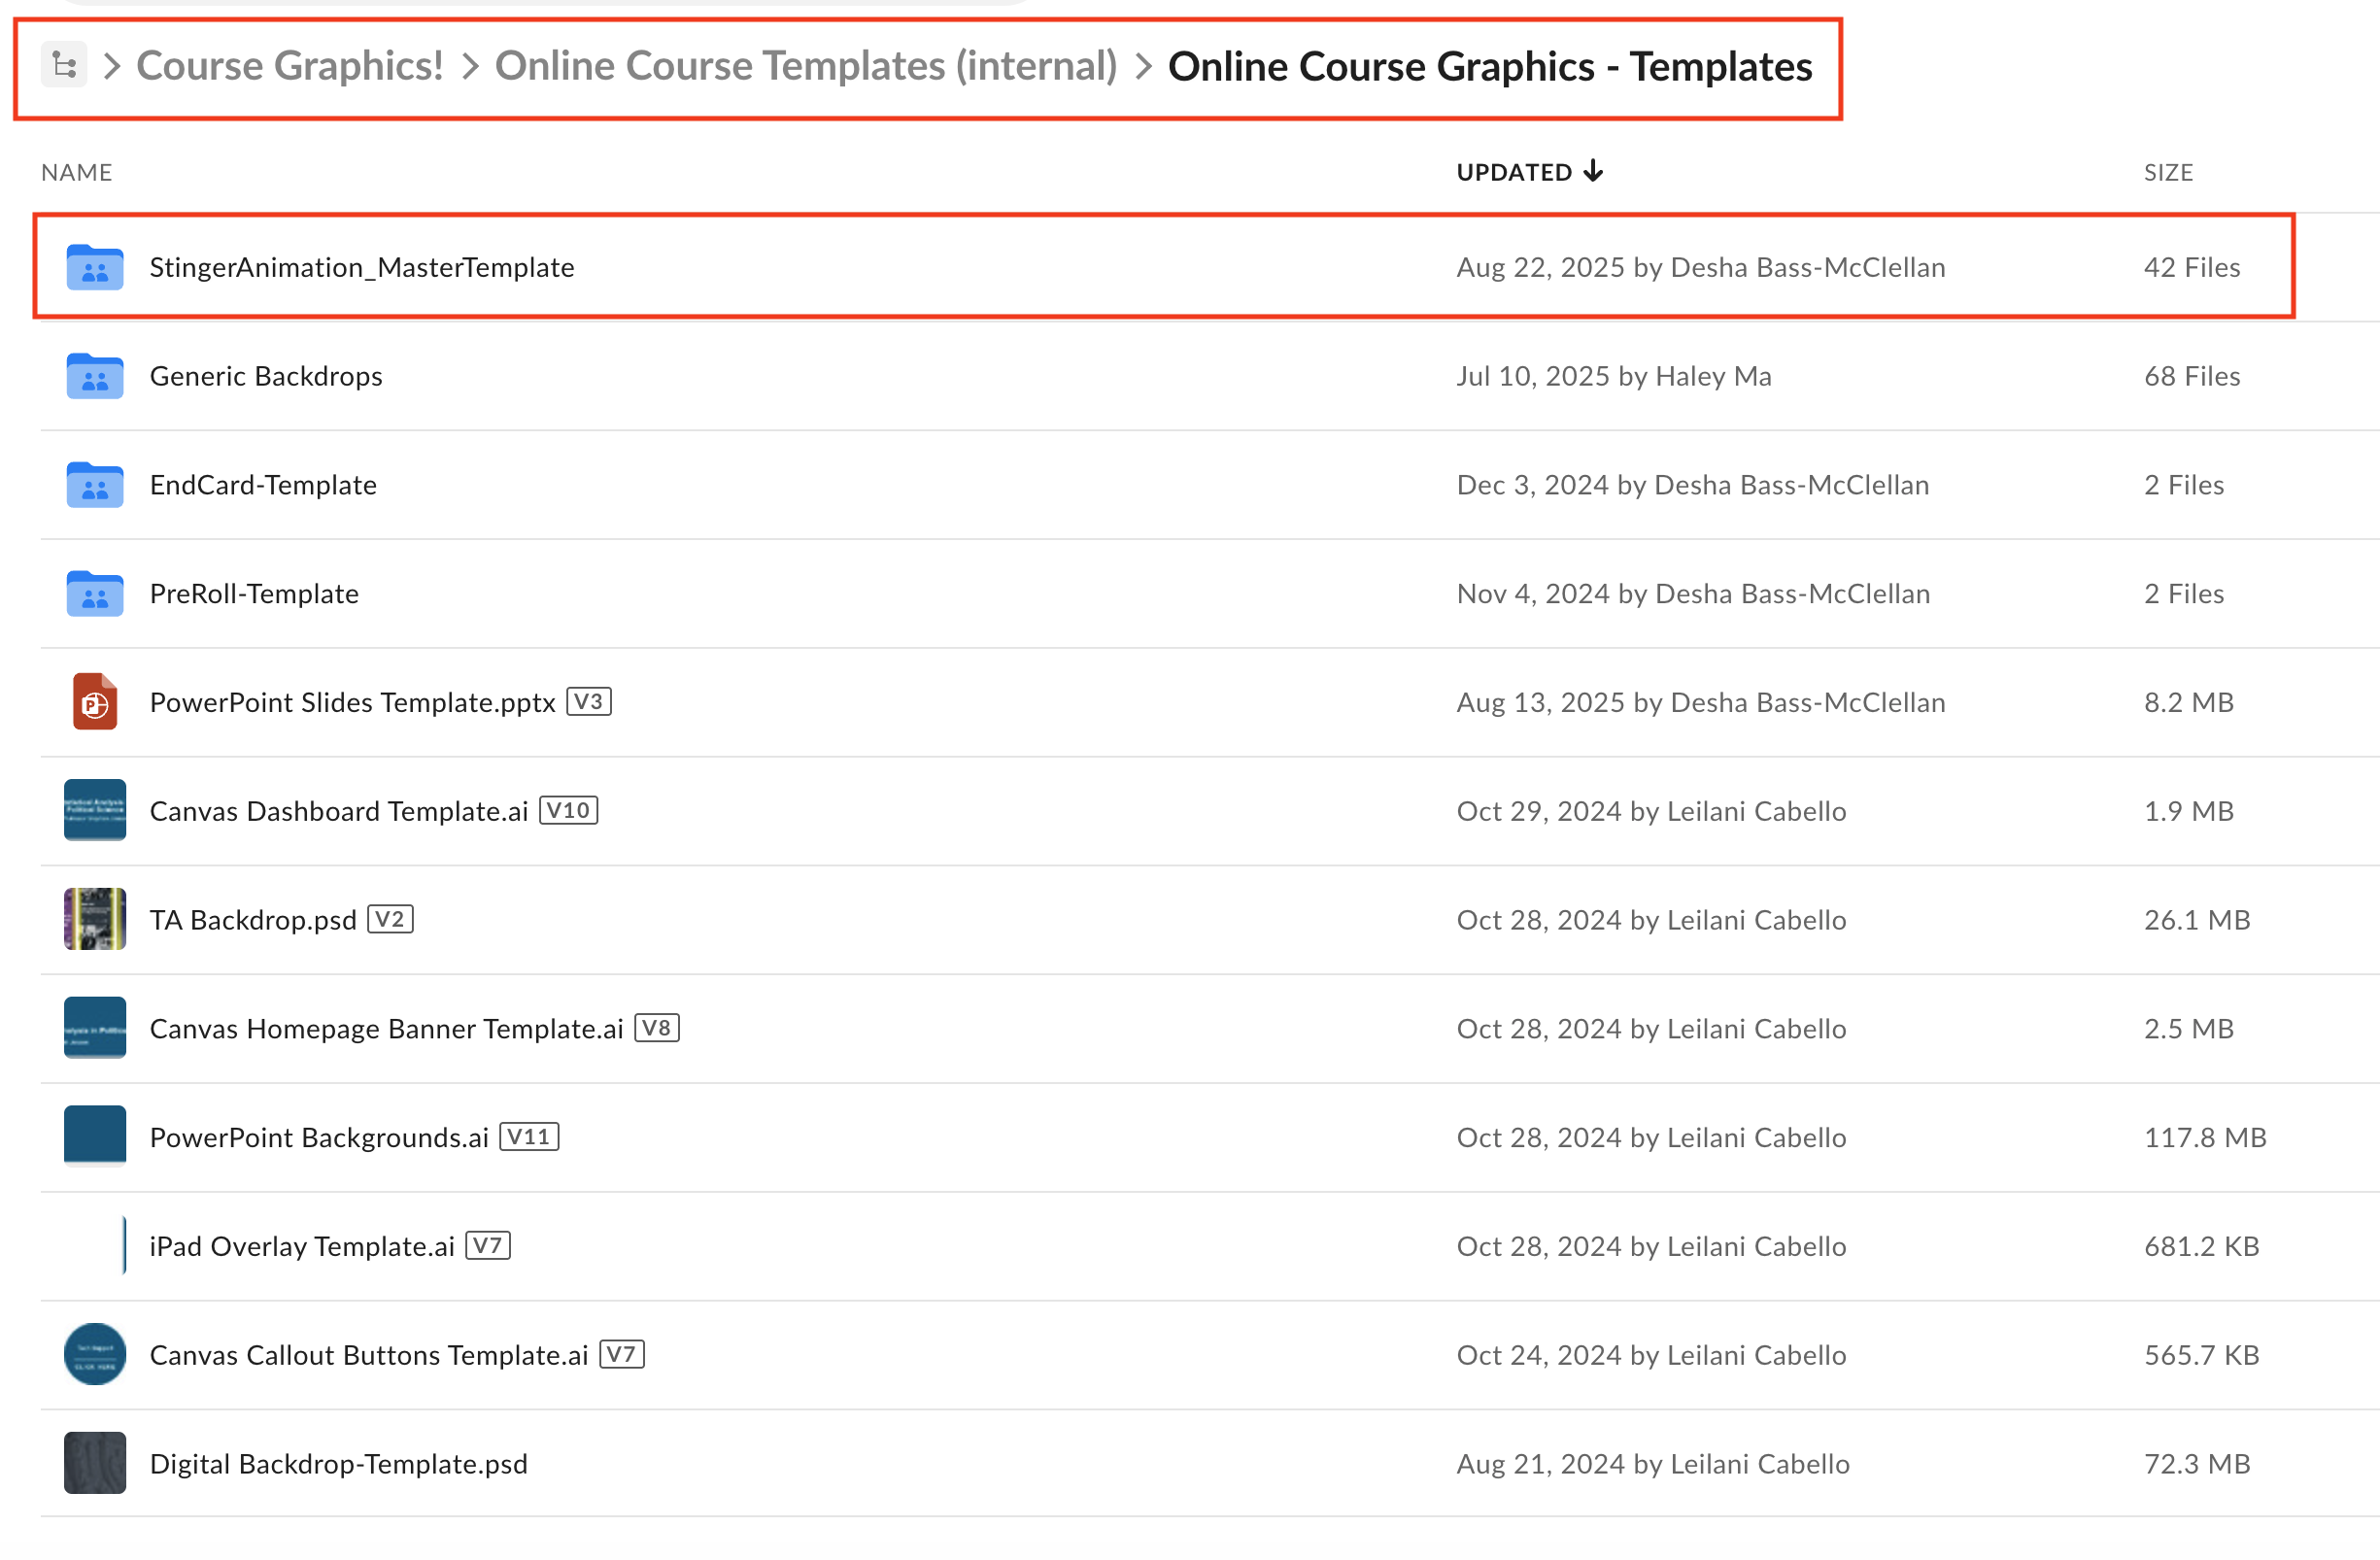
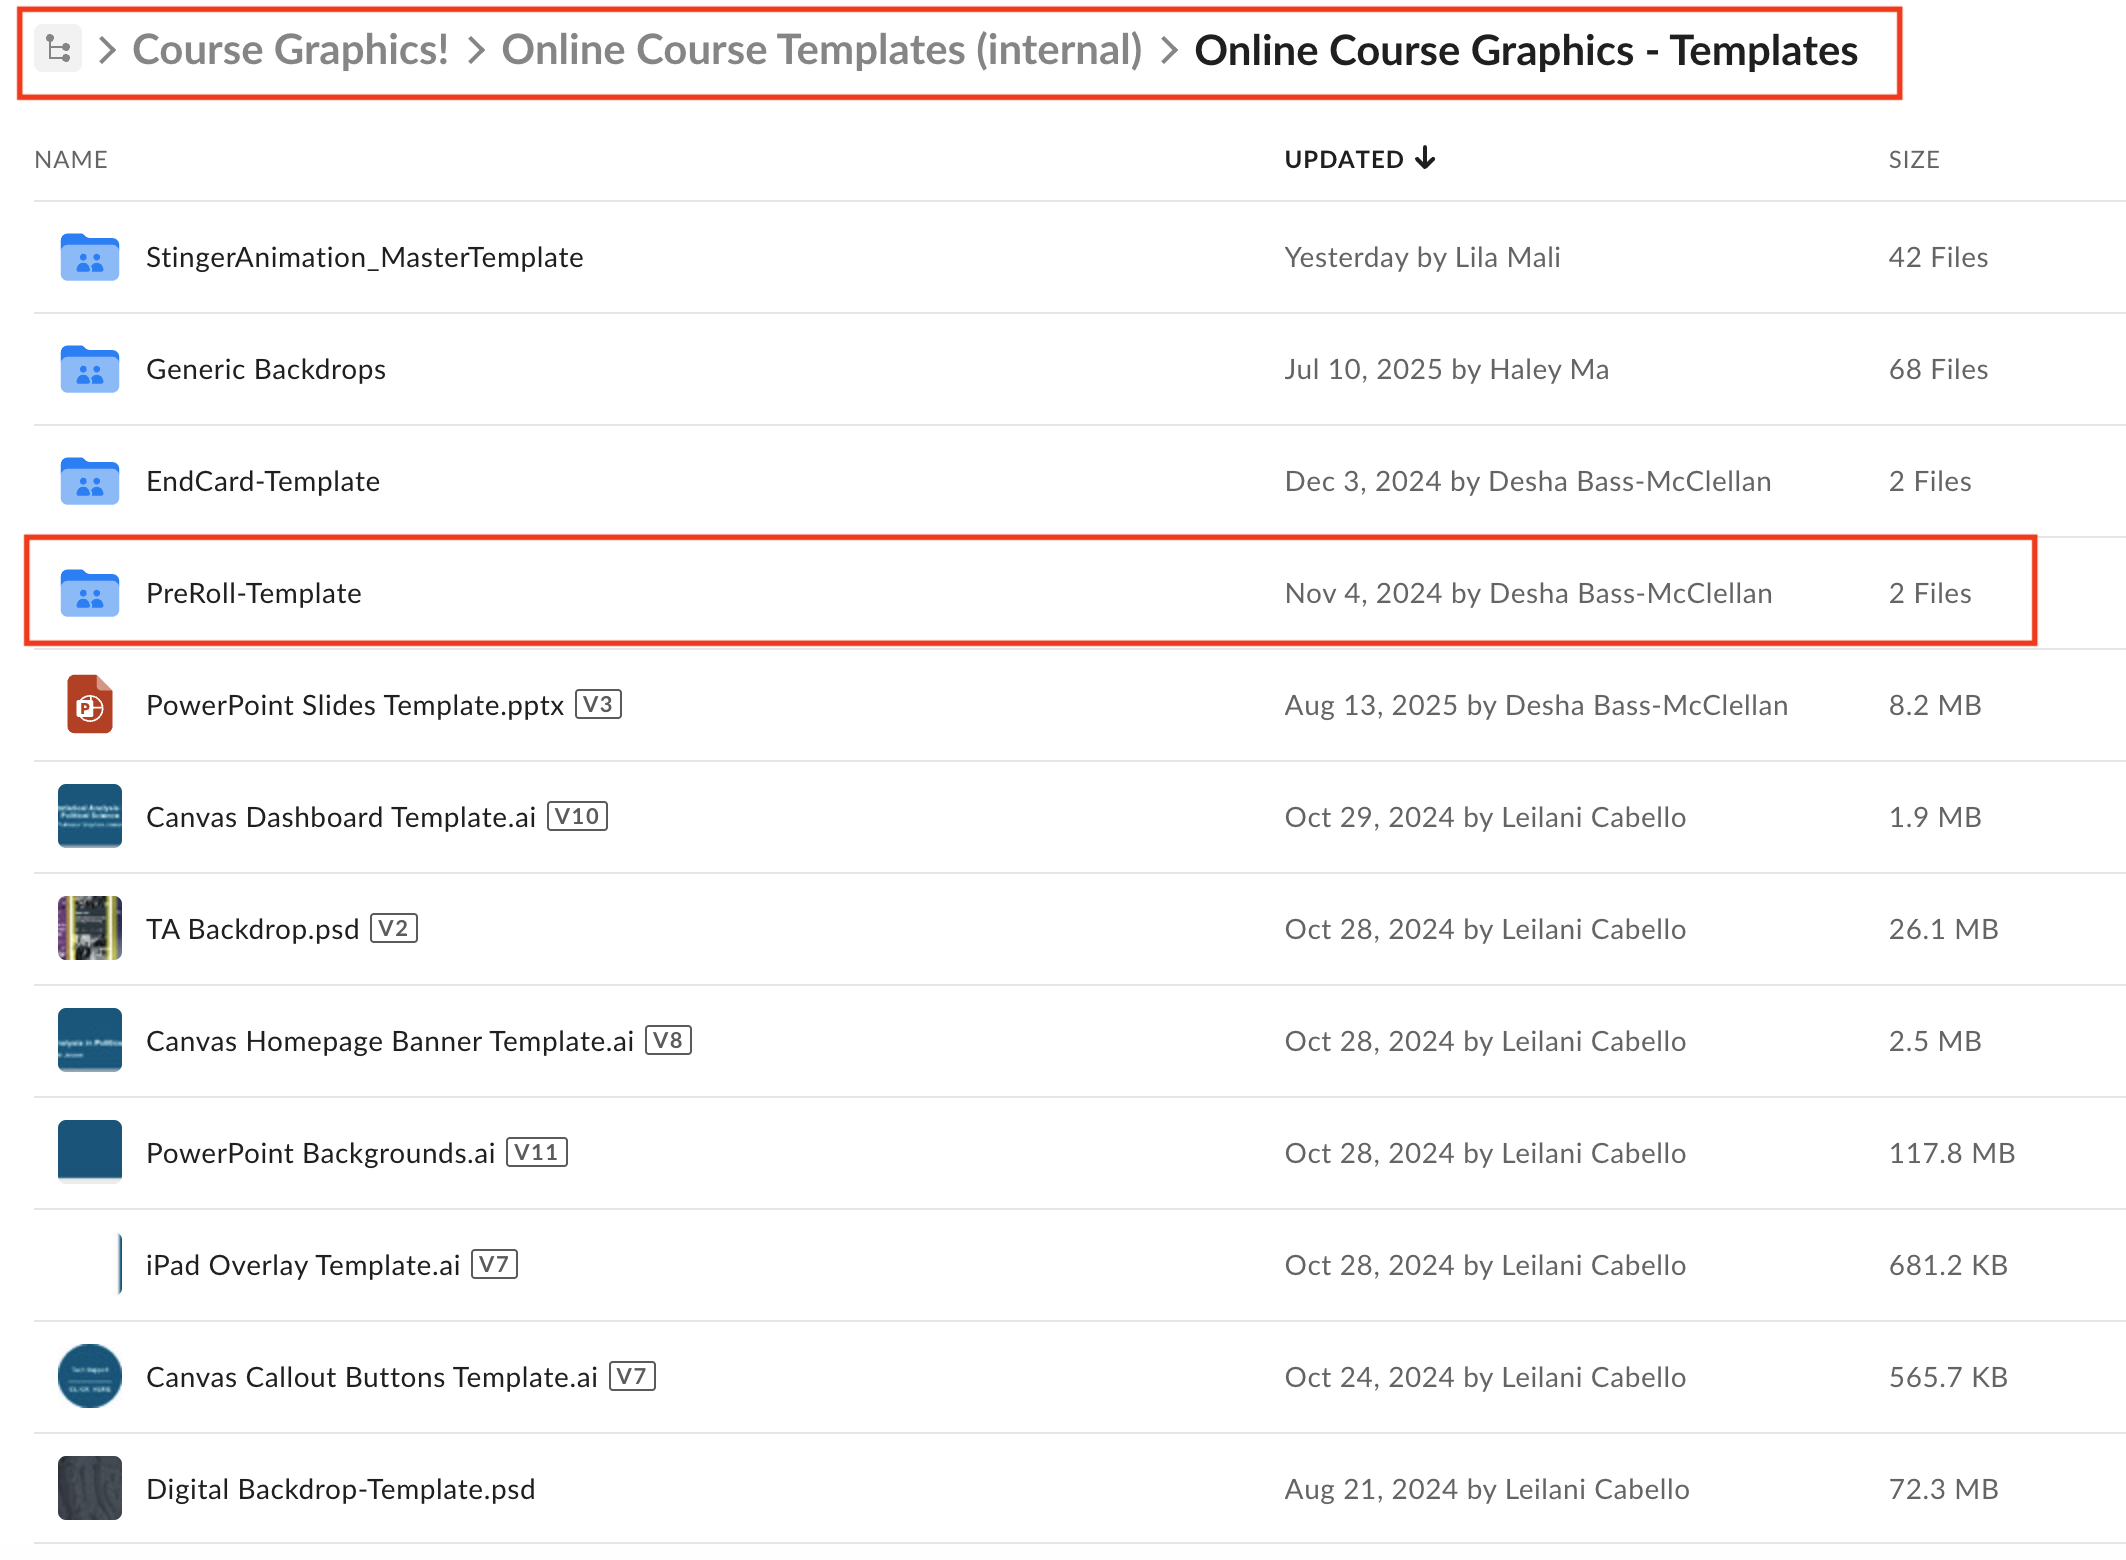
Course Graphics Templates folder
Go to the template folder and navigate to the Stinger Animation Master Template Folder
After you have created all of the course graphics for the course, it is now time to create the stinger animations.
First, it is important to make a list of all of the stinger animations that you will need for that course.
For this training, pleas export 2 stinger animations for Solid color and Custom Imagery graphics (export 4 total stingers)
Step 1
Open the AE file in the folder StingerAnimation_MasterTemplate > “Stinger-Animation.aep”
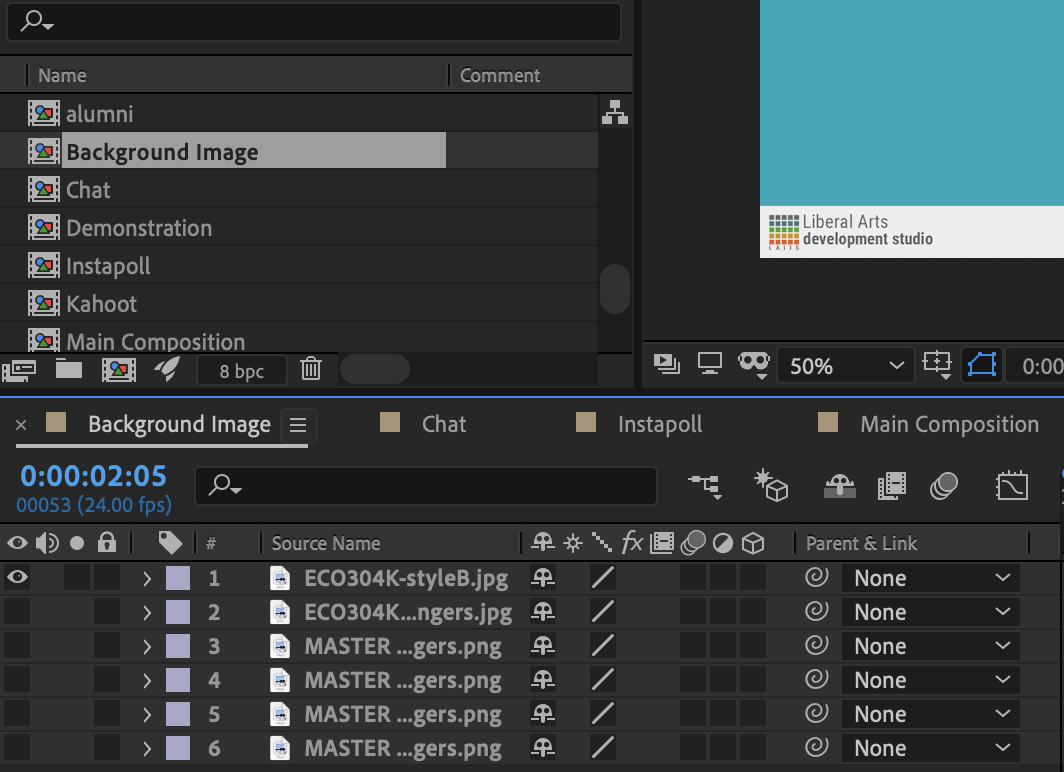
Step 2: Background
Drag in the blank powerpoint background that was created for the course.
For Style B courses, you will need to make a new background that is solid colored.

In AE, locate and open the “Background Image” Composition and add the new background image into the composition. Make sure the one you added is the only one visible.
Step 4: Main Composition
The Main Composition is where the entire animation is created. Based on the stinger animations that you will need, there are labeled compositions for each stinger available. Make “visible” the stinger animation you would like to use.
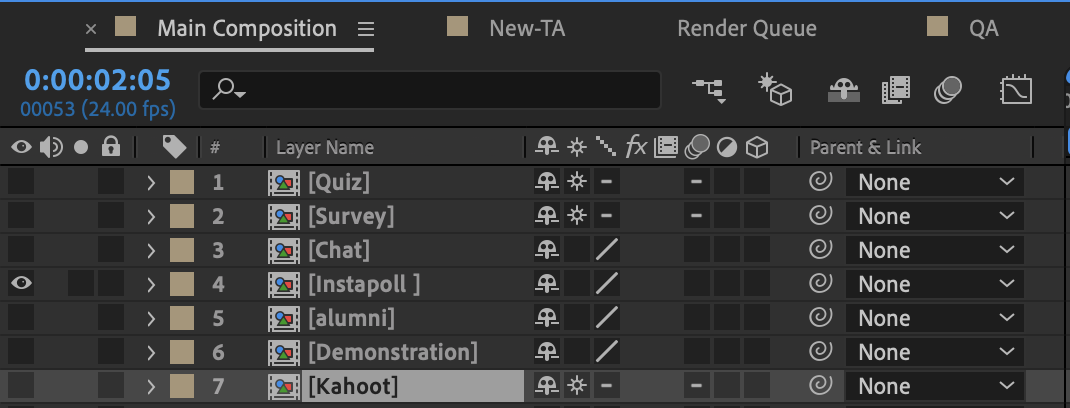
If you don’t see the animation you need for a course, please let your Team Lead or Manager know.
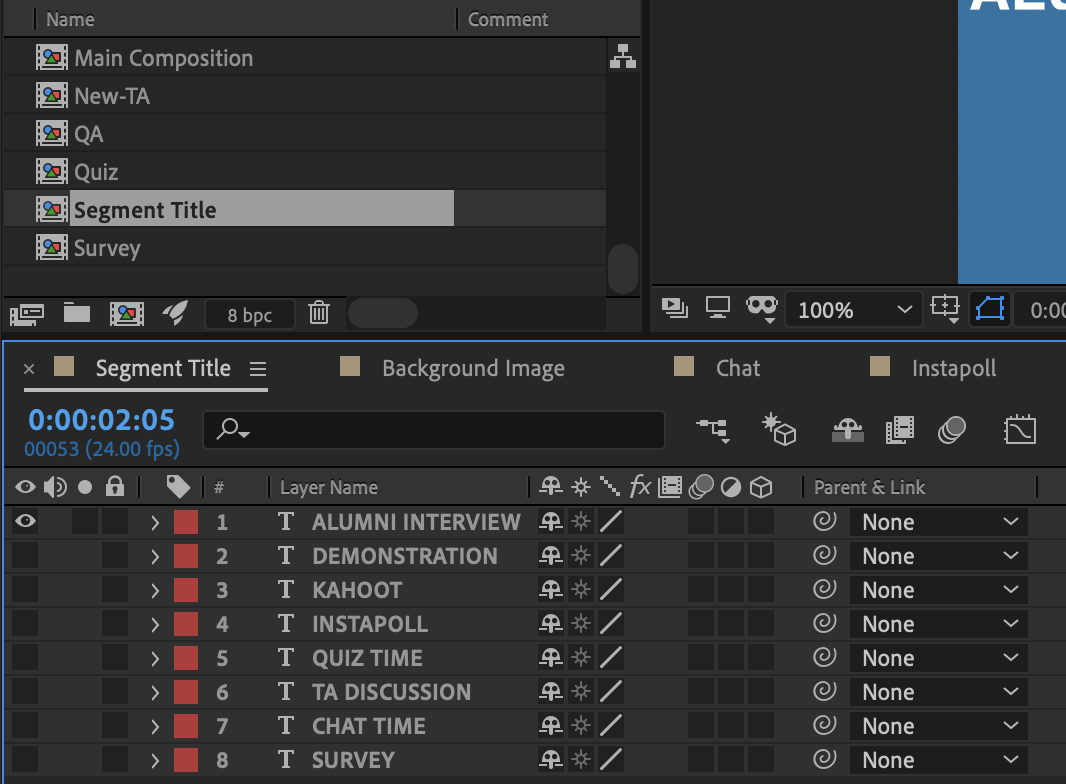
Step 4: Segment Title
Based on the animation stinger you have selected, now you want to open the “Segment Title” composition. Within this composition, you want to make “visible” the corresponding stinger title.
Step 5: Render Animation
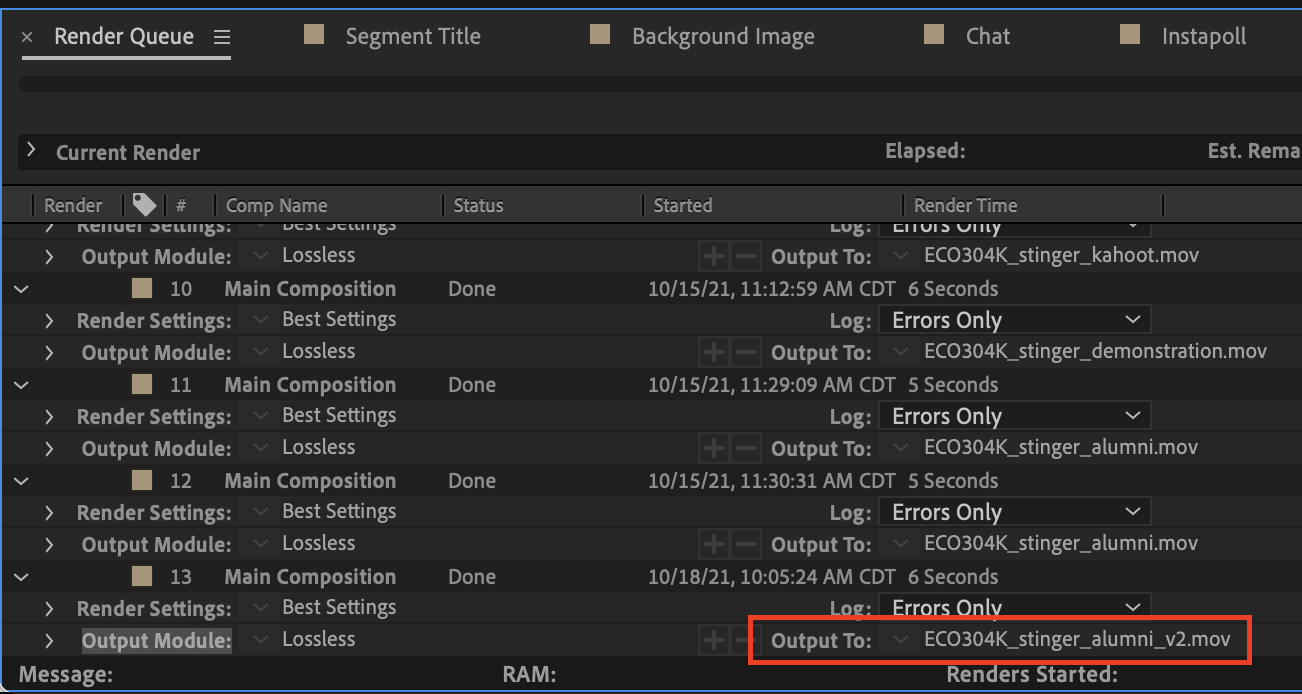
Return to the main composition. Play through the animation to make sure the video plays smoothly. Now it is time to render, aka export, the animation.
While still in the main composition, select File > Export > Add to Render Queue.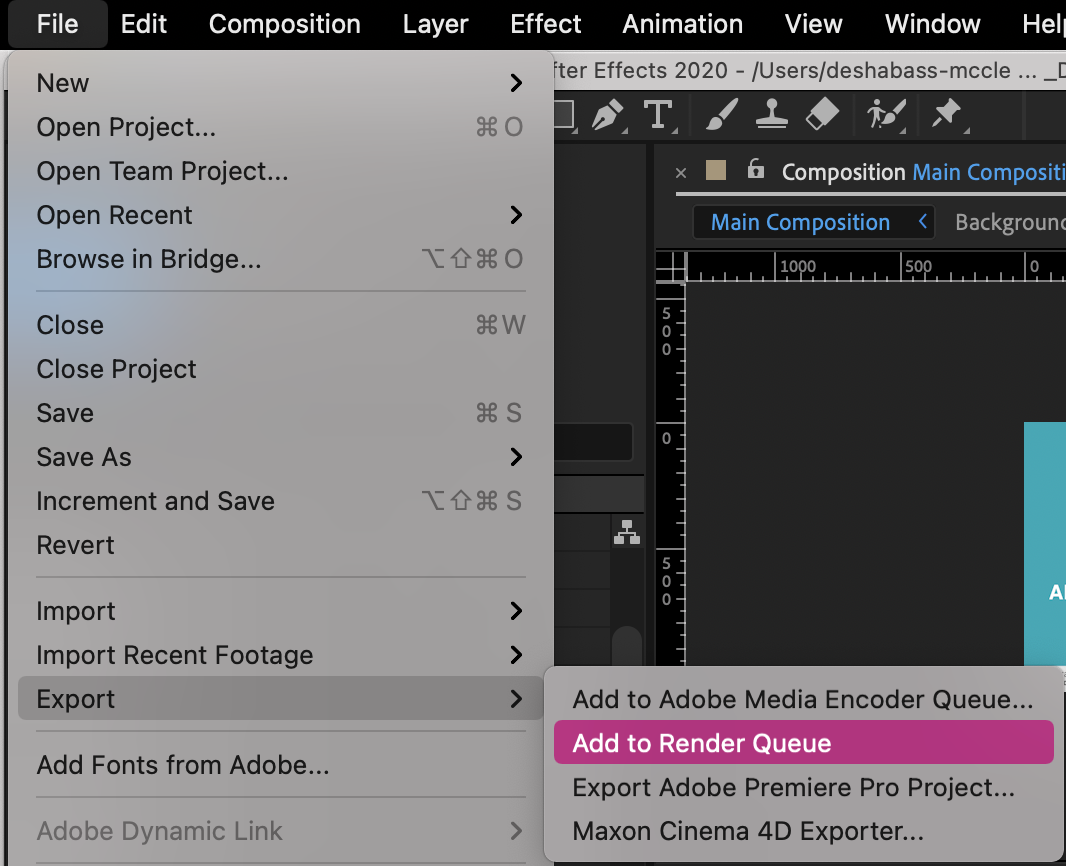
Now go to the render queue tab. Your new render should appear at the bottom of the file. Make sure that you change the “Output To” the right file naming conventions and the place you want to rendered video to go.
Step 6: Export as a .mp4
The video is now in a .mov file, but we want it to be a .mp4. Open up the “Media Encoder” Application on your computer.
Drag and drop the .mov file into the Media Encoder.
Make sure it is set to H.264 and High bitrate. In addition, make sure it will go to the desired folder.
Press the green play button to render the animation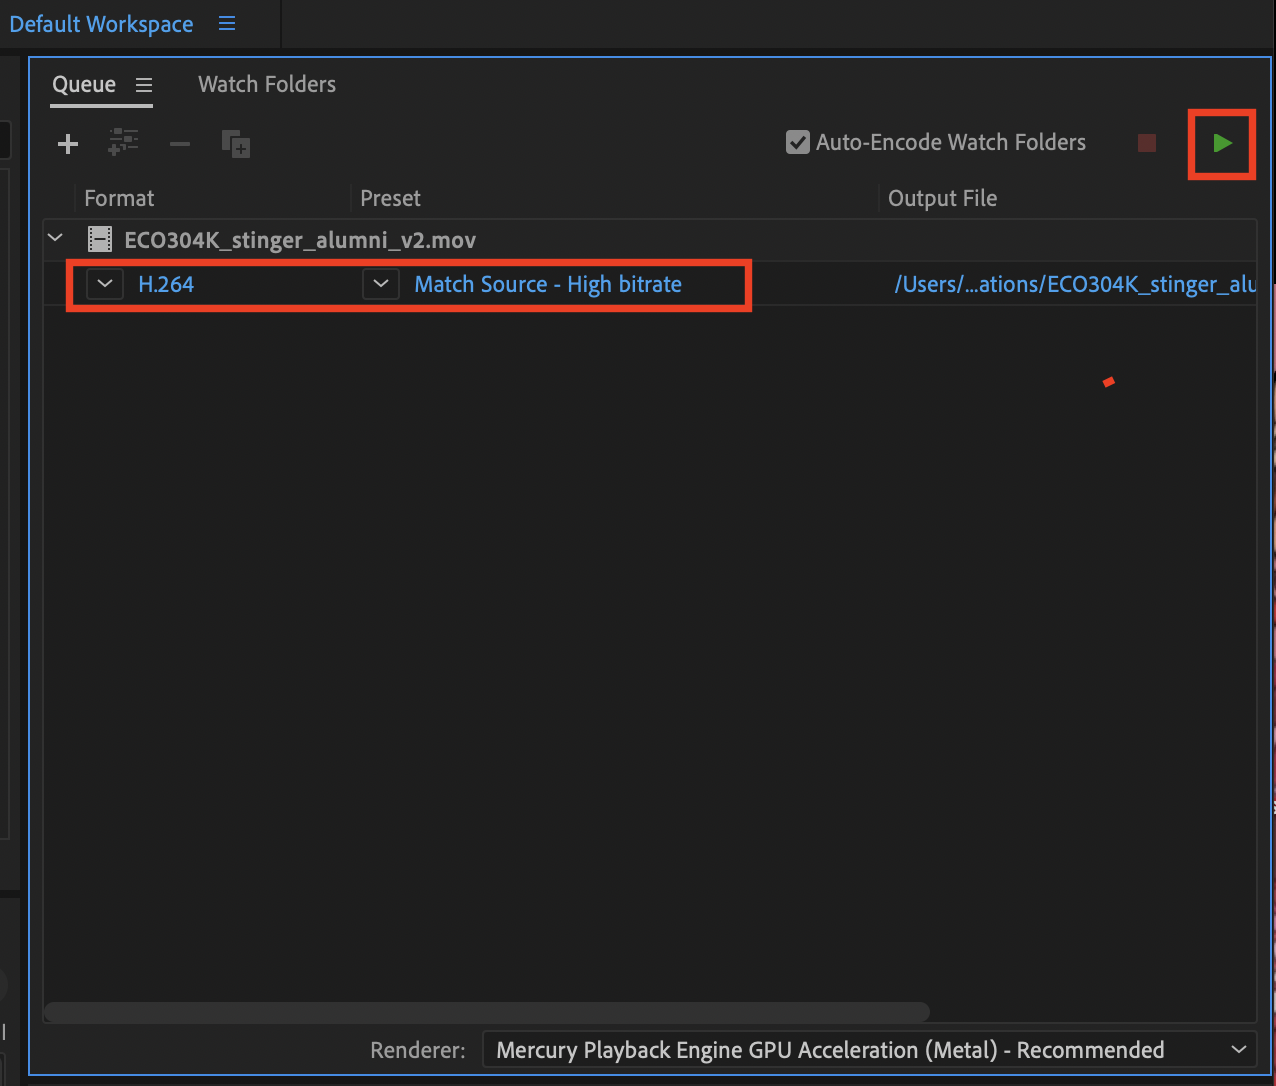
Addendum: Changing Fill Colors of Text and/or Icon
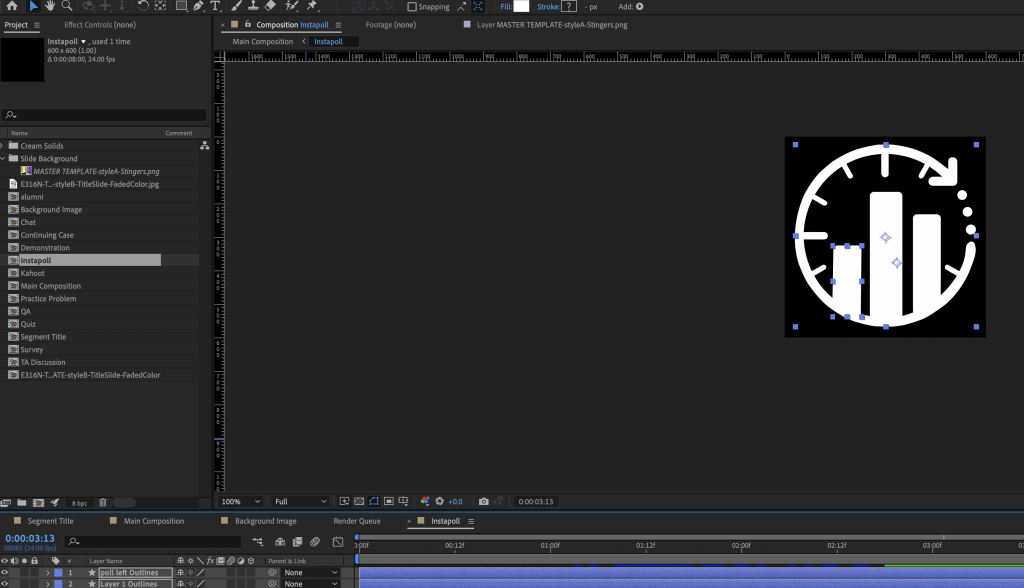
When you are using a light background, you might want to change the icon and text to black or another color to ensure contrast. In order to do this in Aftereffects, first click on the icon (e.g. Instapoll). This should bring you to a separate window. Use your mouse to select all of the icon and navigate to the fill icon on the top bar to change it.
For text, the process is more straightforward. Just double click on the text in the main composition to bring up the segment title window. From there, you may highlight the text and pick a new color.
Step 8: Final
The animation is now ready to be shared. Make sure that you have used the correct filing conventions. If you are unsure, ask you manager or project lead.
Upload the 4 total mp4’s (2 for Solid Color Graphics, 2 for Custom Imagery Course Graphics) onto Basecamp for approval.
Use a screenshot of your stinger animations
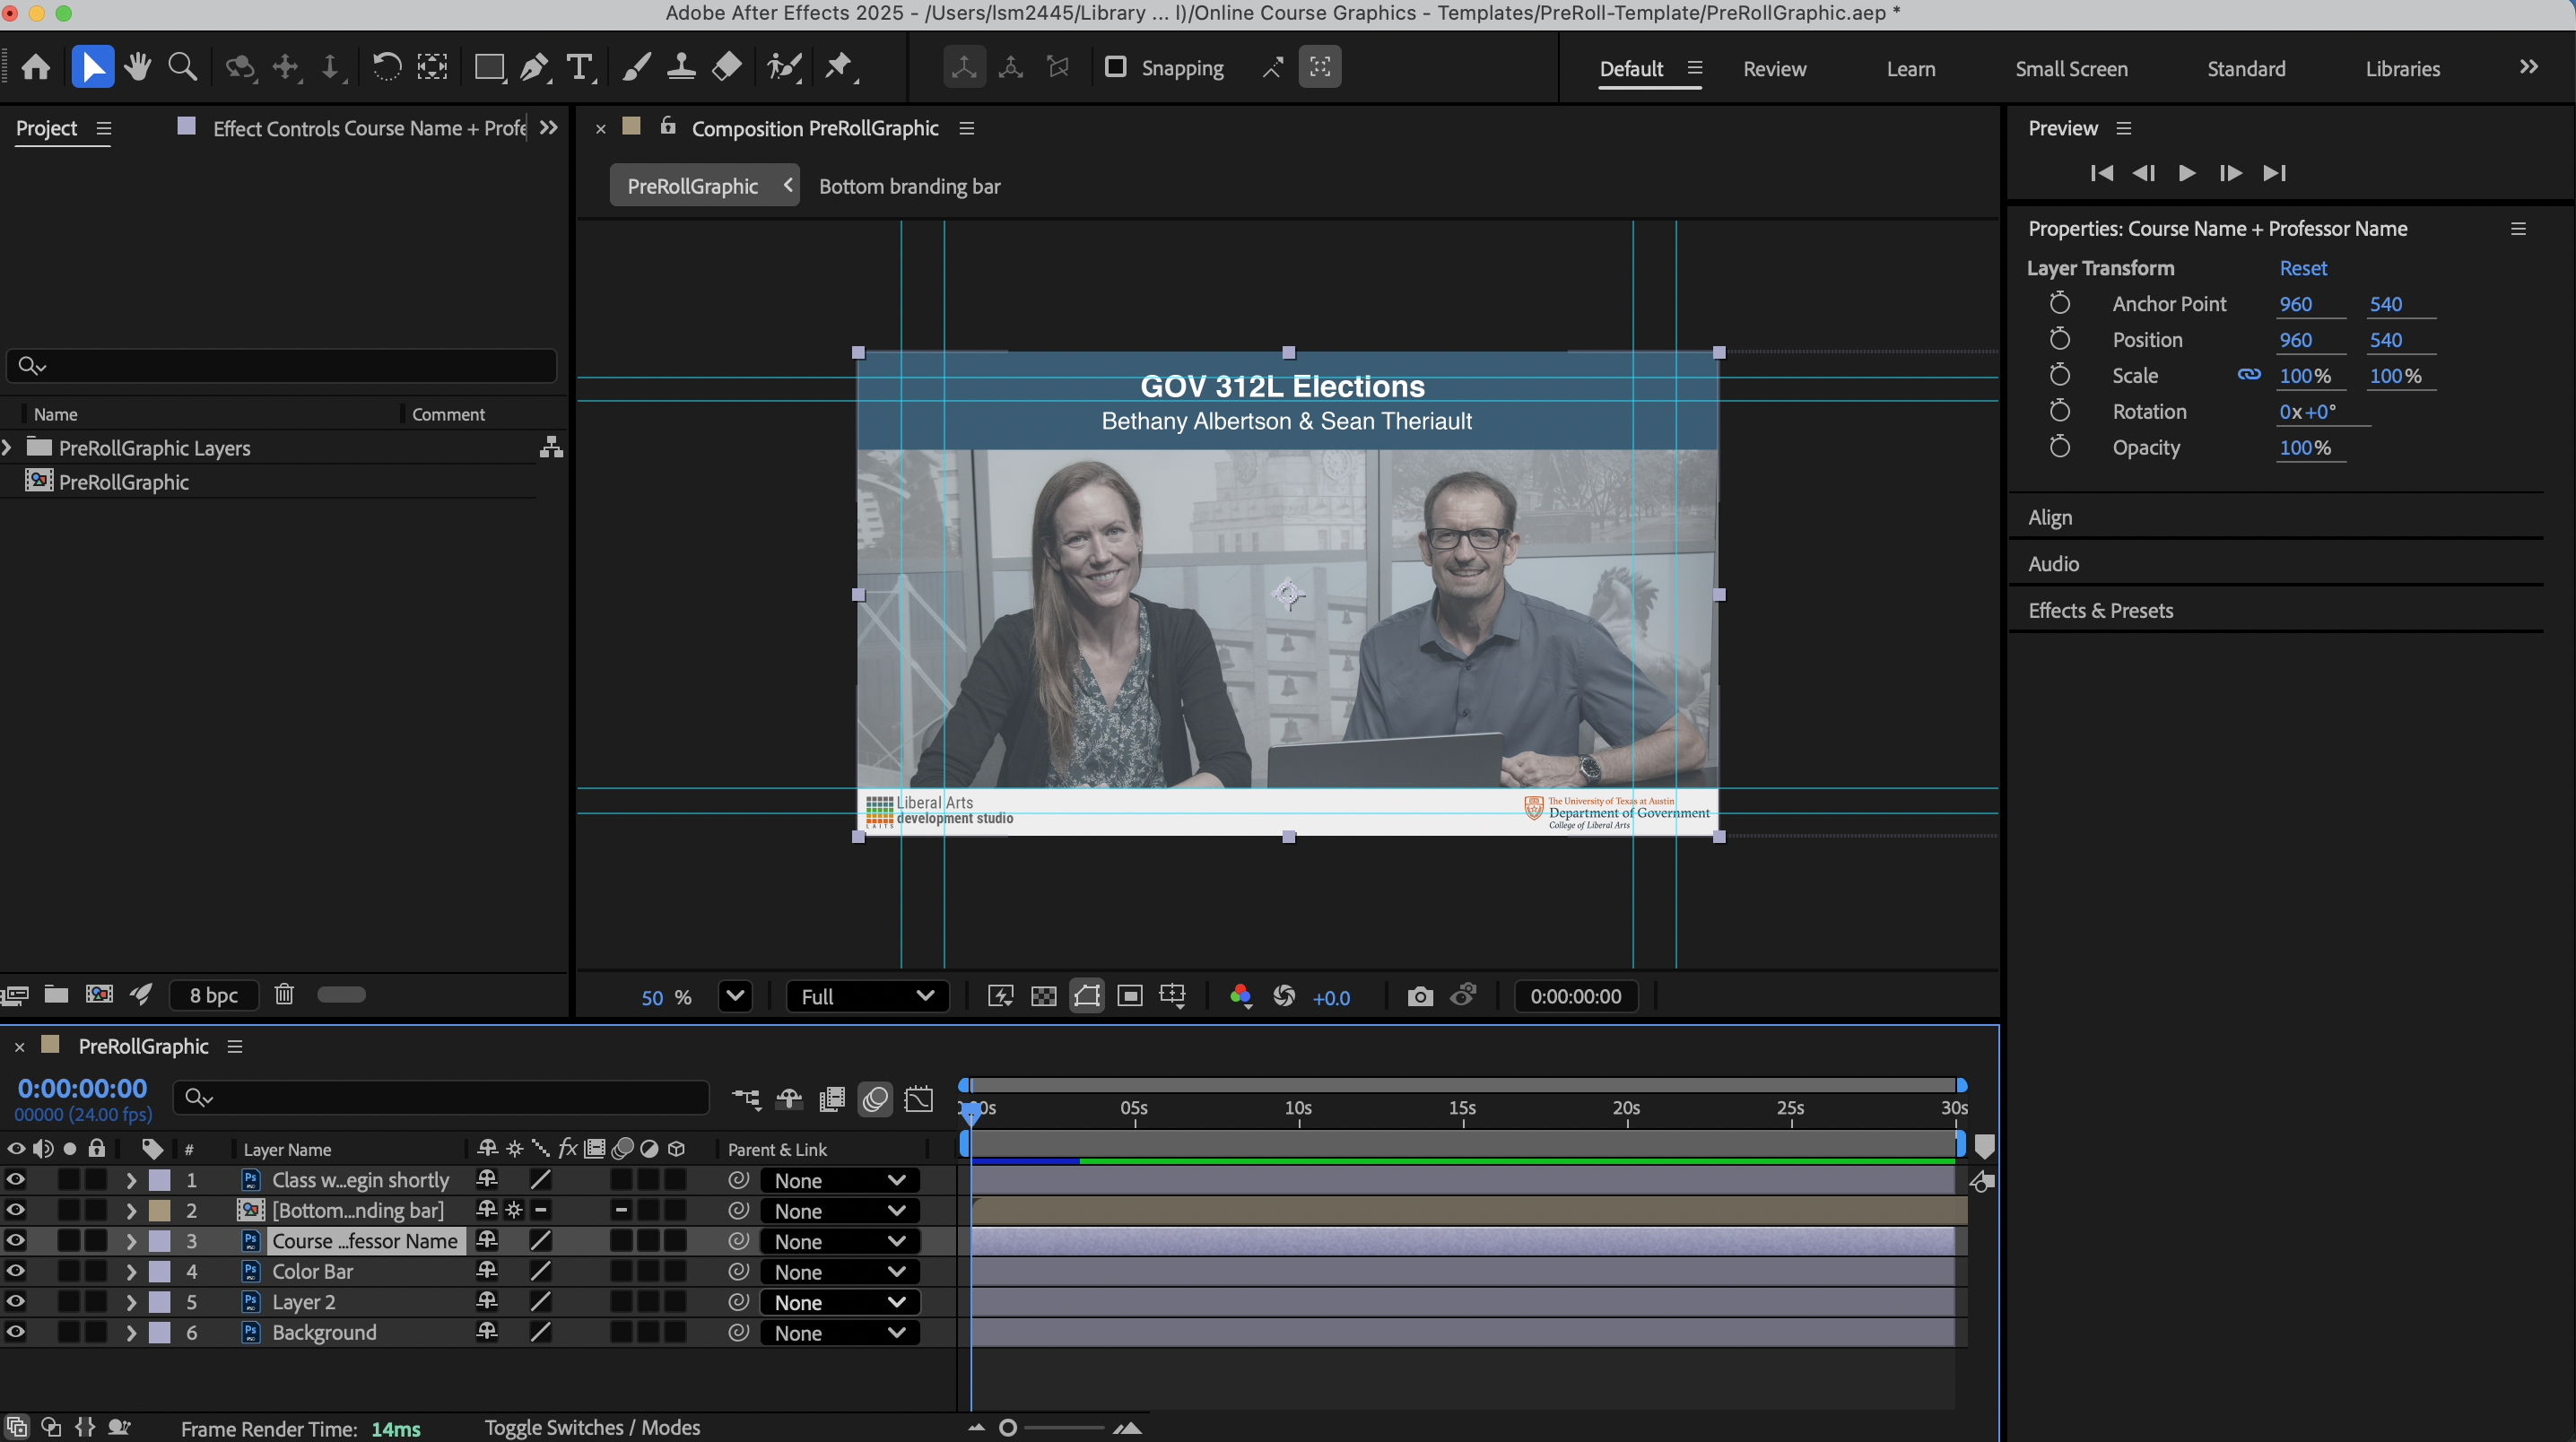
Animations: Class Pre-roll
Course Graphics Templates folder
Go to the template folder and navigate to the Pre-roll template Folder
The Pre-roll animation has 2 files and a folder, one with the Pre-roll graphic Photoshop file, and one with the Pre-roll After Effects file. For this training you will need to download both but will be working in the After Effects file. No need to download the folder.
Download and open the template in After Effects. Go to File > Save As and rename the file to your “coursename_PreRoll (EX: ADV319_PreRoll). Do the same with the photoshop file.
For this animation, all you need to do is replace the background image, the color of the top bar, and the course title text.
Step 1
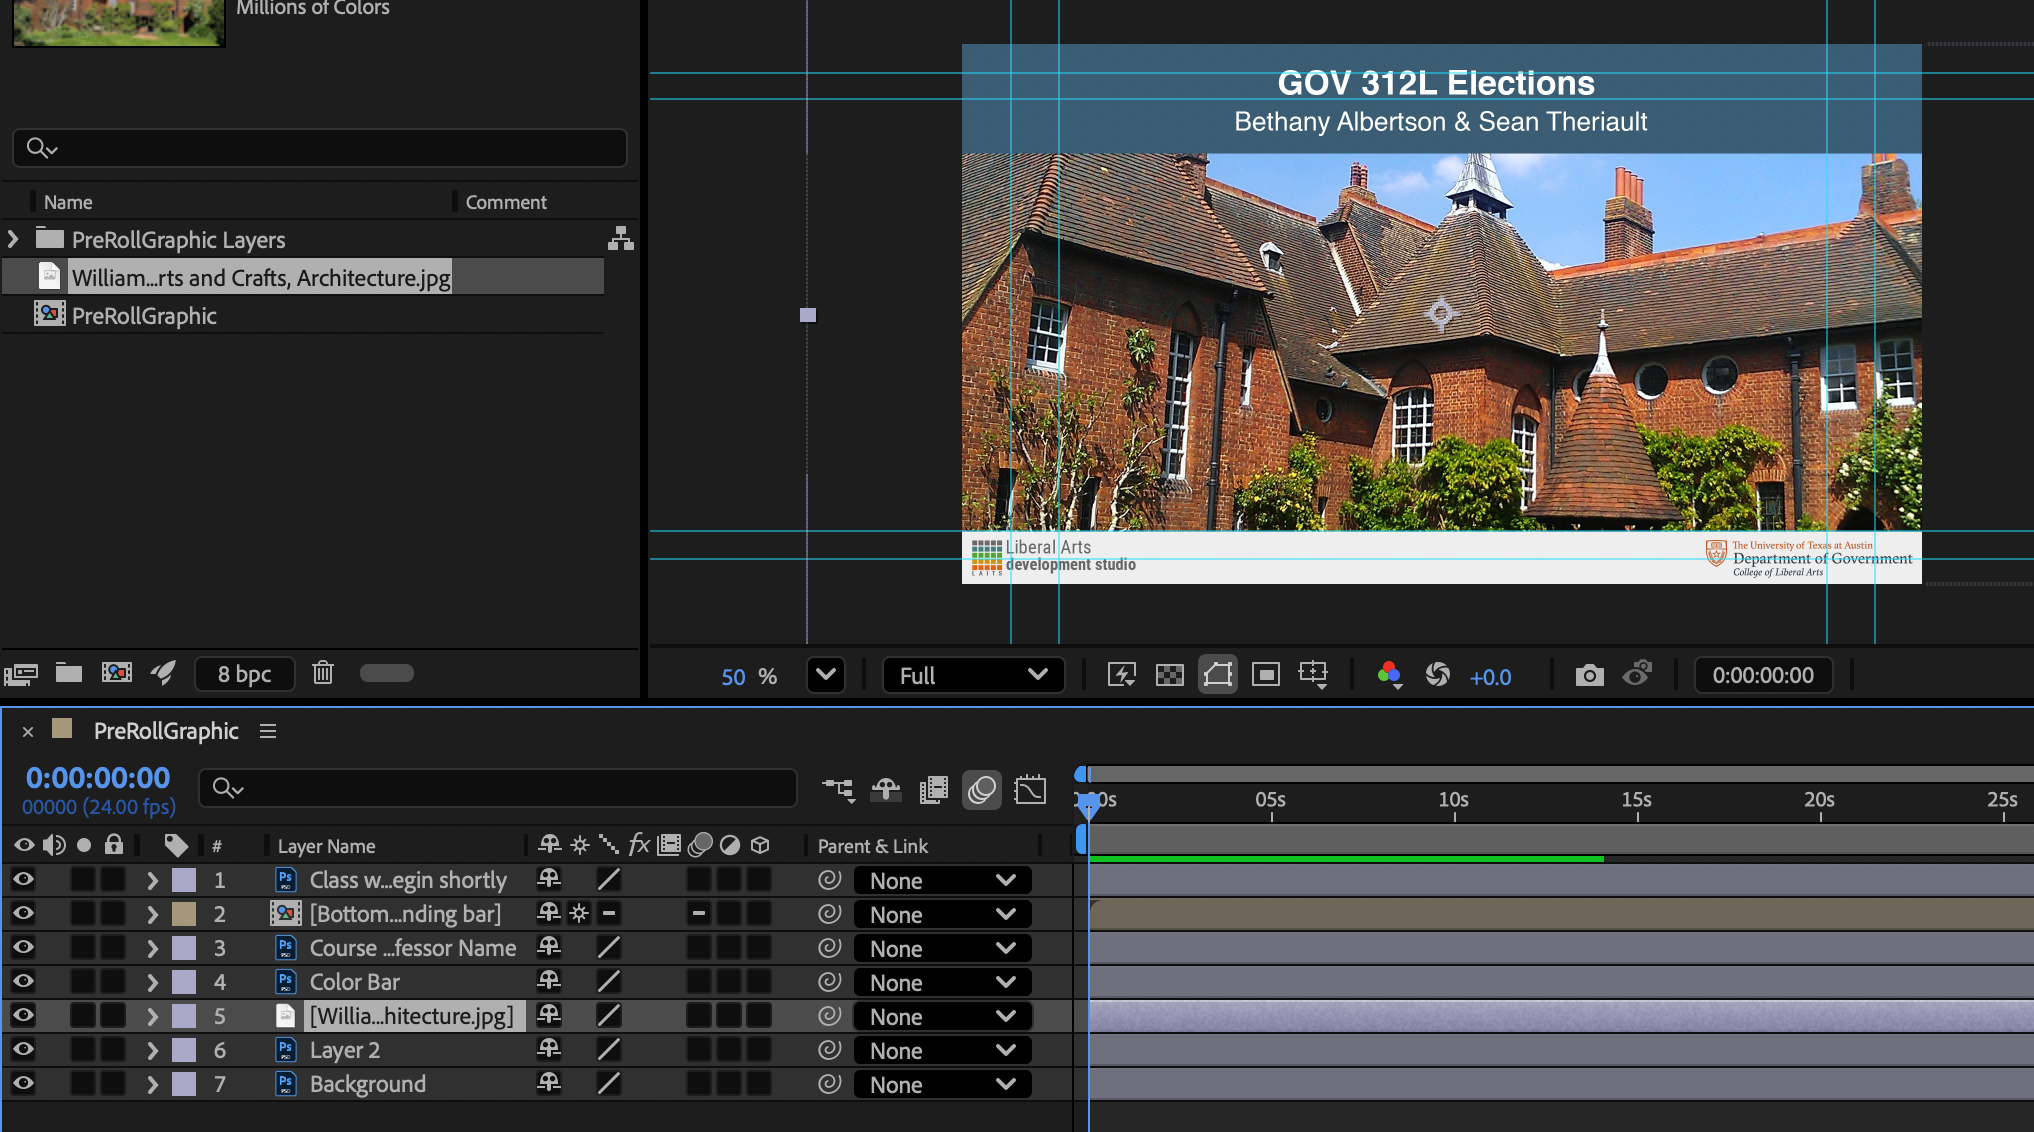
First replace the background image by importing an image of your choice. You can do this by either dragging and dropping into the timeline or going to File > Import > File.
Feel free to edit this image in photoshop with a color overlay or any other effects to fit the pre roll. Make sure your imported image is below the color bar and above the Background layers. Hide or delete the “Layer 2” layer in the timeline.
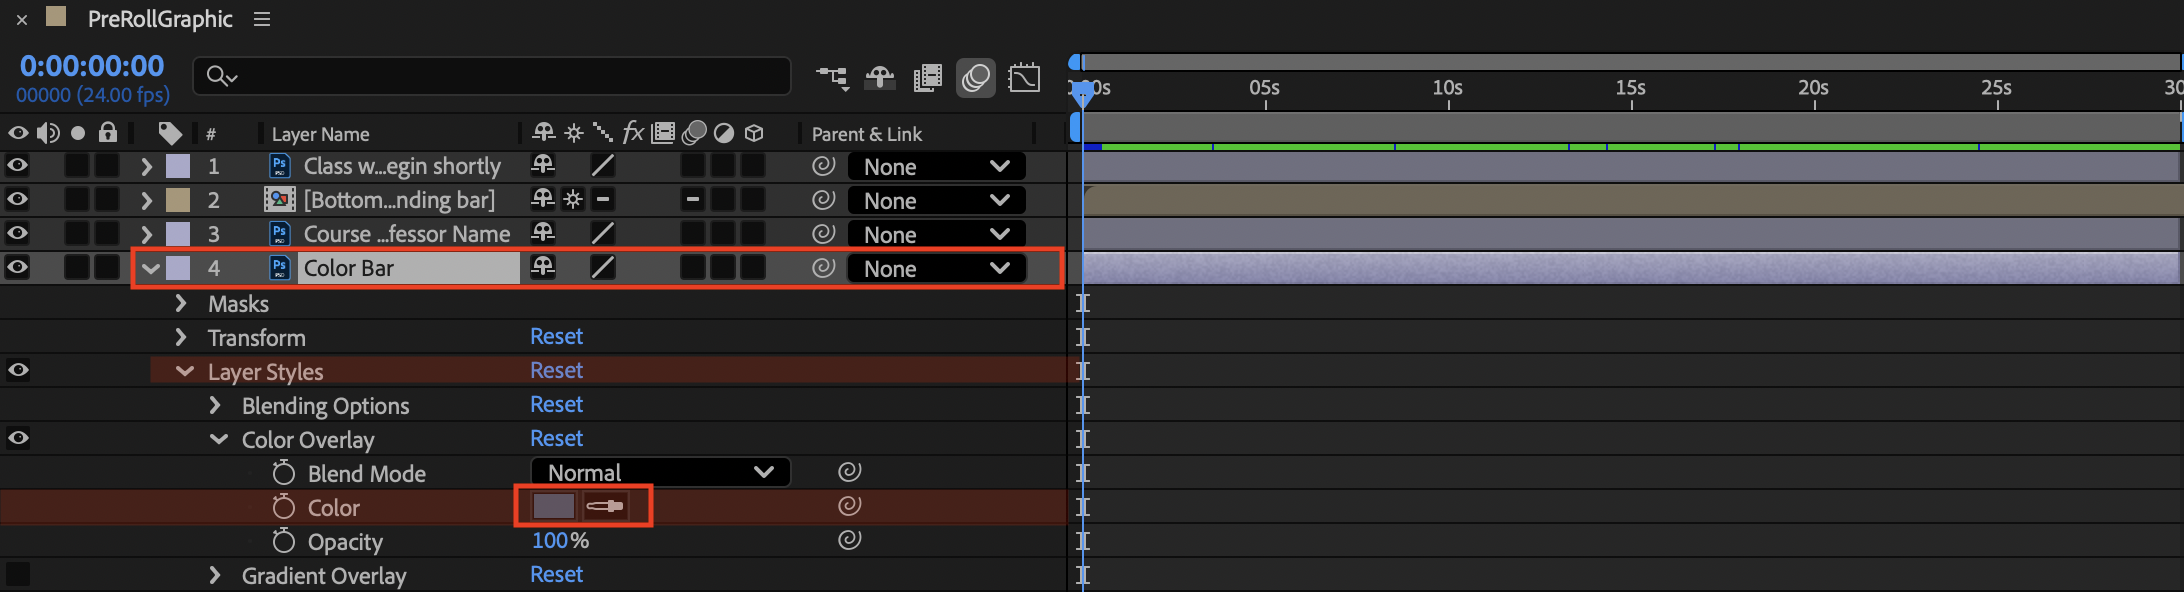
Step 2
Replace the color of the colored bar by clicking the arrow on the color bar layer. This will open the editing options for the layer. Proceed by going to Layer Styles > Color Overlay, and then editing the color effect by double clicking the colored square in the color effect layer.
Step 3
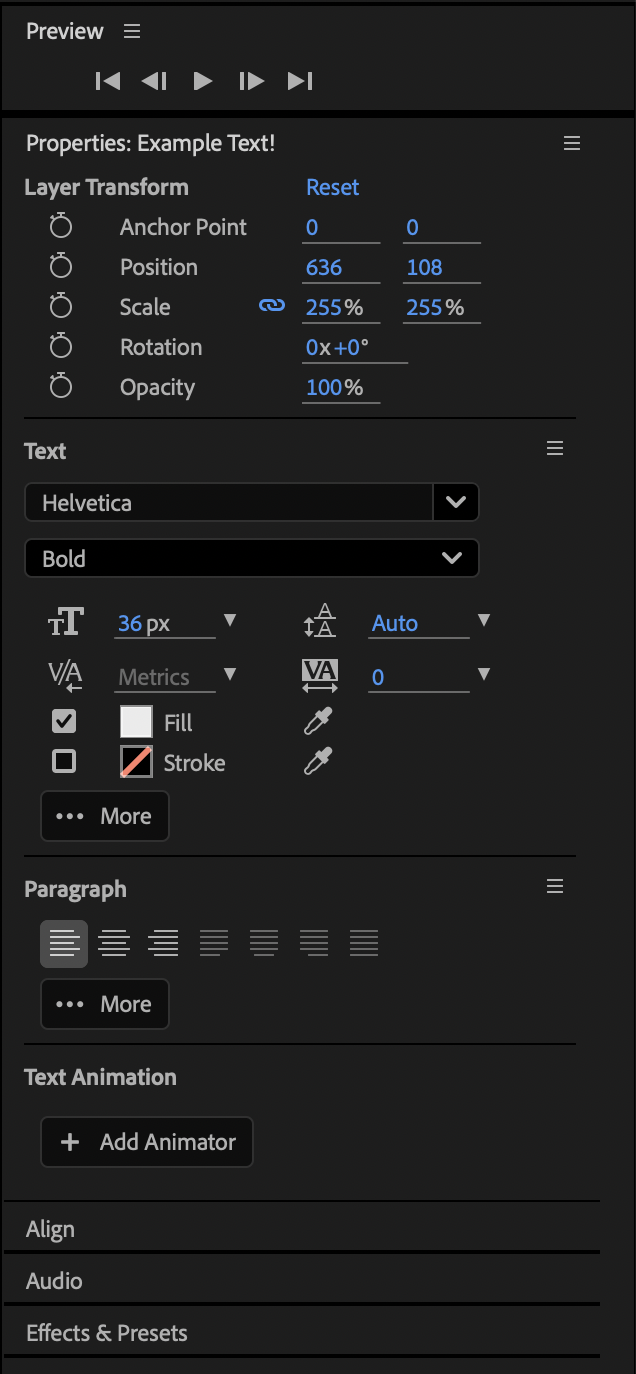
Change the title text by hiding the “Course Name + Professor Name” layer. Go to the text tool at the top and click on the scene where you would like to place your text. Center the text on the color bar the same way as the original text. The font we use for the title is Helvetic Bold and Regular.

To adjust the properties of your font, use the properties panel which should be on the right side of the workspace. If you can’t find it, go to Window > Properties
Step 8: Final
Export the animation by going to File > Export > Add to Render Queue. Adjust the output to be to your training box folder. The animation is now ready to be shared. Make sure that you have used the correct filing conventions. If you are unsure, ask you manager or project lead.
Upload the PreRoll mp4 onto Basecamp for approval.
