Making a PPT Template in Slide Master mode allows you to make a customized template that anyone can plug and chug their information into without having to worry about styling.
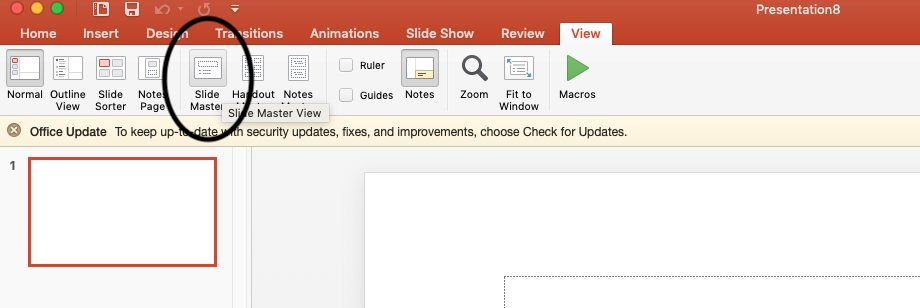
- Enter Slide Master view under the “View” tab in Powerpoint.
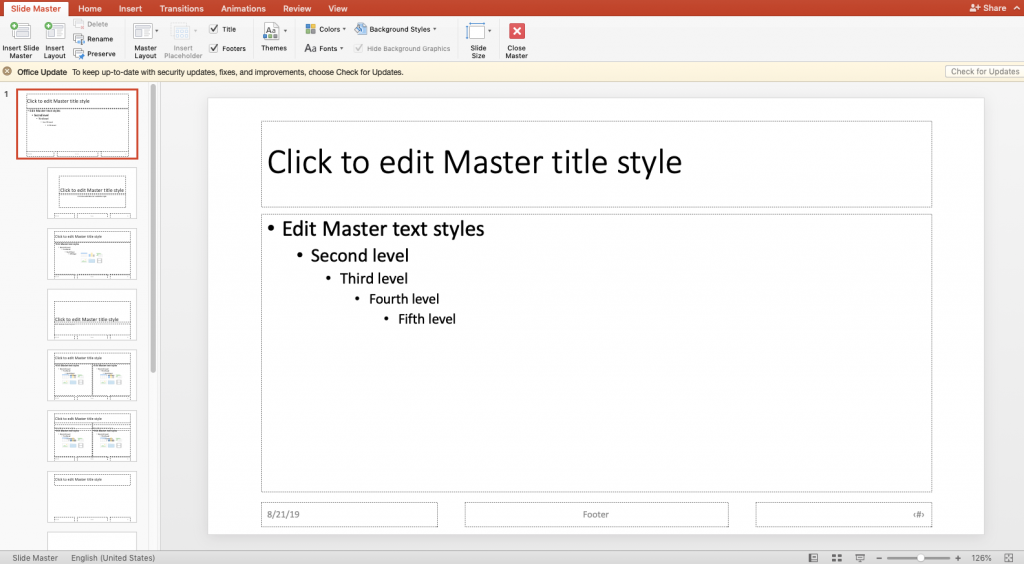
You will see a list of template slide versions. You can delete extra slide layouts at the end (right click > Delete) or add more (Insert Layout at the top). My template only had three types of slides, so I deleted the rest.
The content on this very first slide will appear on every single slide. Because each of my slide types had different formatting from the others, I deleted everything on this first Master slide and left it completely blank. If each of your slides has the same title, background, etc then this slide will come in handy.
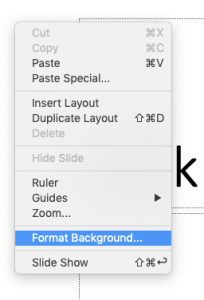
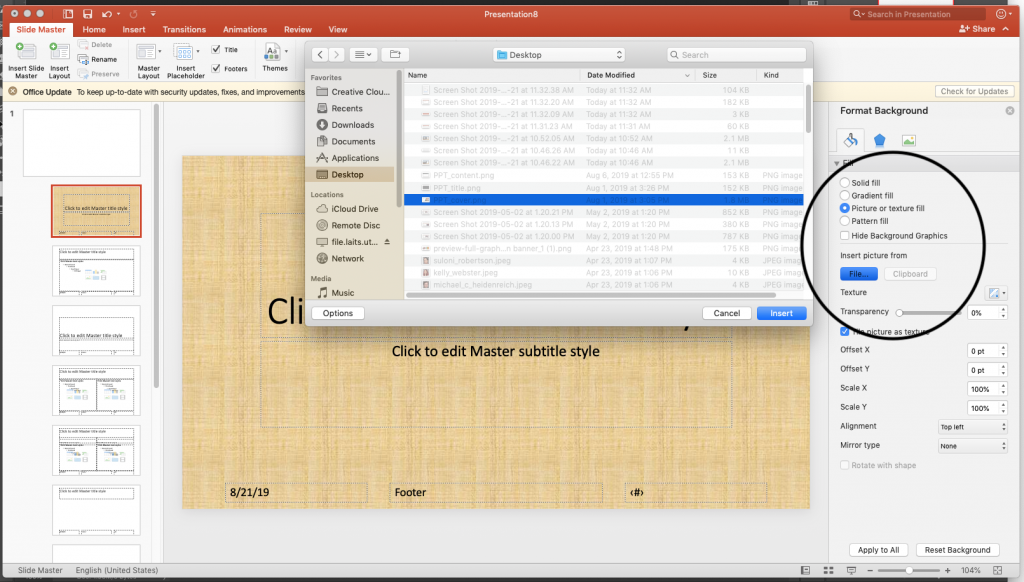
- Set up the background by right clicking anywhere on a slide and selecting “Format Background…”. When the sidebar appears, insert background PNGs by selecting “Picture or texture fill” and choosing your background image file.
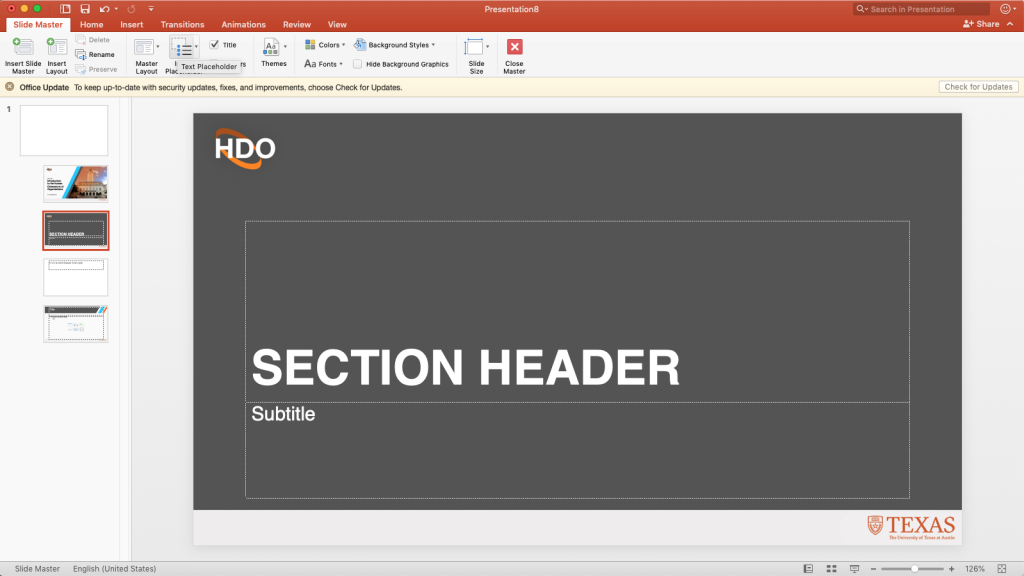
- Formatting elements you want the user to edit later – select “Insert Placeholder” on the top bar. Placeholders act as preformatted elements (font, color, placement) that the user can edit later. Placeholders can be textboxes, images, tables, etc.
I typed “SECTION HEADER” and “Subtitle” in these placeholders so the professor knows what information belongs where.
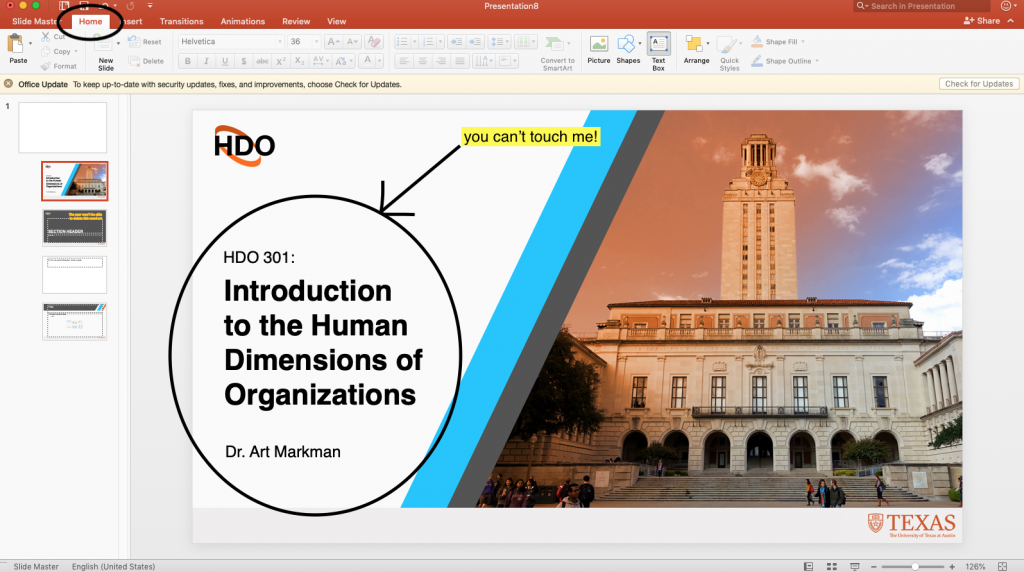
- Formatting elements you don’t want the user to edit – You can make these in Slide Master mode too. To do so, create any elements under “Home” or “Insert” tabs as you normally would. I didn’t want the professor to worry about the formatting on the cover slide, so I created the text in regular text boxes, not placeholders.
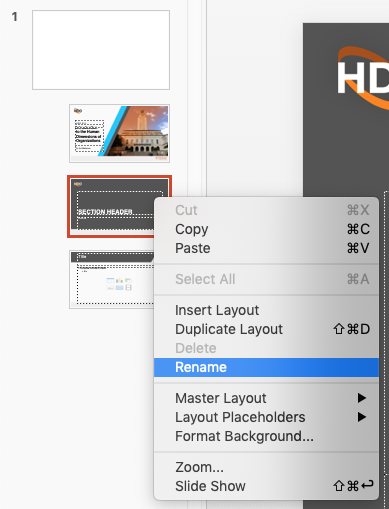
- If needed, rename each slide appropriately. It will help the user when creating their own deck.
- Exit Slide Master mode.
- Test your template! Each of your slides should be available under “New Slide” and properly formatted/editable now

- Save as a .POTX file! This is the template file

