![]()
In this training, we will go over how to use the brush tool in photoshop to create illustrations that could be used for animations, posters, graphics, blog banner updates, or the college’s magazine. There are many ways one can go about creating an image in photoshop. This is one method you can try out if you are new to digital illustrating and drawing in general.
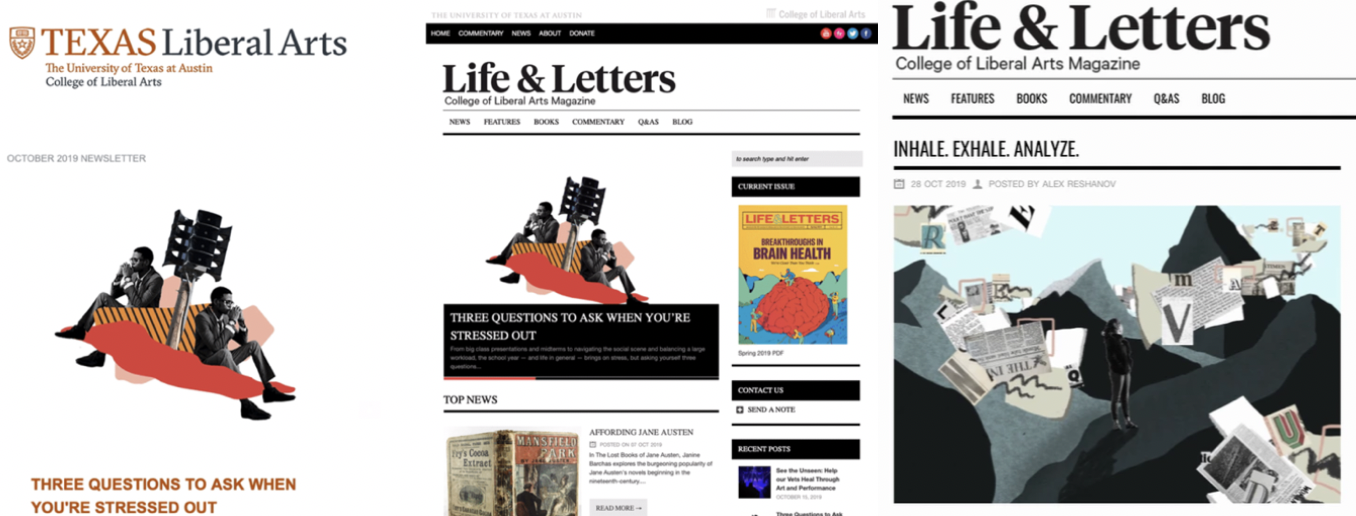
Here are some examples of how illustration in photoshop was utilized for projects here at LAITS:
Step One: Setting up Photoshop and the Wacom Tablet
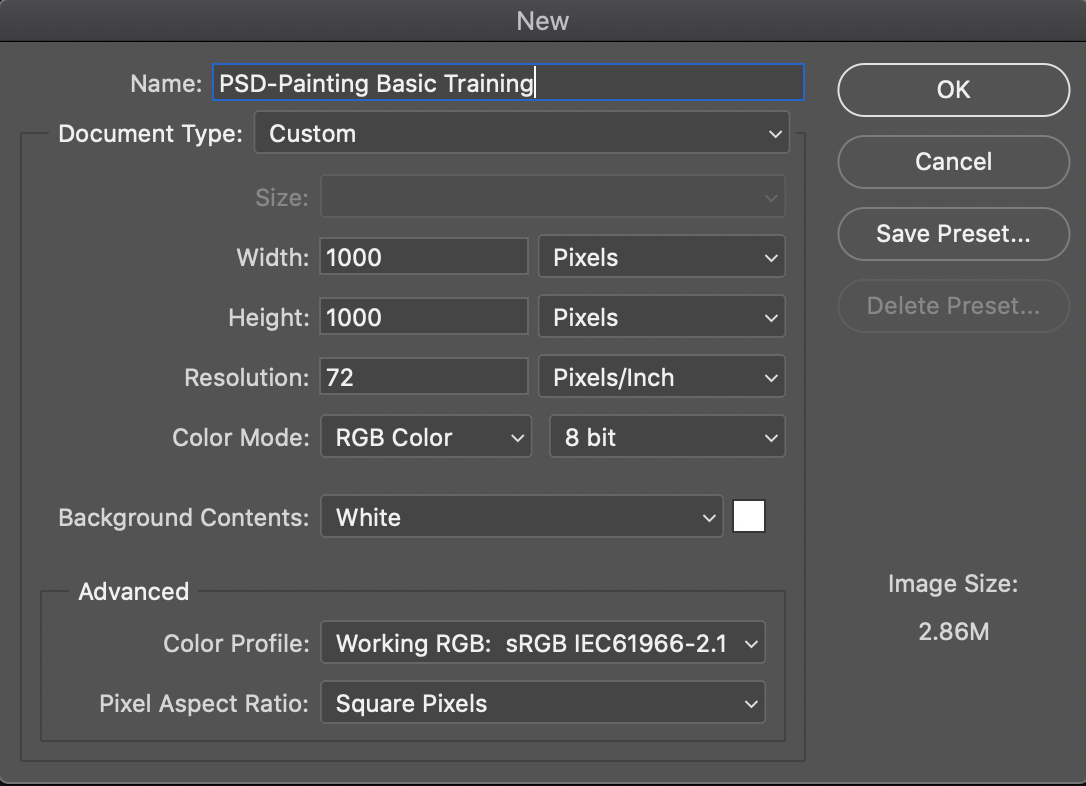
In Photoshop open up a document that is 1000px by 1000px on a white background. Your settings should look like mine.
Then you want to grab one of the Wacom tablets in the office. If you are working remotely use any drawing tablet you may have or a mouse.
Step Two: The Brushes
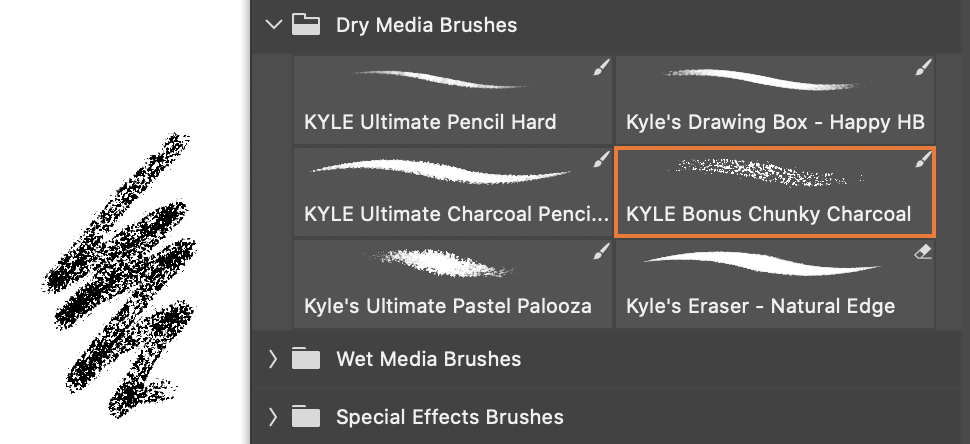
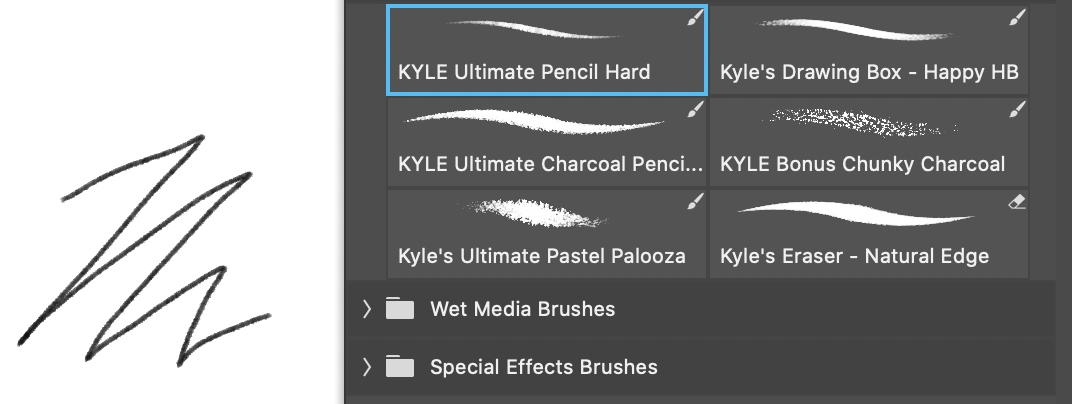
I am using the dry media brushes, but you can use any brush that has this kind of texture that is pictured below.
For coloring, shading, and highlights:
For sketching and outlines:
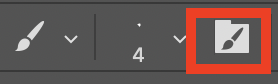
You can find the brush in the left-side toolbar. The dry media brushes can be accessed by clicking on the folder with a paintbrush icon on the top left of the window.


Step Three: Sketching out your Image
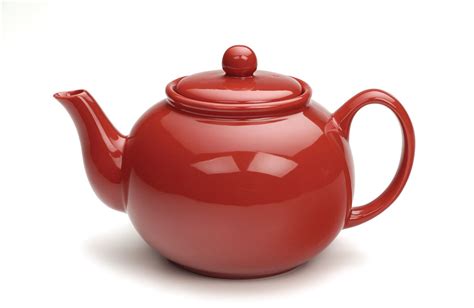
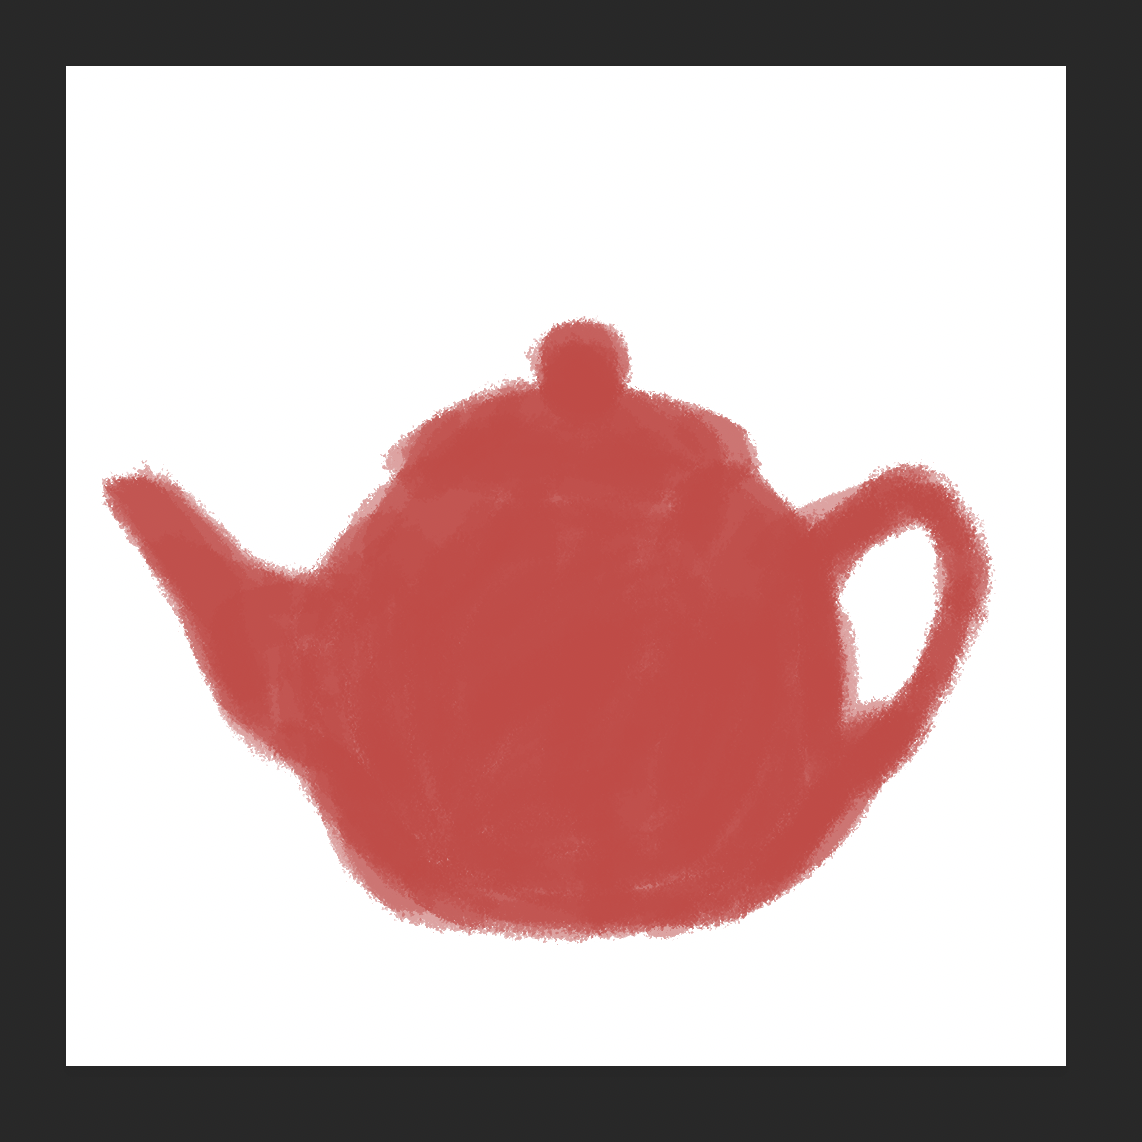
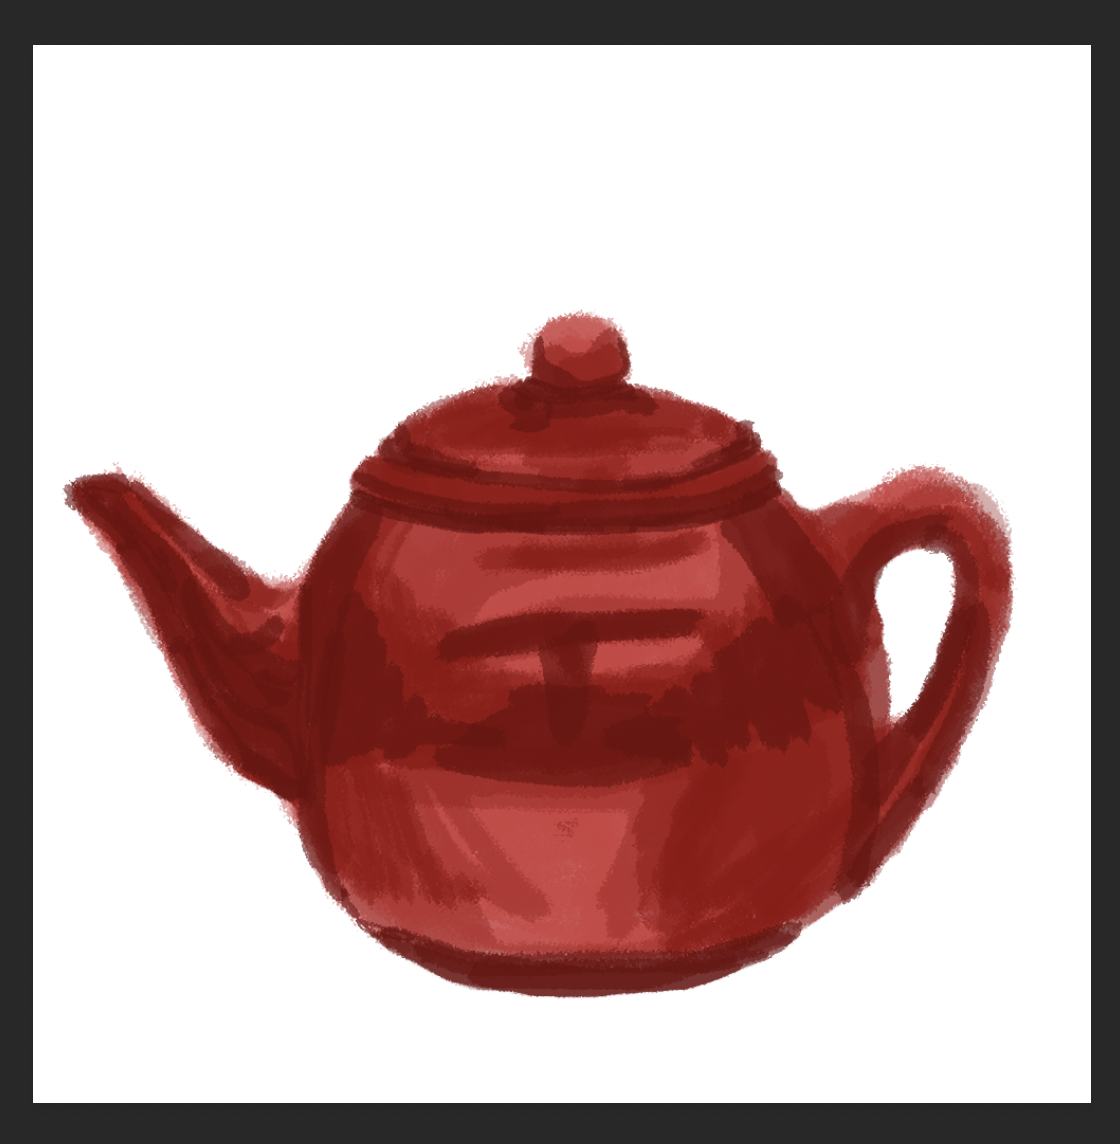
For this training, we will be creating this teapot.
Start out with a basic outline of what it is you want to draw. Use loosely drawn shapes to get an overall feel for the size and shape of your object. To do this step I am using the brush KYLE Ultimate pencil hard in the color black. Adjust the thickness to your preference but it should be fairly thin.
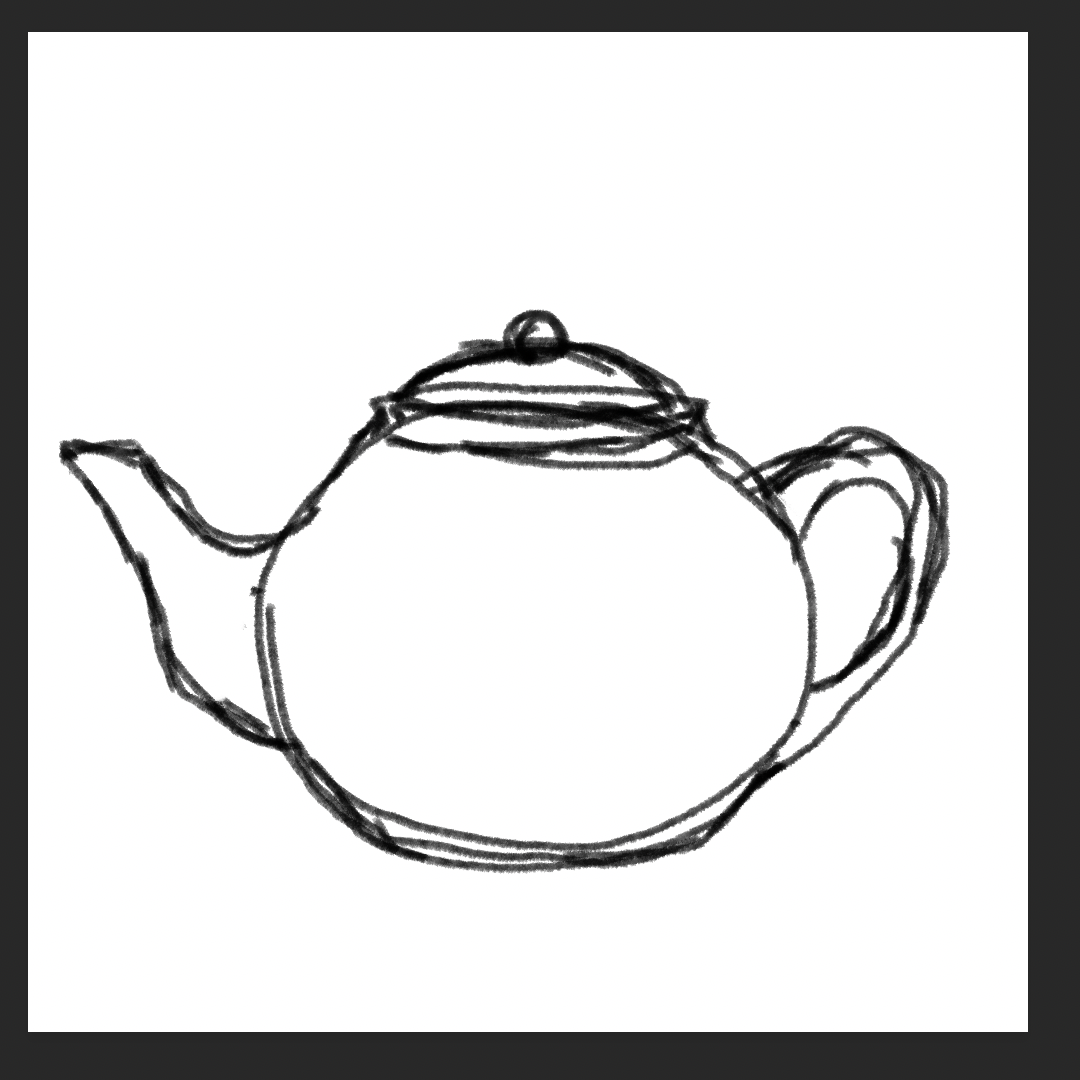
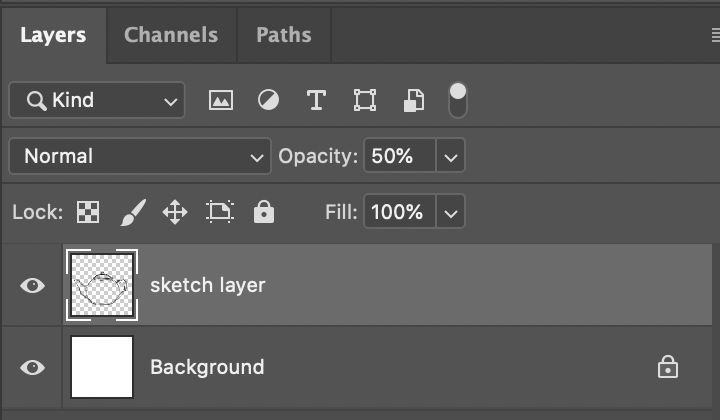
Once your sketch is done lower the opacity 65-50%
Step 4: Adding Base colors
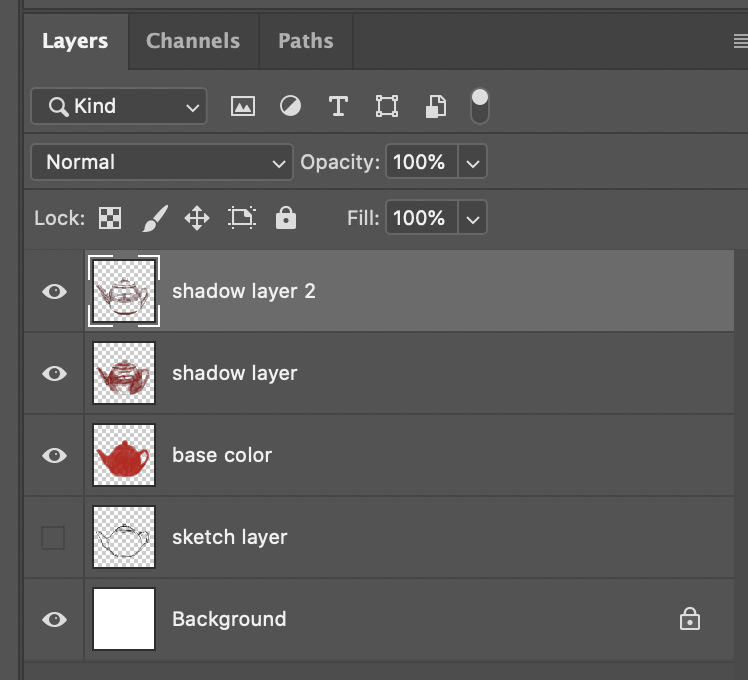
Add a new layer on top of your sketch layer to add your color. Make sure to keep your sketch layer in view by having the “eye” icon enabled.
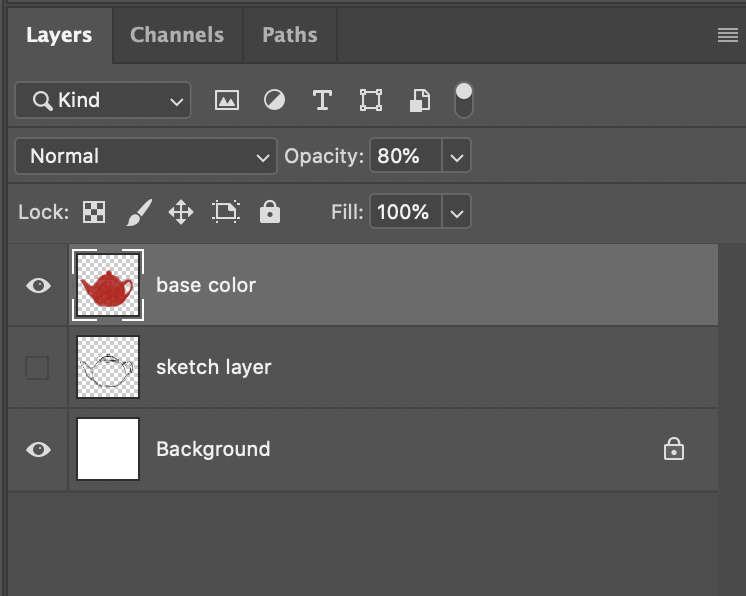
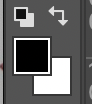
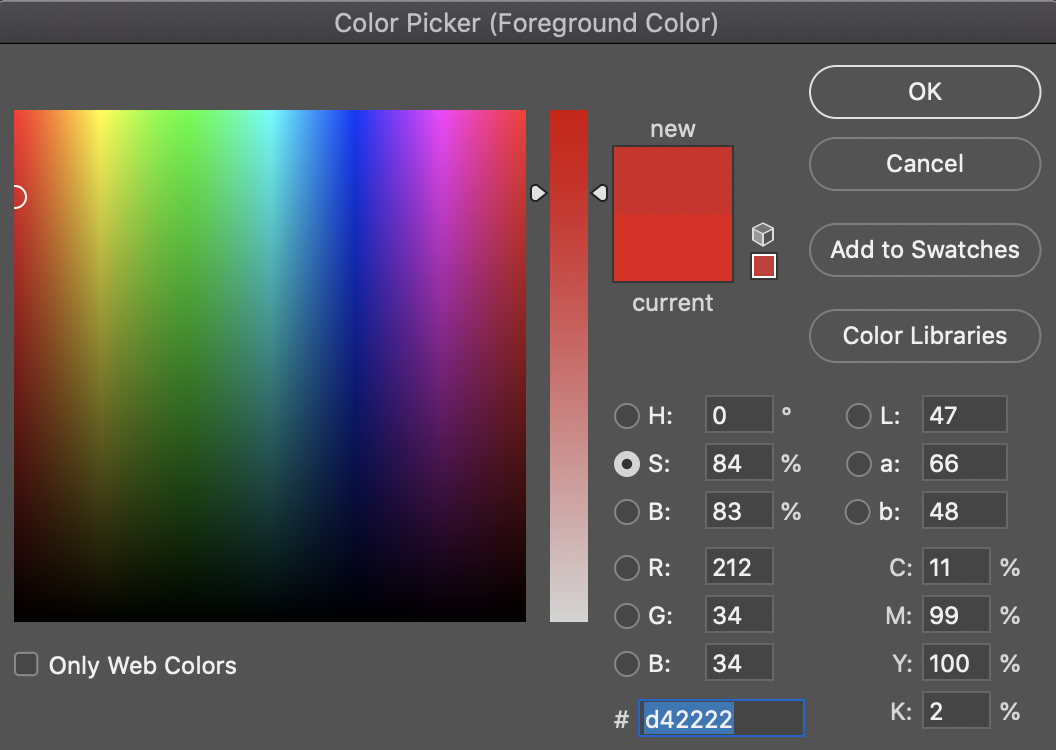
Use the brush tool of your choice from what was recommended and adjust the size and hardness of it accordingly. Pick the most basic colors to start filling in the shapes. Not too dark and not too light. We want a color of medium value. Add a new layer on top for each color you use. You can change color by clicking the icon below. The square on top is the color that will show.
Make sure your brush tool does not have a 100% opacity so that you are able to blend and have colors underneath show through subtly.
Step Four: Lighting and Shading
If you feel like you may need more information on shading and highlights take a look at this page: https://willkempartschool.com/a-beginners-guide-to-shadow-light-part-1-drawing/
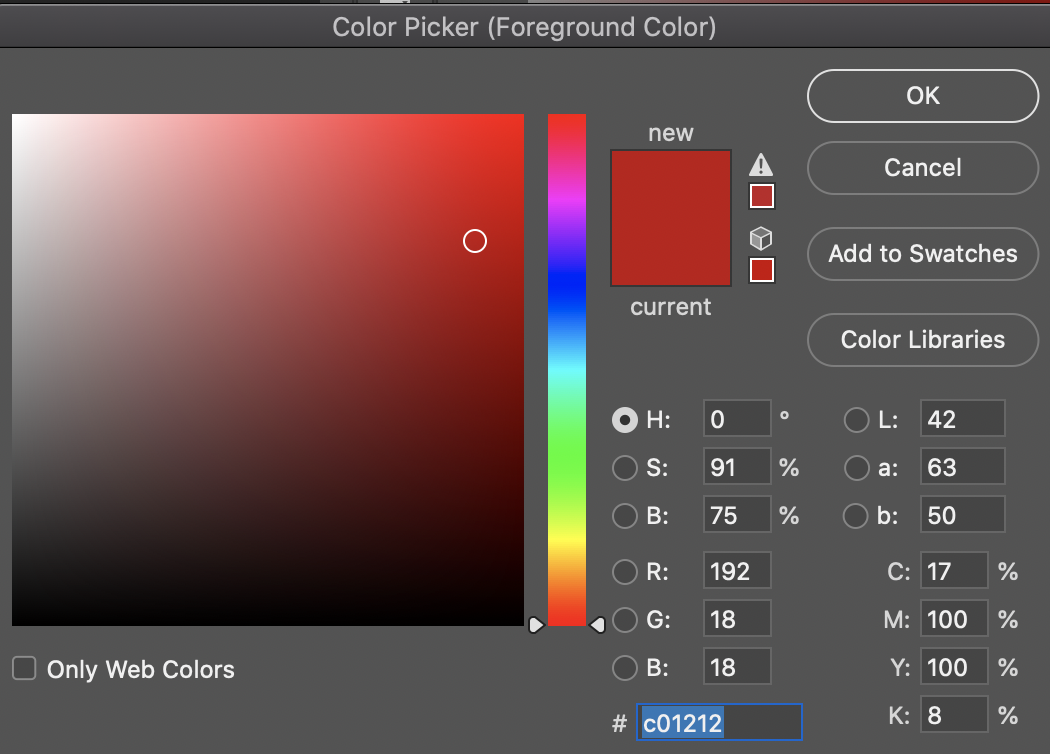
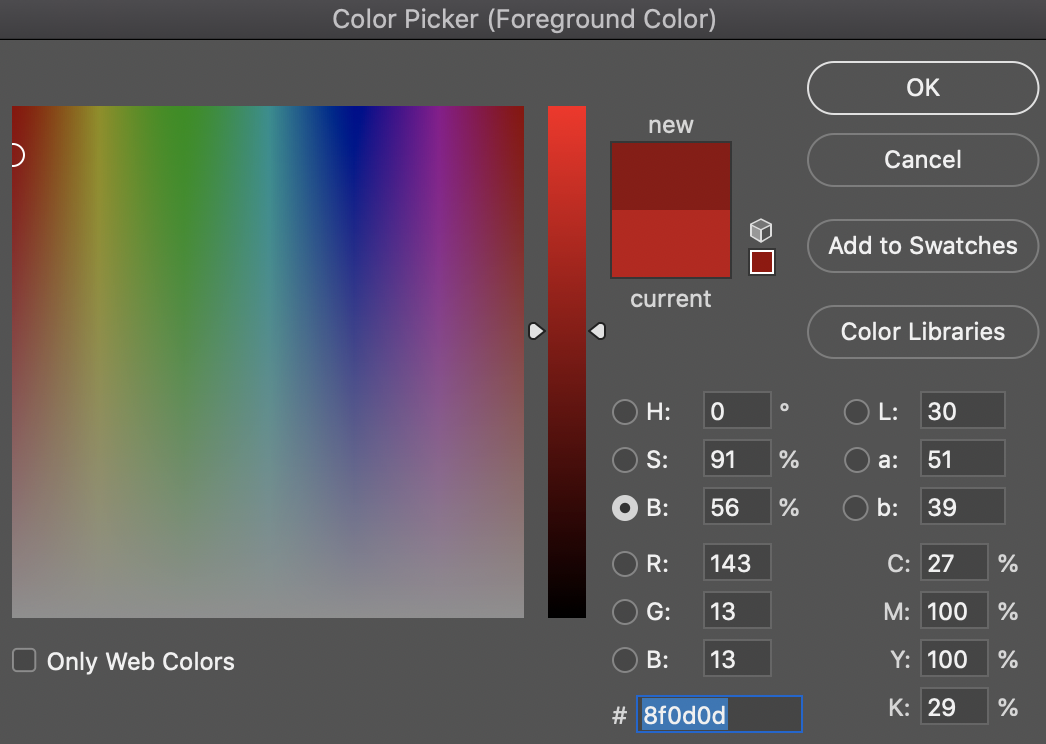
For shading, you want to get the color you were working with and lower the value on that color to be darker. The image below shows how to do this. Or you can drag your color vertically downward to get a darker color.
For highlights, you will do the same thing except raise the color upwards towards white. Or shift your value towards white. Your highlights should not be completely white but at the least be a very pale color.
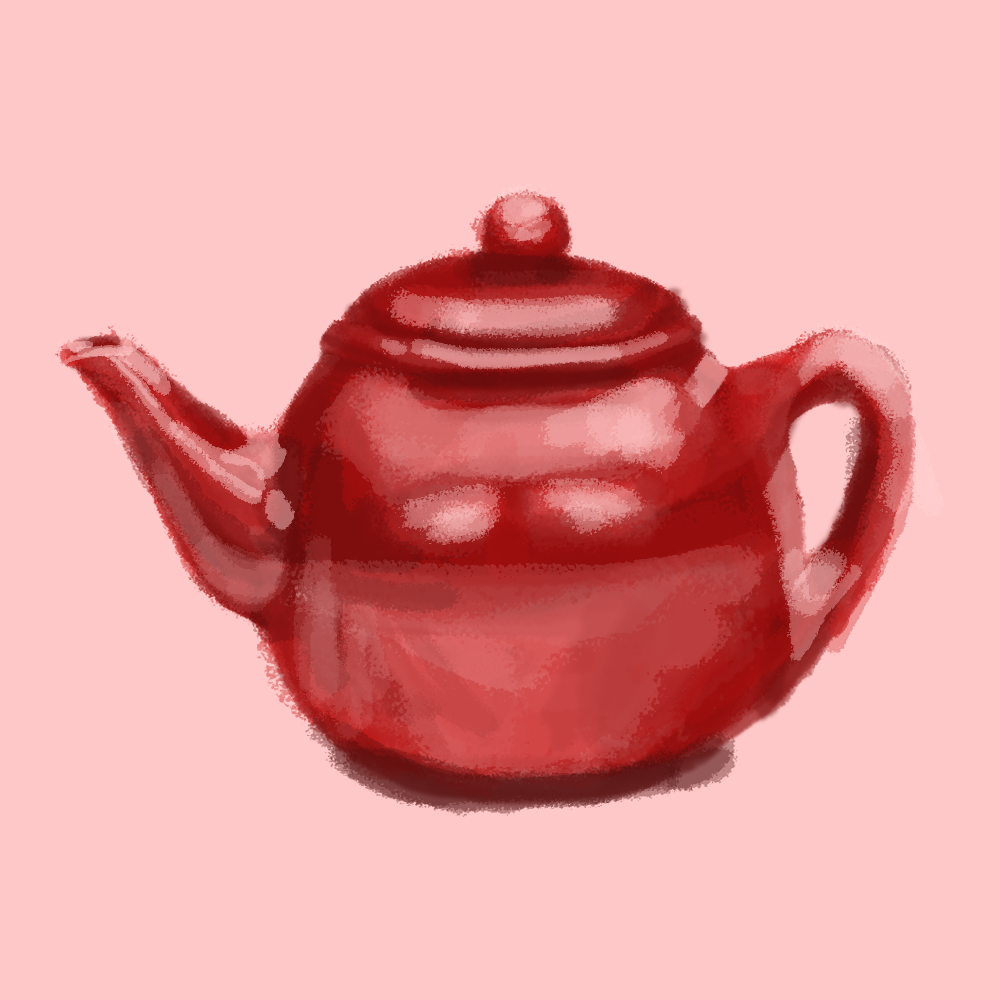
Fill in areas where you might see a shadow. Add a cast shadow which is the darkest color and sits right under the object.
Try to see where the light source is coming from and in new layers add highlights where light is reflecting off the surface in the image.
Tips:
When using color to build a form you need to think in lights and darks to create 3D space, not in outlines. Do not add any black dark outlines around your drawing. This causes the image to look and feel heavy as well as take away from its realistic attributes.
Step Five: Make your own Painting in Photoshop
Now that you have made this example teapot. Pick an image of your own and replicate it using these techniques in Photoshop.
Vocab:
Pale – very light in color or almost white
Light Source – the source of where light in a space is coming from and at what direction
Value – lightness or darkness of a color
Medium value – on a value scale are the colors closer to a mix of even tint and shade
Opacity – how filled in, or unable to see light show through
Shading- Shading refers to the depiction of depth perception in 3D models
Highlights- any of several spots in a drawing or painting that receives the greatest amount of illumination
Cast shadow – a shadow cast by an object or figure in a painting or other picture.
Mid-tones – a range of tones that lie between highlights with detail and shadows with detail.