
This training will cover how to professionally deliver a final graphic design to the client, which includes how to create a style guide, how to export in different file formats, and how to package all files in a professional manner.
When your design is approved, create a folder on Box for all the files.
This folder will be shared with the client via link once all final files are included. Below is a general checklist for files that should be included for an approved graphic.
- A style guide
- An Illustrator file with all versions of the graphic in properly named layers
- PDF file for each version of the logo
- PNG file for each version of the logo
- SVG file for each version of the logo
- EPS file for each version of the logo (create outlines for print)
- any other file formats that the client asked for
Note: the checklist might be different depending on the client/project.
Creating a style guide
Style guide should include the following information
- The graphic
- An overview of the graphic
- Color palette
- Font
- examples of usage
- dimension
Style guide can be in different formats depending on the type of project. ex:
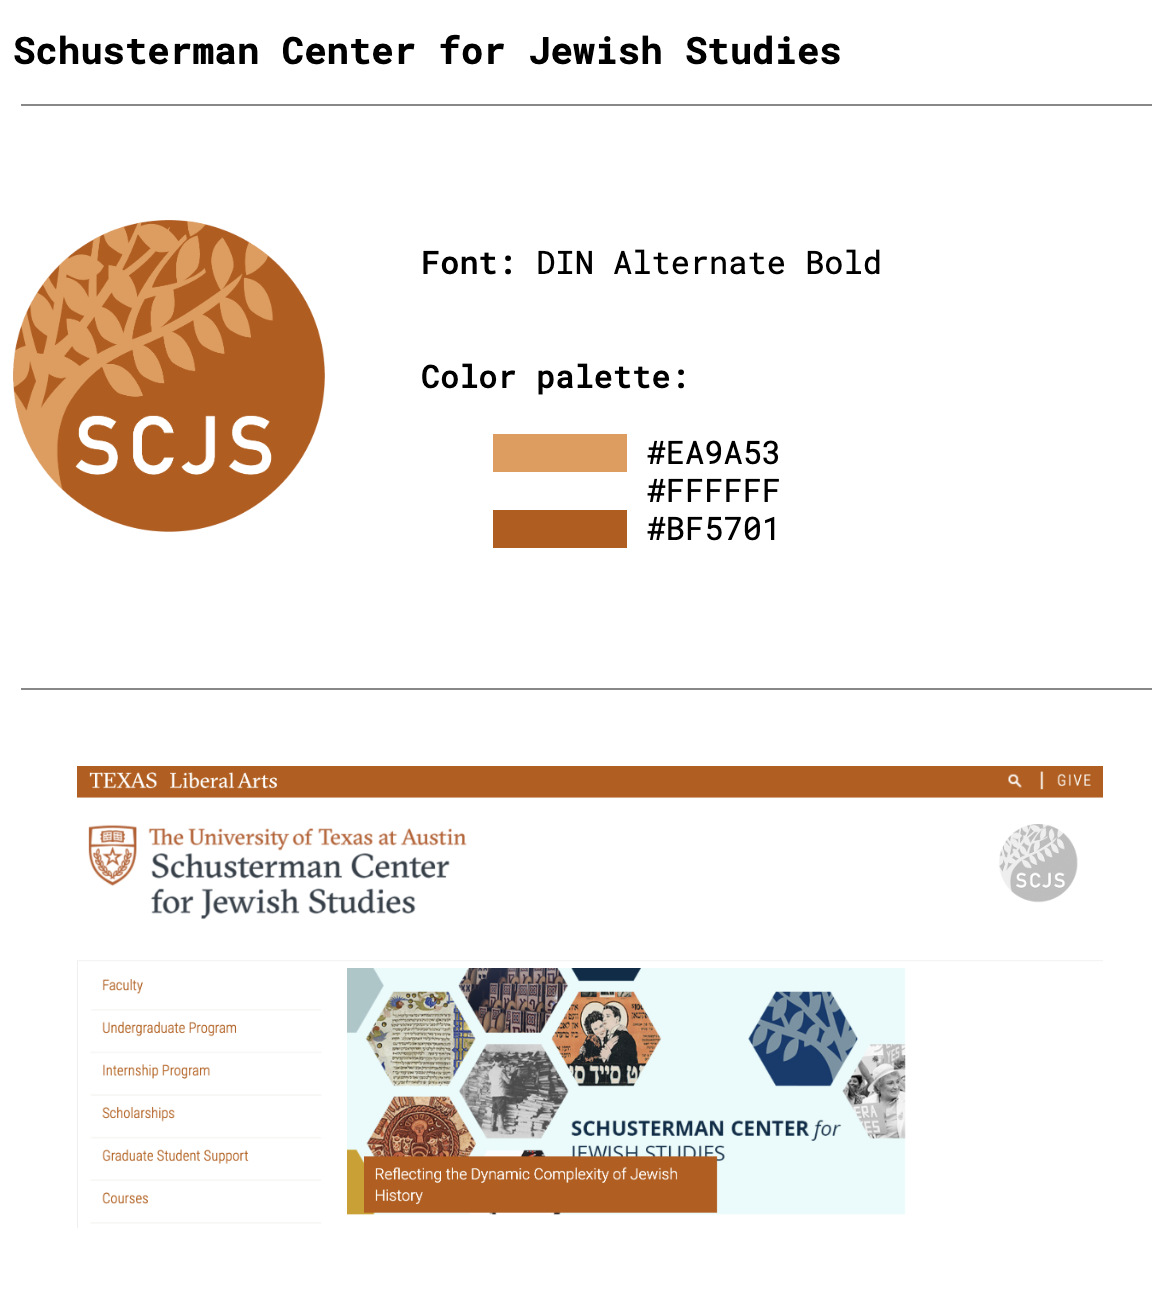
when there is only one version.
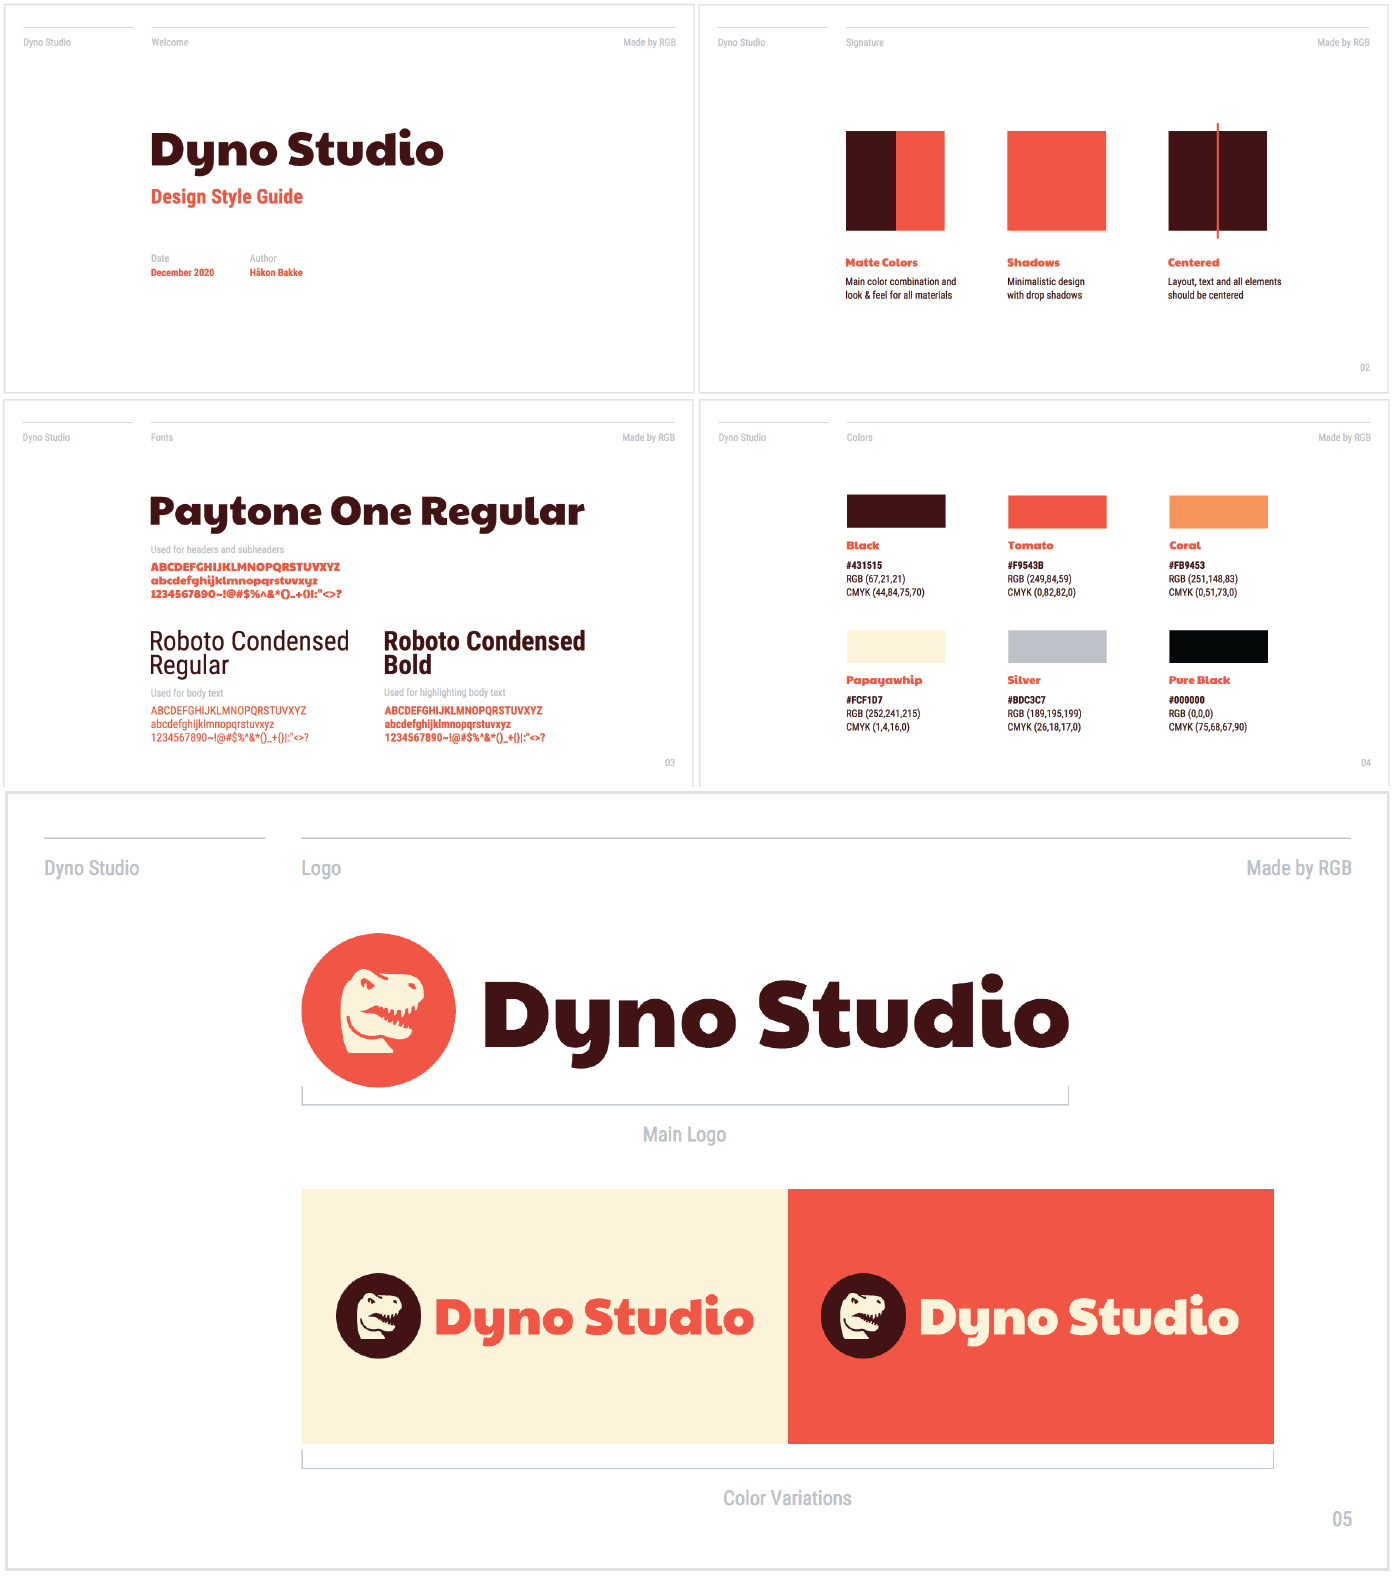
when there are multiple versions.
Illustrator file
This is for other designers that might need to recreate or make iteration on the graphic. Have a clean .Ai file with all final versions of the graphic and proper named layers.
It’s often necessary to Expand your shapes & fonts (Object > Expand… and Type > Create Outlines). This will vectorize your assets so anyone can open the document and see it even if they don’t have your same fonts, patterns, files, etc.

pdf, png, and svg files
Make sure each graphic is at least 800×800 pt.
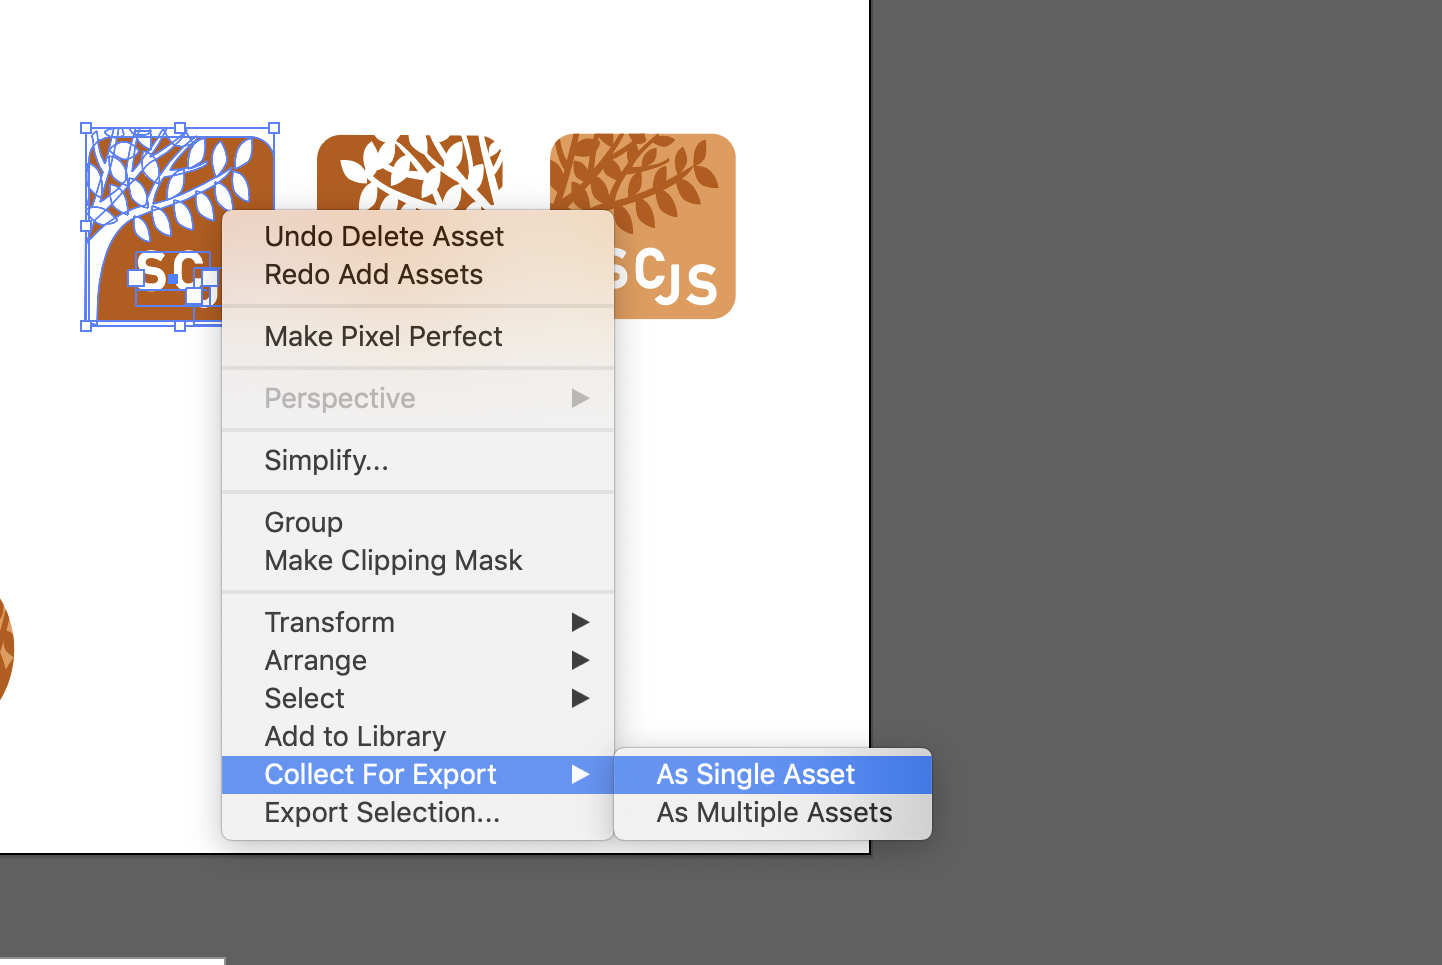
To export individual assets in Illustrator, select the graphic, right click -> collection for export -> As single asset. (This will export all selected elements as one asset, ‘As multiple Assets’ would export each grouped object)
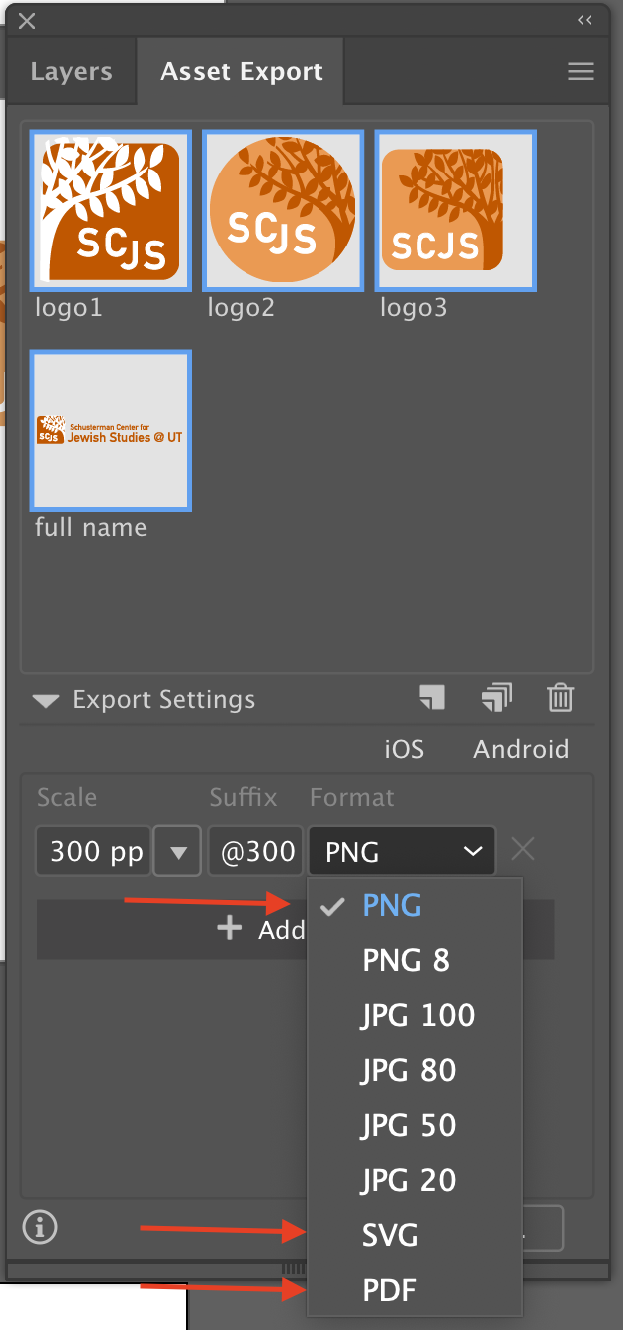
The asset export window would pop up. To add another graphic, select all elements of that graphic and click on the page icon in the asset window to add graphic as an asset.
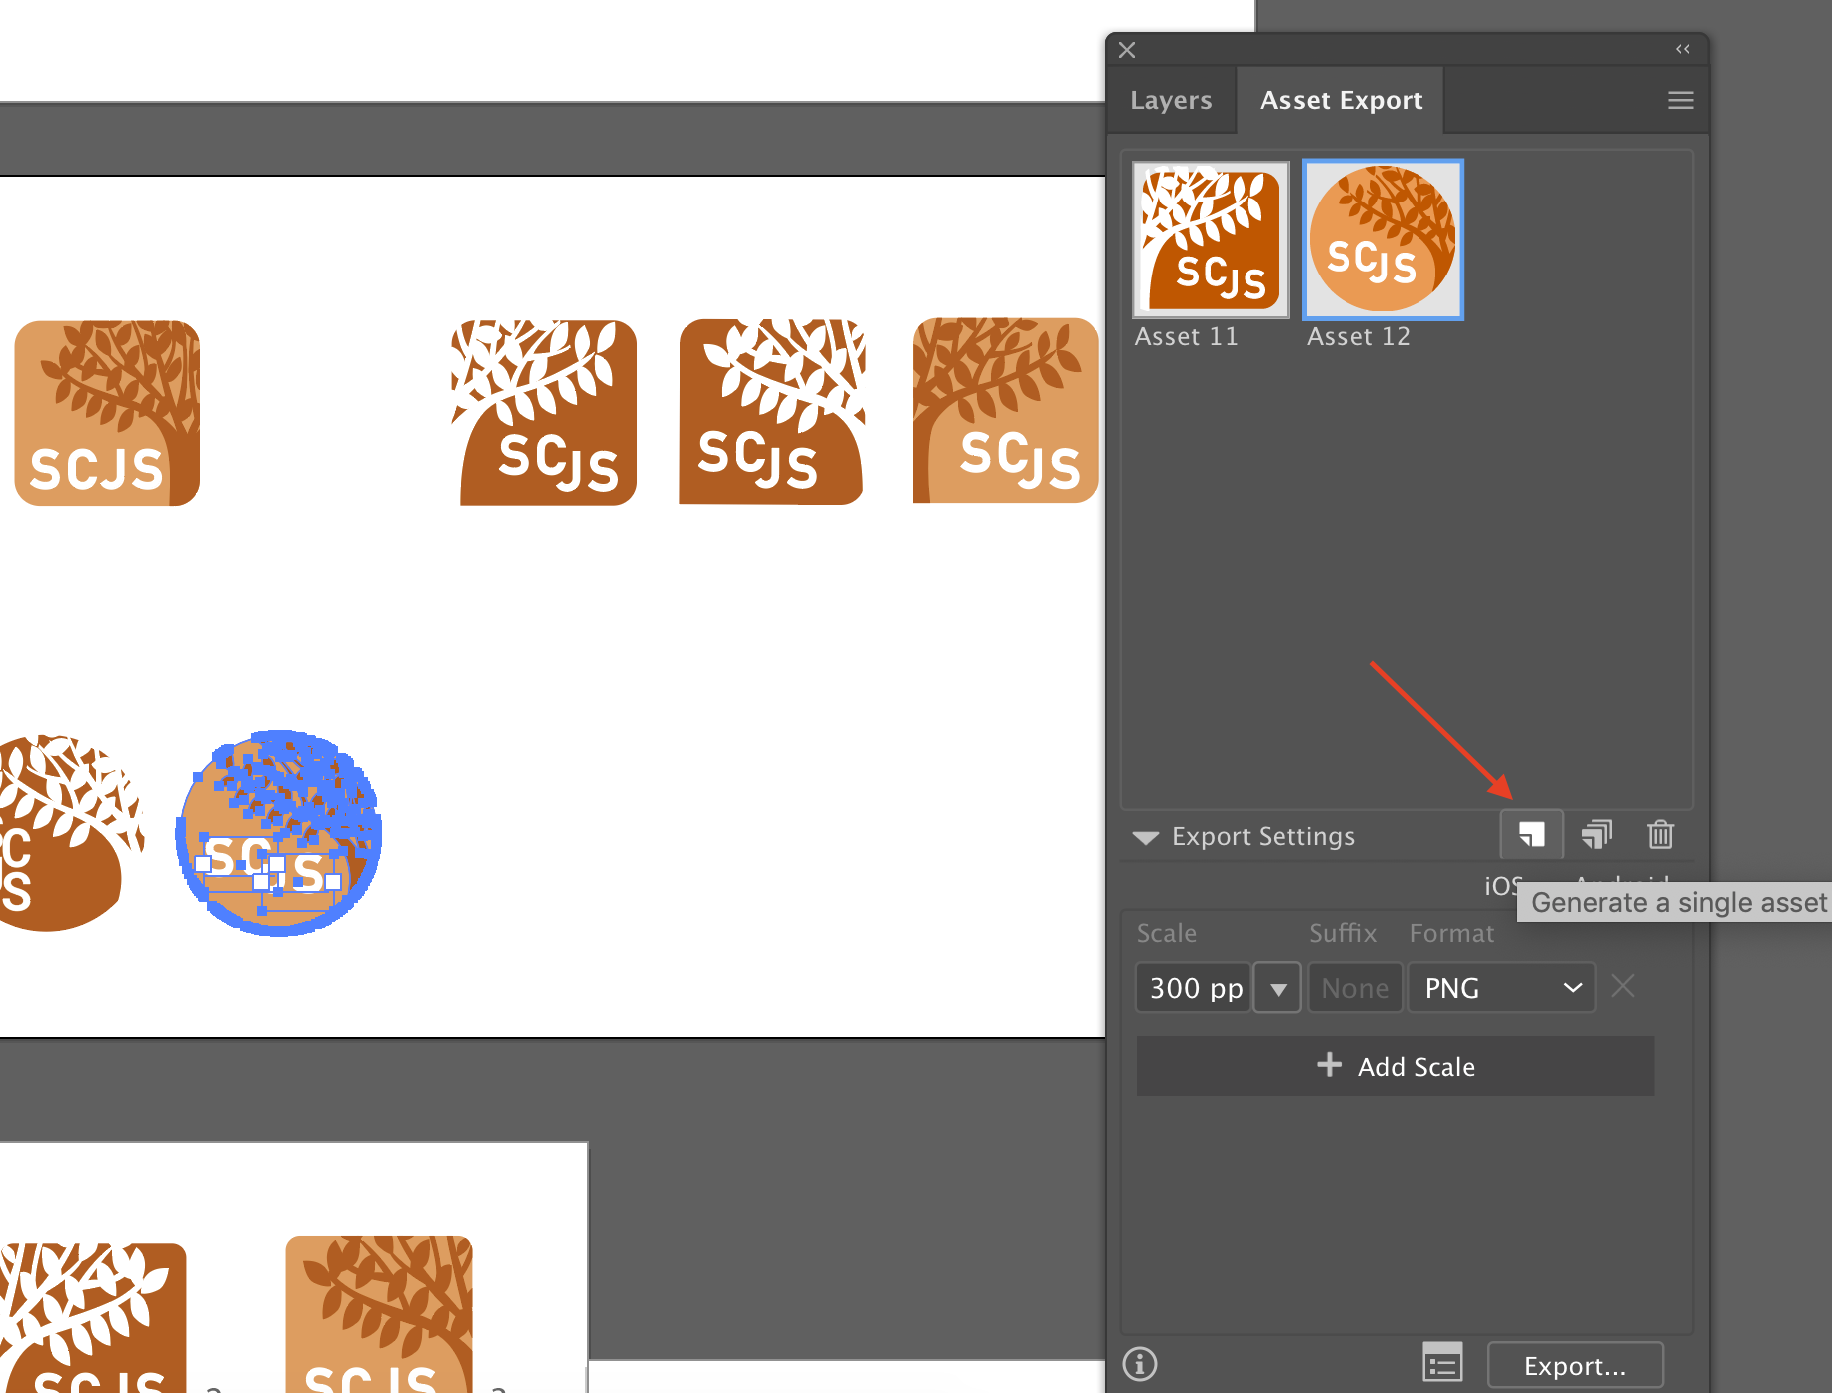
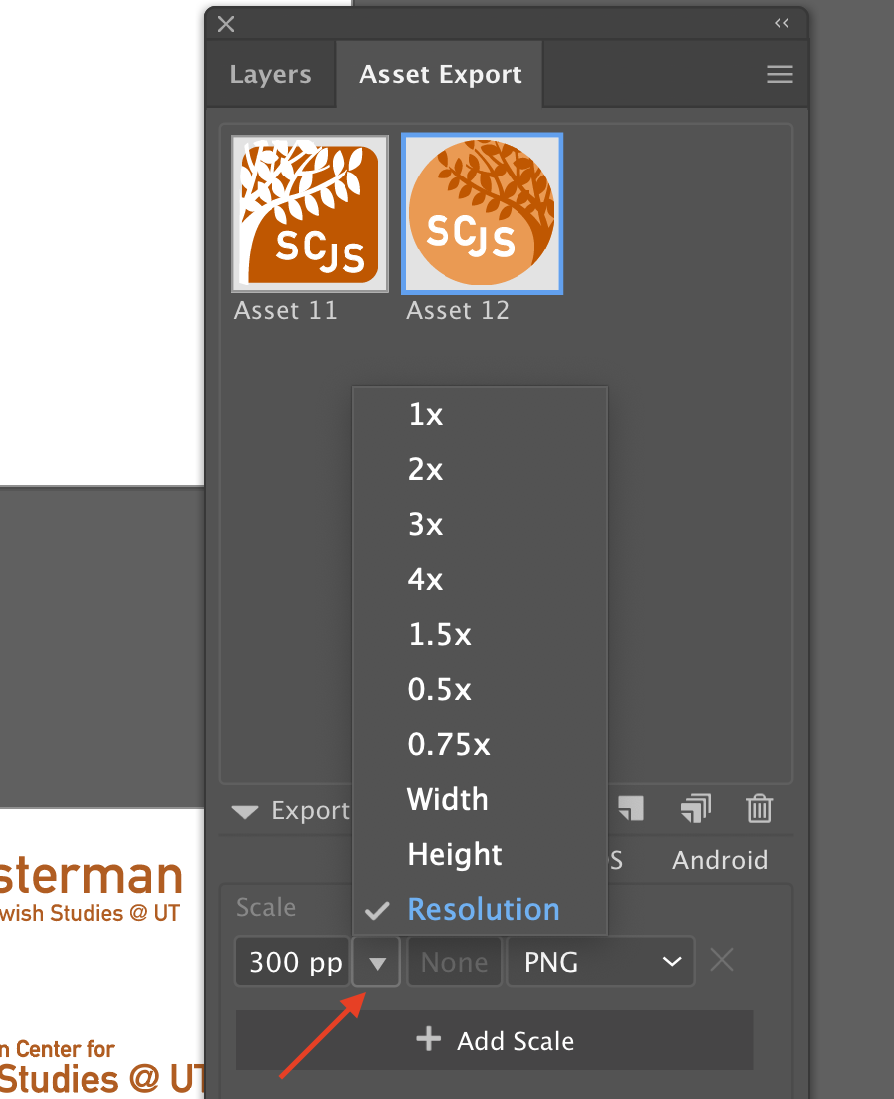
When all graphics are added as assets, under ‘Export setting,’ change scale option to ‘Resolution’ and make sure it is set to 300 dpi.
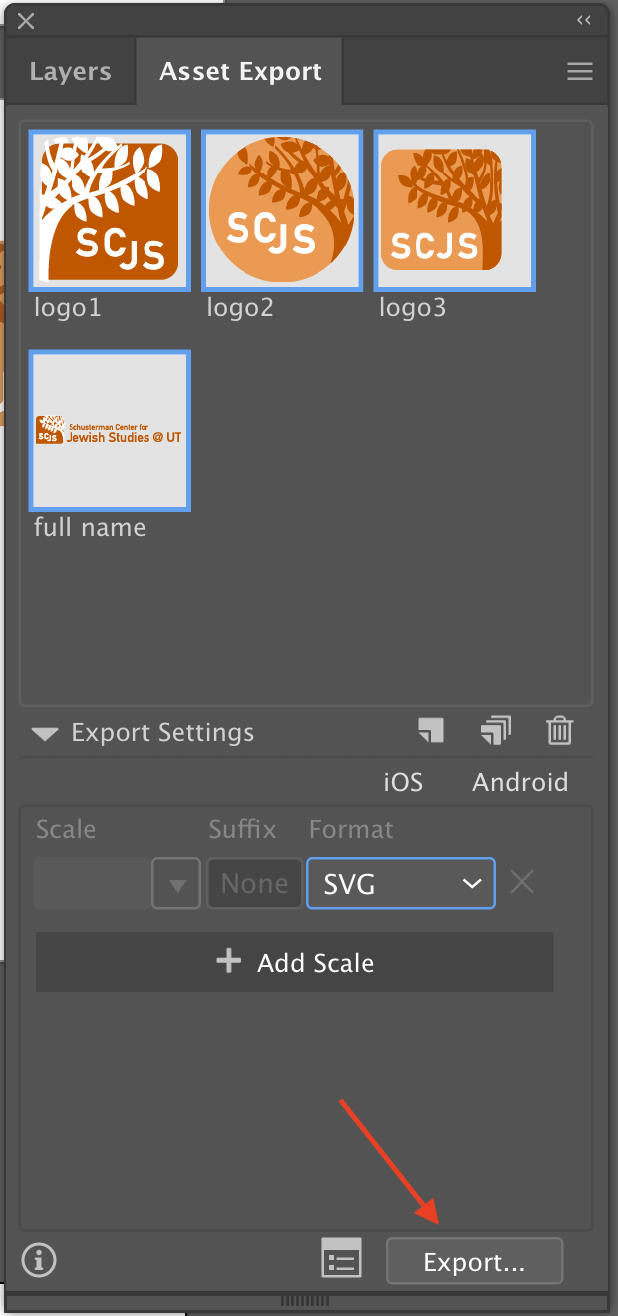
Properly name each asset, shift select all assets, then click export. Change the format after each export to do that for png, svg, and pdf.
eps file
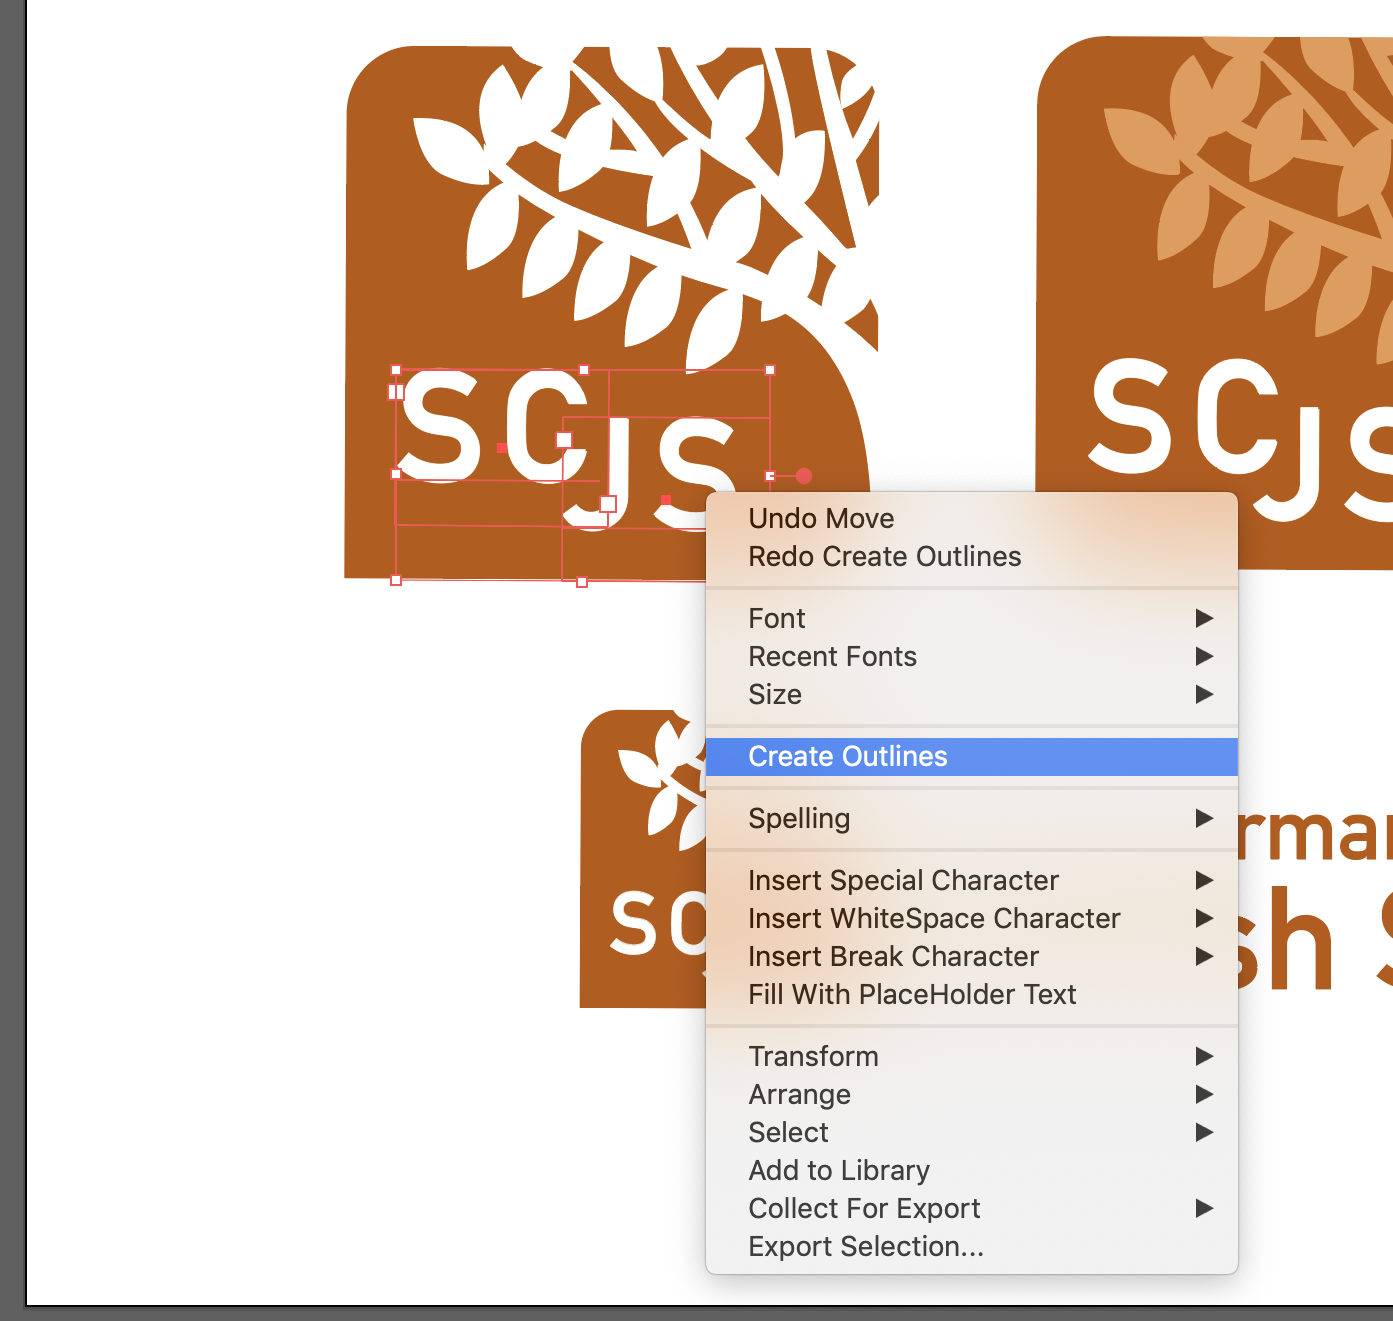
Convert all text to outline before exporting as eps file. Select texts, right click -> Create Outlines. (This is for easier printing process, in case of printers not having a specific font)
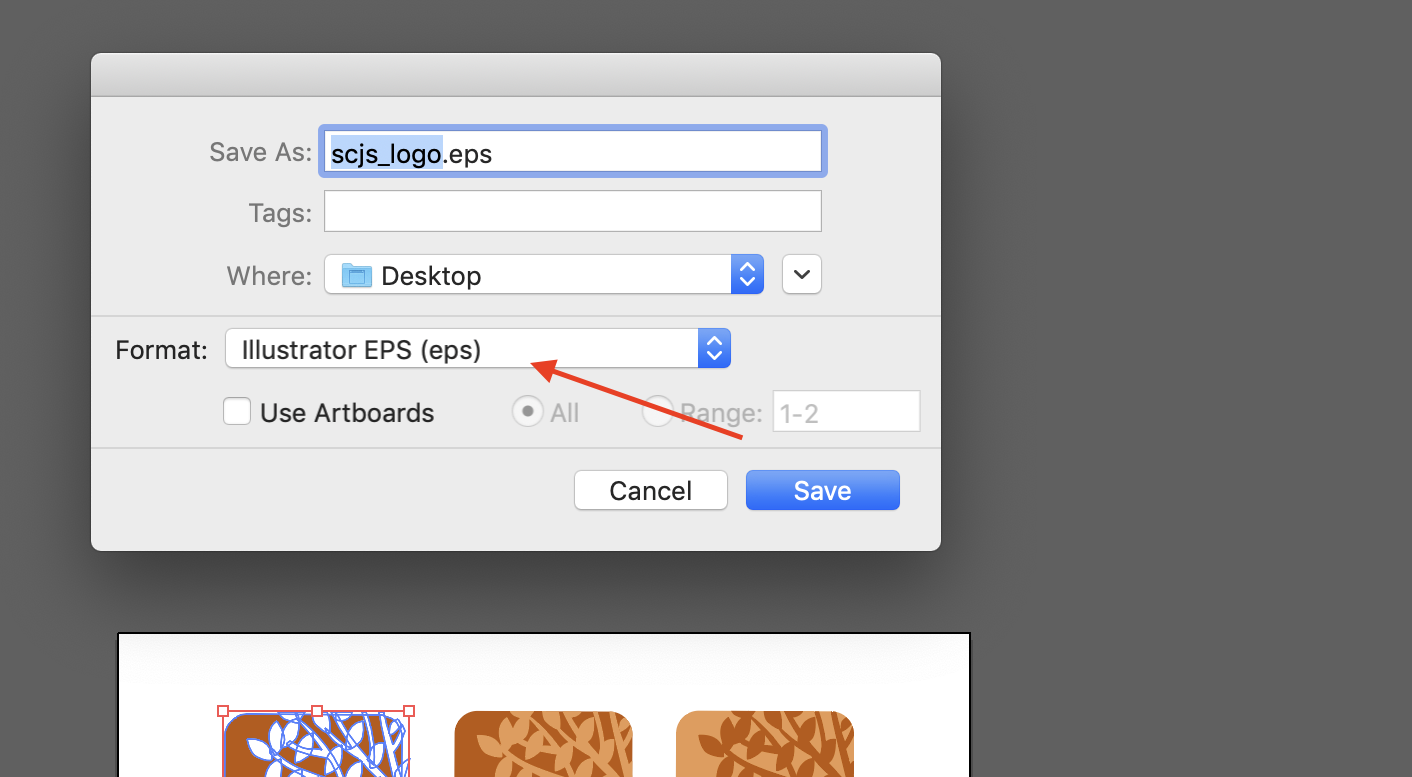
Go to File -> Save as. Change format to ‘Illustrator EPS,’ then Save.
Final step
Put all files in a box folder and share the link with your client.
If you have created a client logo, read about best practices for exporting logo files & delivering a complete logo package.