
 In this training, you’ll take an image (either a photograph you’ve taken or a famous painting) and turn it into pixel art using Adobe Illustrator.
What is pixel art? It’s a style of art that mimics retro computer graphics created with 8-bit or 16-bit processors. Because of limited computer memory, these graphics could only contain so much information and as a result had simplified color palettes.
In Illustrator, you can use grids in to create a blocky, pixel-like effect reminiscent of those types of graphics. Since Illustrator is a vector-based program, you won’t lose any quality in the final rendering of your design (unlike actual pixel art).
![]()
During this training, you’ll also become more familiar with several useful Illustrator tools, including:
- The rectangular grid tool
- The live paint tool
- Color groups and recoloring art
Step One: Pick a Painting or Photo
First, pick out an image to base your pixel art on. You can pick either a famous painting by an artist you like, or if you want to go a different route, you can pick a favorite photo that you’ve taken.
If you decide to go with a painting, make sure that the art you’re using doesn’t have a copyright. Many museums have digital collections with public domain artwork that you can download in high resolution. Here are some links you can browse:
The Met – Open Access Artworks
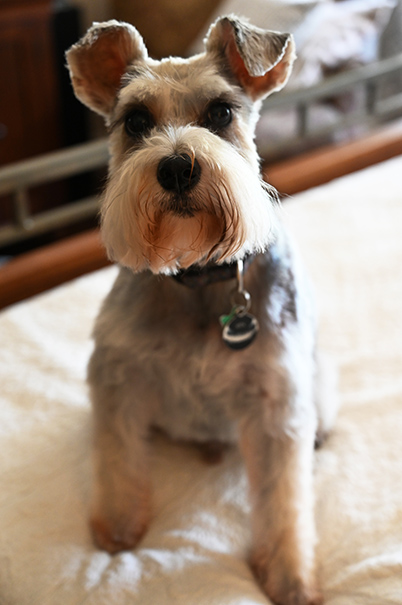
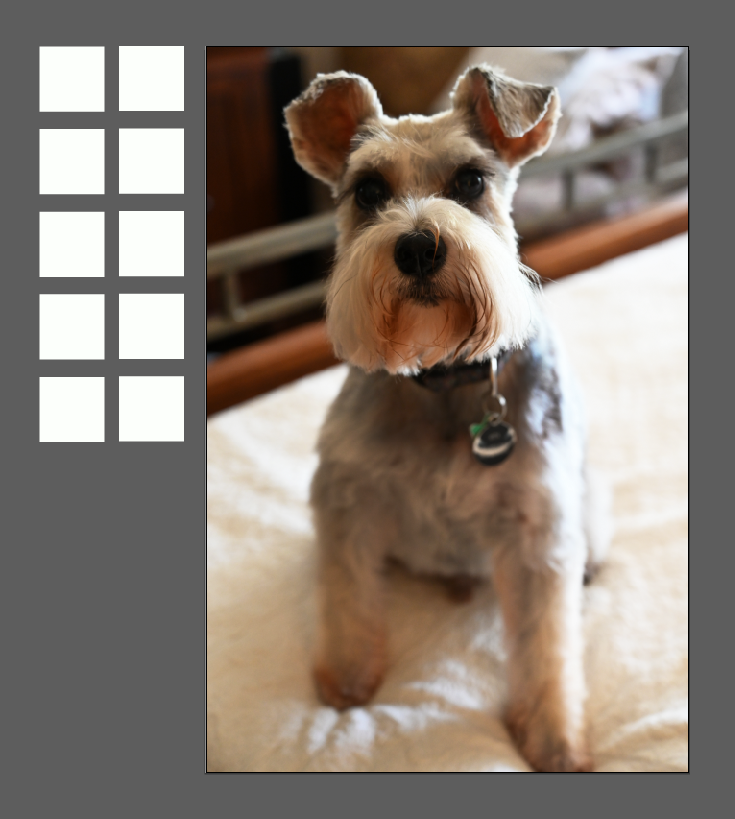
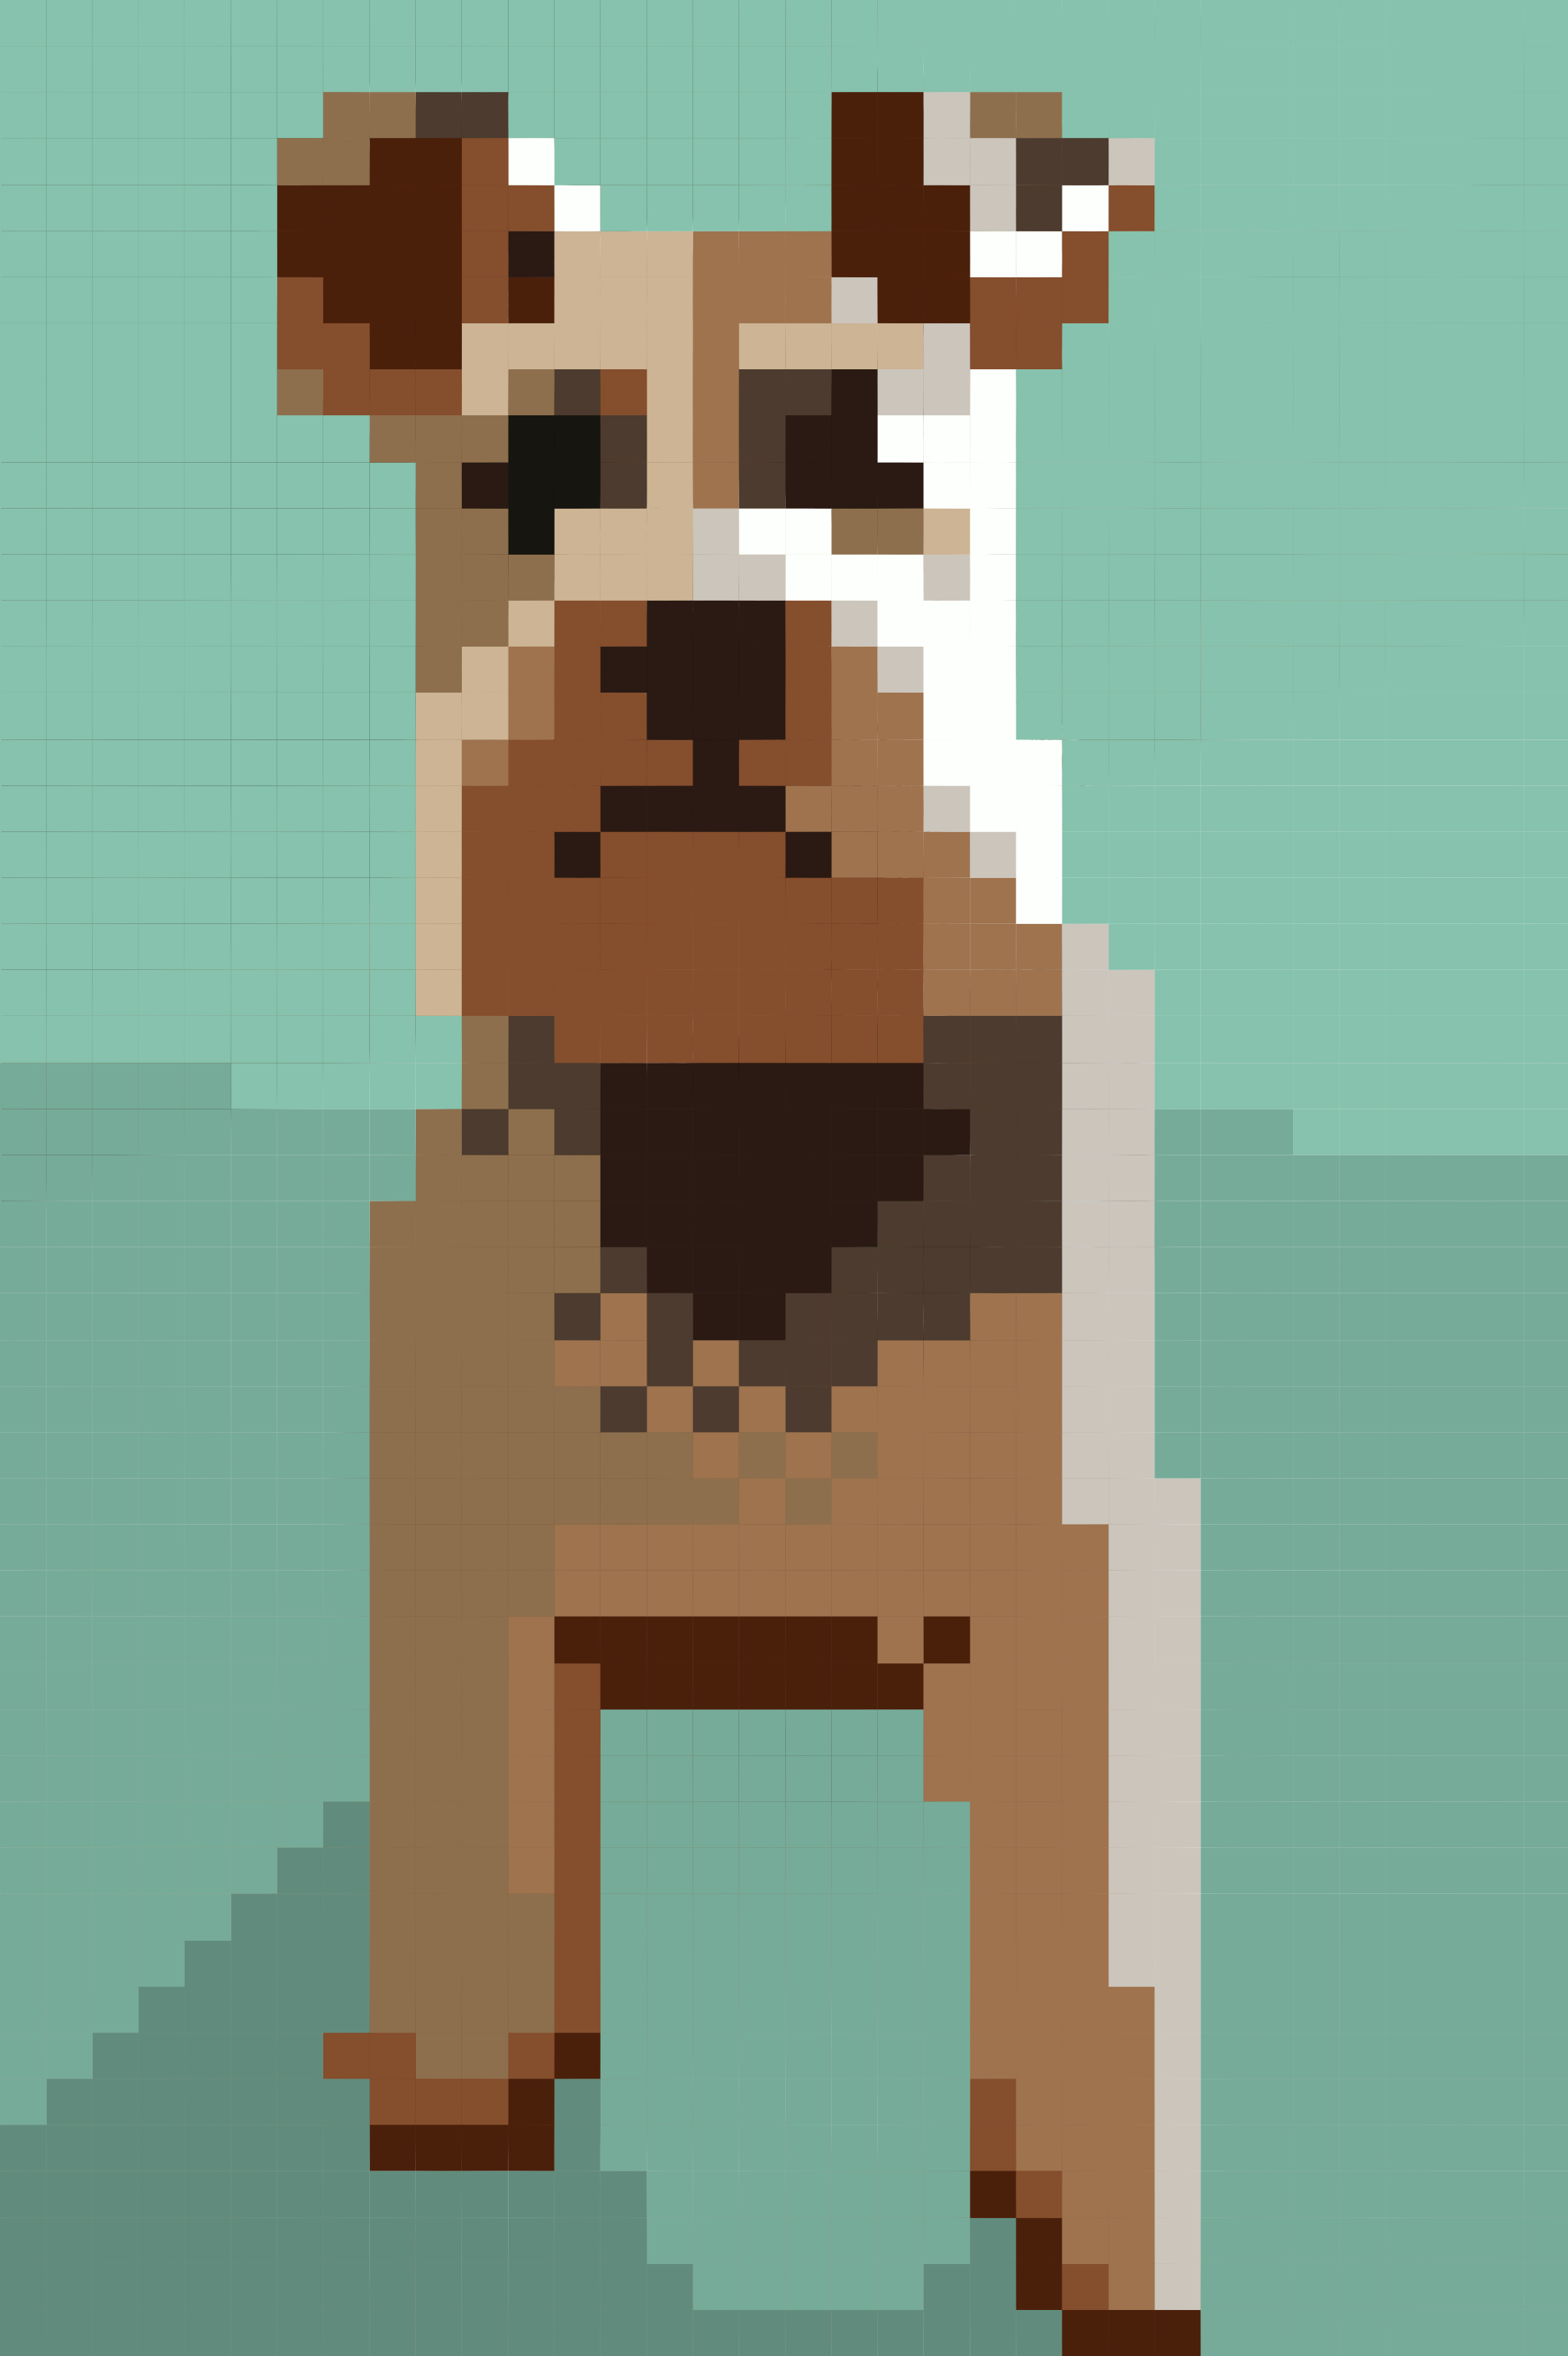
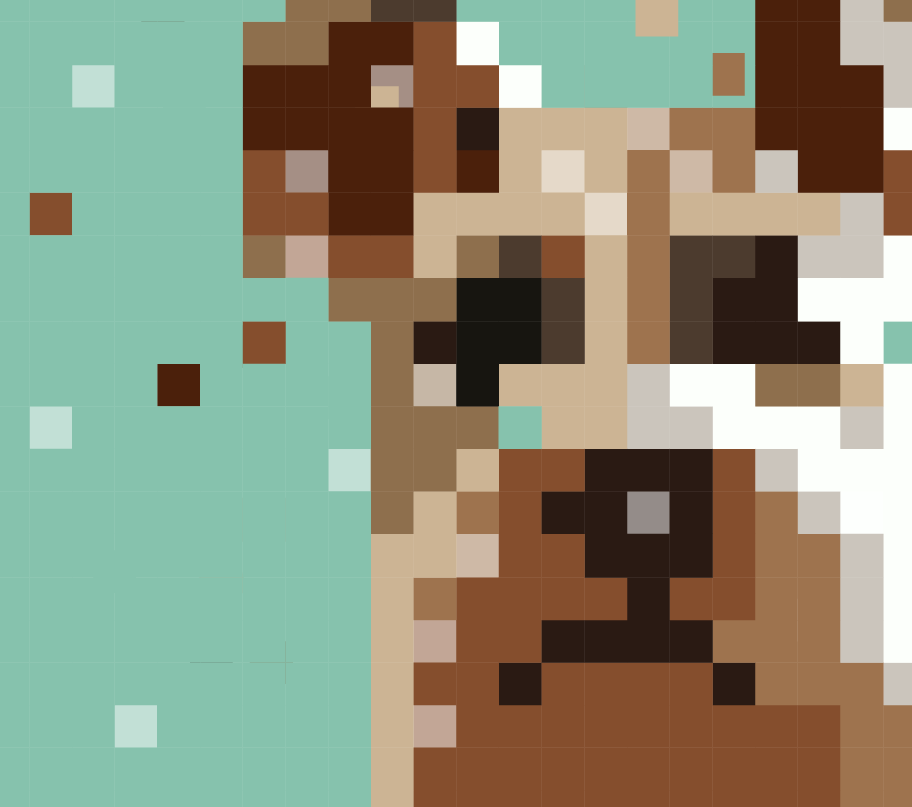
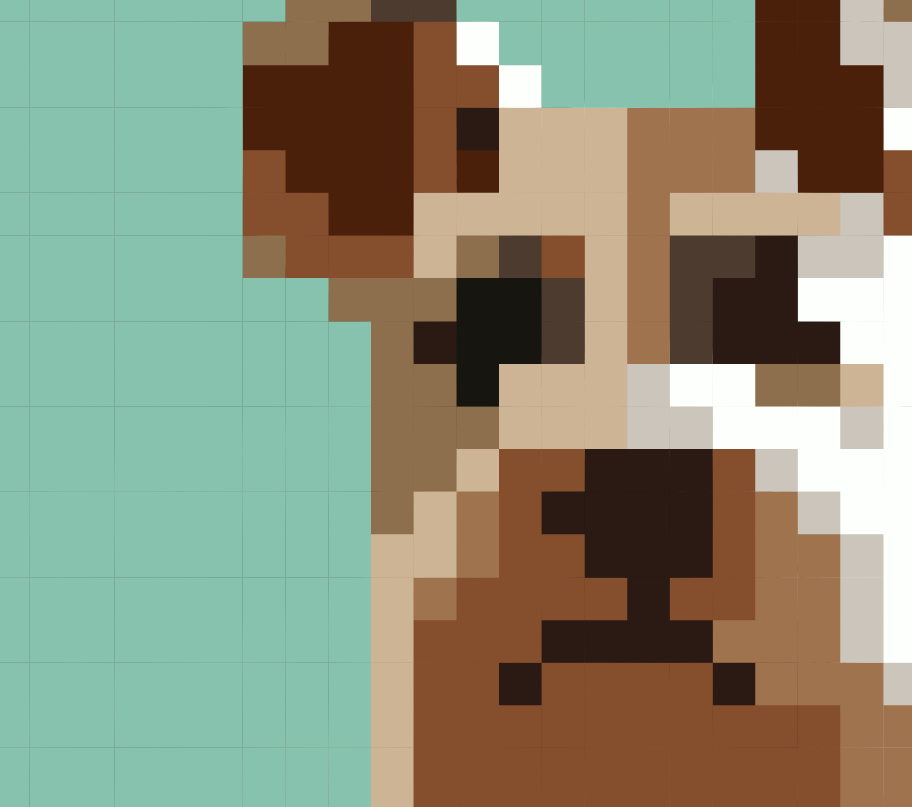
Feel free to use pet pictures! I’m going with this picture of my dog (his name is Asta):
Step Two: Open Your Image in Illustrator
Once you’ve got your image, open it into Illustrator.
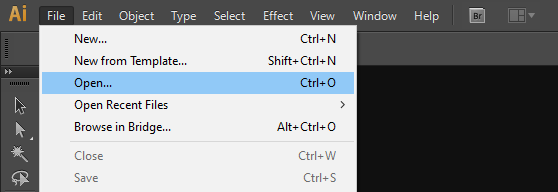
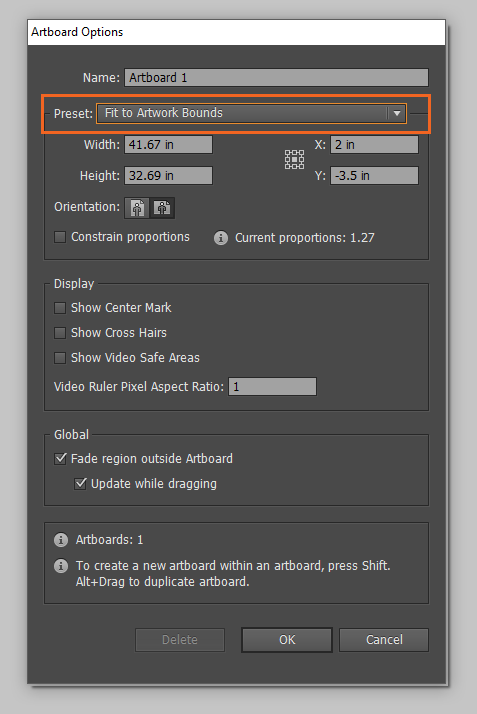
To get the bounds of your artboard to fit your image, double click on the artboard tool:
This will bring up more options. Under preset, choose “Fit to Artwork Bounds.” At this point you can also make a note of the dimensions of your image which you’ll need to use later.
Step Three: Create a Color Palette
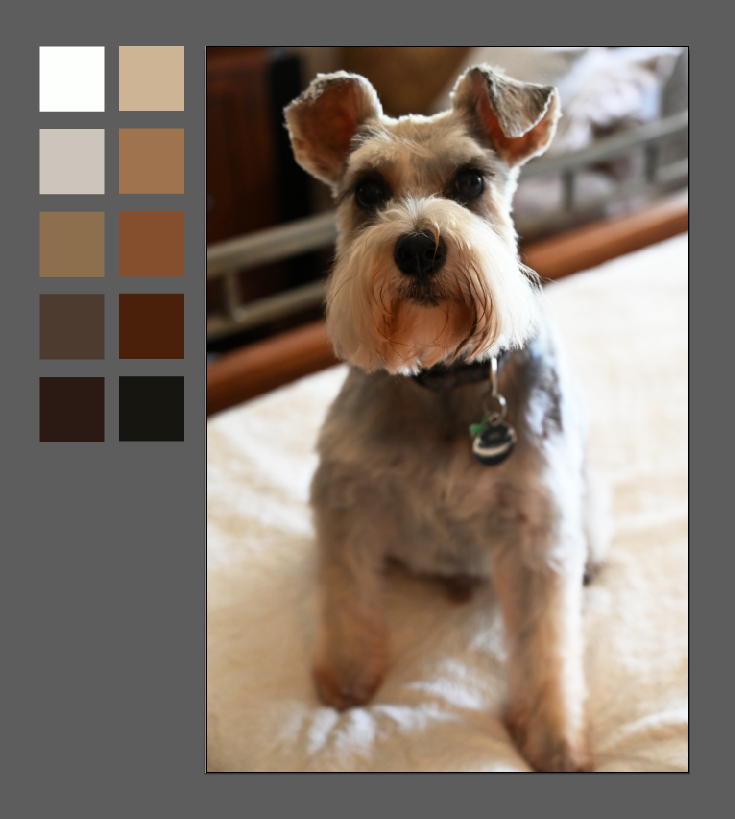
Next create a color palette from your image by pulling colors with the eyedropper tool. Try to pick between 10 and 20 colors for now, but you can always add or swap out colors later.
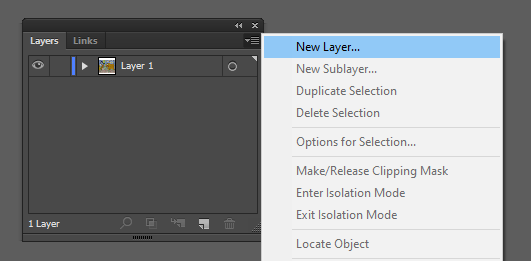
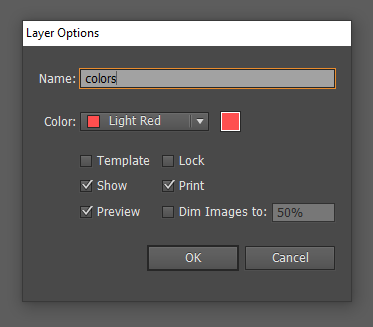
Make a new layer on top of your image and call it “colors.”
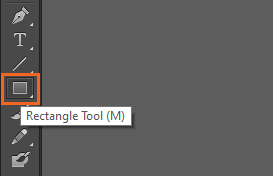
Then click on the rectangle tool (M) and hold down shift to draw a square next to your image. Use the selection tool (V) to select a square, then copy (ctrl or command + c) and paste it (ctrl or command + v). Keep doing this until you have a row or two of squares.
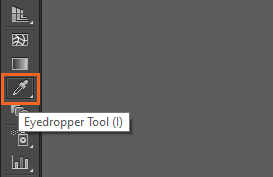
Select a square with the selection tool (V), then use the eyedropper tool (I) to pull colors from your image to fill each square.
When you’re happy with the swatches you have, you can save them by adding them to a color group. Open the swatches panel (Windows > Swatches).
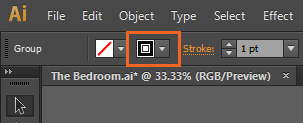
Select all of your swatches by either using the selection tool (V) to highlight them or by clicking on this circle next to the colors layer:
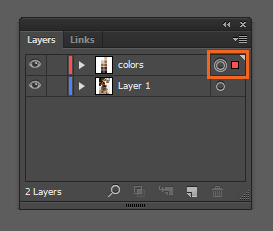
All of the squares should be outlined in red when they’re selected. Now click on the menu icon in the swatches panel and choose New Color Group.
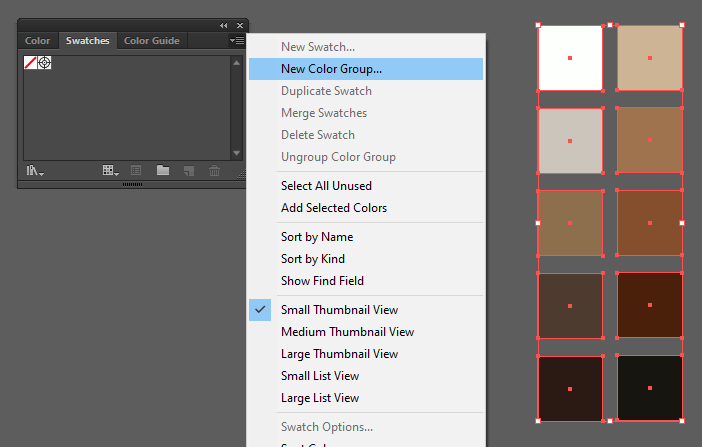
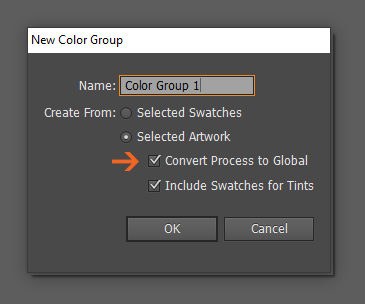
Here you can name your group, plus you have the option to check “Convert Process to Global.” This will turn all of the selected swatches into global colors, meaning that if you update any of the swatches at any point, all of the objects using that color will be updated automatically.
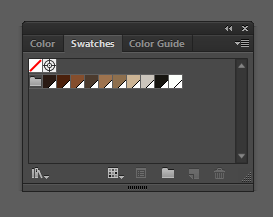
If you select this option, you’ll see a tiny white corner appear on all global colors in the swatches panel.
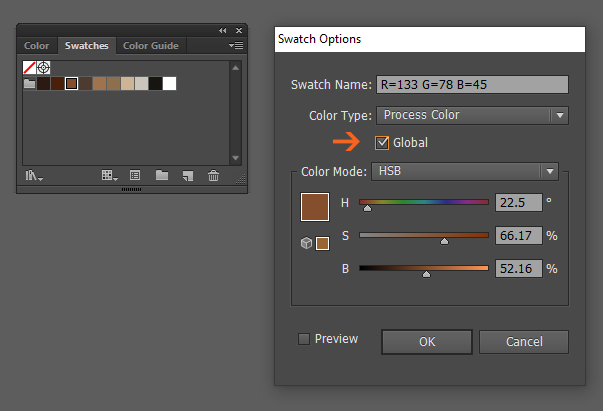
You can also change a color from global to nonglobal (and vice versa) at any point by double clicking a swatch and unchecking the box next to “Global.”
You can also modify individual colors in different color modes (HSB, RGB, etc.) this way.
Step Four: Create A Grid
The next step is to add a grid on top of your image using the rectangular grid tool. It produces a grid that’s made up of lines which are grouped together. Instead of snapping objects to the grid, the lines form cells that can be given a solid fill color or a stroke color.
Tip: Since the grid is a group of paths, you can scale and layer multiple grids to create different effects, e.g. you could use it if you wanted to make an isometric grid in Illustrator.
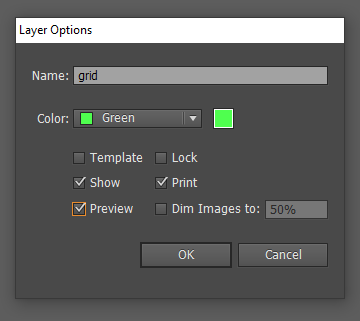
Make a new layer on top of your other layers and name it “grid.”
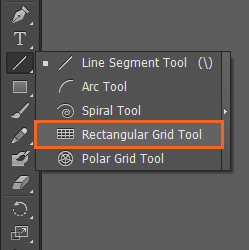
To get to the rectangular grid tool, left click and hold the line segment tool until you see more tools appear.
Tip: There are two grid tools–the other one is a polar grid tool, which you could use to create concentric circles/rings and radial patterns.
With the rectangular grid tool selected, you can either click and drag out a freeform rectangle (or a square by holding down shift) over your Canvas, or you can click once to bring up grid options (this lets you be more precise).
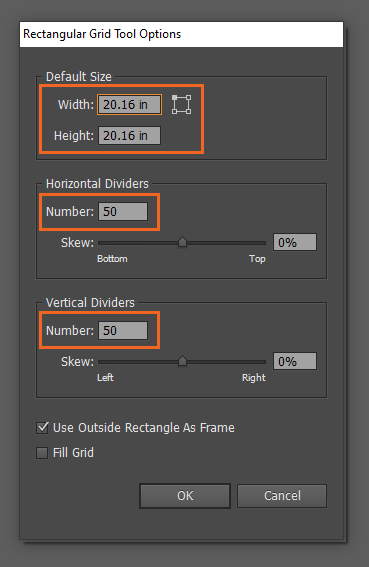
Click once anywhere on the screen and you’ll see grid options appear. To get the effect of pixels, you’ll want to make a square grid using the same number of vertical and horizontal dividers.
I took the longest side of my image (20.16 inches) and used that for both the height and width of my grid (it doesn’t matter if your grid ends up being bigger than your image).
Depending on the size of your artboard and the size you want your squares (i.e., the “pixels”) to be, you can choose a higher/lower number of dividers. I ended up using 50 dividers.
50 x 50 grid = 49 vertical dividers and 49 horizontal dividers
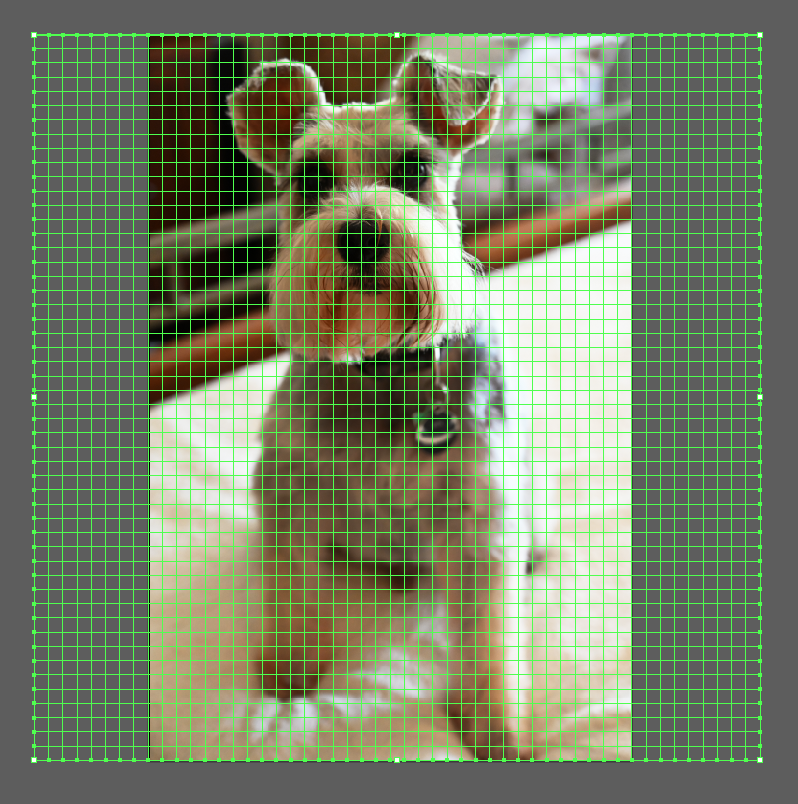
The grid should appear! Use the selection tool (V) to drag it on top of your image, like so:
By default the grid has no fill or line color, but if you wanted your grid to be more visible, you can give it a stroke color and weight:
Step Five: Live Paint Tool
The next step is filling in the cells, which you can do with the live paint bucket (K) and live paint selection tool (shift + L). The live paint tool disregards shapes and treats each enclosed line path as a discrete area, effectively turning your design into a coloring book.
Ordinarily, if you had a collection of enclosed paths that you wanted to add color to, you would highlight all the paths and choose Object > Live Paint > Make. But since you’re using the grid tool, all you have to do is select the grid.
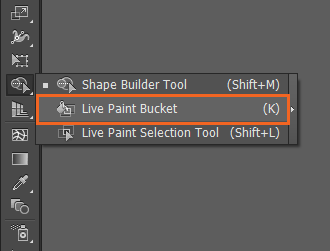
Then left click and hold the shape builder tool until you see the live paint tools appear. Select the bucket (K):
![]()
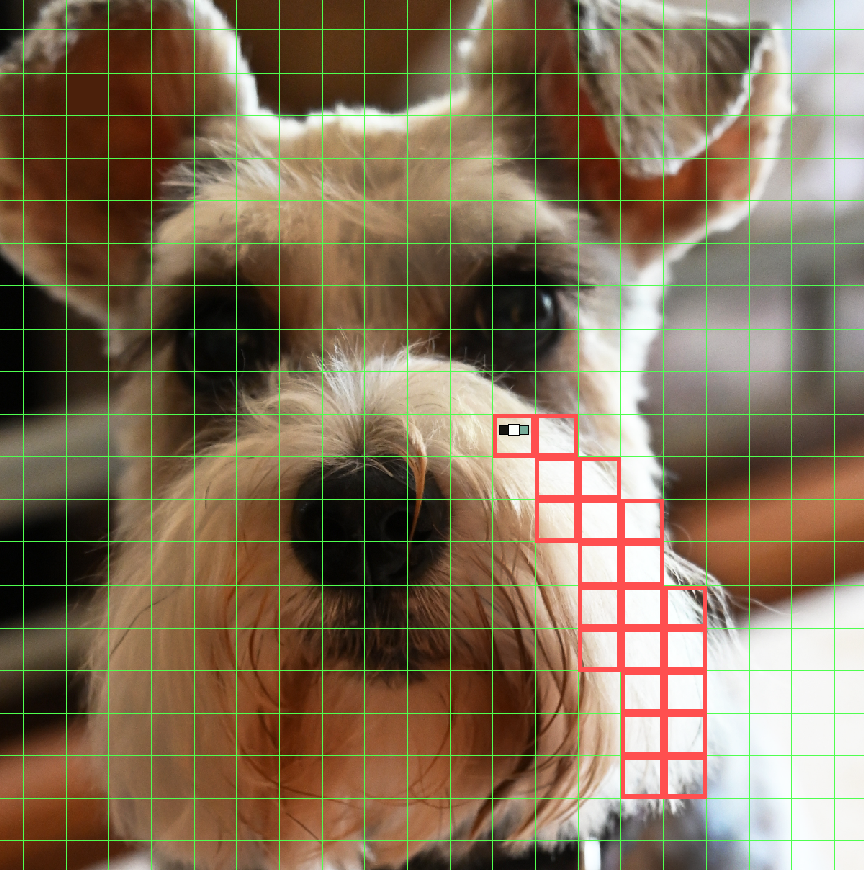
Select a swatch color to start with and click a cell on your grid to fill it in. Click and drag over multiple cells to fill them all in at the same time. You’ll see that the selected cells become highlighted with a red outline:
- Clicking once will fill the selected cells
- Double clicking will fill an entire area
- Triple clicking will fill an entire area, plus all the areas that have the same color will be converted to the new fill color
- To remove fill from a cell or cells, select the “no fill” icon
- Use the left and right arrow keys to toggle between colors in your color group

If you have large areas to fill, you can also use the live paint selection tool (shift + L) to select large areas of the grid and pick a color to fill them.
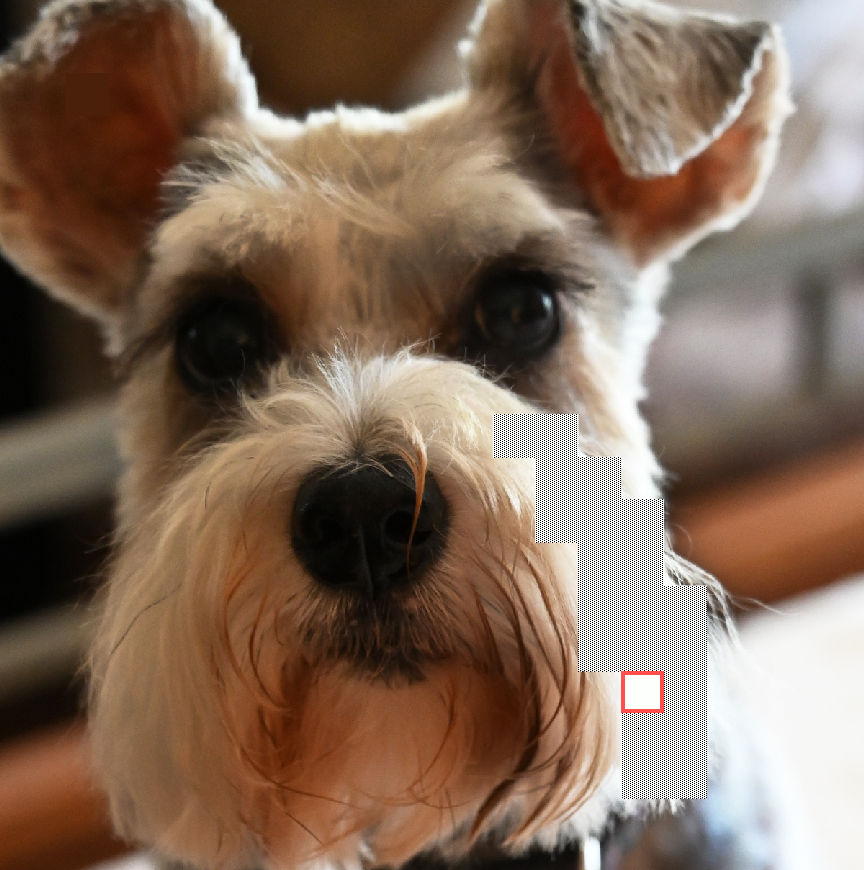
I added a couple more colors to my picture to give it a background (this is optional). Here’s how it came out:
Step Six: Make Final Color Changes
Now you can make final changes to your picture. You can either adjust colors individually by altering your global colors, or you can recolor your entire picture by testing out alternative color palettes
Recoloring Artwork
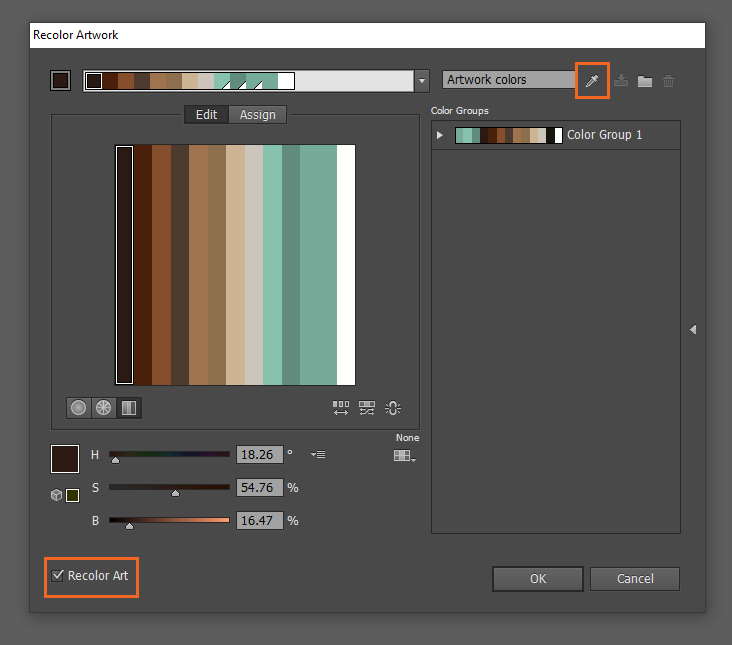
Select your grid layer and click this Recolor Artwork icon:

Here you can add new color groups, edit existing groups, and make changes to colors individually or as a group. Experiment with new color palettes until you have 2-3 versions of your pixel art (make duplicates your “grid layer”). As you’re experimenting, here are some tips…
- make sure the recolor art box is checked to see a live preview
- anytime you want to reset the preview of your art to the way it was originally, click on the eyedropper icon in the top right
- anytime you want to save a new color group, enter a name in the top right and click on the color group/folder icon
Decrease the Number of Colors
One thing you can try is decreasing the number of colors in your existing color palette. Click on the Assign tab and select “All” from the color dropdown to select all of your colors.
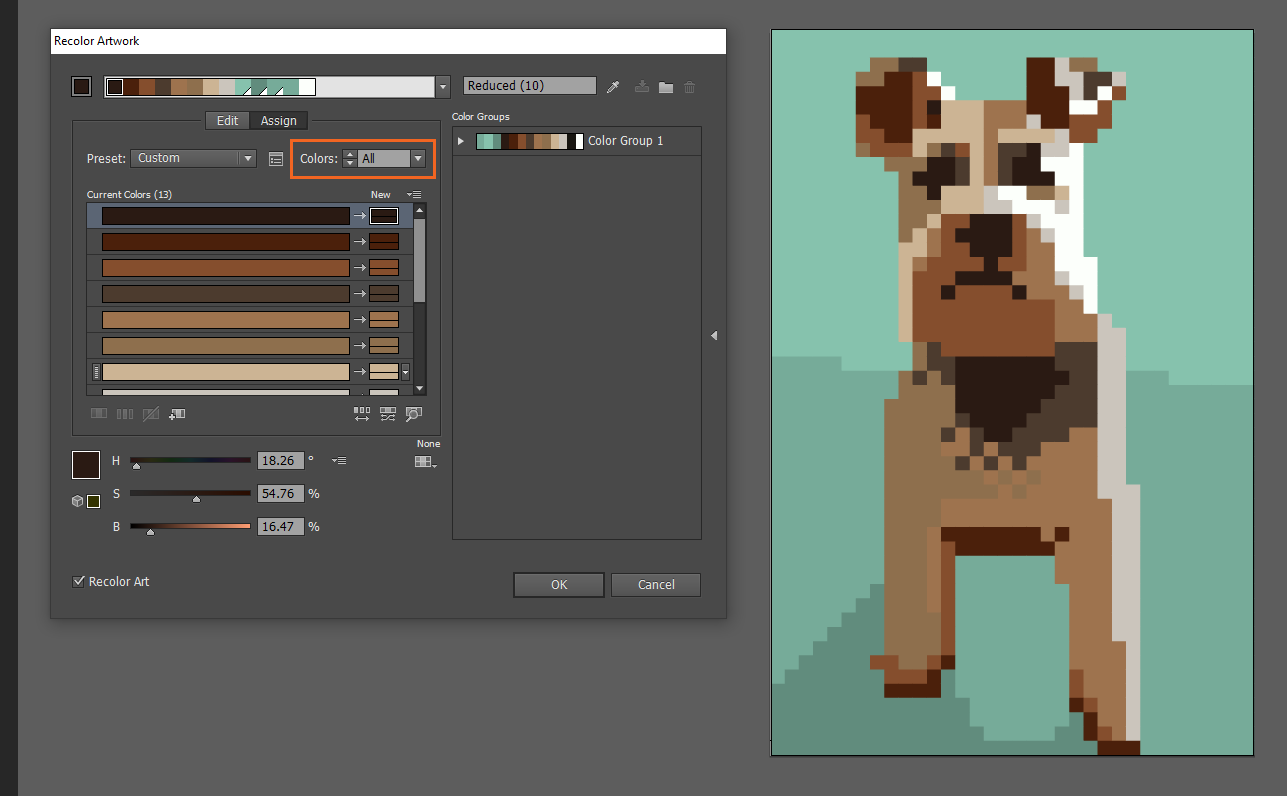
Then use the down arrows to take away a color one by one until you find a more subtle, muted version of your color palette.

Switch to a Preset Color Scheme
You also have the option of limiting your colors to a particular swatch library. Click on this swatch icon to play around with different palettes:
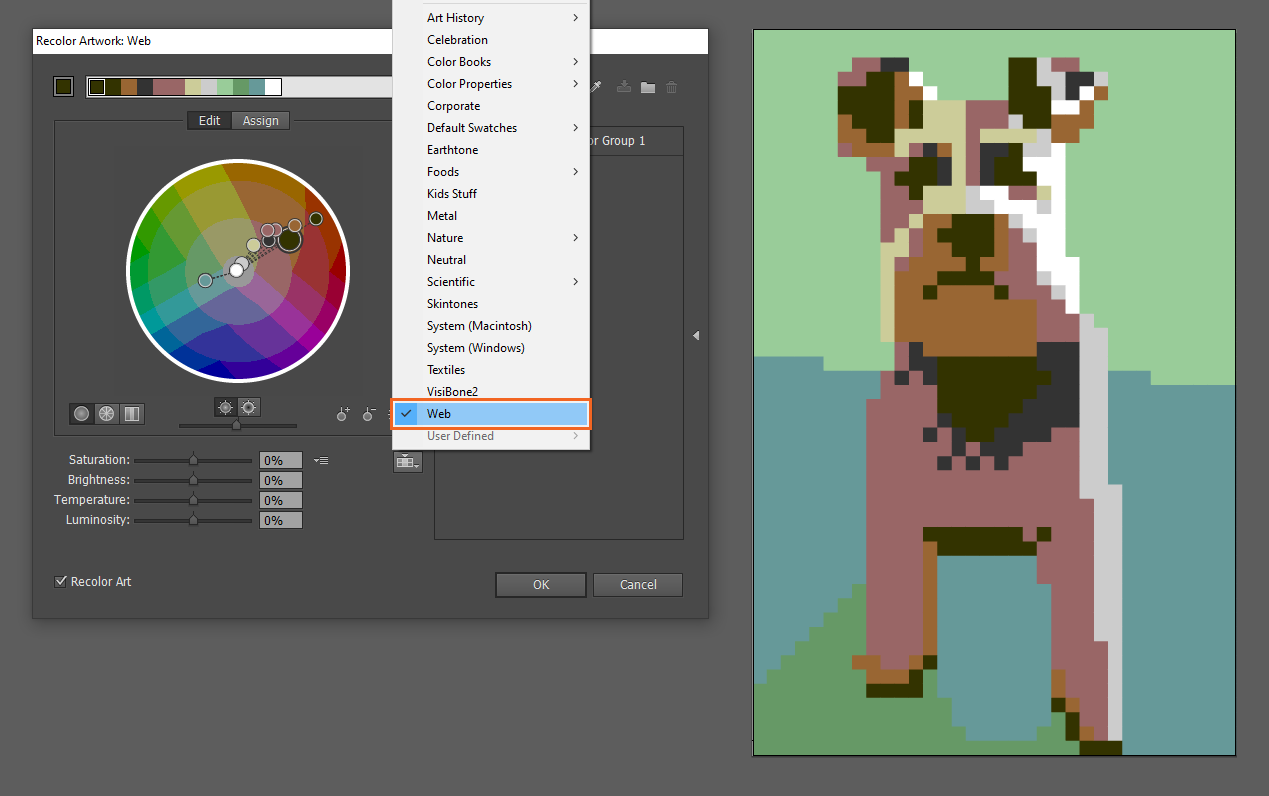
From there you can make adjustment to any color individually in either the Assign tab (by moving the sliders in RGB mode or HSB mode) or the Edit tab (by moving a color to different points on the color wheel).
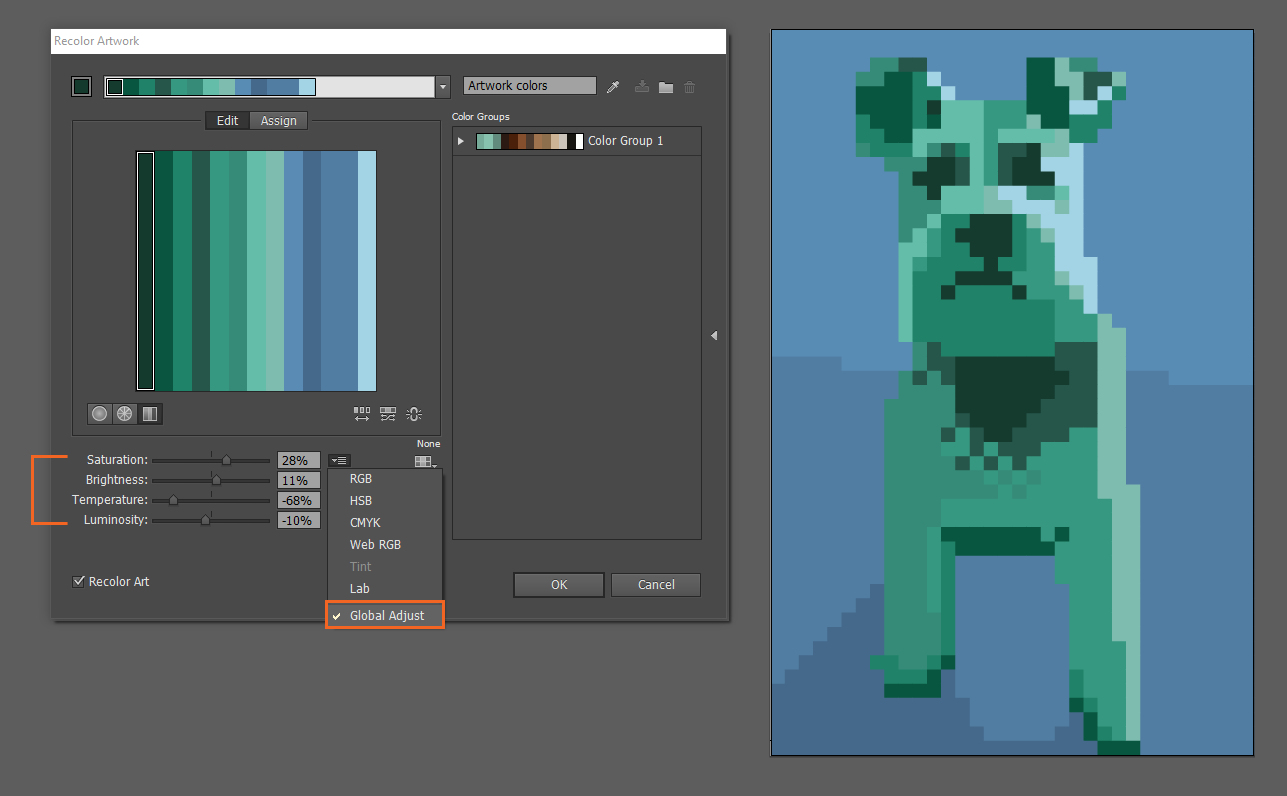
Make Global Adjustments
Even if you didn’t include global colors initially, you can still globally adjust the color in your artwork. When you’re in the Assign tab, click on the menu dropdown icon and choose Global Adjust. Here you can adjust the saturation, brightness, temperature, and luminosity of your entire artwork.
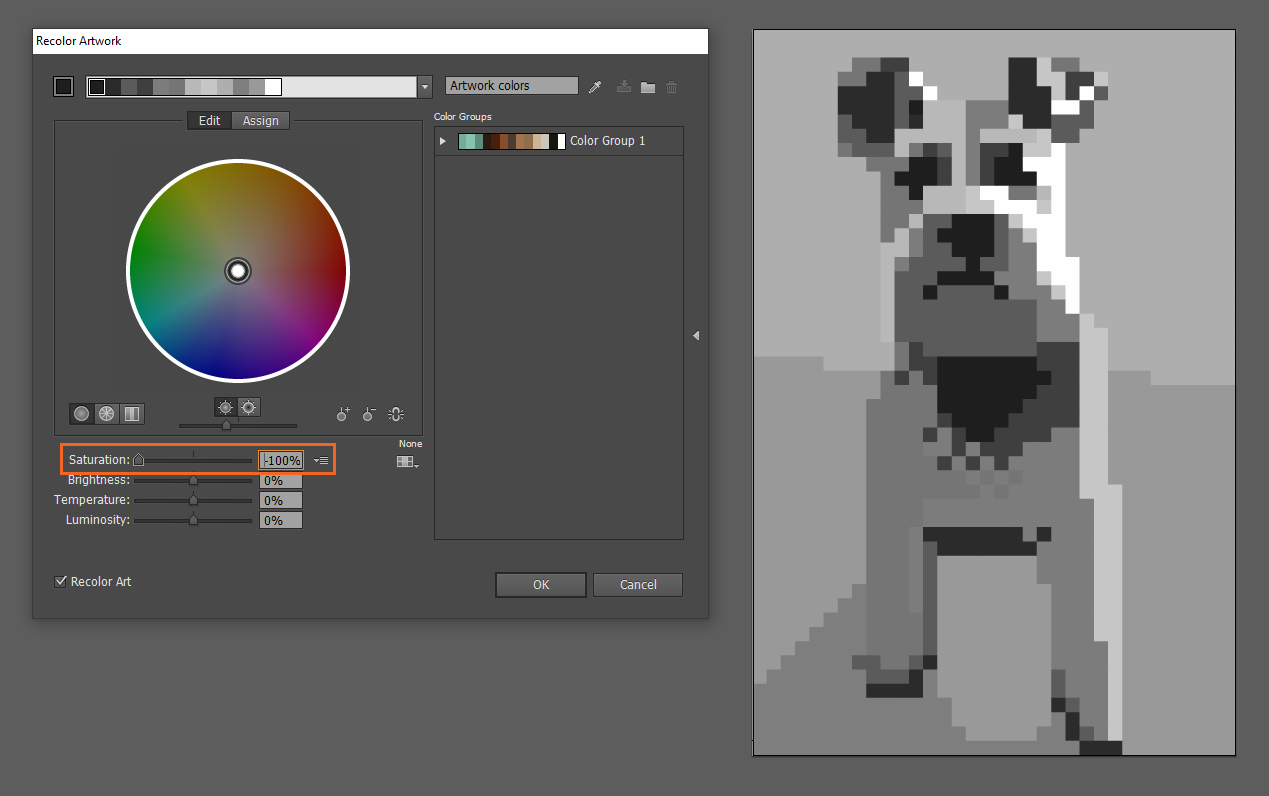
Make it Monochromatic
If you wanted to experiment with monochromatic color schemes, one way to do that is by turning down the saturation globally (to -100%):
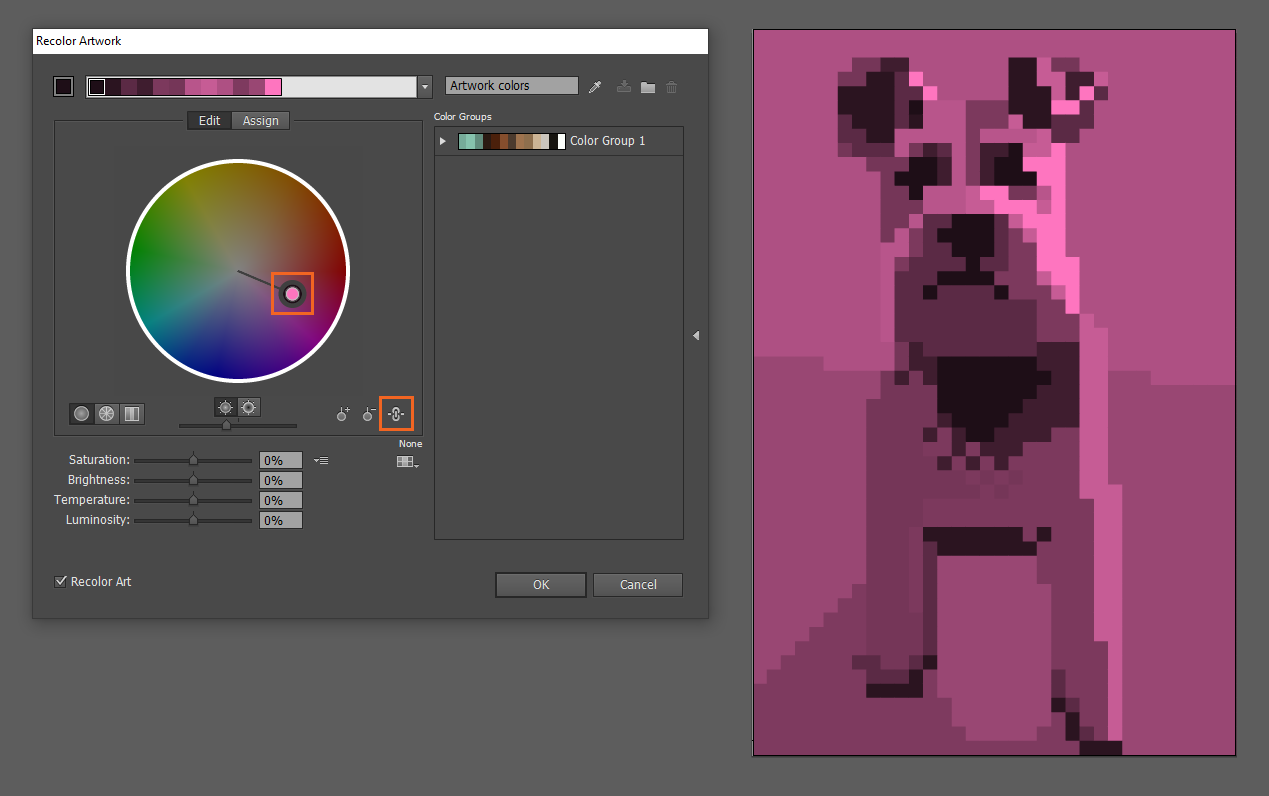
Then go to the Edit tab and click on one of the color wheels (there’s a segmented and a smooth color wheel). Click on the icon to link harmony colors. This lets you drag all of your colors to different points on the wheel while maintaining the harmony/contrast between them (just make sure to drag the outer black rim).
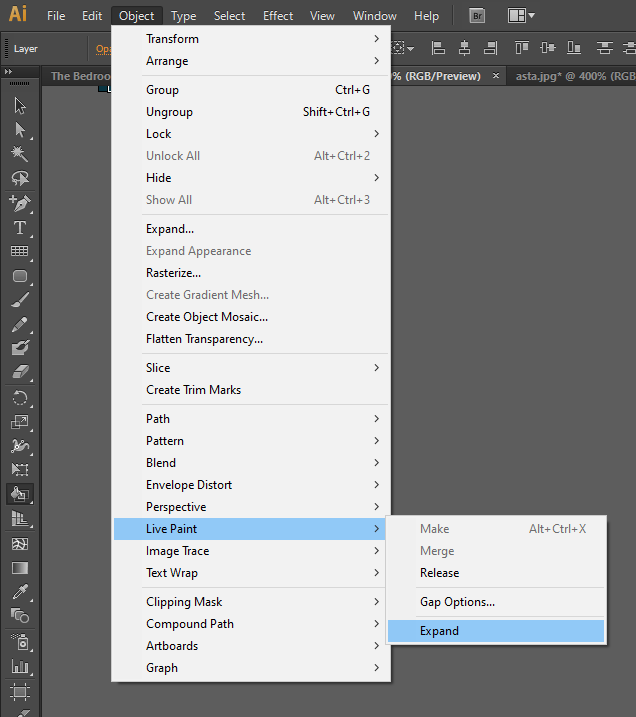
Step Seven: Expand Your Live Group
When your want detach your pixels from the grid, go to Object > Ungroup.
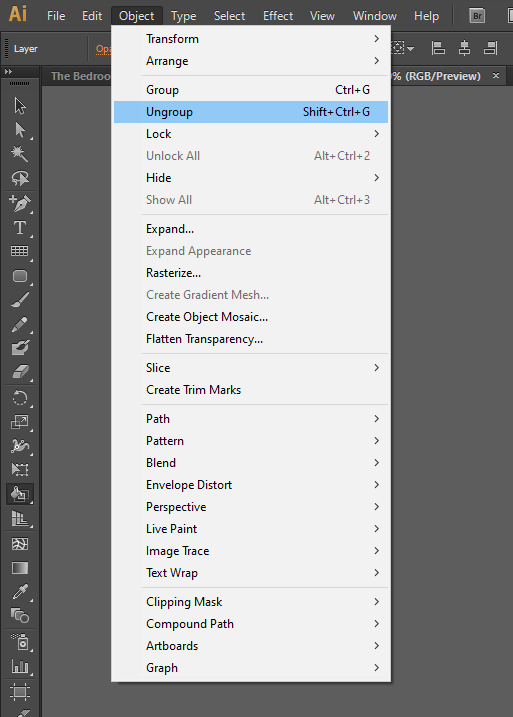
Then go to Object > Live Paint > Expand.
Now you’re left with individual solid color squares, which you could move around if you wanted to.
Since the pixels are separate objects, you’ll also see these thin lines separating them:
These lines won’t be visible once you export the file, so you don’t have to worry about merging the shapes.
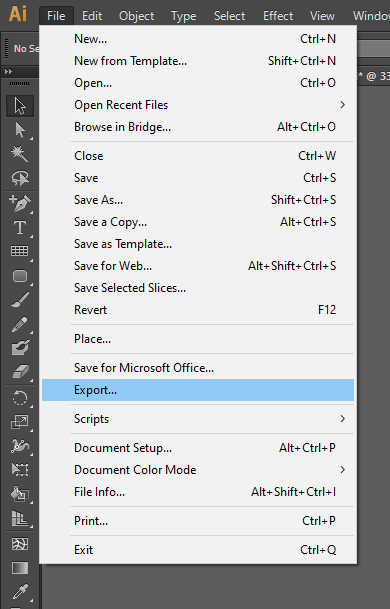
Step Eight: Export Your Images
Finally, export your image by going to File > Export and saving it as a PNG. Do this for all 2-3 versions of your image.
And the final product! Before you close out this training, post your images to your blog and to Basecamp for final feedback.