
WordPress is a Content Management System (CMS) used to help one build a website or blog without prior web development experience. In this tutorial, we will learn how to:
- Set up a basic WordPress site locally
- Write and publish posts and pages
- Style a site using the WP theme customizer
Note: we will be using the WordPress block editor as oppose to the classic editor. Read more about the differences between the two here.
Before starting this training, complete the following tutorials to set up a local Grav site on your machine:
- How to Install MAMP
- Installing WordPress Locally
Set Up: Installing Your Astra Child Theme
WordPress uses themes. Themes are templates that include pre-defined styling and basic functionality for sites.
When we create our own websites using CMS’s, we will usually be making our own customizations on top of these base themes.
To do this, we make a child theme that inherits from our parent theme, Astra.
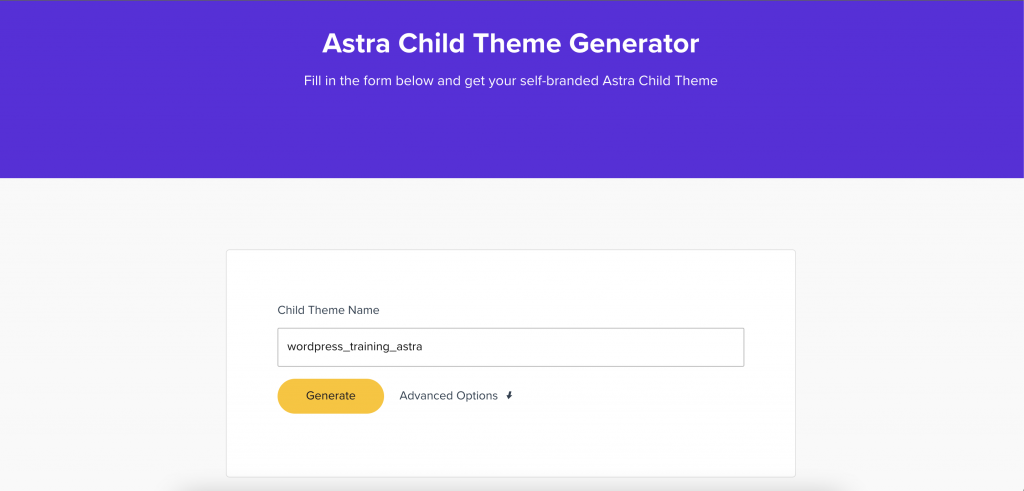
Making a child theme of Astra is super easy. Go to Astra’s child theme generator: https://wpastra.com/child-theme-generator/.
Choose a name for your new child theme (ex: wordpress_training_astra) and click Generate. This will save a .zip file of your new child theme to your computer.
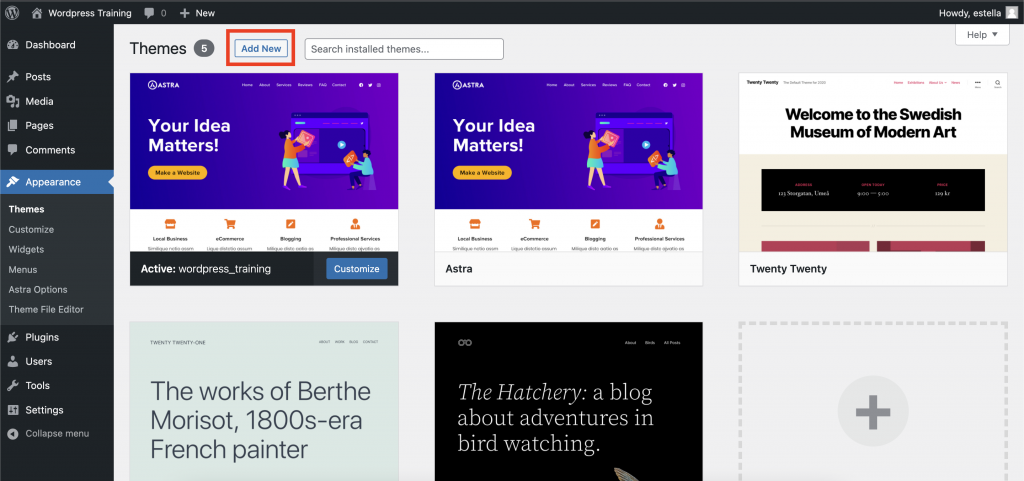
Next, go to your WordPress dashboard. Click on the Appearance > Themes tab. Click Add New.
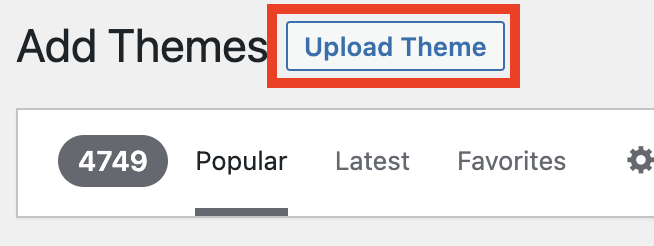
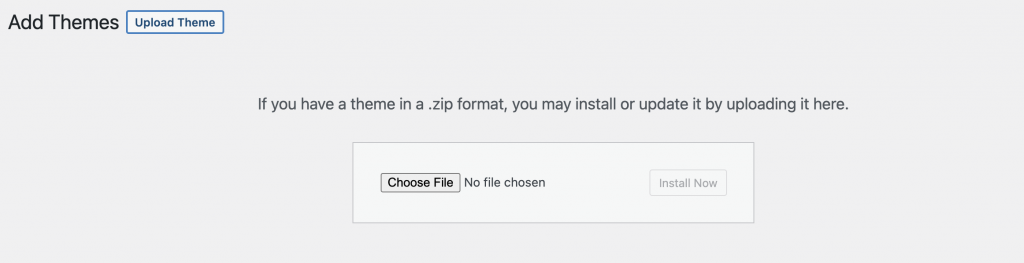
Then click on Upload Theme and upload the .zip file you just downloaded.
Now if you go visit your site, it should be the basic Astra template.

Write and Publish a Page
Now that we have set up our site, let’s create some content.
First, we’ll make a home page.
Go to the Pages tab in the left sidebar.
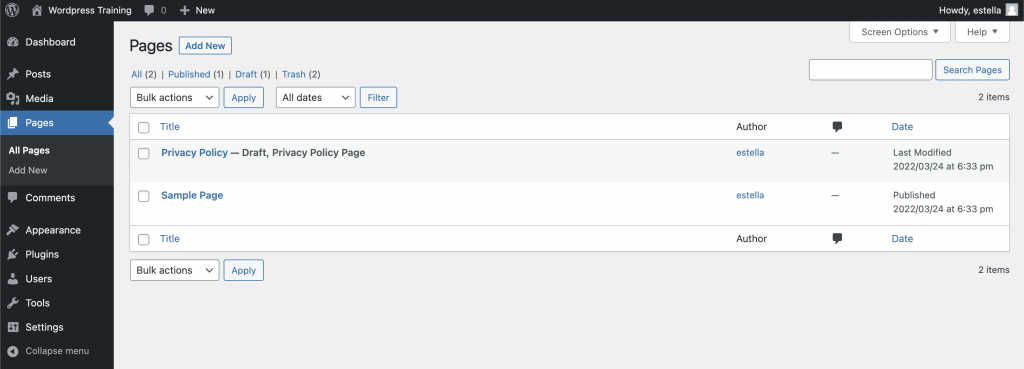
Click Add New.

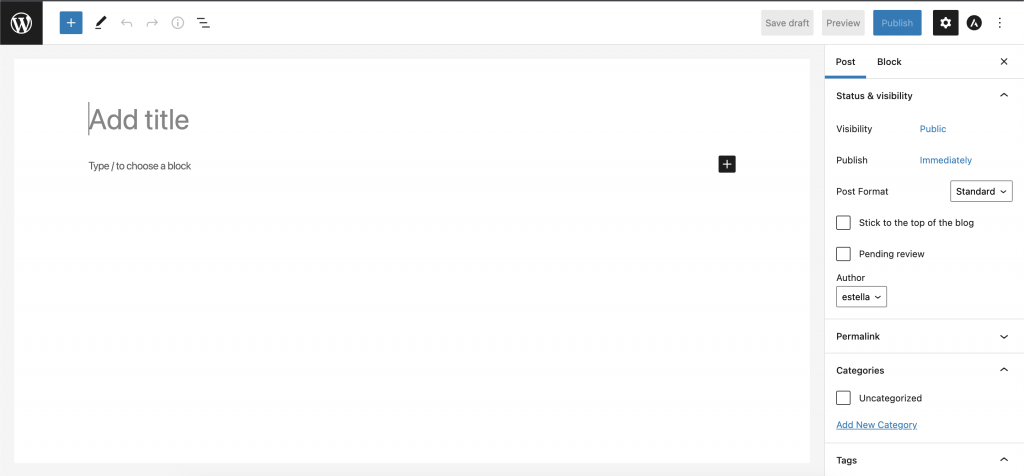
This will take you to the page editor.
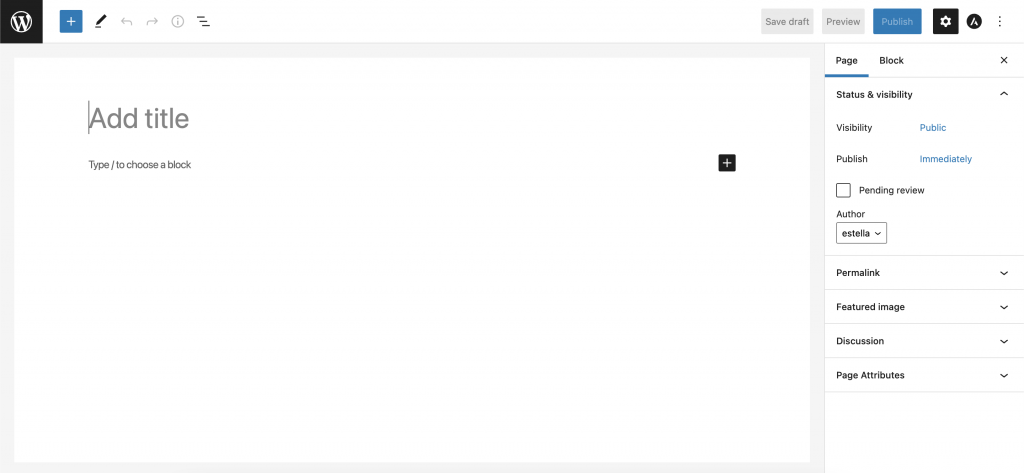
WordPress uses content modules called blocks. Using these blocks, you can add various elements to your pages like headings, paragraphs, images, grids, etc.
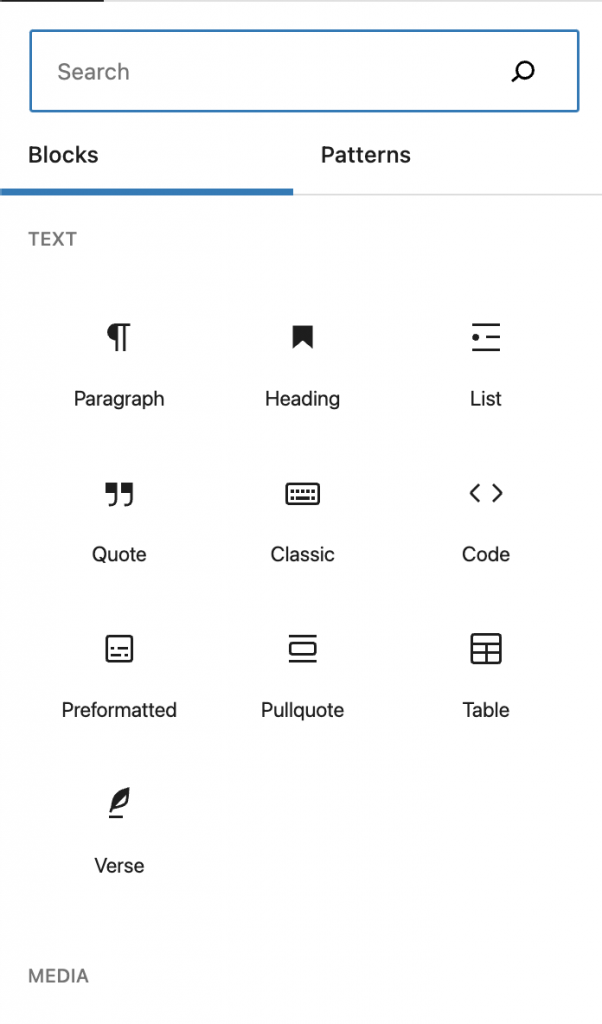
To add a new block to a page, click on the + icon.

Click on Browse All to see the full list of blocks available to you.
There are other metadata options about the post that you might want to explore. These are located in the right sidebar.
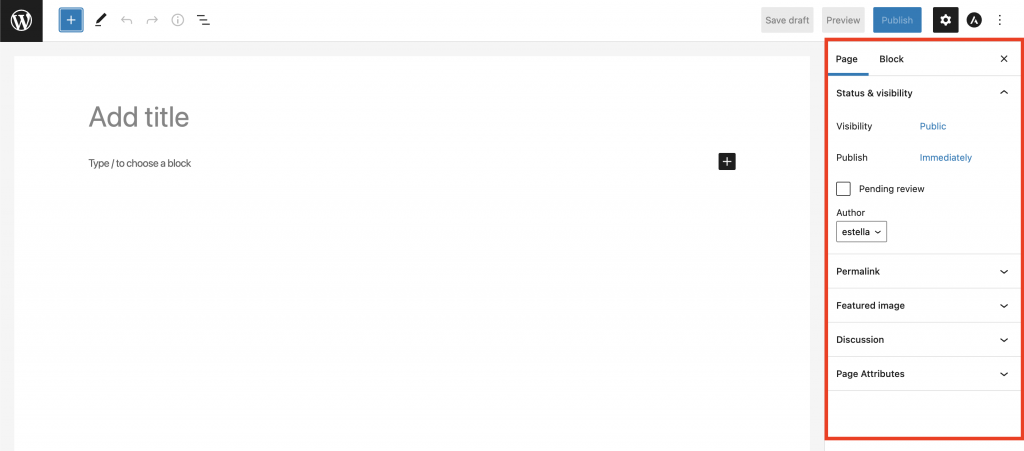
You can edit the Page metadata or select a block and edit the block metadata.
Now let’s start by adding a title and some text content to our home page.
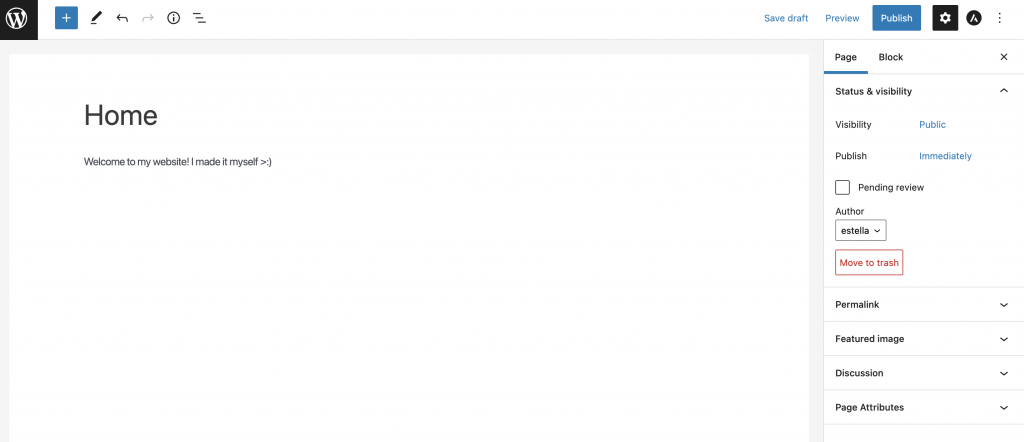
Once you are done editing your content, click the Publish button.
If you visit your site, you will notice that the new page we created doesn’t show up as the home page. We will go and set it to function as the proper home page later.
Write and Publish a Post
Now that we’ve created a page. Let’s take a look at WordPress’s other content type, posts.
Go to the Posts tab in the left sidebar.
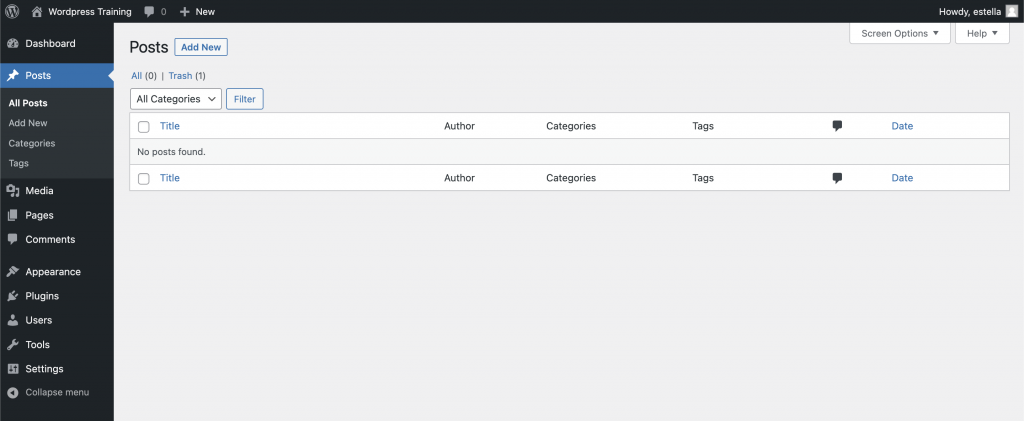
Click Add New. This will take you to the post editor.
Editing post content is very similar to editing pages.
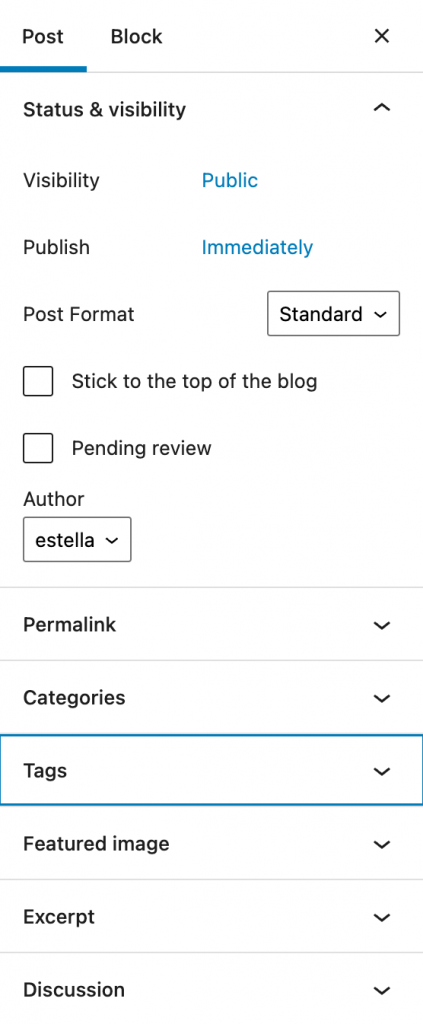
If you look at the right sidebar and examine the Post metadata options, you will notice a few differences from the page editor.
Here, you can add things like tags and categories as well as add excerpts and featured images for each post.
Start by adding a title and some post content. Upload a featured image and add an excerpt.
Once you’re done editing, click Publish.
Posts vs. Pages
When working in WordPress, the distinction between pages and posts is important to note. The differences can be summarized by the following points:
- Posts are timely, and pages are timeless.
- Posts are meant to be shared on social media, and pages are not.
- Posts are organized using categories and tags, while pages are hierarchical and organized as child and parent pages.
- Posts have an author and published date, while pages do not.
It’s helpful to think of how a blog works. The posts are individual articles that the author publishes while a page would be something like an About Me or Contact page.
Customizing the Theme
Now that we have created some content for our site, let’s start customizing the theme itself.
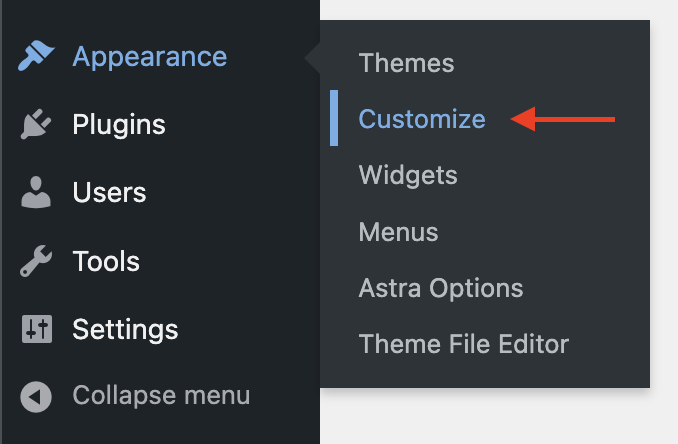
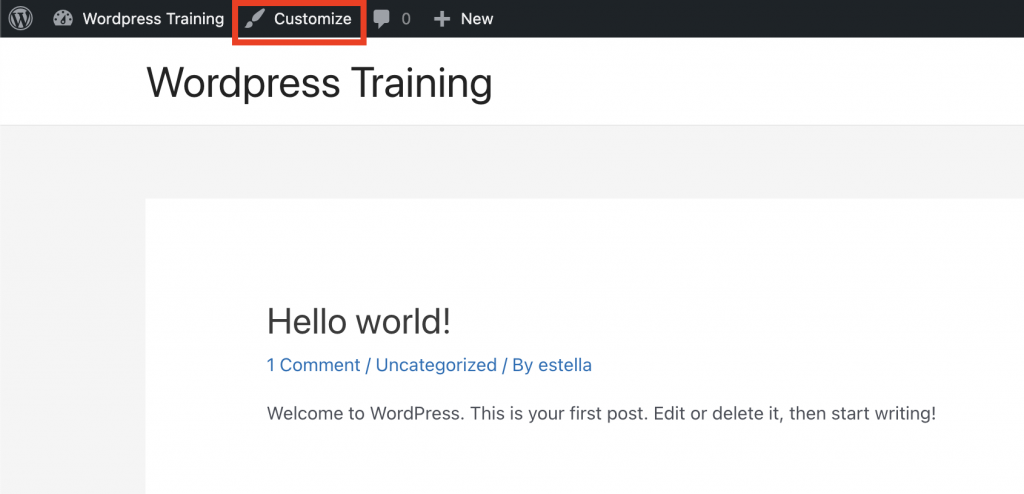
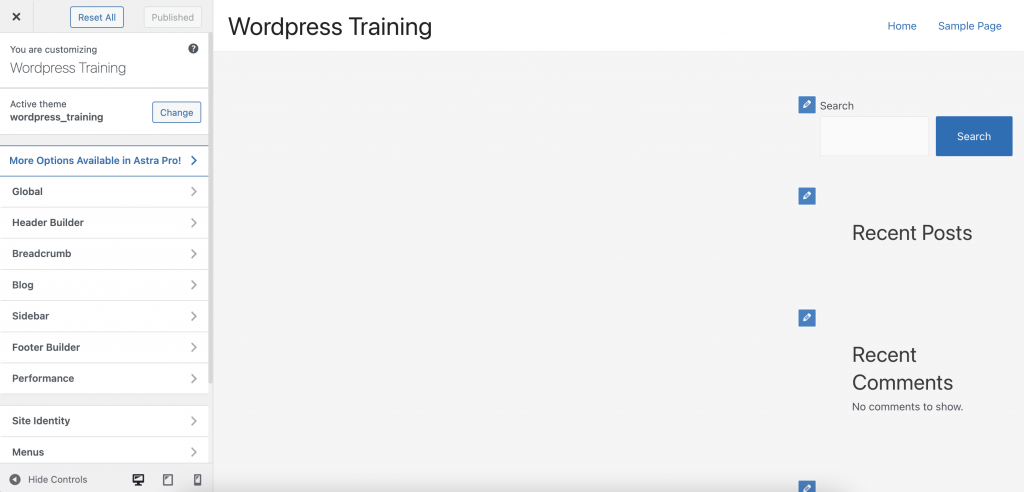
There are two ways to access the Theme Customizer.
You can go to Appearance > Customize in the left sidebar or you can click on Customize at the top when viewing your site.
The Theme Customizer is where you can edit overall site styling, the header, the footer, and general site layout.
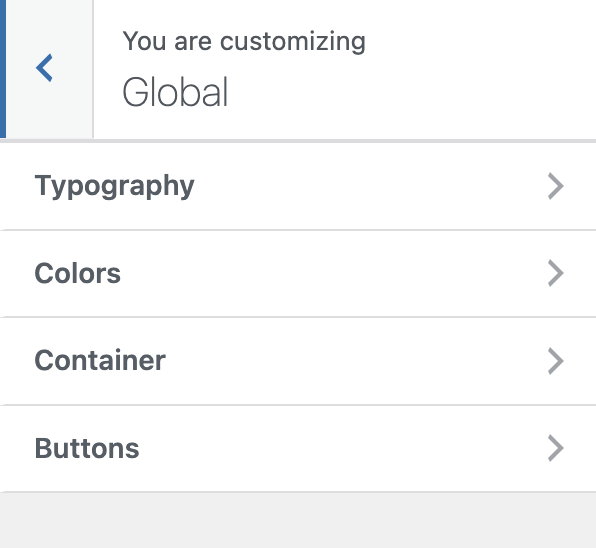
Global
The Global tab is where you can edit:
- typography
- colors
- container
- buttons
These styling preferences get applied to the entire site.
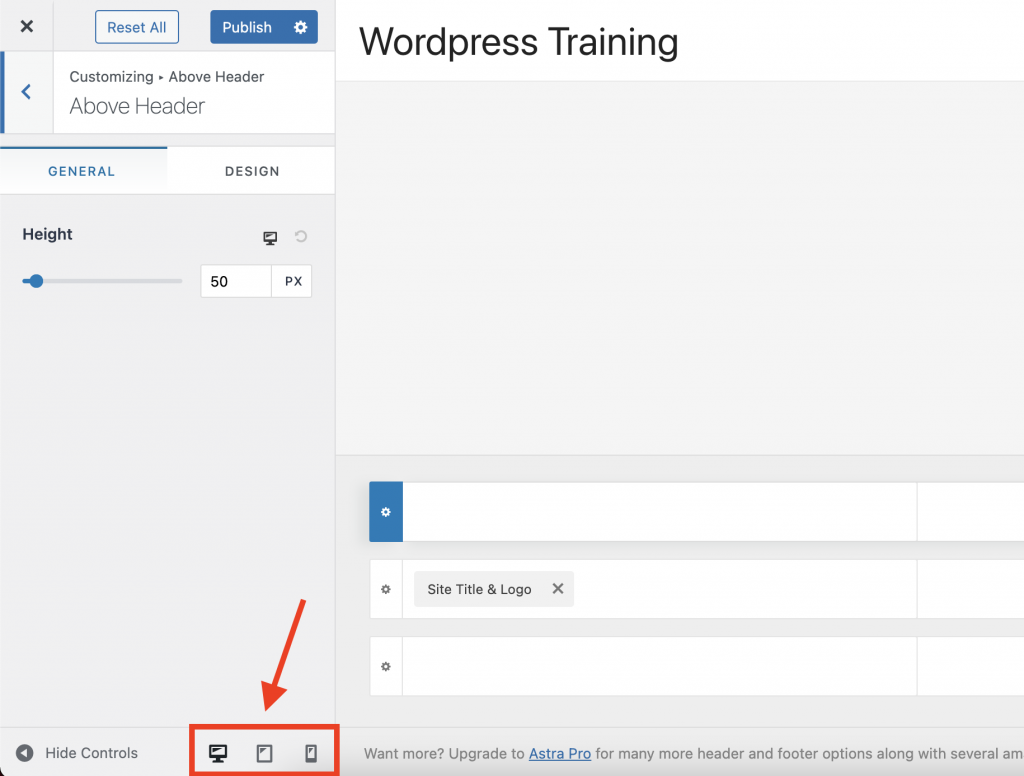
Header & Footer Builders
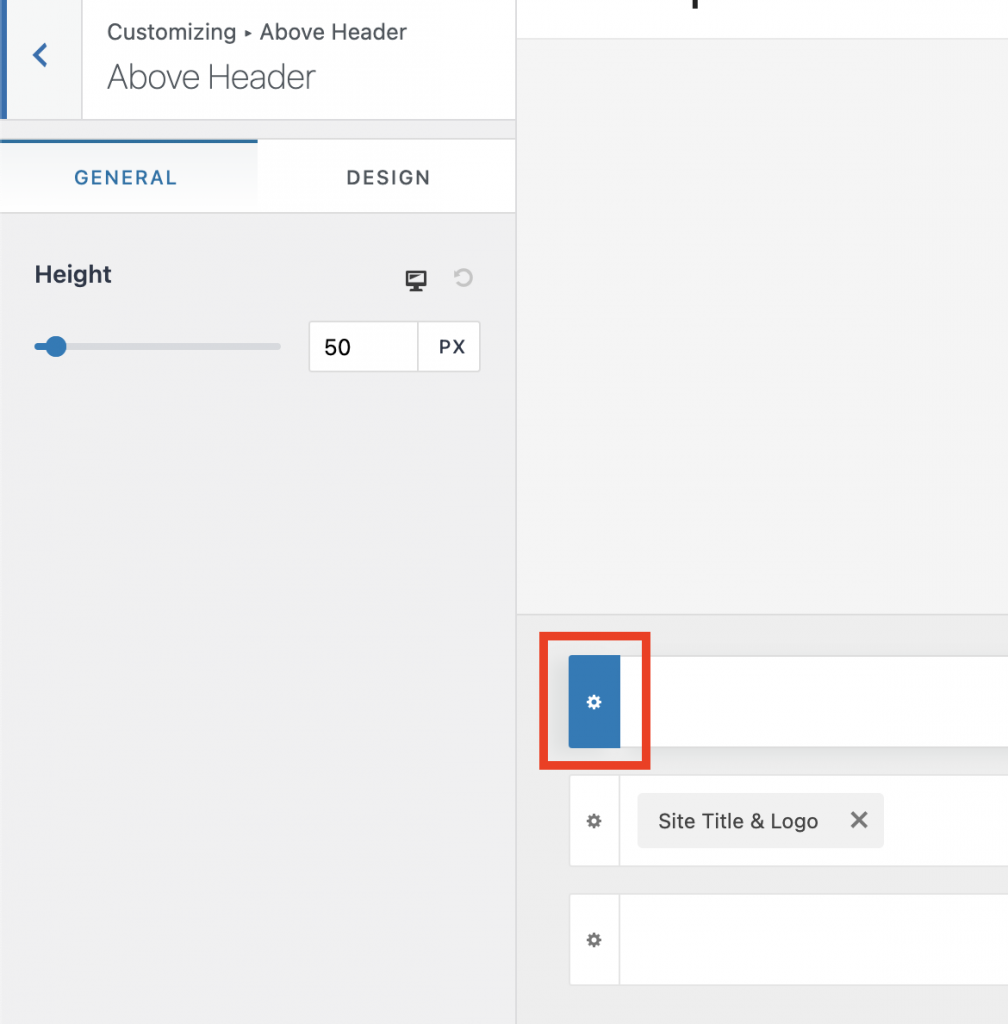
For both the header and footer, there are 3 sections of the header that can house elements: above, primary, below.
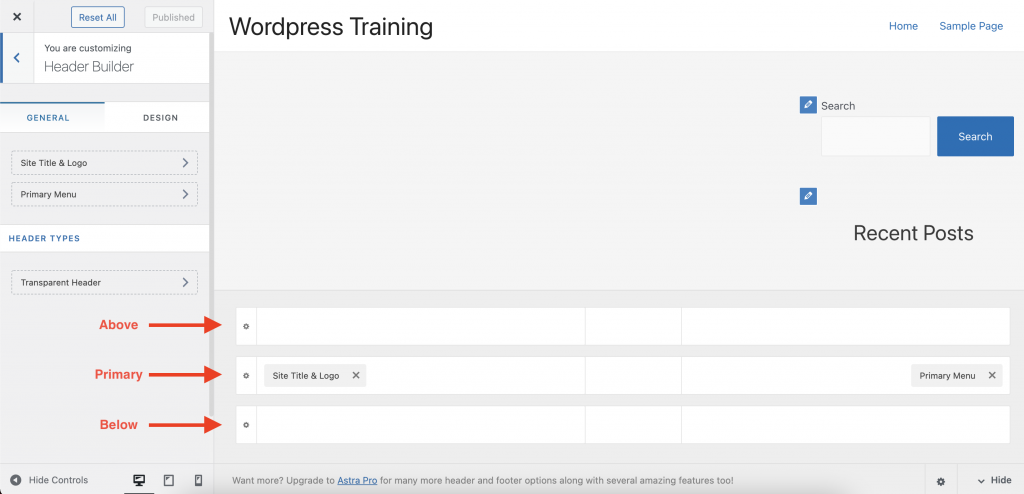
In each section, you can add elements like custom HTML or widgets which use blocks.
Click on the gear icon, to customize the 3 sections. Click on the elements themselves to edit the content.
You can also customize the mobile header. To switch to mobile view, click on the mobile icon in the bottom left corner.
The off-canvas menu is the mobile menu. You can edit its properties by clicking on the gear icon.

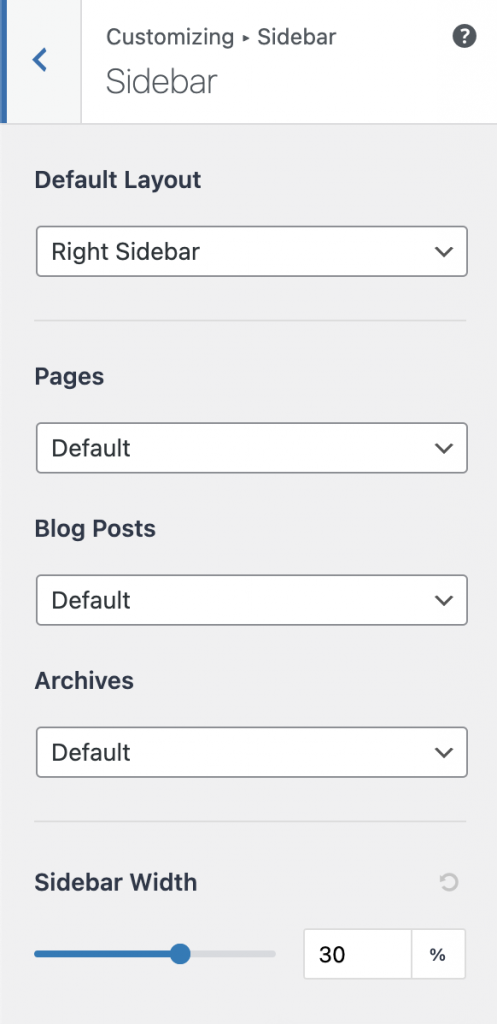
Sidebar
The Sidebar tab is where you can remove or apply sidebars to pages or posts.
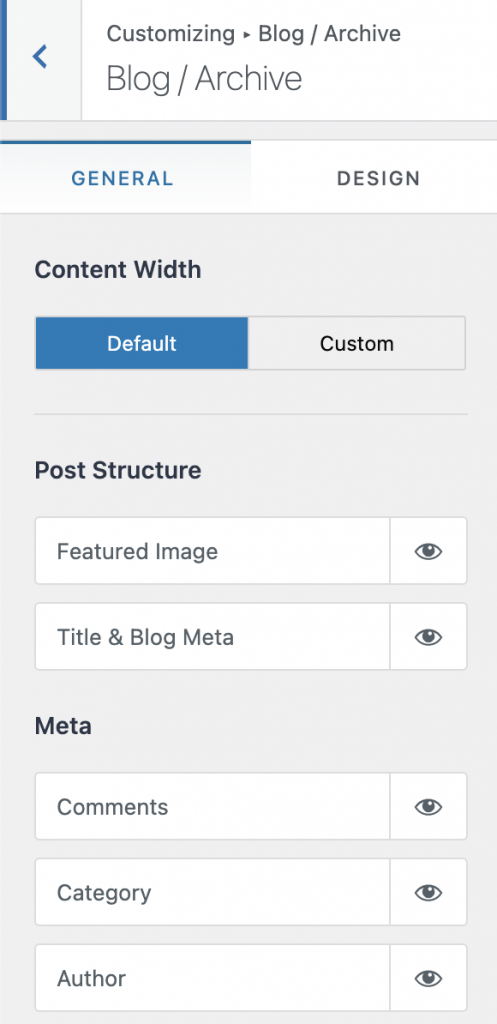
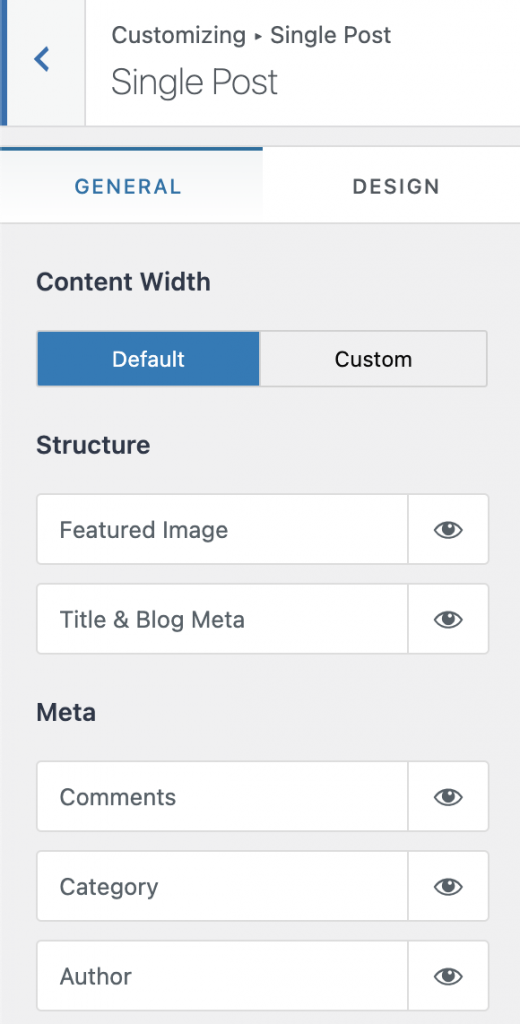
Blog
The Blog tab allows you to choose what metadata gets displayed on blog archive pages and single post pages.
Homepage Settings
The Homepage Settings tab lets you choose which page to assign as the front page (aka the home page).
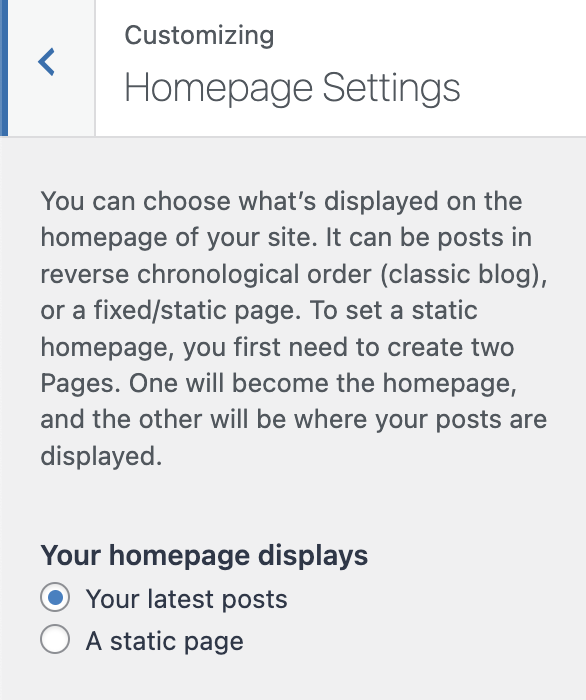
Click on “A static page” and under the Homepage dropdown, select the custom home page you created earlier.
Once you’re done customizing your site, click Publish.
Menus
Go to Appearance > Menus in the left sidebar.
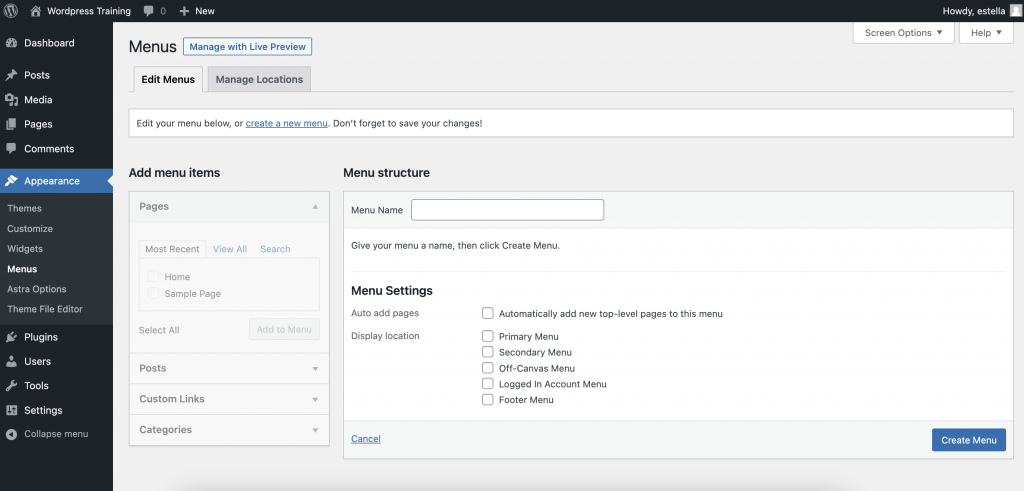
You can create various custom menus to use across your site.
Give your menu a name (ex: main menu) then click Create.

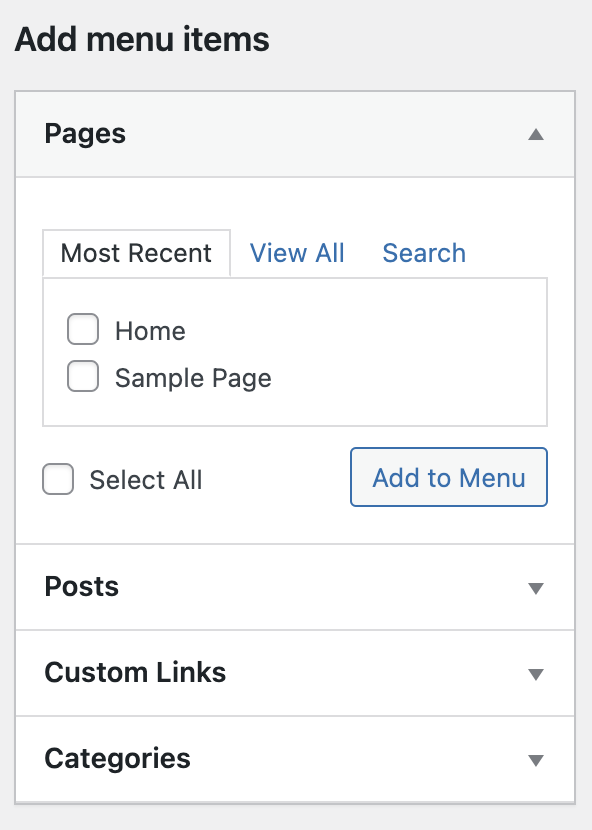
On the left you will see a list of pages and posts. You can also add custom links.
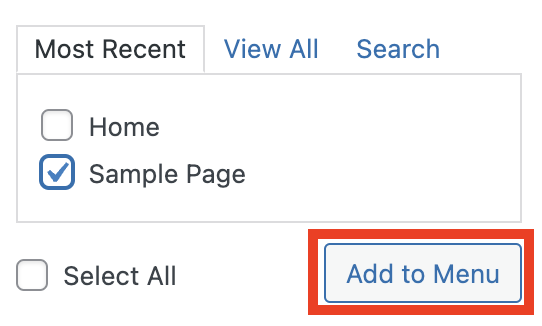
Select the Sample Page and click Add to Menu.
You can click and drag the menu items to order them how you want.
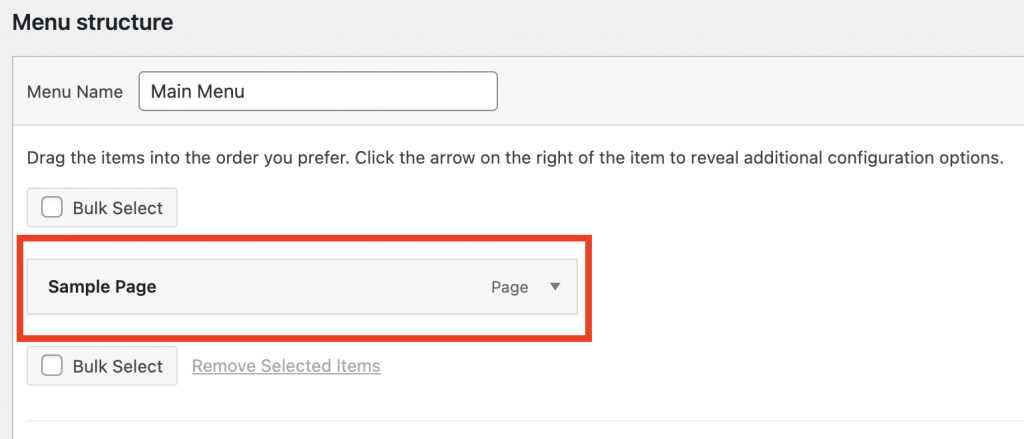
Once you’re done editing, click Save Menu.
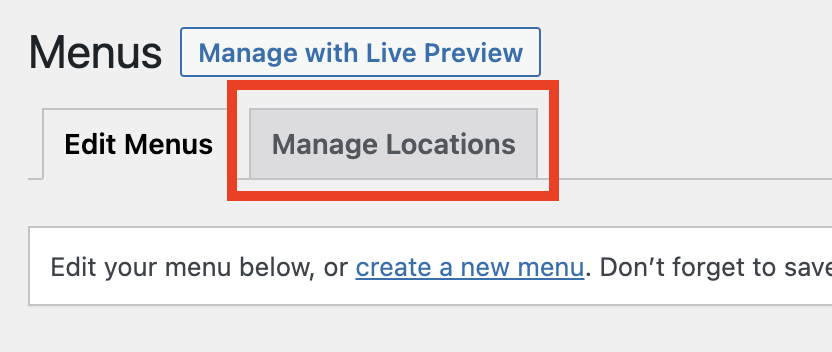
Now click on the Manage Locations tab. This is where we can assign where we want our menus to be displayed. Astra supports up to 5 menu locations that are listed in this tab.
The Primary menu is the menu that’s displayed in the header at the top of the site.
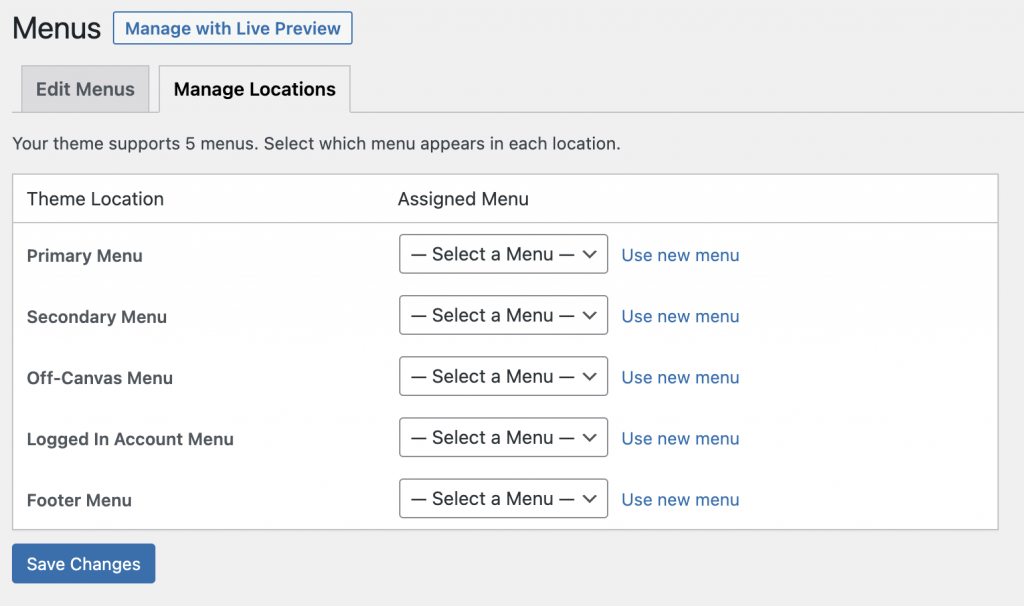
In the Assigned Menu drop down, select the menu you just created.
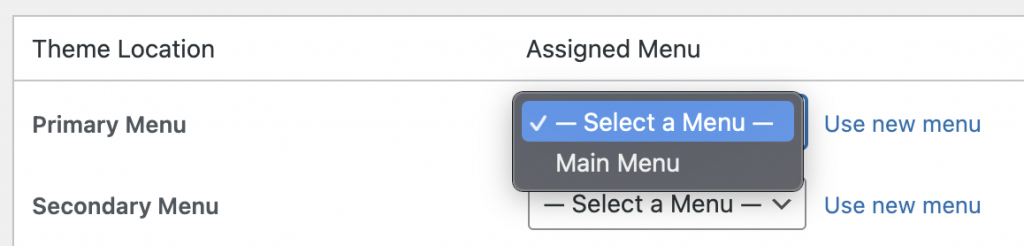
Click Save Changes.
Additional CSS
Just knowing your way around the WordPress dashboard can get you pretty far in customizing your site. Sometimes projects will call for more complex designs and styling.
You can add CSS to your child theme by directly editing the styles.css file.
To get to this file, go to your:
wordpress_root_folder/wp-content/themes/your_astra_child_theme/styles.css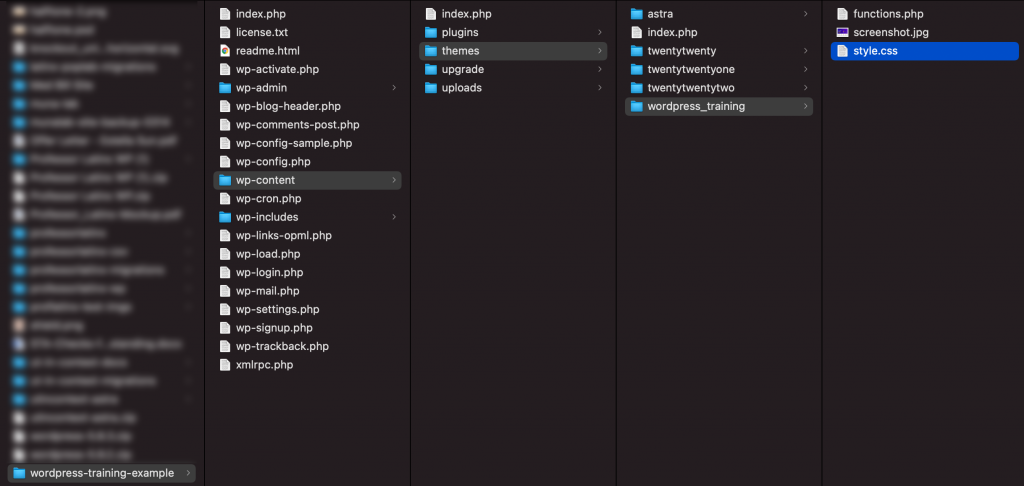
Open style.css in the code editor of your choice and add your CSS directly into the file.
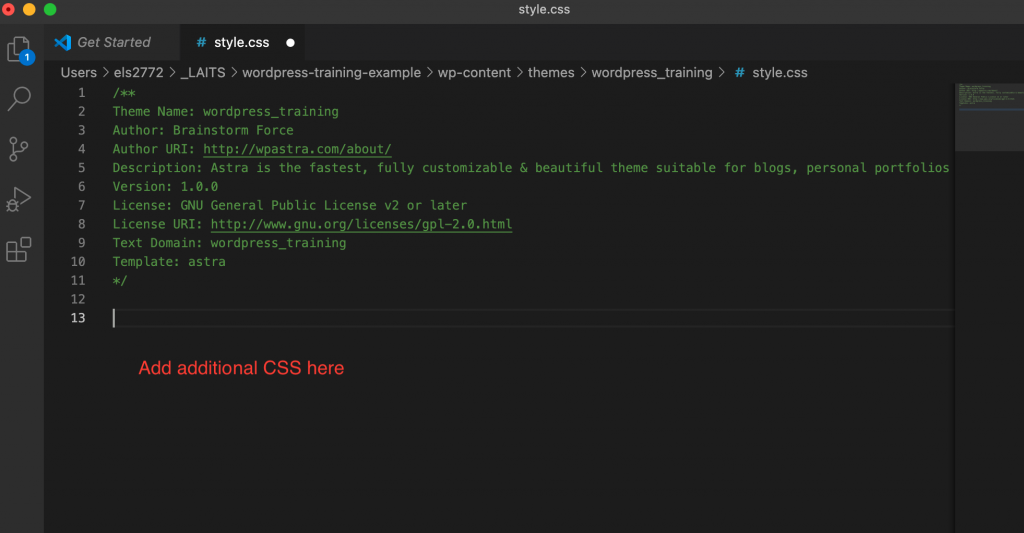
Refresh your site and any changes you make should be reflected.
Plugins
Often times, you will want more specialized functionality. This can be achieved with plugins. WordPress has an extensive library of free plugins at your disposal.
Note: While plugins can be very useful, they can also be a point of vulnerability in your site’s security. If you are looking to install a plugin for your project, be sure to ask your web dev manager for approval first.
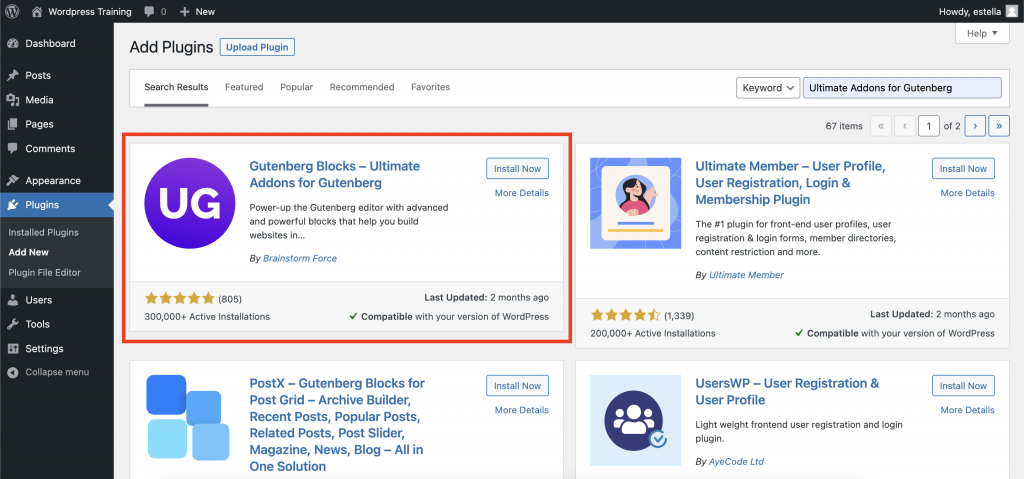
Let’s try installing a commonly used one called Ultimate Addons for Gutenberg. This plugin provides more advanced blocks to build sites with.
Go to the Plugins tab in the left sidebar.
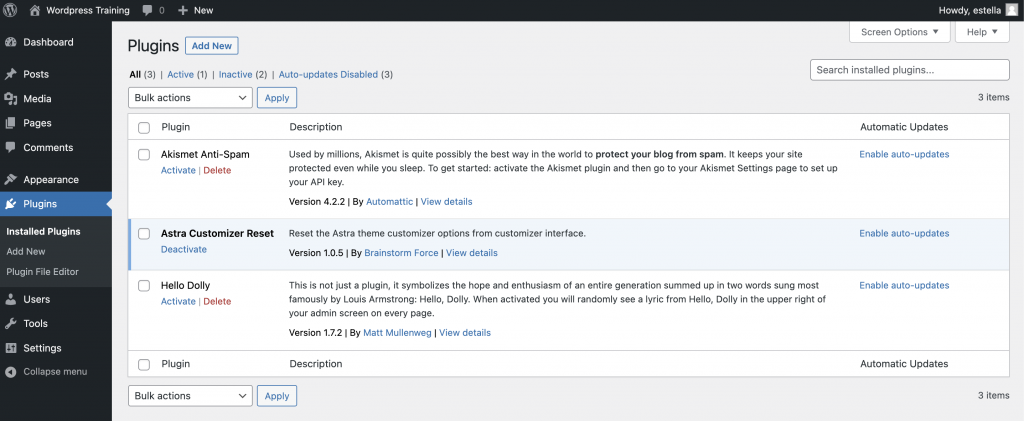
Click Add New.
Search for “Ultimate Addons for Gutenberg”. Click Install Now and Activate.
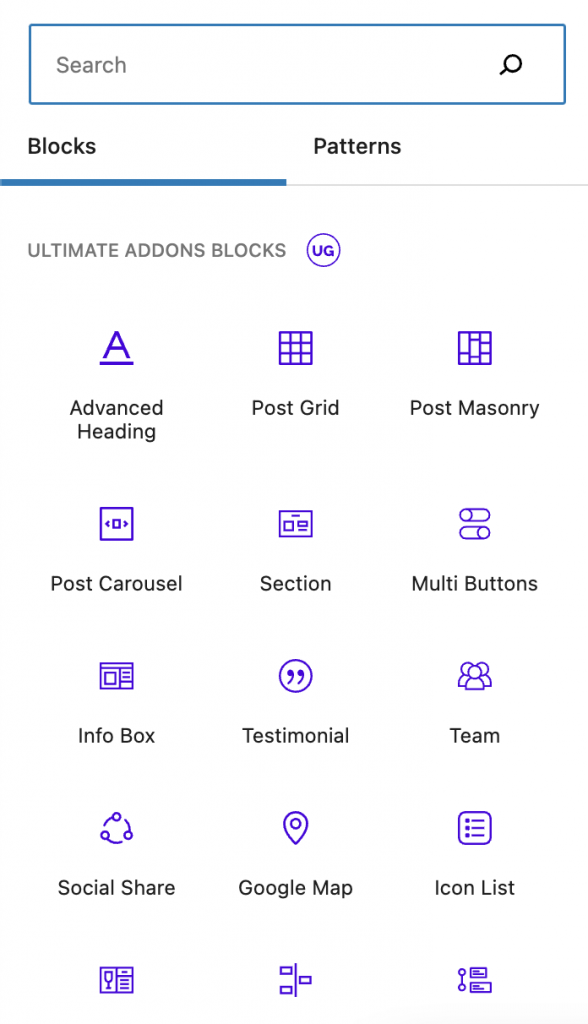
Once activated, go to your home page editor and add a new block. You will notice more block options provided by the new plugin.
Activity
Now that you’ve gotten a basic overview of how to use WordPress, finish creating your custom site on your own.
Make sure your site contains the following:
- Custom typography and color scheme of your choosing
- A custom static home page and 2 additional pages
- One of these pages should include a post grid or post list block
- At least 5 posts
- Custom Header and Footer
- Mobile responsive
Once you’re finished, post screenshots or a screen recording of your entire site on basecamp.
You can read more detailed Astra documentation here: https://wpastra.com/docs/