
Before starting this training, please make sure you’ve already completed the Installing MAMP training.
WordPress is an open source CMS used to create websites, blogs, and web apps. It is one of the most popular content management systems used today and one we often use here at LAITS. WordPress has a powerful arsenal of tools that provide a ton of customization. Sites made with WordPress are paired with databases (unlike Grav) and use a template system, called Themes.
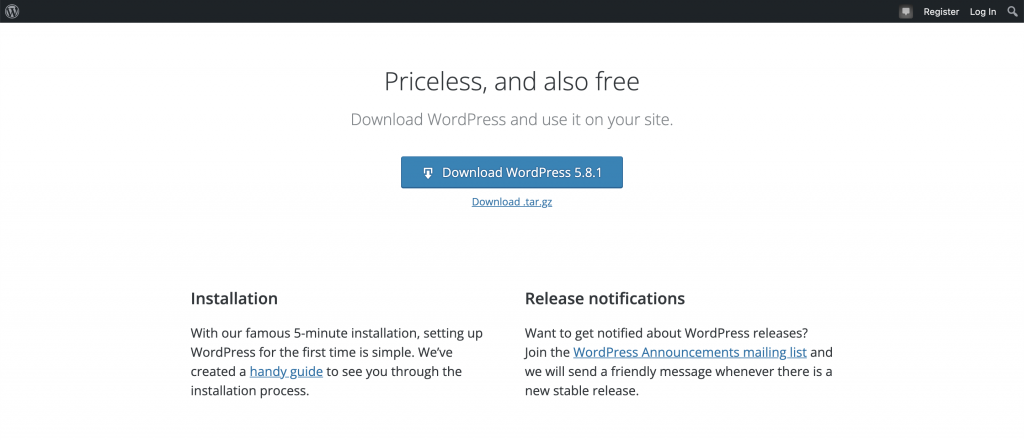
Step 1 – Download WordPress
Go to https://wordpress.org/download/ and download a copy of WordPress. Unzip the file and move the copy to your MAMP Document Root folder.
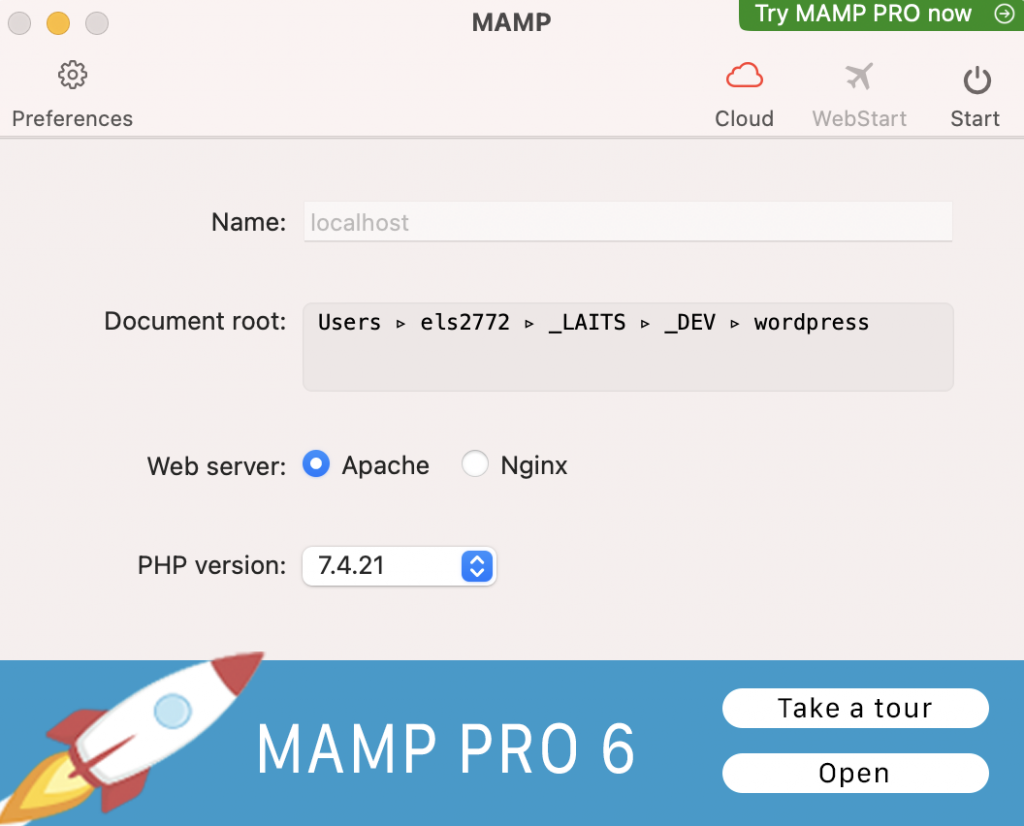
Step 2 – Create a Database
WordPress requires a database to store all website data. Open MAMP and point your document root to your new wordpress folder. Click Start. This should open a new MAMP web browser tab. If it doesn’t, click on the WebStart button.
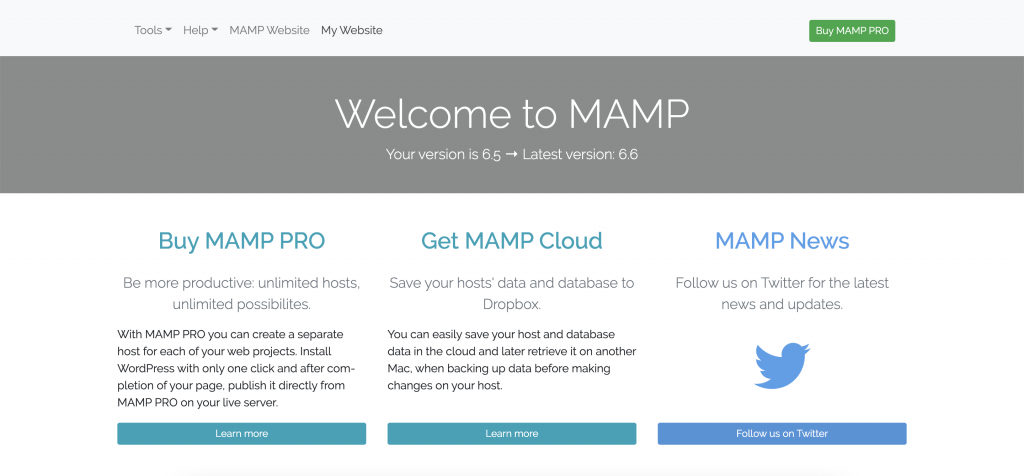
In the upper left, click on Tools > phpMyAdmin.
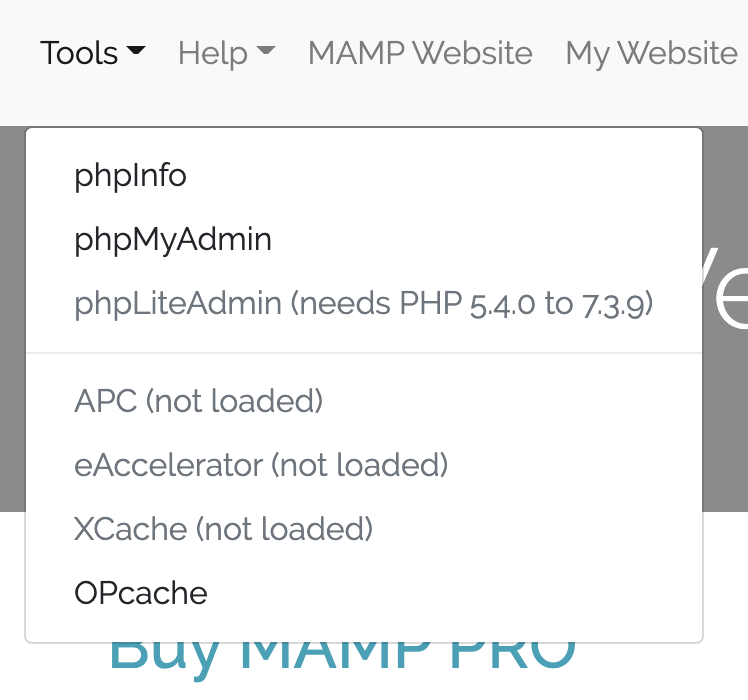
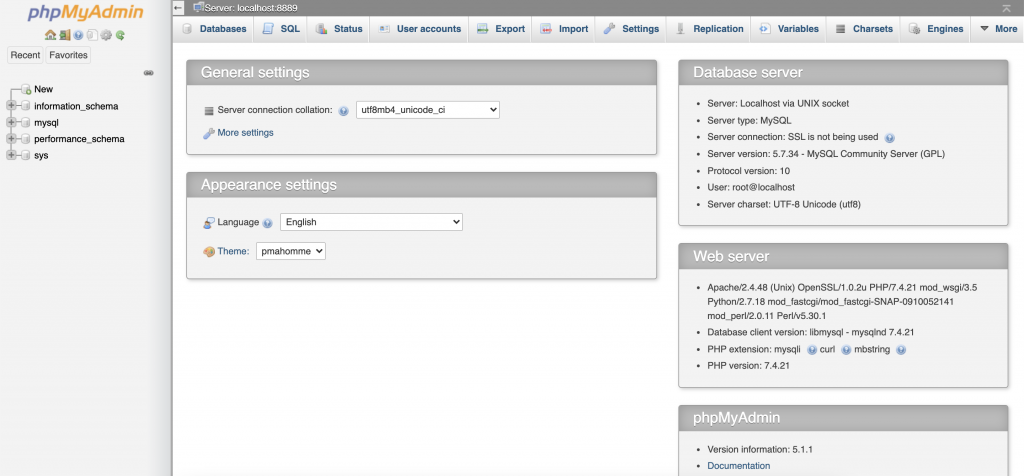
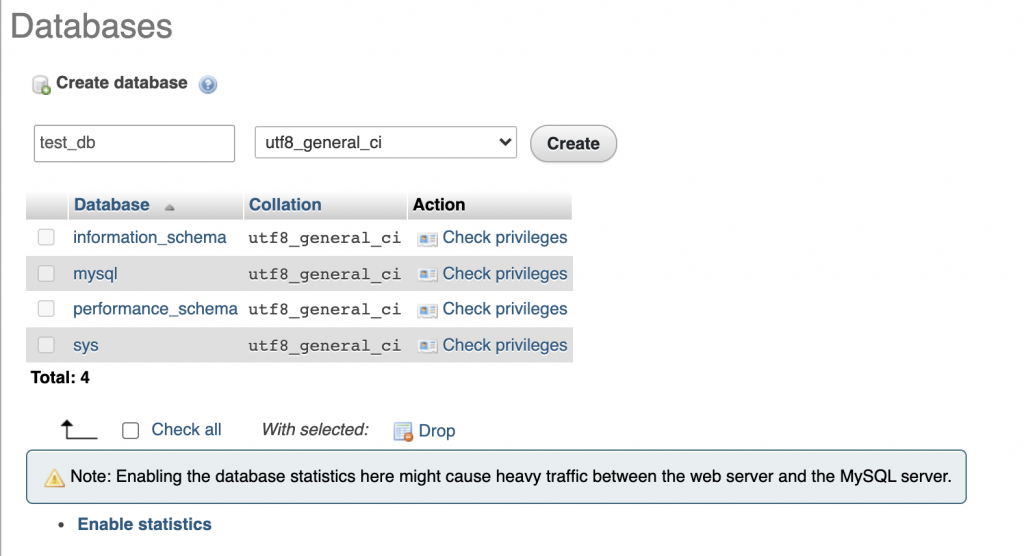
PhpMyAdmin is a web-based application used to manage MySQL databases. In phpMyAdmin, click on Databases and then create a new database.
You can name your database whatever you’d like, but remember it for the following steps. Click Create.
Step 3 – Install WordPress
Once you’ve created your database, go to MAMP again and open another MAMP page by clicking on WebStart. Click on My Website.
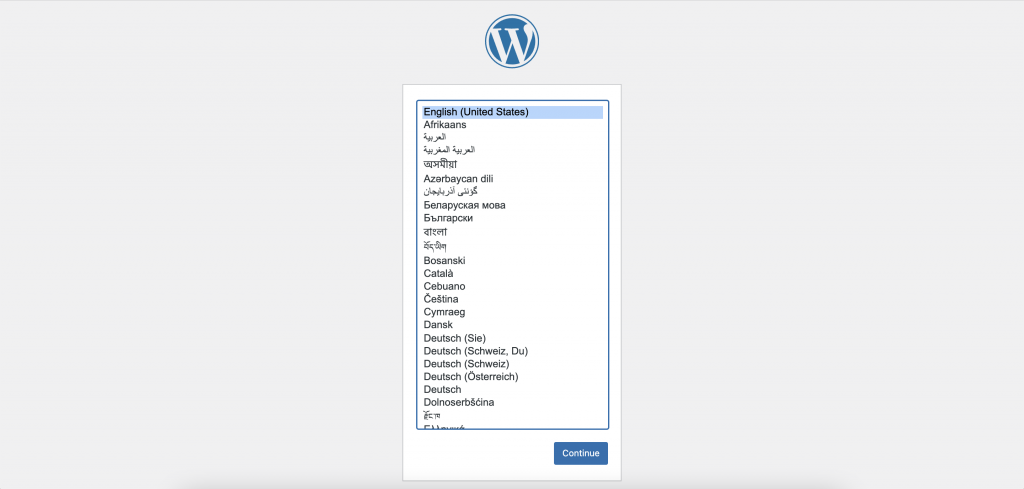
You will see the first step of the installation that asks you to choose a language. Select the language you’d like to use and click continue.
WordPress will then remind you that a database is needed. Click Let’s Go!
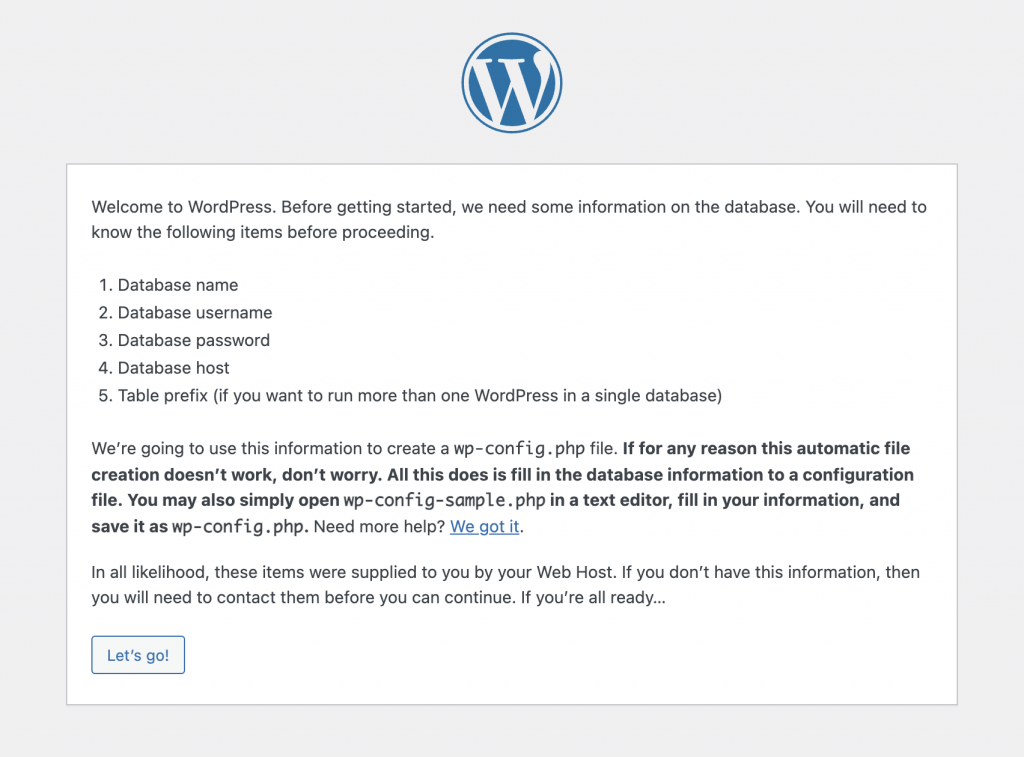
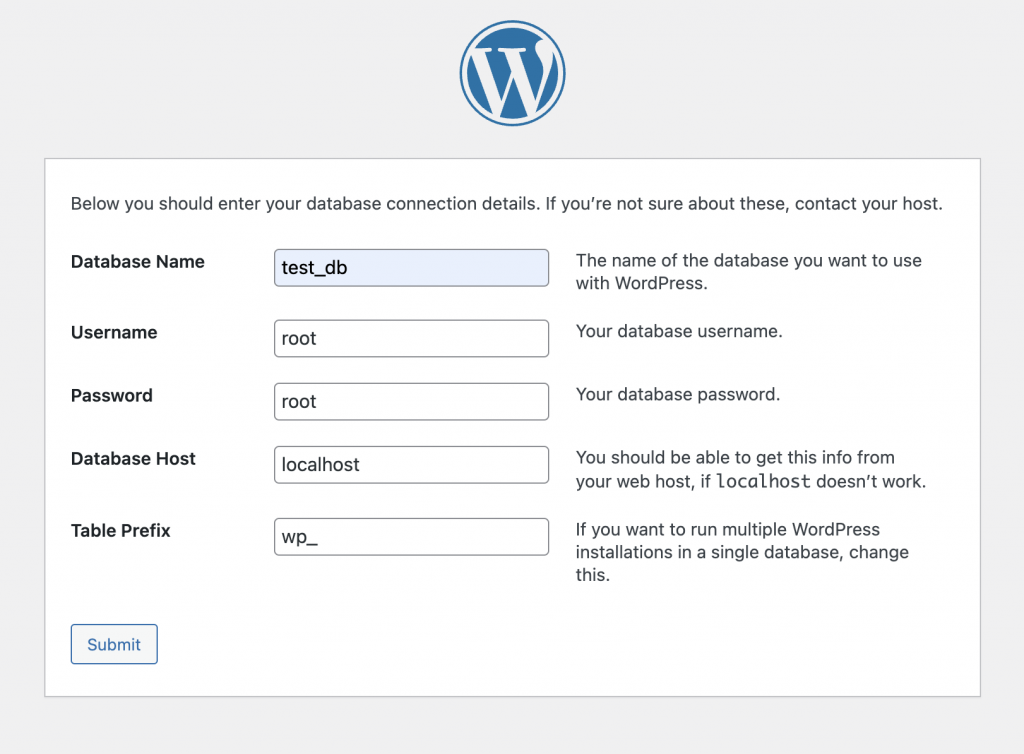
You will be asked to enter your WordPress database information. You already know the database name from when you created it earlier.
For username and password, you need to use “root”. For the database host, you need to use “localhost”.
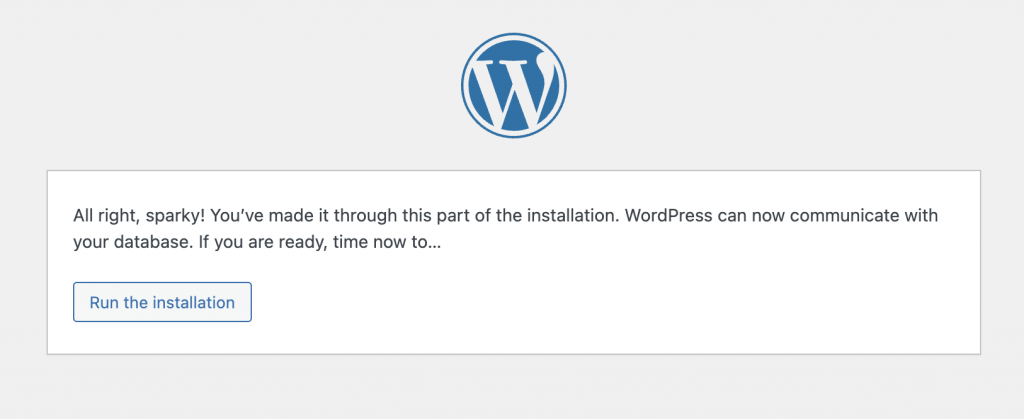
WordPress will now connect to your database and create a configuration file for you. After this, it will show you a success message. Click the ‘Run the installation’ button to proceed.
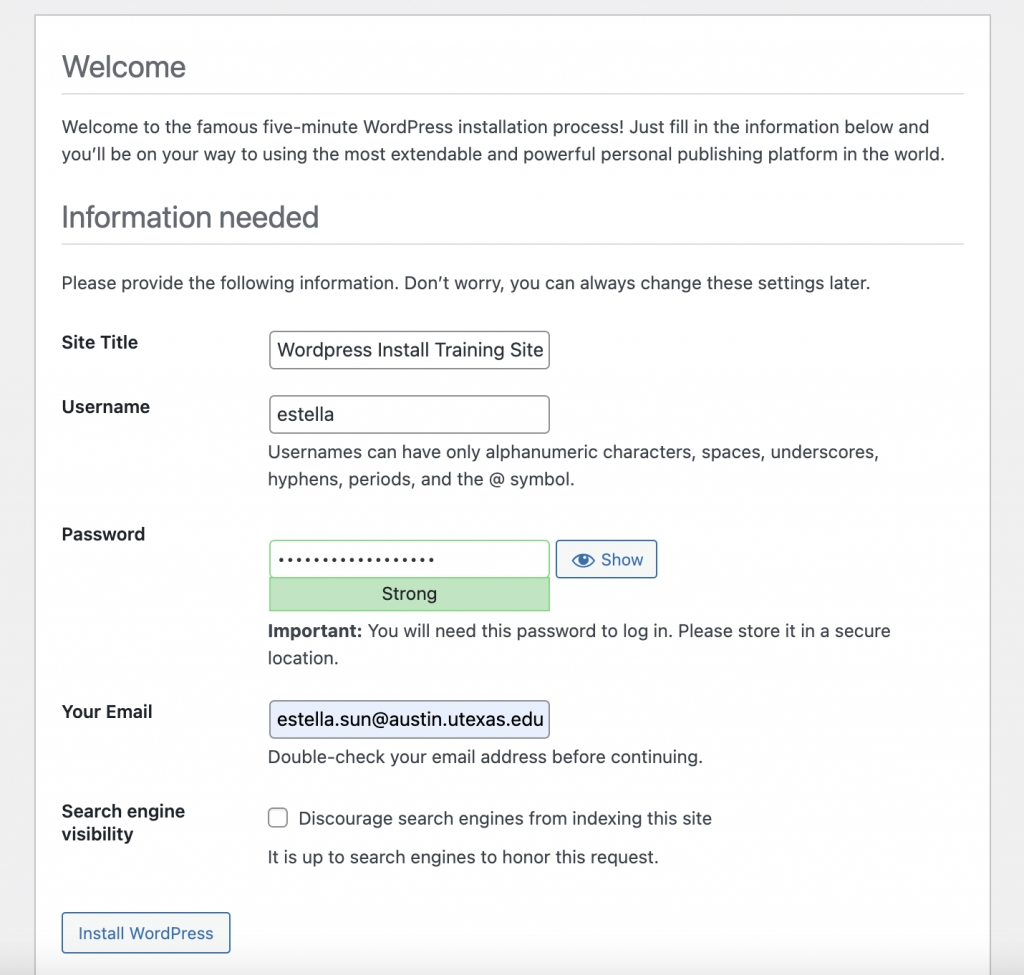
Next, you will be asked to provide your website information. Make the Site Title “Wordpress Install Training Site”. Choose your own username, password, and email. You do not need to check Search Engine Visibility.
WordPress will run the installation and send a success message once it’s done.
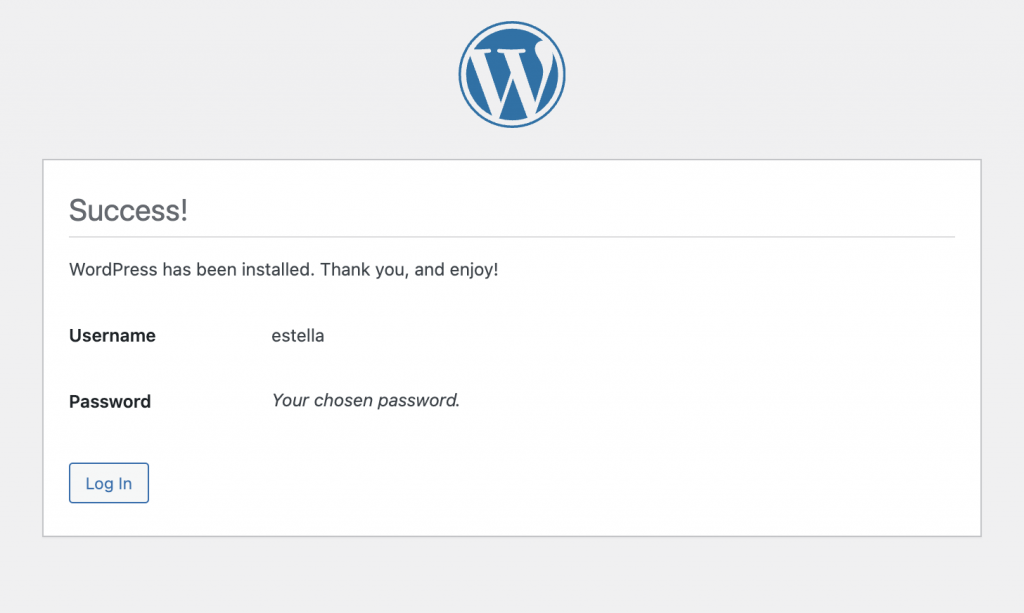
You can then login to WordPress.
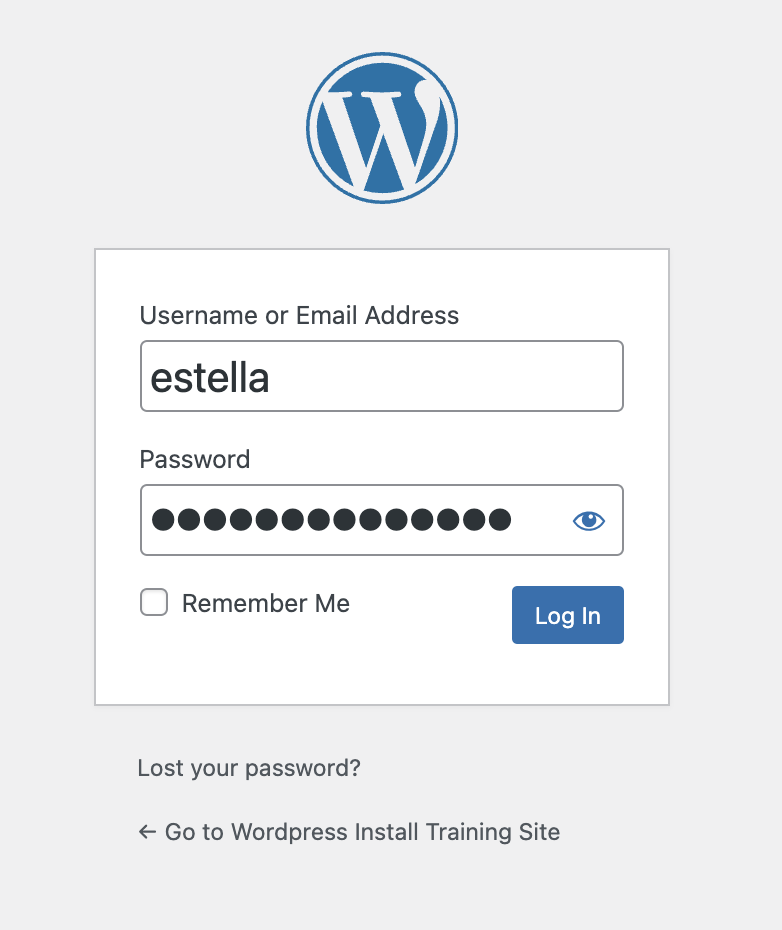
Once you successfully log in, you will be taken to the WordPress admin dashboard.
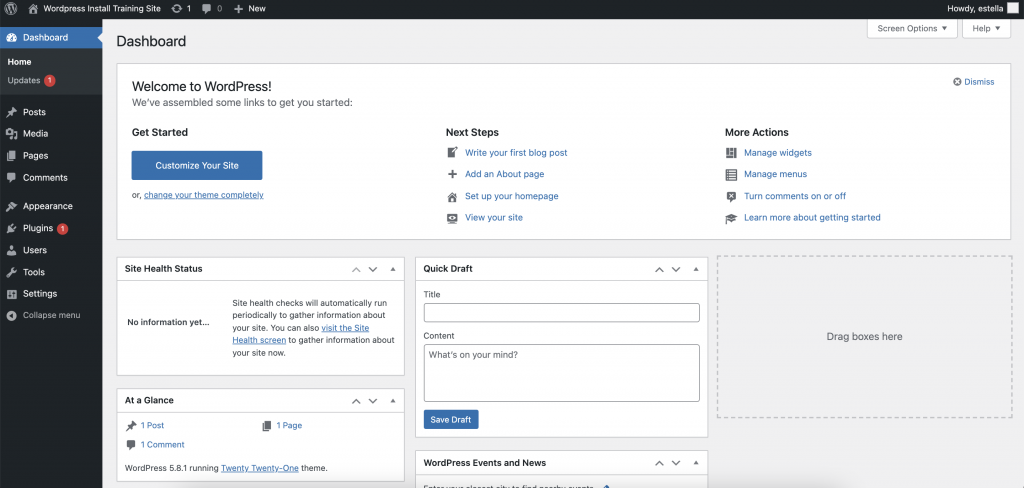
To access this admin dashboard in the future, go to your localhost url/admin (ex: http://localhost:8888/admin).
Most Macs have the localhost url as http://localhost:8888/. Your localhost url will depend on the Apache Port. You can check by going to MAMP and clicking on Preferences. Then go to Ports.
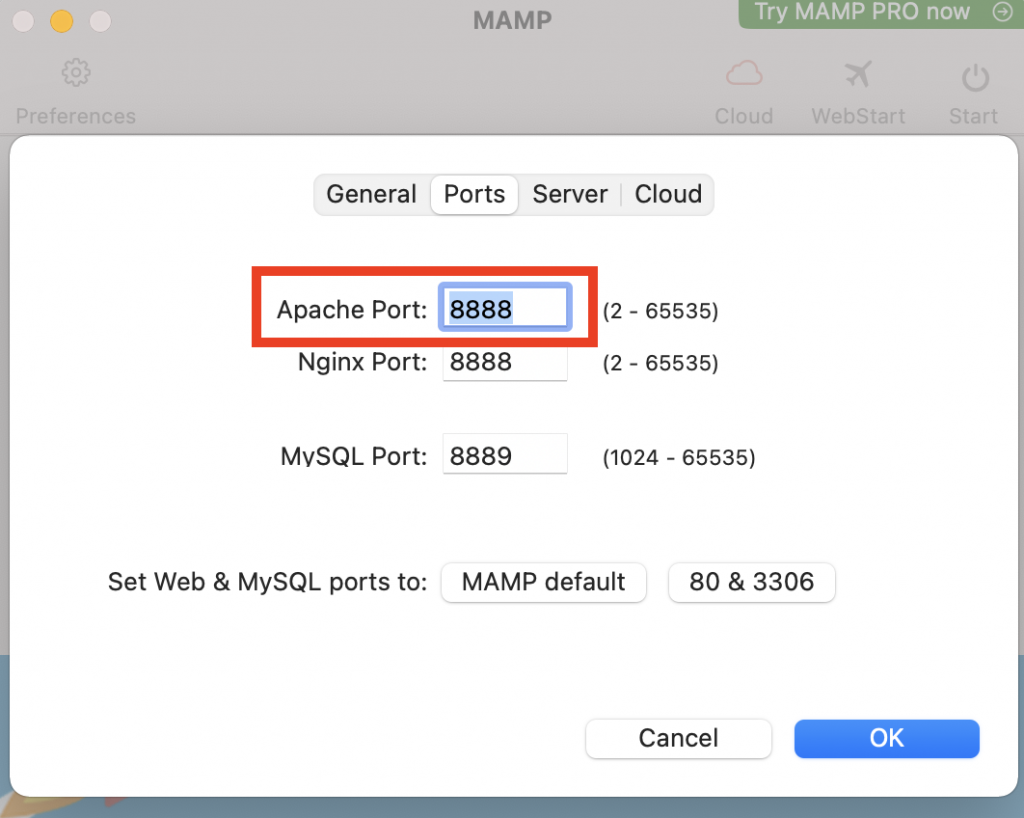
The number you see as your Apache Port should go after “http://localhost:”
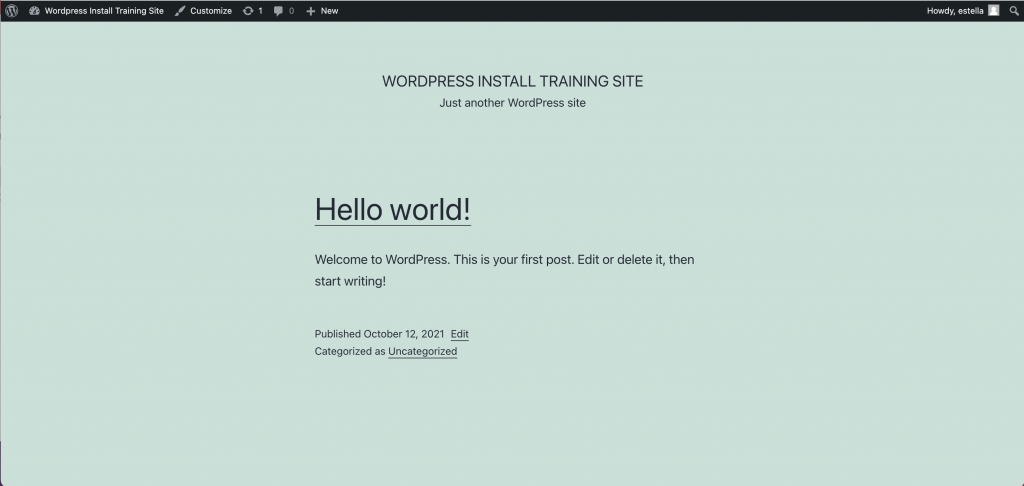
To see what your site looks like to users, go to your localhost url or in MAMP click on WebStart > My Website.
Step 4 – Installing Themes in WordPress
Every project you work on will use a unique theme. This theme dictates the styling, templates, and overall customization of the site. Ask your project lead of web dev manager for the appropriate theme to use.
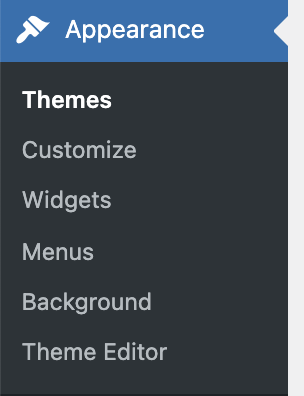
To install a theme. Go to the Appearance tab.
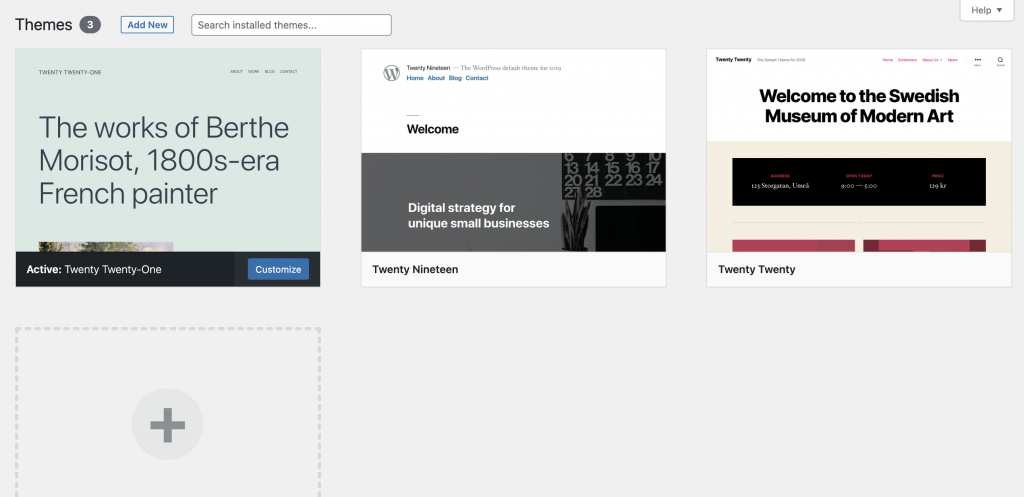
Select the theme you’d like to activate.
And there you have it! You have successfully installed WordPress locally. For further instructions on using WordPress for specific projects, ask your project lead or web dev manager.