
This is a step by step tutorial on how to give site access to new users within the Cascade CMS. The information for each client will be given to you by admins via this form: https://www.utexas.edu/cola/access/
Some preliminary things you will need:
- First and Last Name
- EID
- email address
- site group
Instructions:
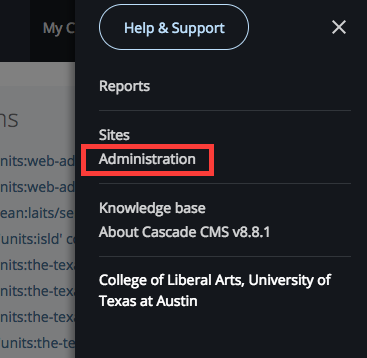
In the upper right corner, open the menu and click on Administration.
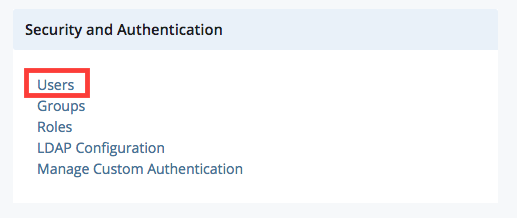
Then in the Security and Authentication panel, click on Users.
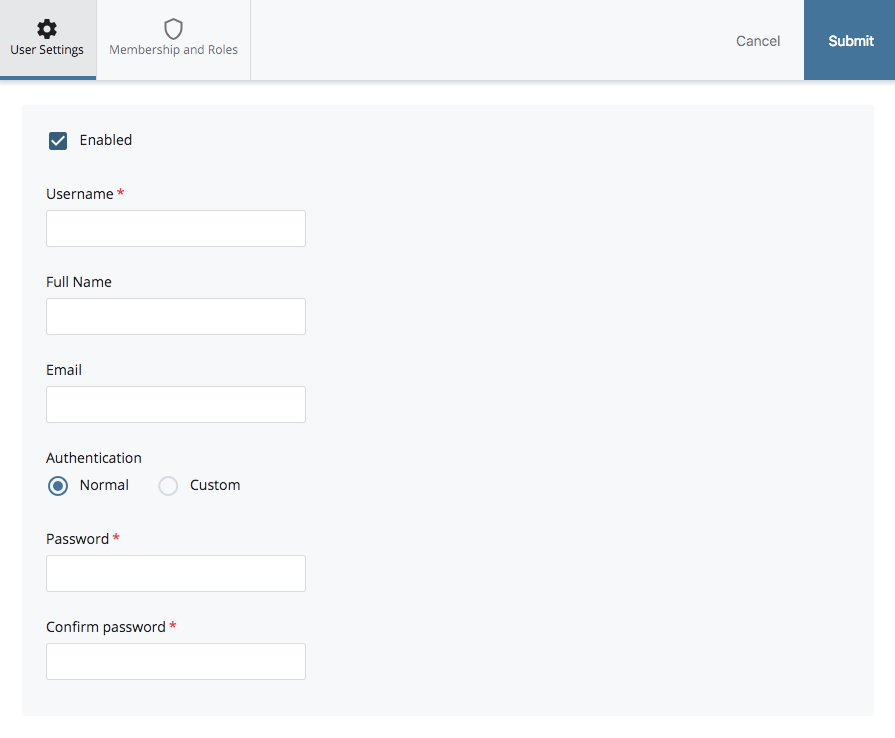
Click on “Add User” on the upper right and fill out the required information. For the password, give the new user a default password (Ex: “123password”). The user will change it later.

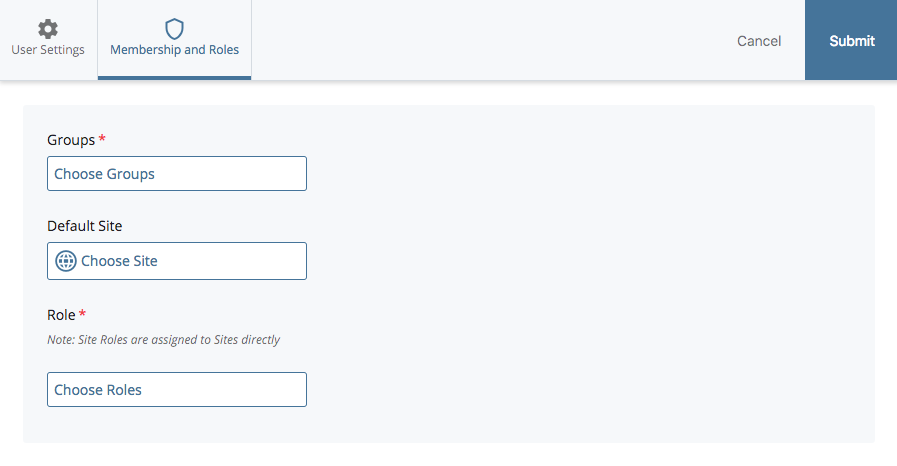
Go to Membership and Roles and choose the respective Group they belong to.
Note: Every time a new web presence is created, a respective Admin Group is also created. This is the Group that you should choose. For more information about creating new web presences go to http://sites.la.utexas.edu/kb/2019/01/03/creating-a-new-unit-site-in-cascade/
For Roles, choose “Office Editor – Move and Rename” for normal users. For office-admin accounts choose “Office Admin – Permissions”.
Click Submit.
Create account access to COLA DB: Instructions here (staff admin or student admin – ask for clarification if information was not provided)
Notify User: Send an email to the user, supervisor, and Suloni using the email template for Cascade and COLA DB Access or Just Cascade Access.