
A bleed area is thin border (usually less than ¼ inch) on all four sides of a document that will be trimmed off post-printing. The bleed guarantees that the poster will have no white margin or leftover space around its edges. If a bleed is required, you should make sure your design accounts for a small amount of trim that will be cut off at the end of printing.
https://helpx.adobe.com/indesign/how-to/set-print-bleed.html
Step One: Open Abobe InDesign and create a new document.

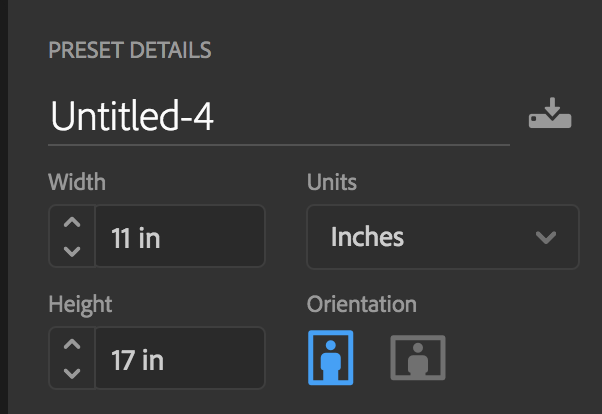
Step Two: In the dialogue box, change your units from picas to inches and set the canvas size.
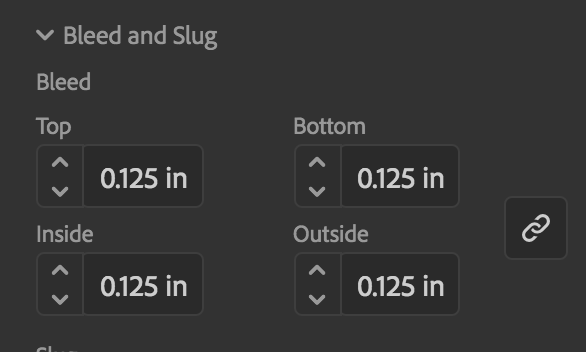
Then scroll down to set your bleed area. An eighth (.125) of an inch is standard for U.S. printing, anything between that and a quarter inch should work.
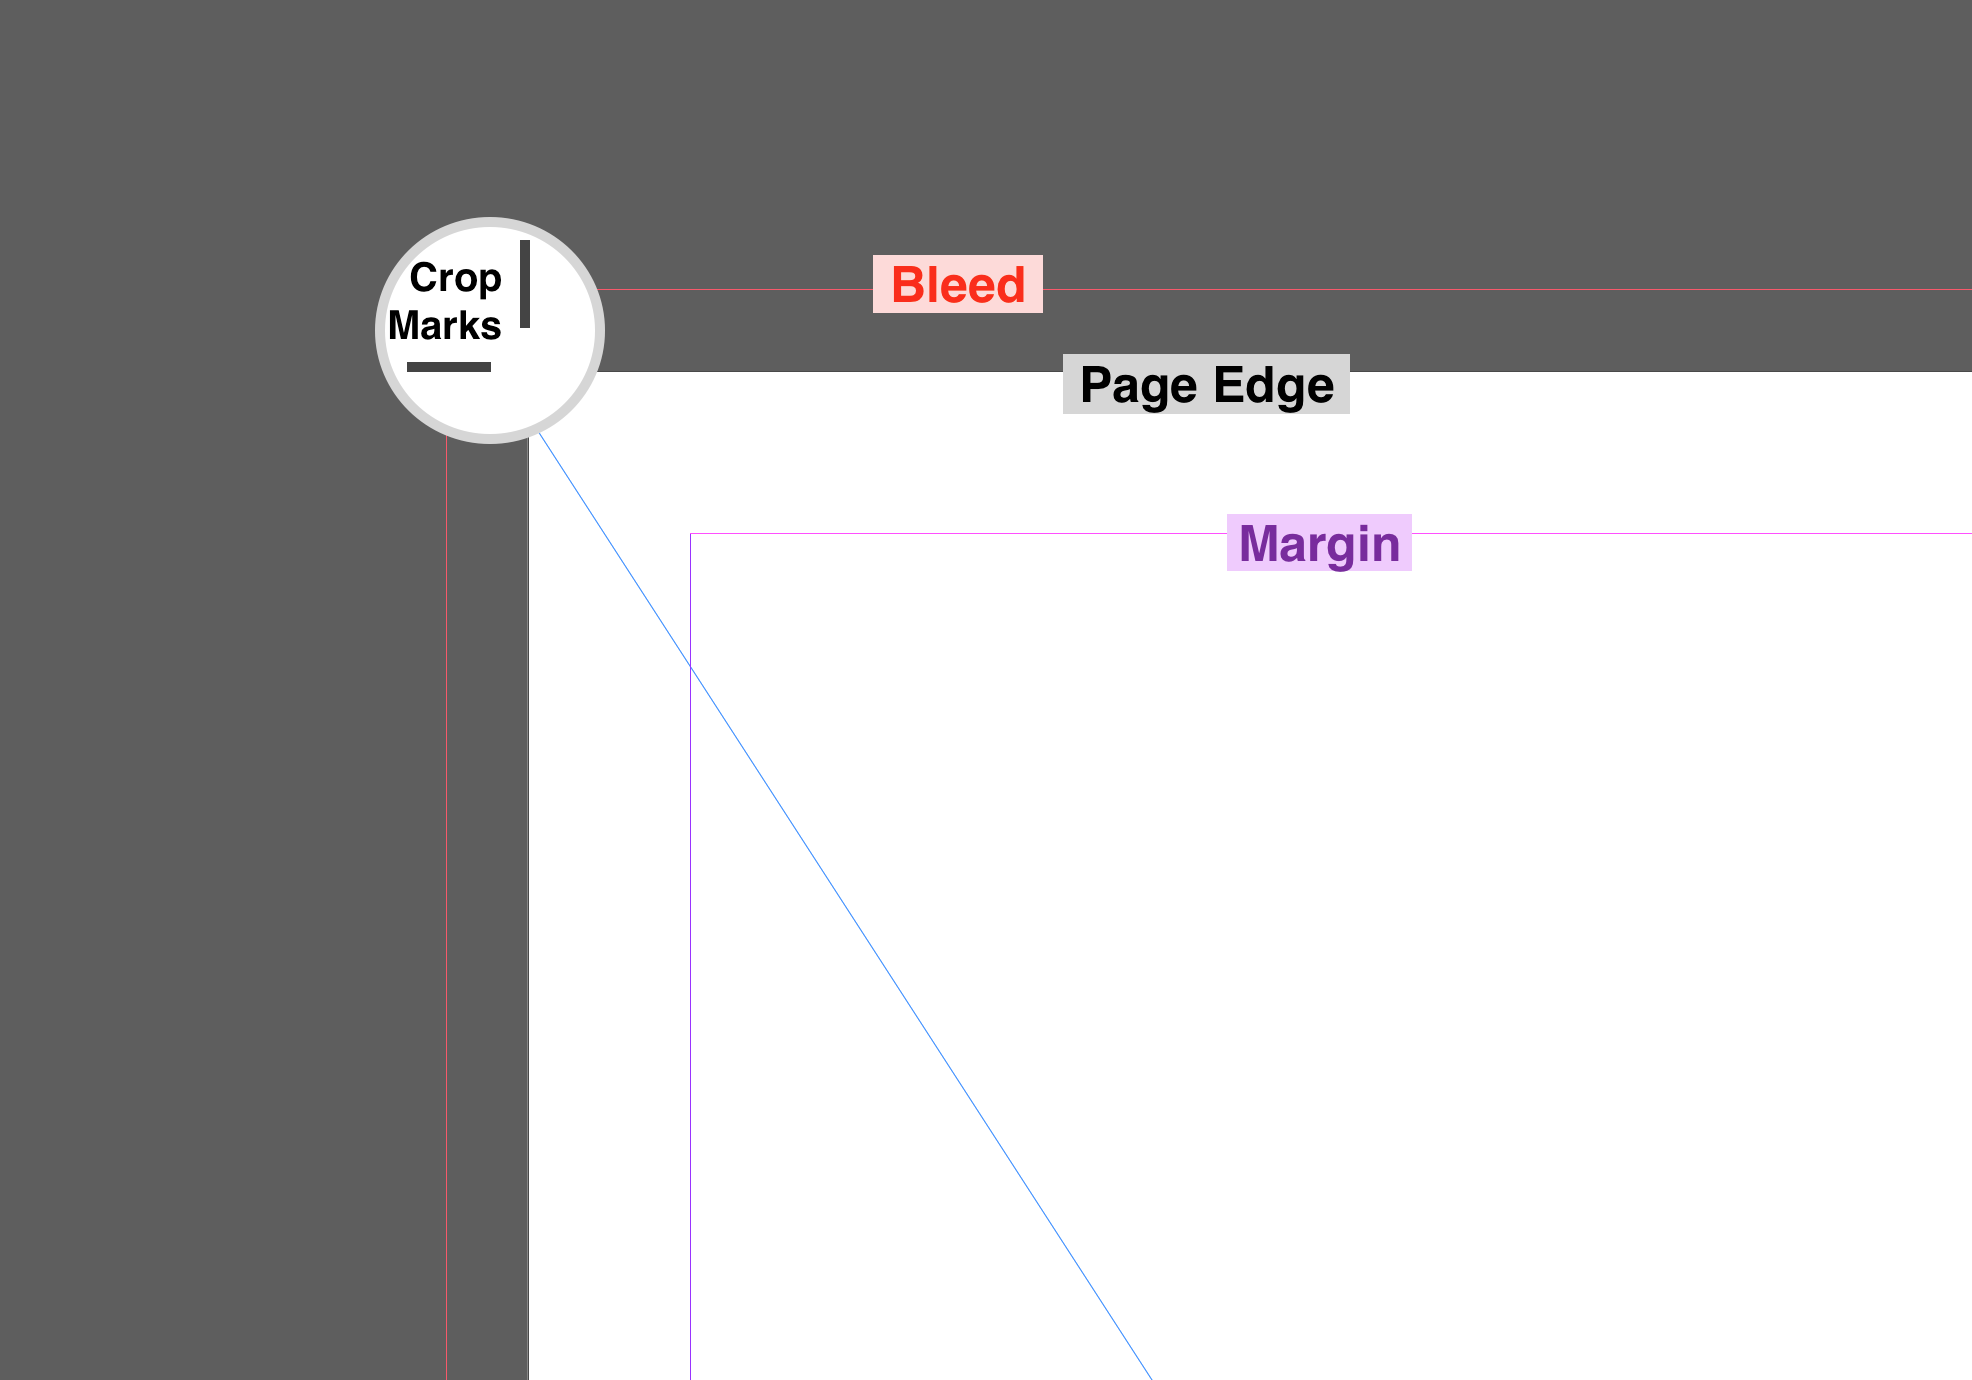
When your document loads, you should see a red border in the gray area outside the perimeter of your canvas—these are your bleed lines. Your poster image should be no smaller than the bounds of the bleed lines. The purplish-pink lines inside the canvas are your margin lines.
Step Three: Drop your file into the new document.
You can drop .psd files directly into InDesign. When you first drop it in, it will appear as a miniature image before you place the full image. Left-click the top-left corner of the bleed area, then hold and drag your cursor to the opposite corner of the bleed area.
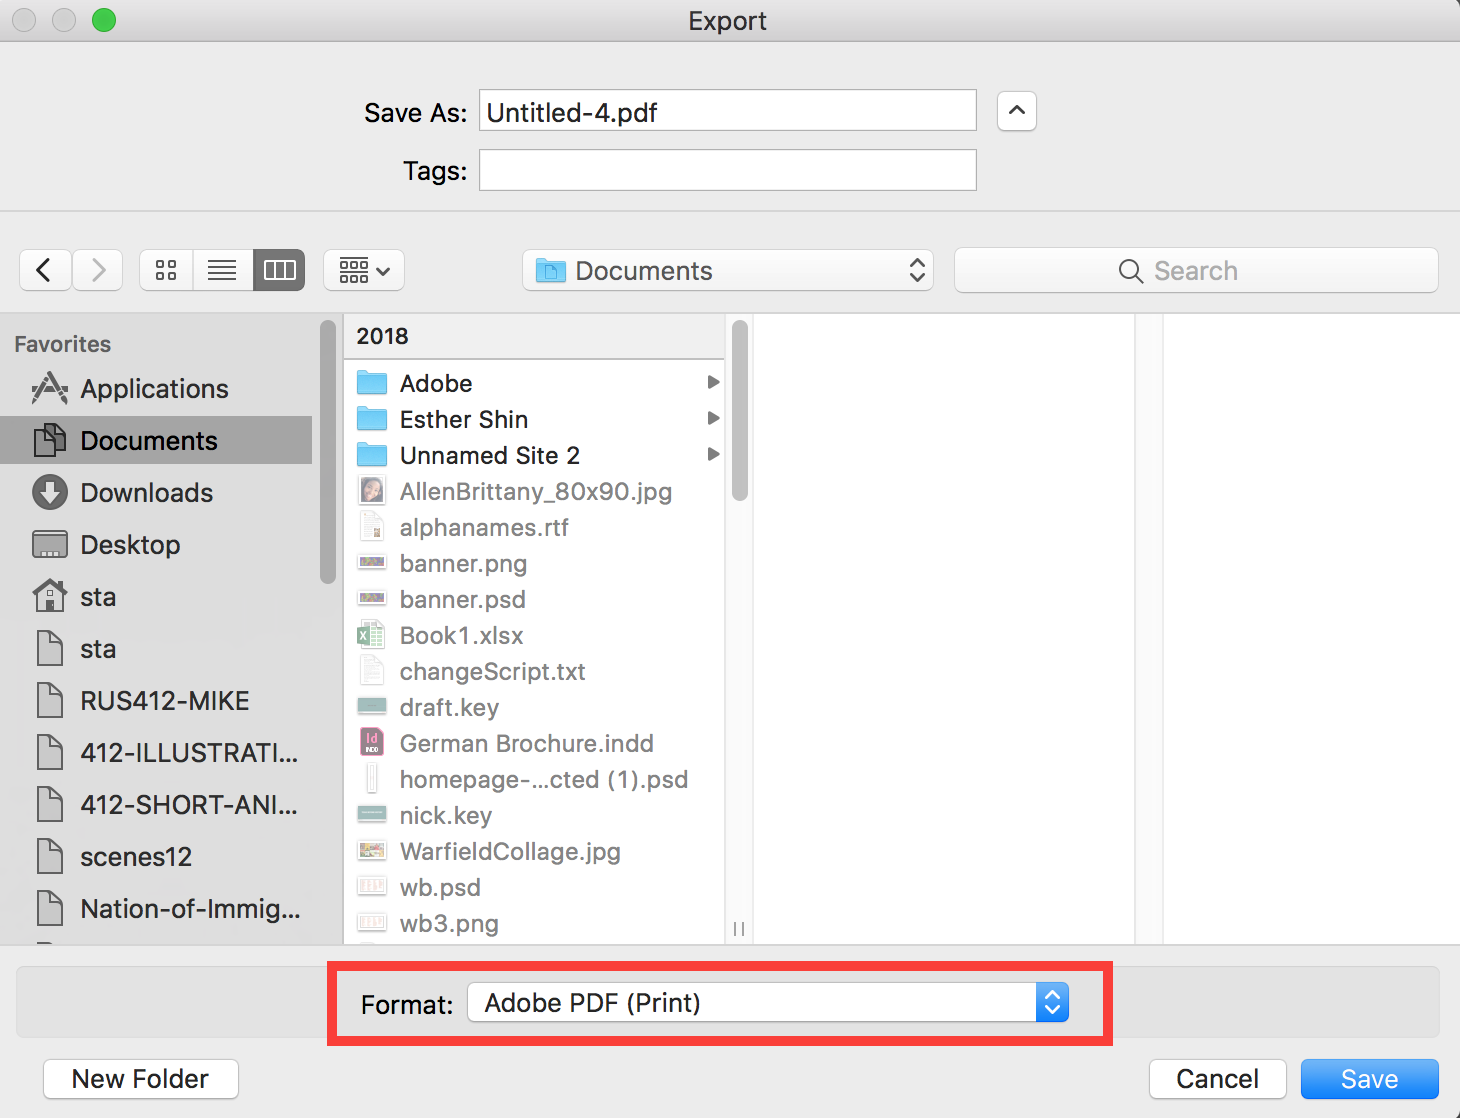
Step Four: Export the PDF with Crop and/or Bleed Marks
Go to File > Export. Save it as an Adobe PDF (Print).
In the dialogue box, select the ‘Marks and Bleeds’ category. Check ‘Crop Marks’ and ‘Bleed Marks’, then below that check ‘Use Document Bleed Settings’. Click export.


Double check that your bleed lines and crop marks are showing up correctly on your PDF.