The COLA Help Guides provide detailed instructions on how to use both Cascade CMS and the COLA Web Editor. The audience for these guides is COLA faculty and staff who use these tools to manage their sites, so keep in mind that these guides are public-facing.
When faculty or staff submit requests for web support, there will either be existing documentation that you can point them to, or it might be necessary to create new documentation for a problem that hasn’t been addressed before.
This page will walk you through the process of publishing new documentation. Refer to the style guide whenever you have questions about the formatting of documentation.
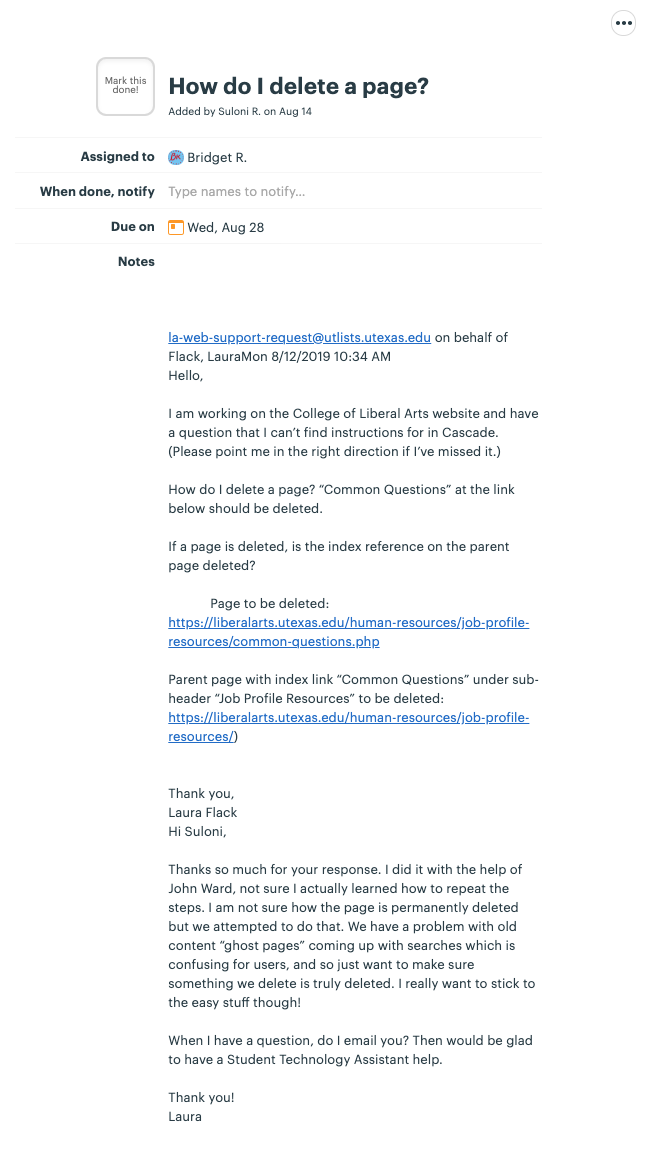
1) Read Through the Original Help Request
When a staff or faculty member contacts LAITS with a problem that doesn’t have documentation yet, you’ll need to read through their email to identify the relevant issues.
Make a note of what topic(s) need to be documented in the COLA Help Guides tracking spreadsheet. You can also make yourself a Basecamp to-do if you want feedback from your peers or mentors on the documentation you create.
- What’s the main issue? Is it a COLA Web Editor issue, a Cascade issue, or both?
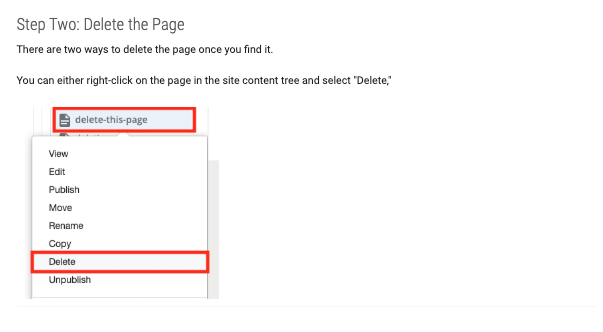
- Are there related issues? E.g., when deleting pages, it’s also helpful to know that pages can be restored
- Can all the documentation fit on one page? Should it have subsections?
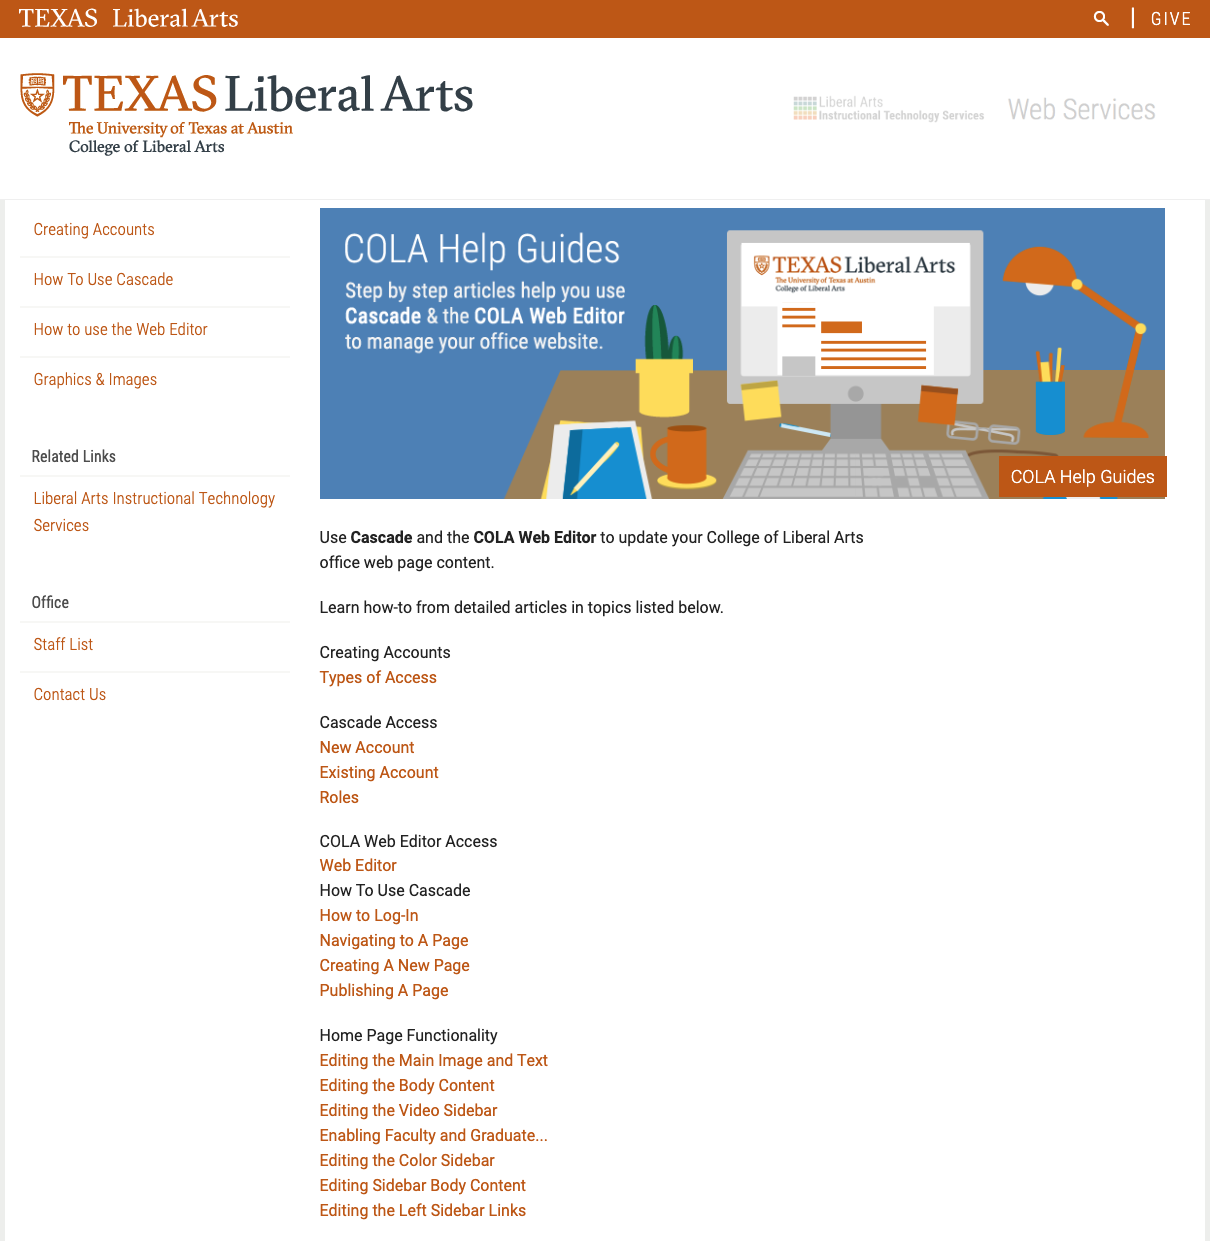
2) Create a New Page in Cascade
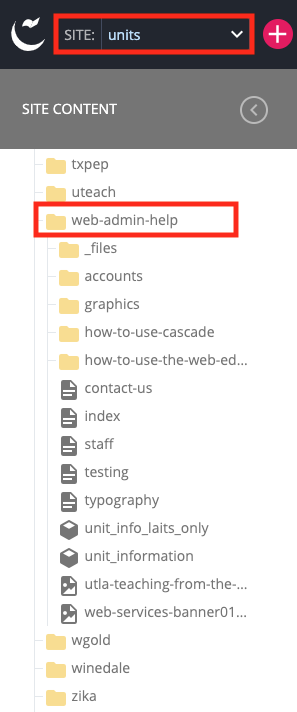
Log in to Cascade CMS. Go to Units > web-admin-help.
There are four existing categories in the Help Guides. They are listed as folders under the parent category web-admin-help.
- Creating Accounts (accounts)
- How to Use Cascade (how-use-cascade)
- How to Use the Web Editor (how-to-use-the-web-editor)
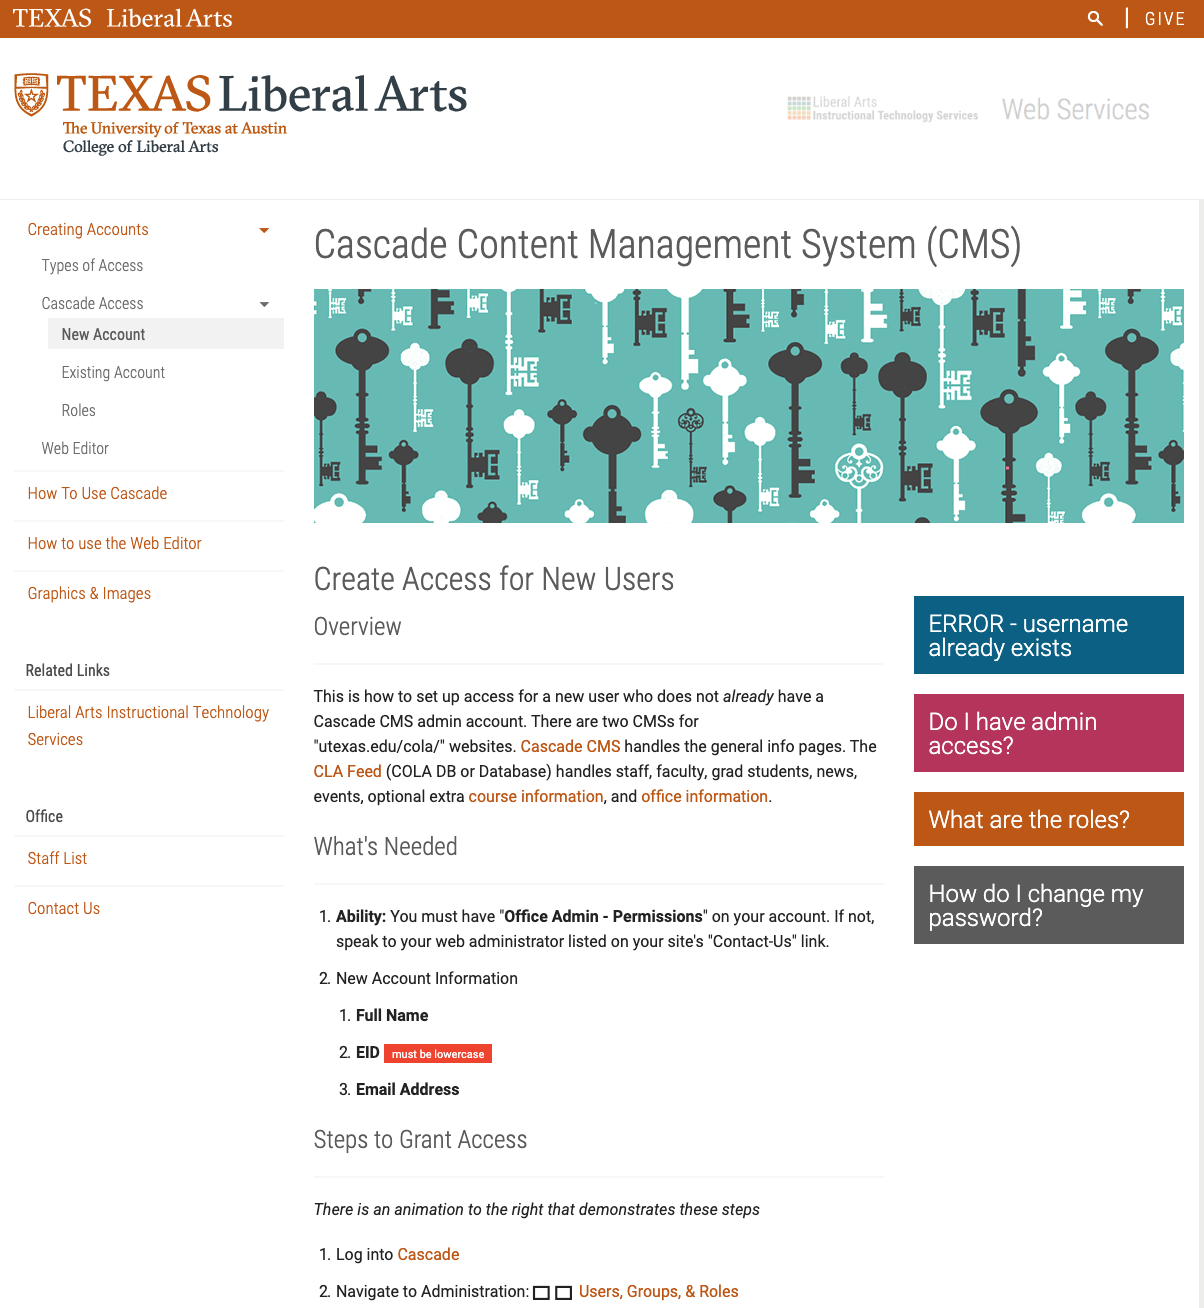
- Graphics & Images (graphics)
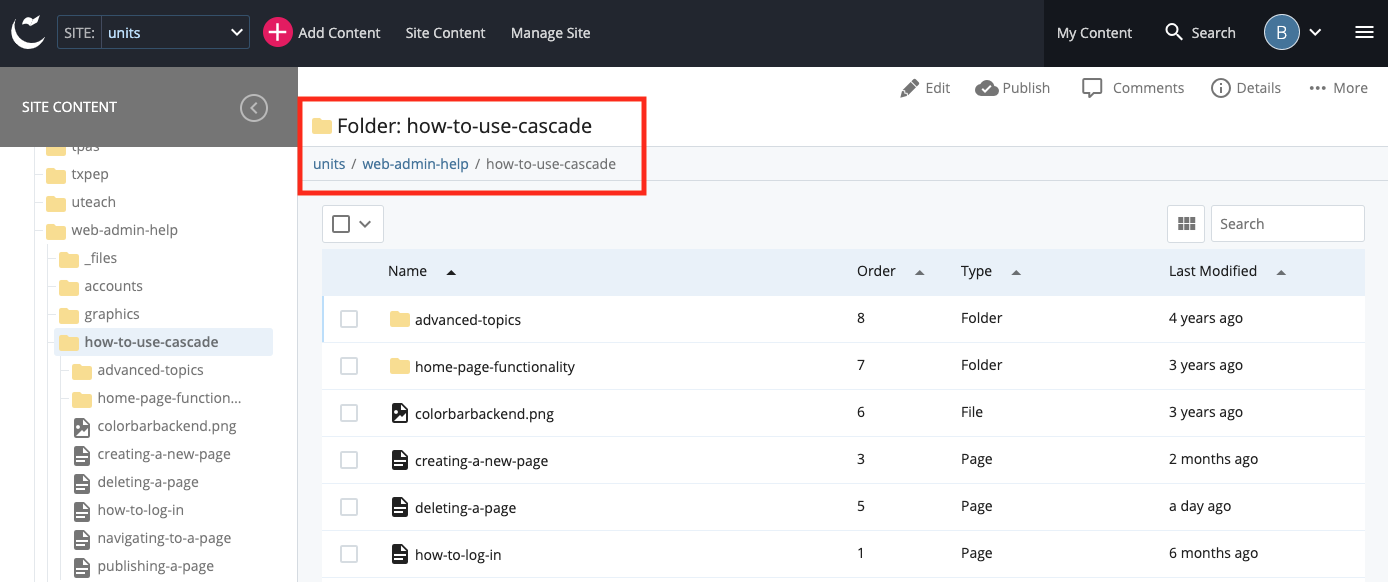
Select the folder you want to add a page to. (Check the path at the top of the page to make sure only the folder is selected.)
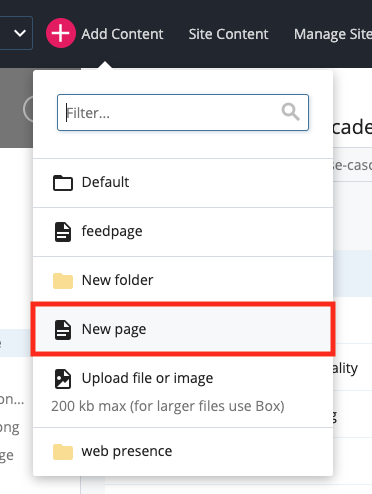
Click on the Add Content button to add a page to the folder.
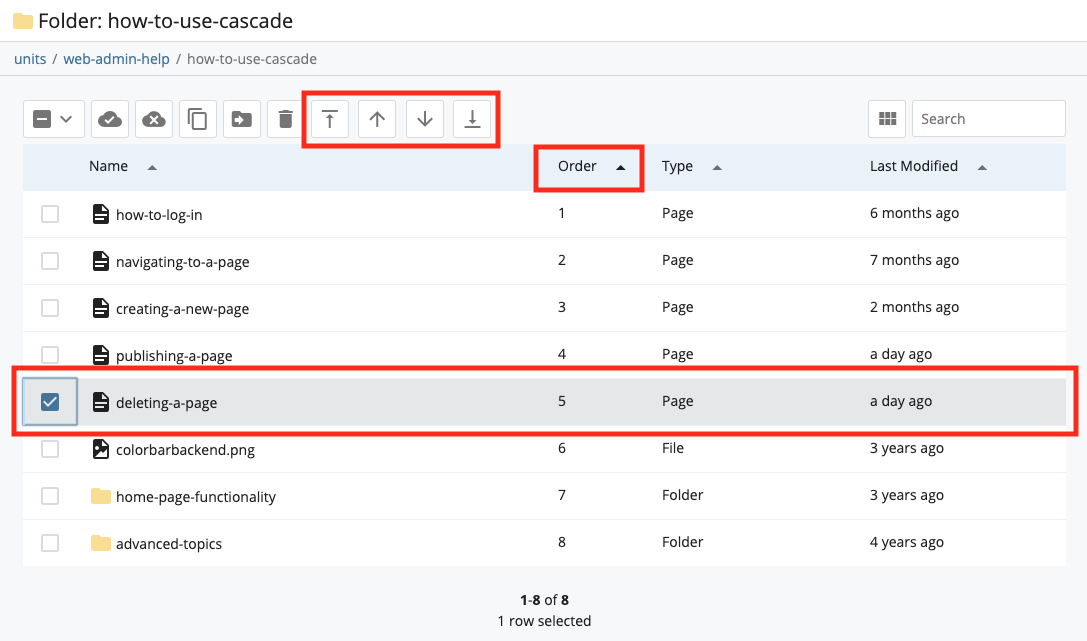
Note: New pages will be added to the bottom of the list. If you want to reorder the pages so they show up in a specific order in the navigation bar, do the following:
- Click Order to sort the pages
- Select the page you want to rearrange
- Use the up and down arrows that appear to change its order in the navigation
- Publish the changes
3) Make Your Page Hidden
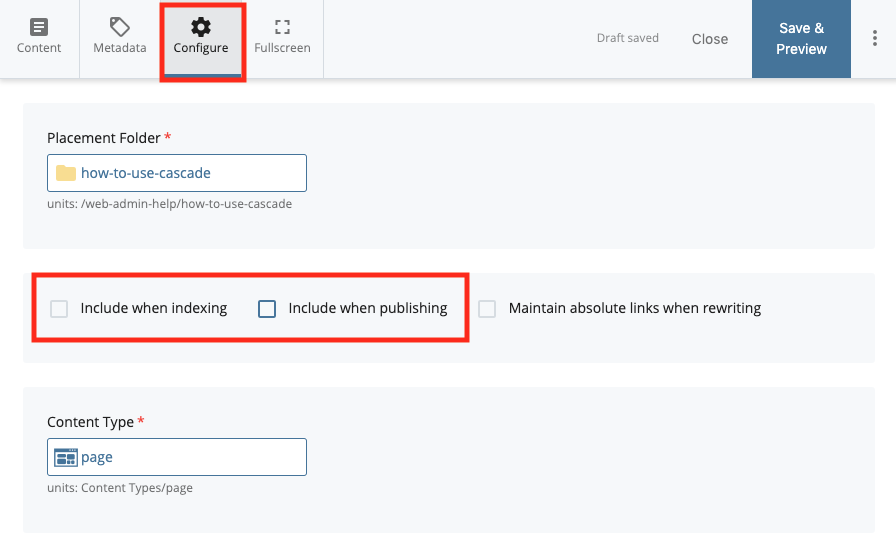
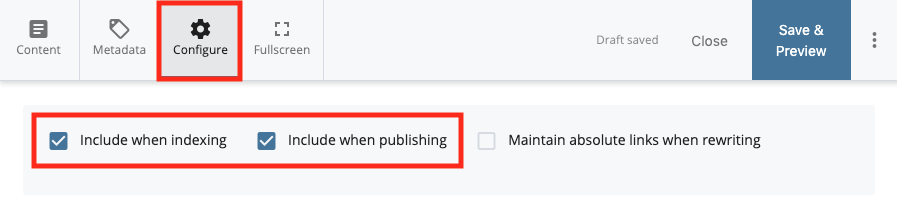
Before you start your draft, go to the Configure tab in the editing window. Uncheck both Include when indexing and Include when publishing. This will keep the page from being published or visible in the navigation bar until it’s been approved, and anyone who publishes the parent folder won’t accidentally publish your page to the web.
4) Start Your Draft
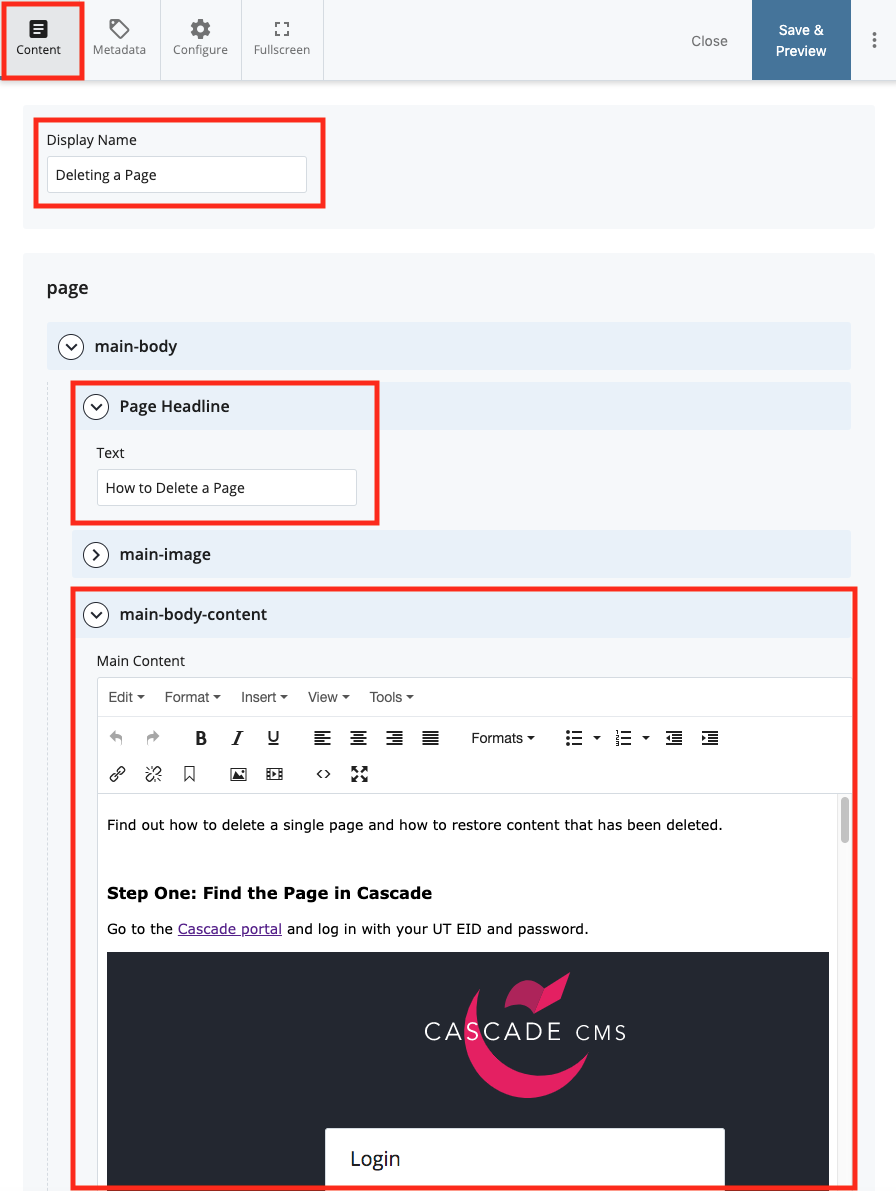
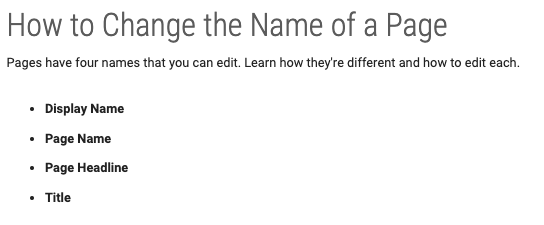
Go to the Content tab in the editing window. Give your page a display name (the name that shows up in the navigation) and a page headline. (Learn about the different page names that exist.)
Generally, all of the content will go in the section main-body-content. Start composing your draft there, and follow the style guide (below) as closely as possible. (Jump to the Style Guide.)
4) Save and Submit Your Page
As you’re working on your draft, periodically click on the Save & Preview button…
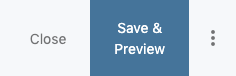
and the Submit button so you don’t lose your work.

5) Upload Screenshots to Your Page
As you’re writing your draft, take screenshots to illustrate each step.
Press command + shift + 5 to bring up screen capture options. To screenshot a selected area, click on Capture Selected Portion and press the Capture button.
The screenshot will appear on your desktop. Double click to view it.
Add red boxes to the screenshots to highlight important areas—the easiest way to do that is to click the markup button ![]() while viewing the image, then use the toolbar to add a square with no fill and a red line color.
while viewing the image, then use the toolbar to add a square with no fill and a red line color.

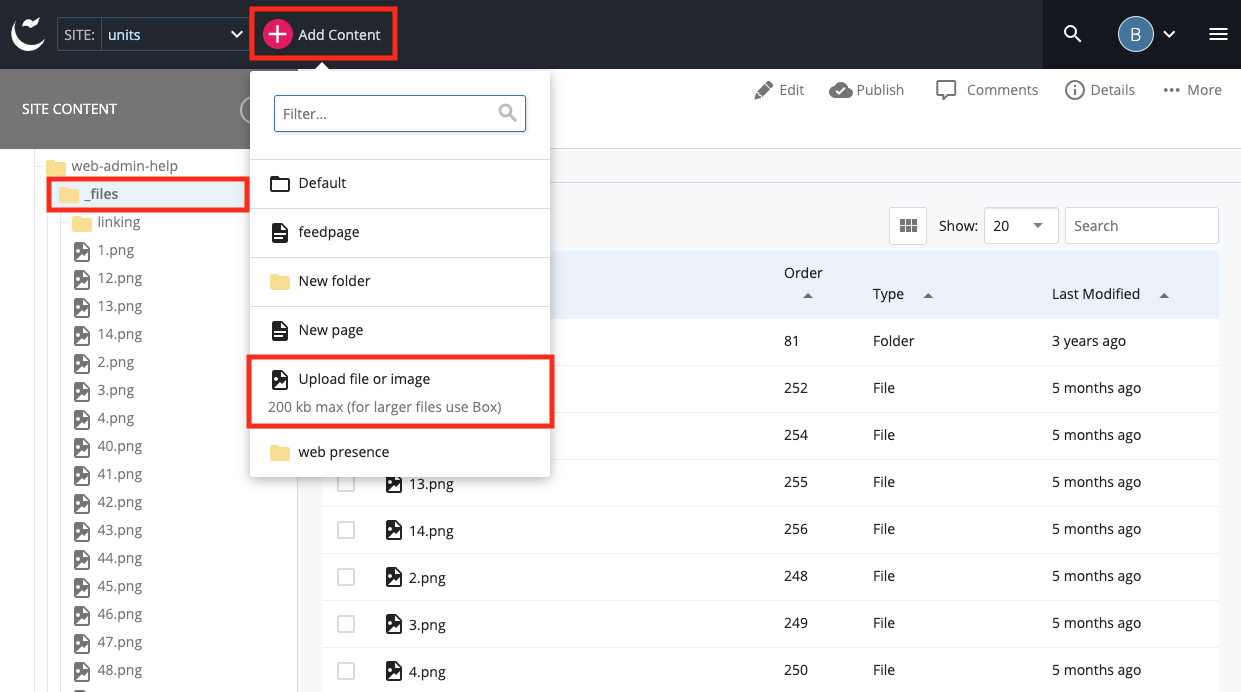
Upload the screenshots to your page by going to Units > web-admin-help > _files.
Click the Add Content button, then Upload file or image.
Note: It can be problematic to have multiple Cascade tabs open—save your draft before uploading files to Cascade so you don’t accidentally lose work.
6) Get Your Page Reviewed and Make Edits
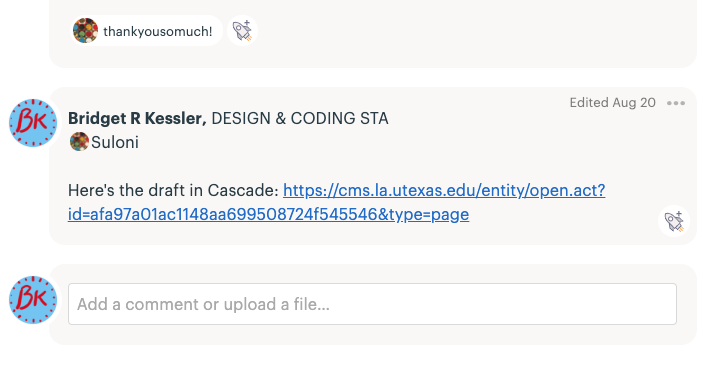
Post the URL to your Cascade page to the Basecamp to-do and @ Suloni or another STA to review your work. Use their suggestions to make any necessary edits to the page before it goes live.
7) Publish the Page Once It’s Approved
After Suloni or another STA reviews your work and approves it, go ahead and publish the page.
- Go to the page and click on the Edit button
- Go to the Configure tab and recheck the boxes for Include when indexing and Include when publishing
- Click Save & Preview, then Submit, then Publish
- The page will be added to the publishing queue
- Post the live page URL to the Basecamp to-do
Note: It may take up to 24 hours for the page to go live—don’t worry if the page doesn’t update immediately.
Style Guide—COLA Help Guides
Display Name (the Navigation Title)
- Applies to folders and pages that have Include when indexing and Include when publishing checked
- If the first word is a verb, it should take the -ing form (e.g., Navigating to a Page).
- Keep it relatively short
- Articles (a, an, the) and coordinating conjunctions (and, but, for, or, etc) should be lowercase unless at the beginning of the title; everything else is capitalized
Page Headline
- Page headlines should start with “How to [Verb]…” (e.g., How to Navigate to a Page)
- Usually longer/more descriptive than the display name
- Should only take up one line
- Articles (a, an, the) and coordinating conjunctions (and, but, for, or, etc) should be lowercase unless at the beginning of the title; everything else is capitalized
Main Body Content
Headline Subtitle
Optional. You can include a subtitle under the page headline. Begin the main body content with a sentence or two (format = paragraph), then skip a line before the first step.
Steps
- Step numbers should be spelled out (Step One, Step Two), followed by a colon
- Steps are in the imperative form (Go, Navigate, Find)
- format = Heading 3
- Limit yourself to 6-7 steps total
Images
- Generally, use 1-2 images per step
- Add a horizontal line after each image (to prevent text from wrapping around the image)
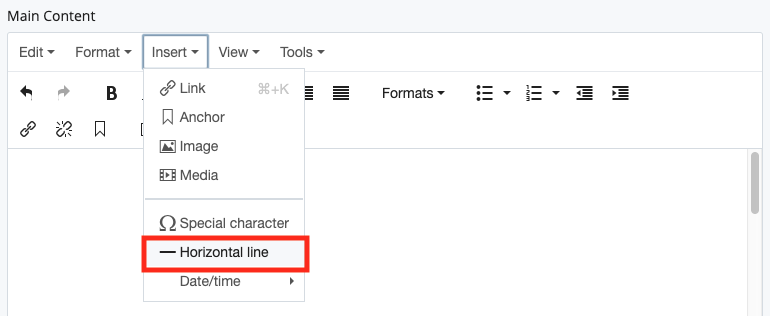
- Skip a line before an image and after the horizontal line

Other Tips
- Minimize use of quotation marks. Use bolded text (Click on “Go to a Site” vs. Click on Go to a Site)
- Use bullets to simplify information
- Note: Notes should follow this formatting.
- If it makes sense to have subcategories in a single step, use format = Heading 4 with a horizontal line underneath
- Add URL links whenever you think they will be helpful; images can have links too