![]()
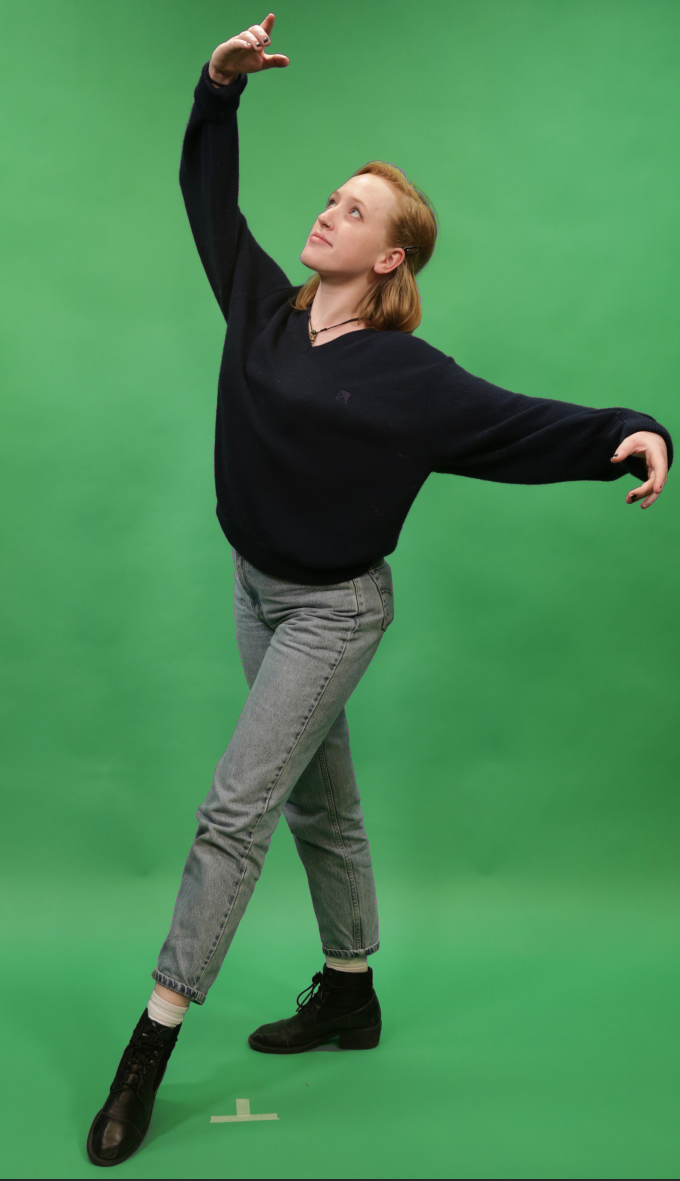
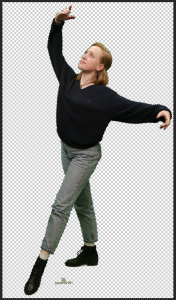
This training will cover how to delete the green background of an image. Find an green screen image of your choice and follow the steps below, your final product will be a PNG with a creative background of your choice.
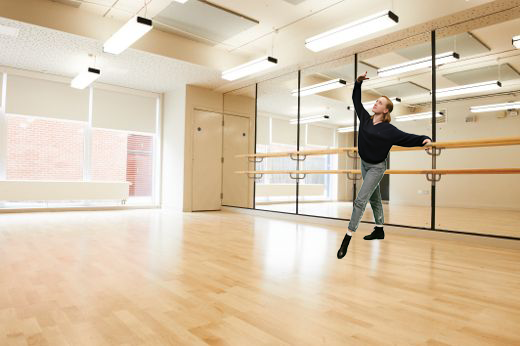
Example:
Step 1 – Cropping the image
- Open up your image file in Photoshop.
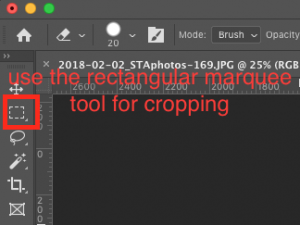
- If there is a lot of green area in the image, crop it out. Use the rectangle marquee tool to select the area you’d like to keep and click Image > Crop.
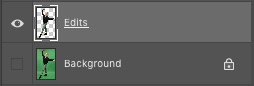
- Control/command + J to copy the image into another layer. This will be the layer you’ll be editing on. Then hide the original layer.

Step 2 – Editing the image
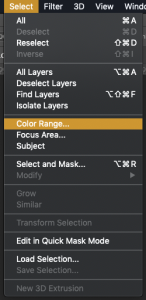
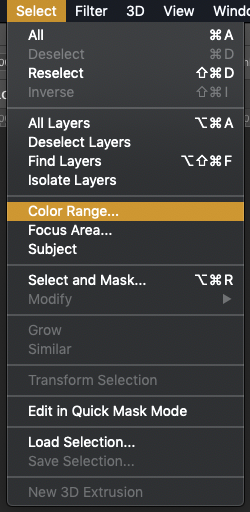
- Click on the layer you’re editing. Click Select > Color Range.
- Use the color picker to click on the green areas, until there is no gray area left like the image below. This will select the area with your selected color range, you can hold the Shift key to select multiple areas.
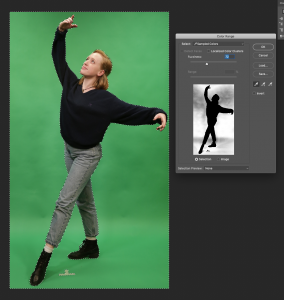
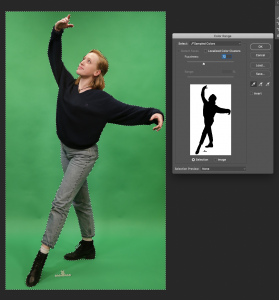
- Click OK.
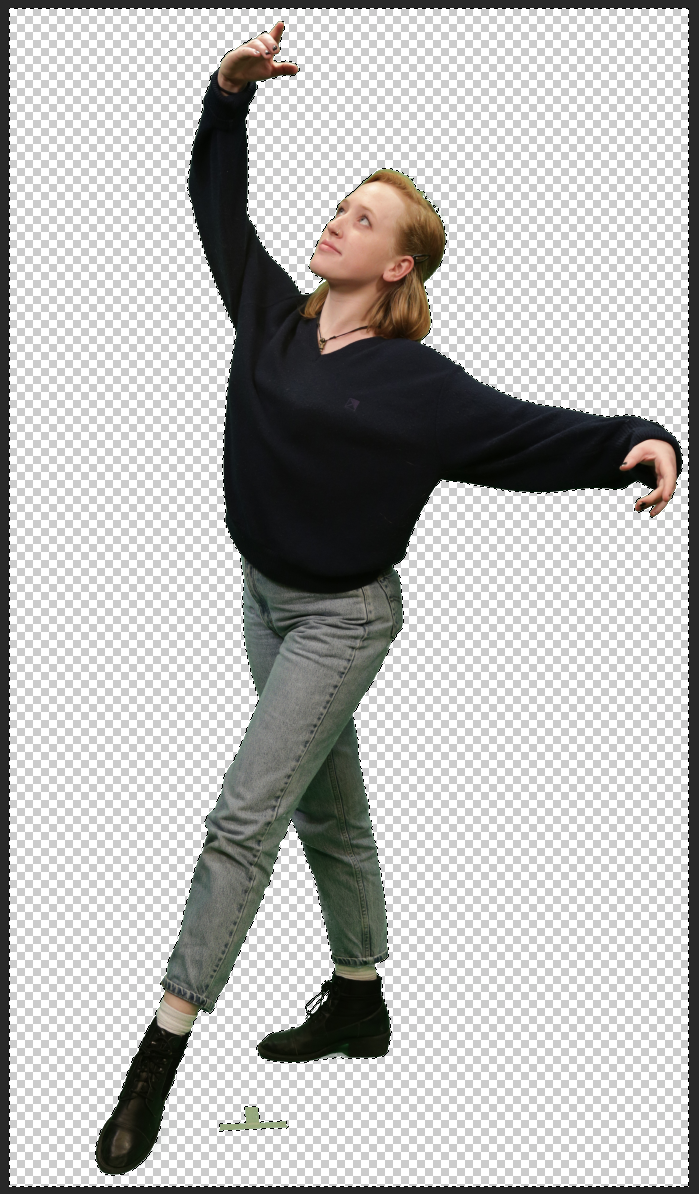
- Click Delete to clear out the green area.
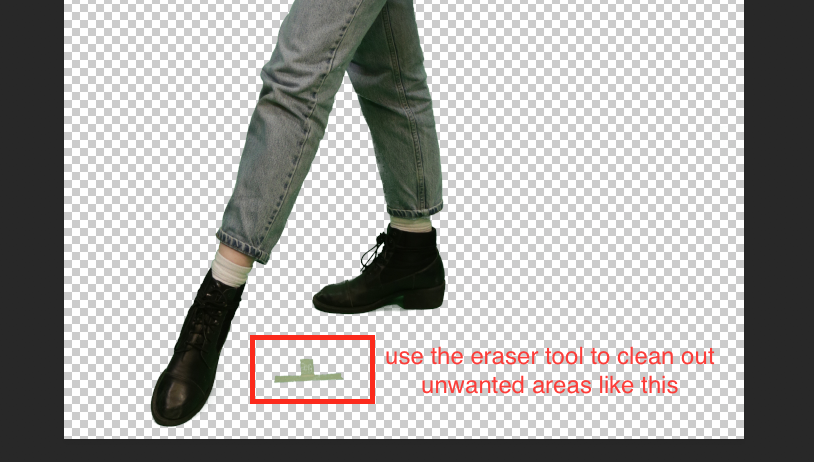
- Use the eraser tool to clean out unwanted areas.


Step 3 – Color correcting the image
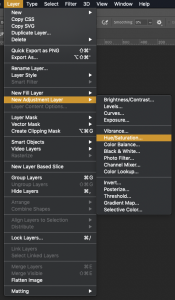
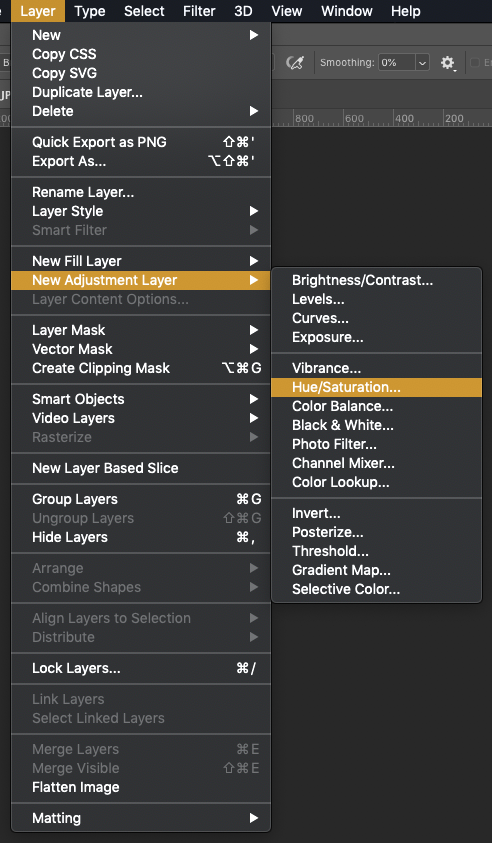
- Click Layer > New Adjustment Layer > Hue / Saturation.
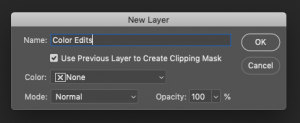
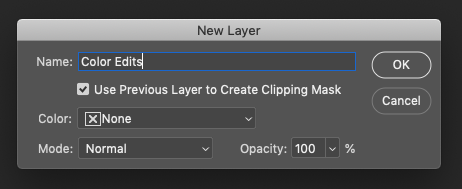
- Check ‘Use Previous Layer as Clipping Mask.’ Click OK.
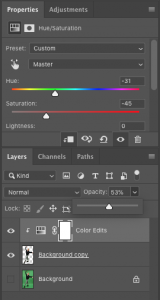
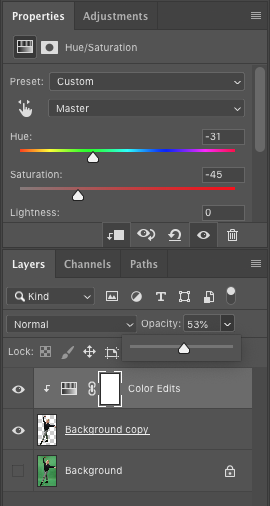
- Play around with the color adjustments and opacity to eliminate the green reflections on the figure.
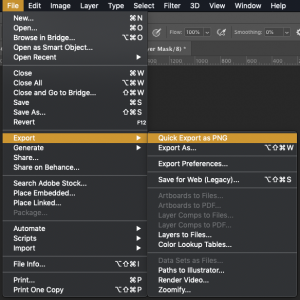
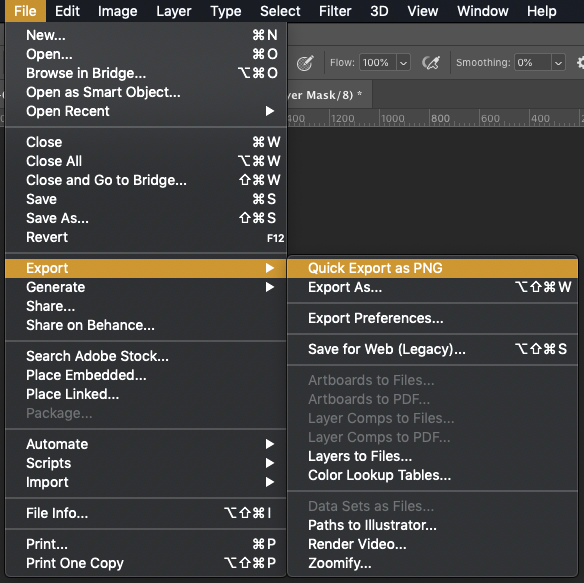
- Once you’re done, click File > Export > Quick Export as PNG.
Step 4 – Adding background
- Open your background image as a new file, go to File > Open…
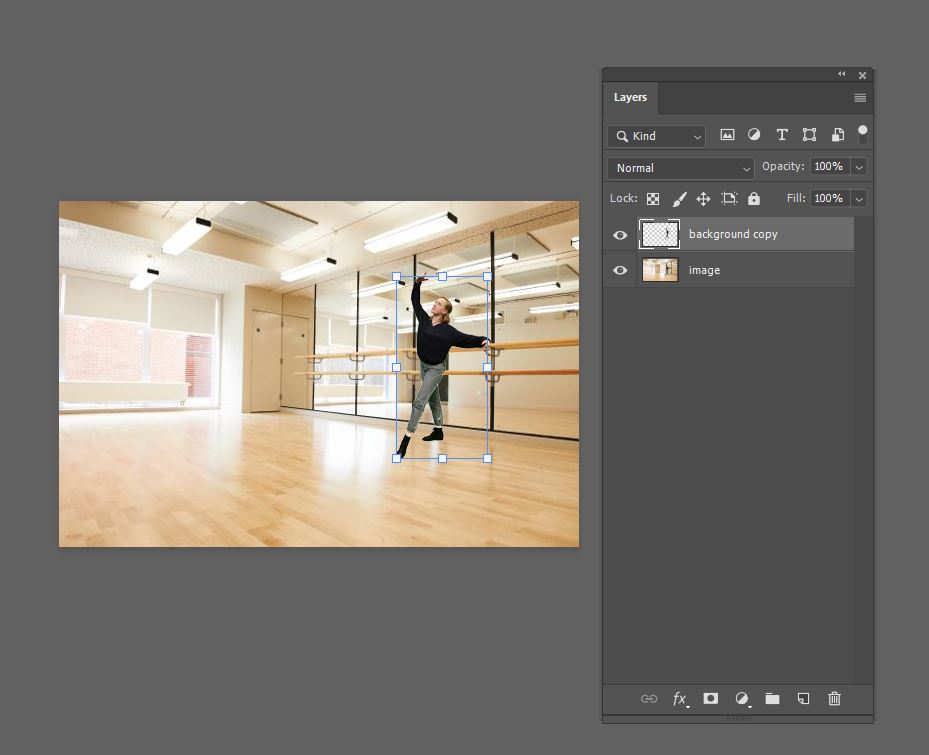
- Place your edited subject on top of your background
- Once you’re done, click File > Export > Quick Export as PNG.
Step 5 (Optional) – Adding Shadows
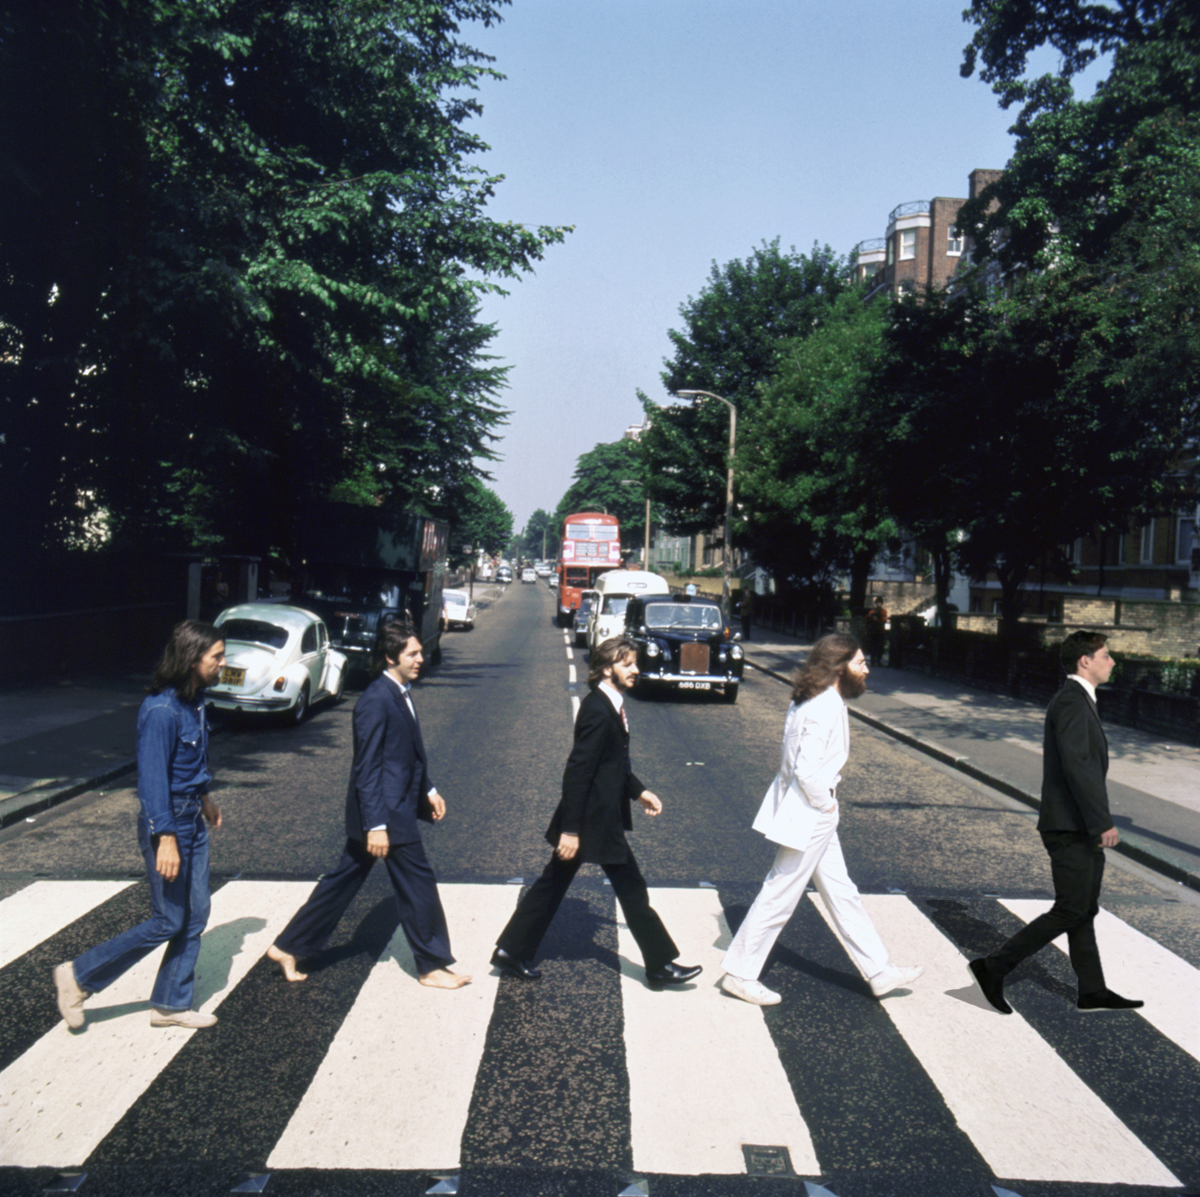
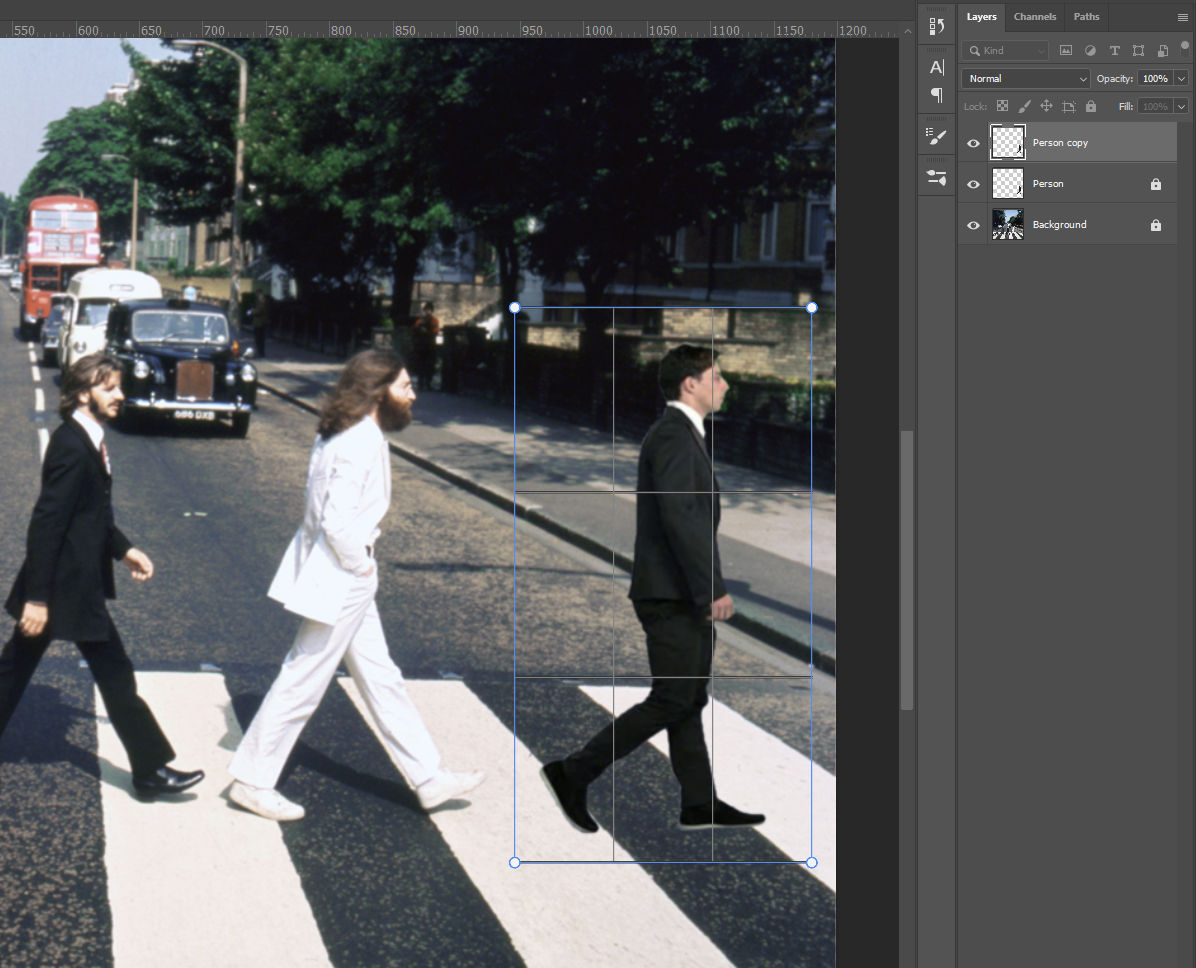
There will be times in which your background may be daylit and you will need to add a shadow to your object in order to make it look more realistic. Look at the following example and notice how the Beatles have a shadow projected onto the street but the person on the right doesn’t.
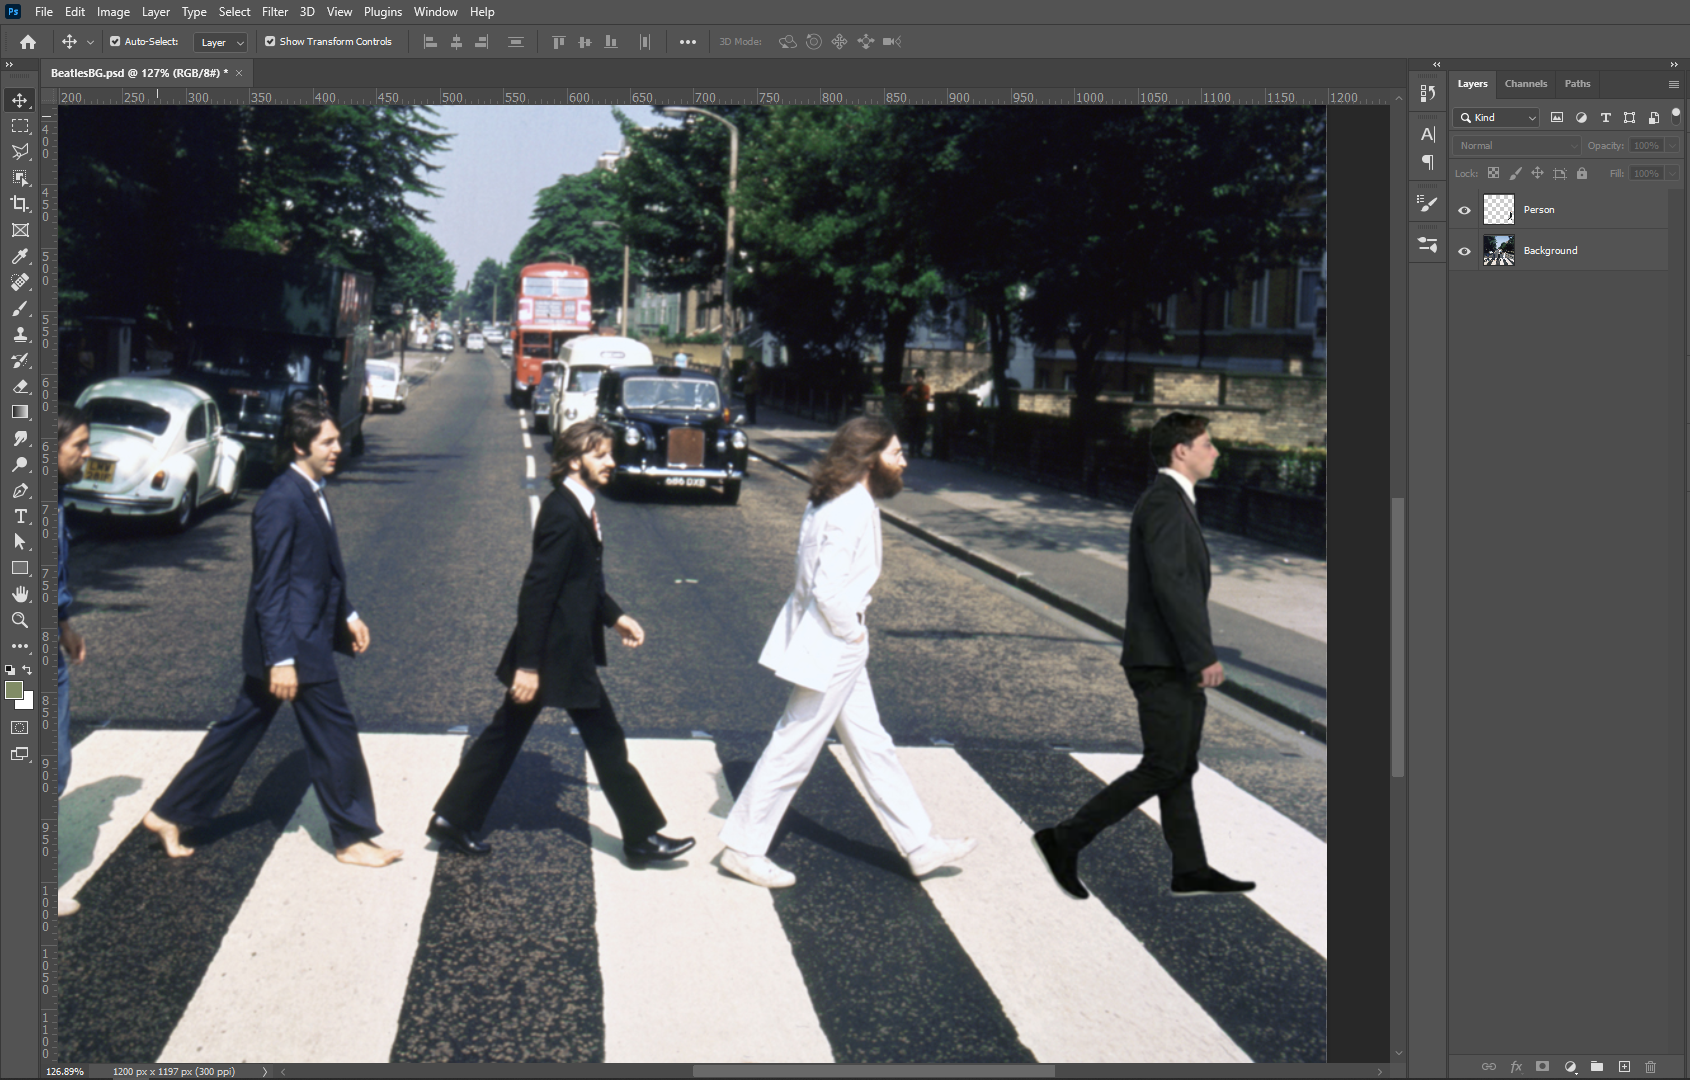
If this is the case, you can do the following:
- Create a copy of the cutout layer by selecting the desired layer and typing Ctrl + J (or ⌘ + J for Mac).
- Lock all layers except the newly created layer copy, this will help with transforming this layer.
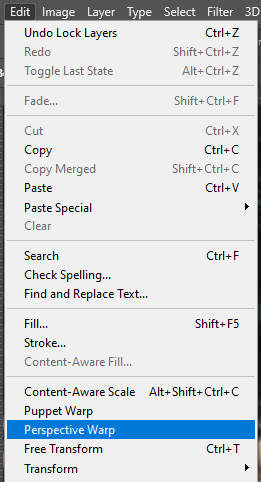
- Select the layer copy and go to Edit > Perspective Warp
- Create a blue box around your object by clicking and dragging across, like so:
- Hit Enter. You’ll notice that the blue outline turns white and the grids disappear.
- Drag the corners of the white box in order to transform the object to the desired perspective. You might need to play around with this for a bit.
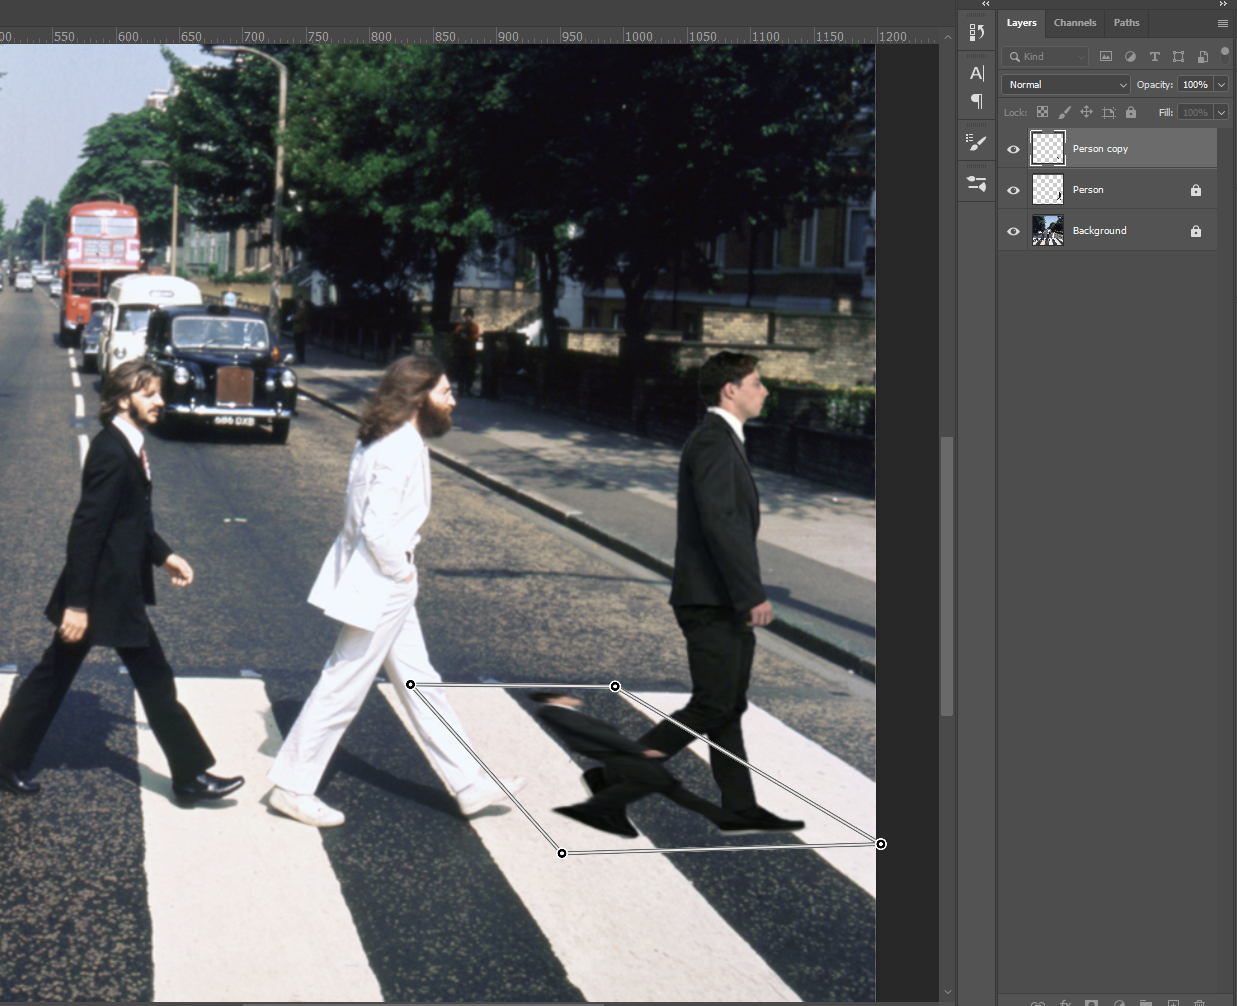
- Hit Enter again. The Perspective Warp transformation should be complete.
- Place the layer copy so that it’s behind the original layer.
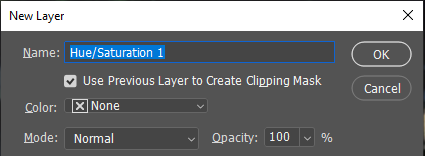
- Apply an adjustment layer of Hue/Saturation only on the layer copy. To do this, press Alt while clicking on the adjustment Hue/Saturation adjustment button and making sure the box is checked for “Use Previous Layer to Create a Clipping Mask”. Then hit OK.
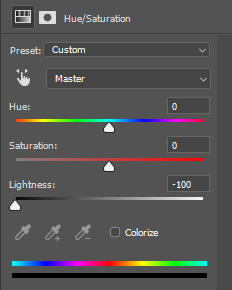
- Adjust the Lightness slider all the way down to -100.
- Finally, adjust the Opacity of the copy layer down to whatever percentage looks right with your background. In the case of the Beatles image, it was set to 40%.
Your green screen effect will be more realistic now that it has a shadow!