
Not all images are created alike, which means some pictures are harder to cut out than others. This tutorial allows you to cut out more intricate things, like curly hair and feathers with Levels and smoother objects with Quick Selection.
By the end of this training you will:
- Use Levels and layer masks to effectively remove subjects from their backgrounds
- Use quick select tool
–
For the Levels section, pick 1 image to edit from Easy, Medium and Hard.
Note: The Levels method really only works well with high-contrast images. If you want to cut out, for example, a redhead curly-haired girl on a red brick background, you’d need to do some prep work beforehand. See the bottom of this training for how to do this.
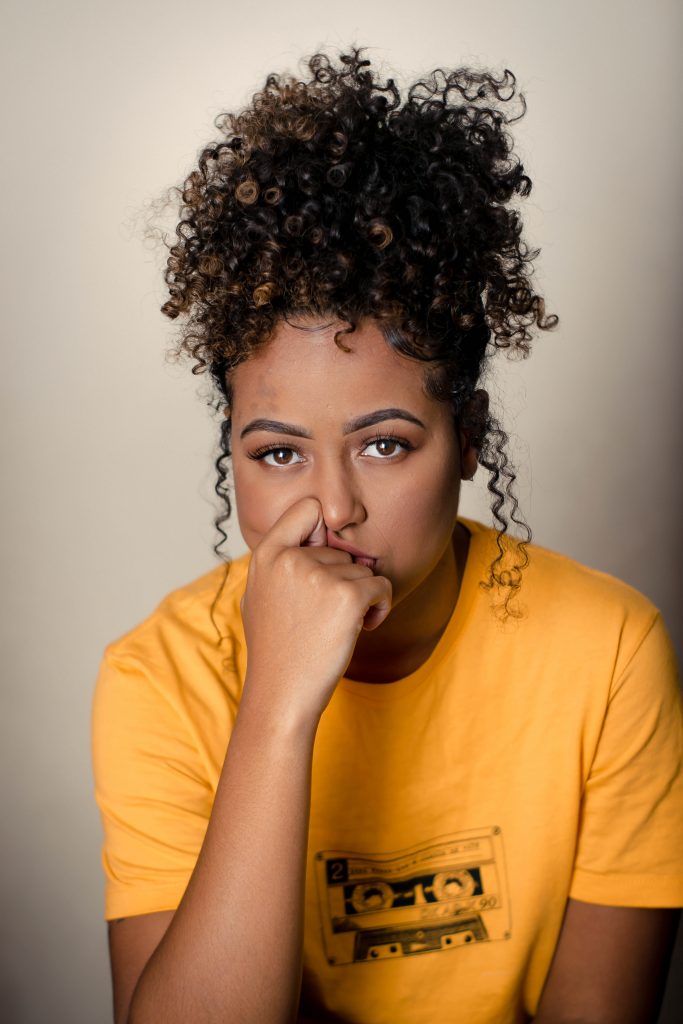
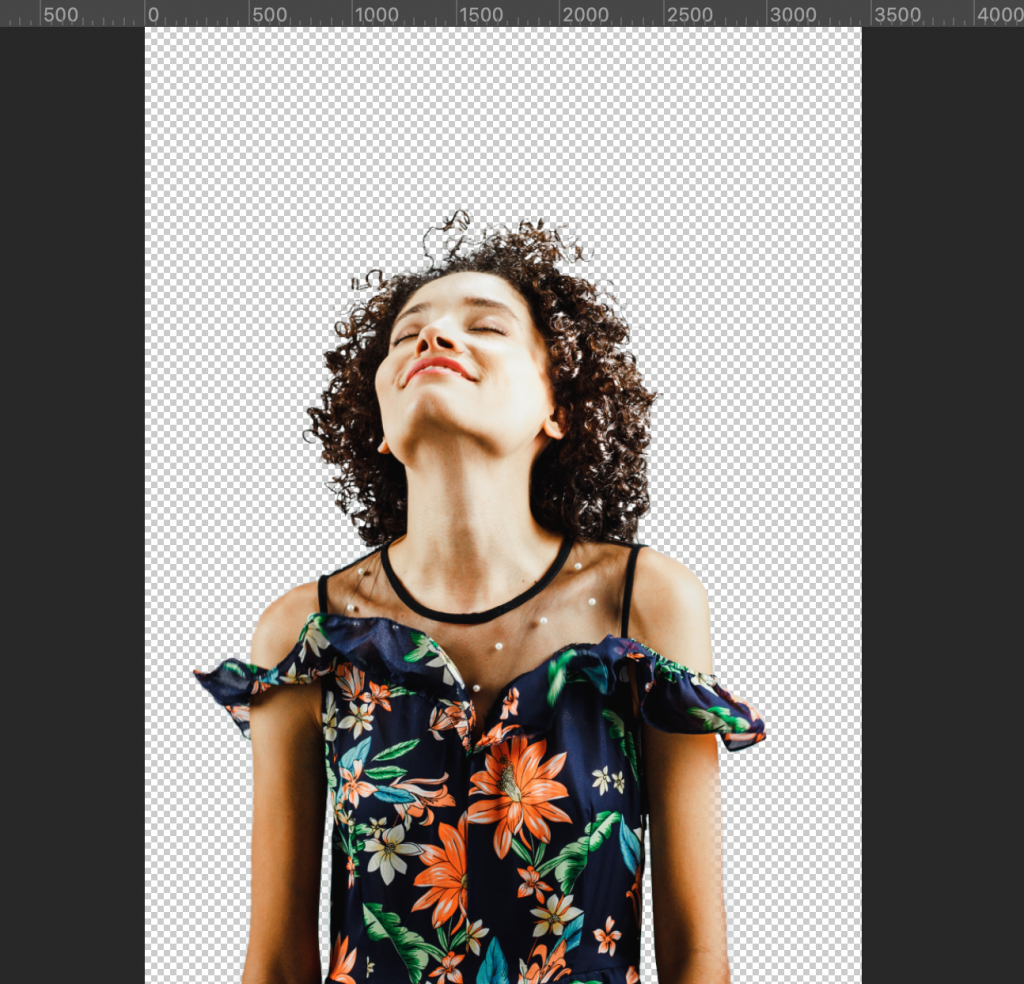
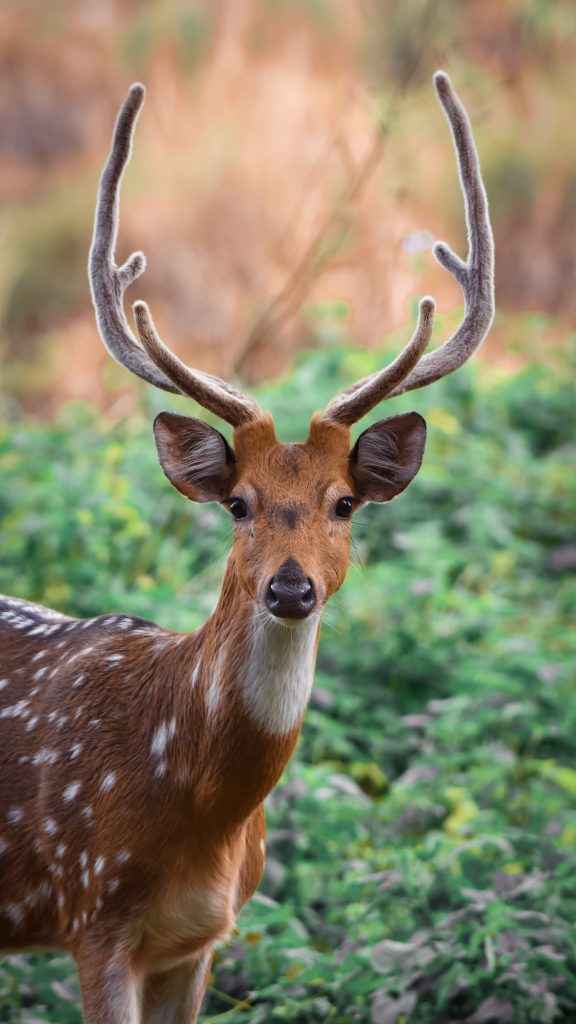
Easy
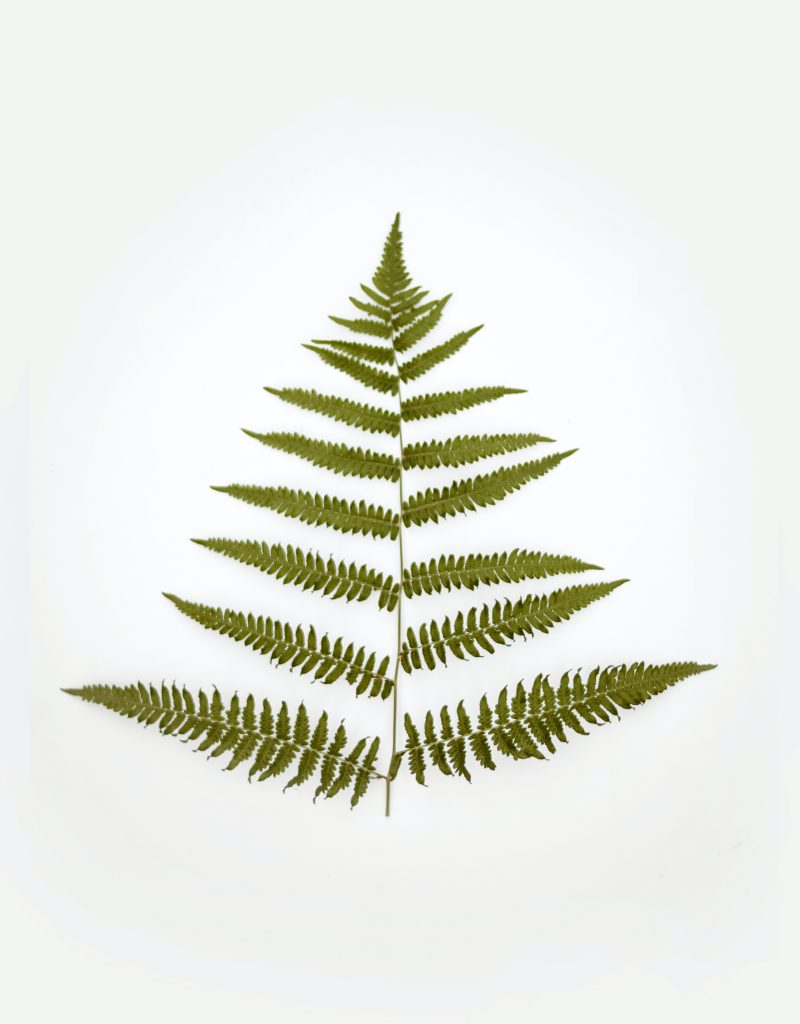
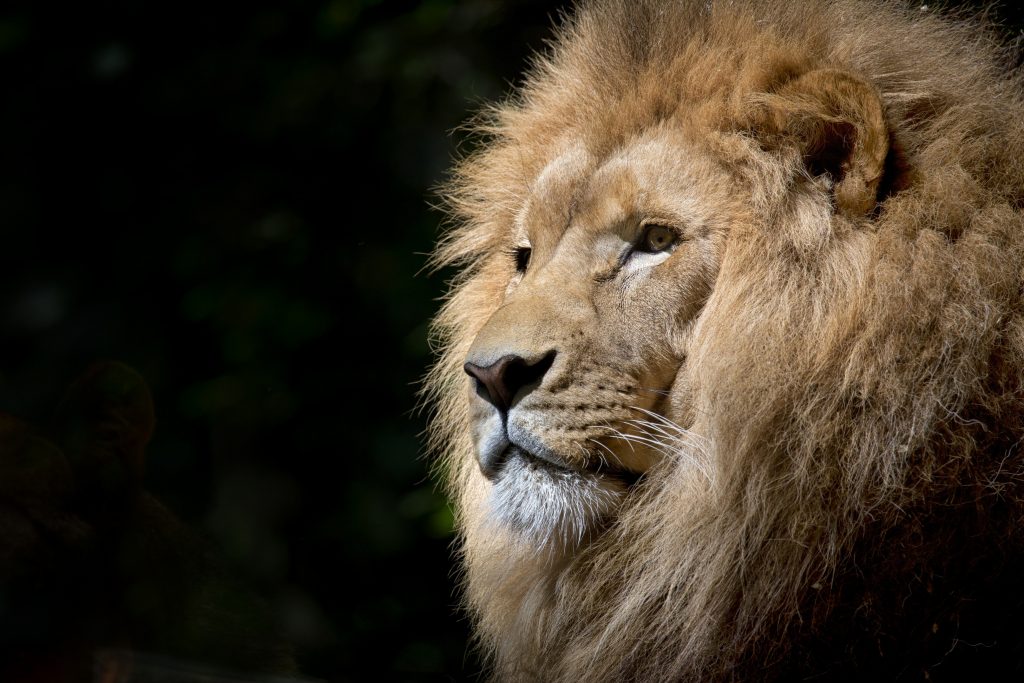
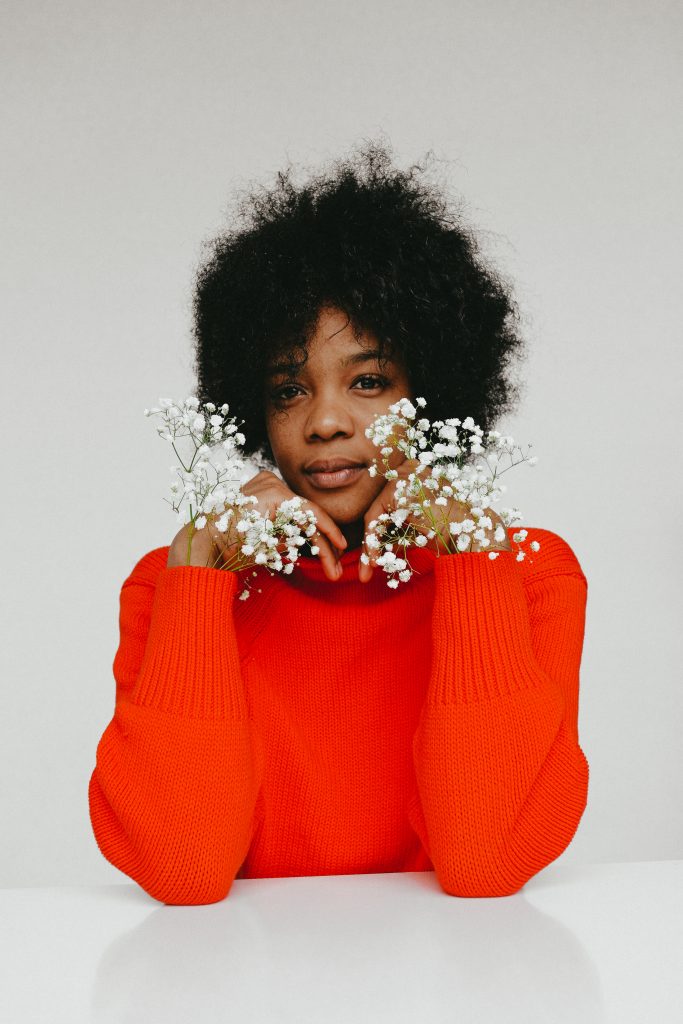
Medium
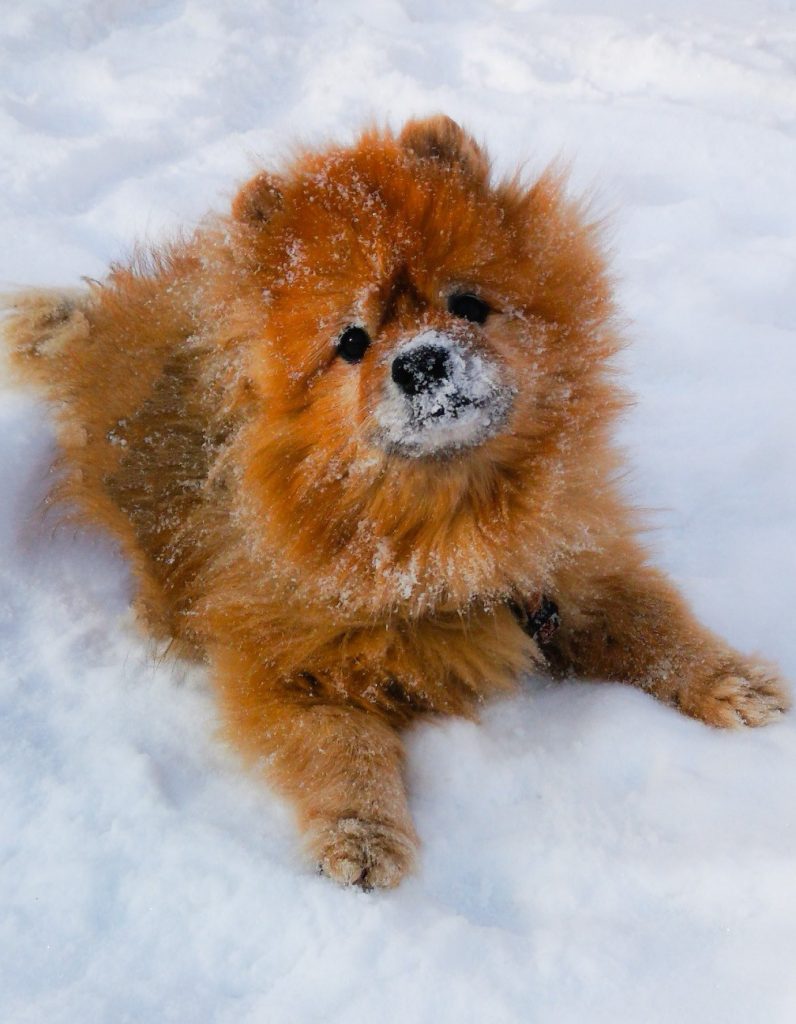
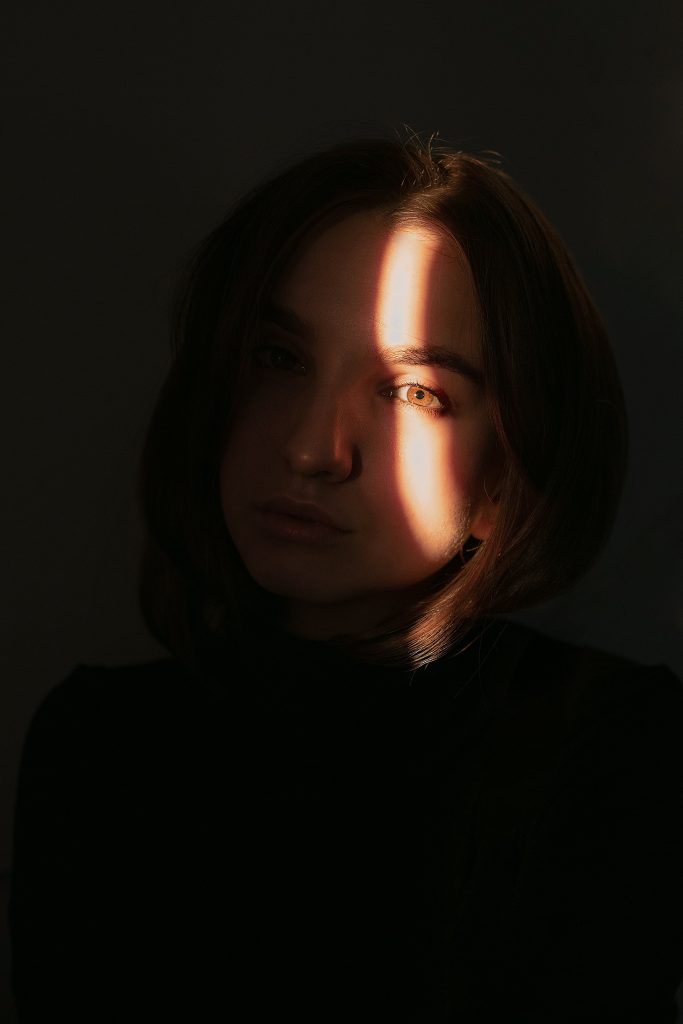
Hard
Getting started:
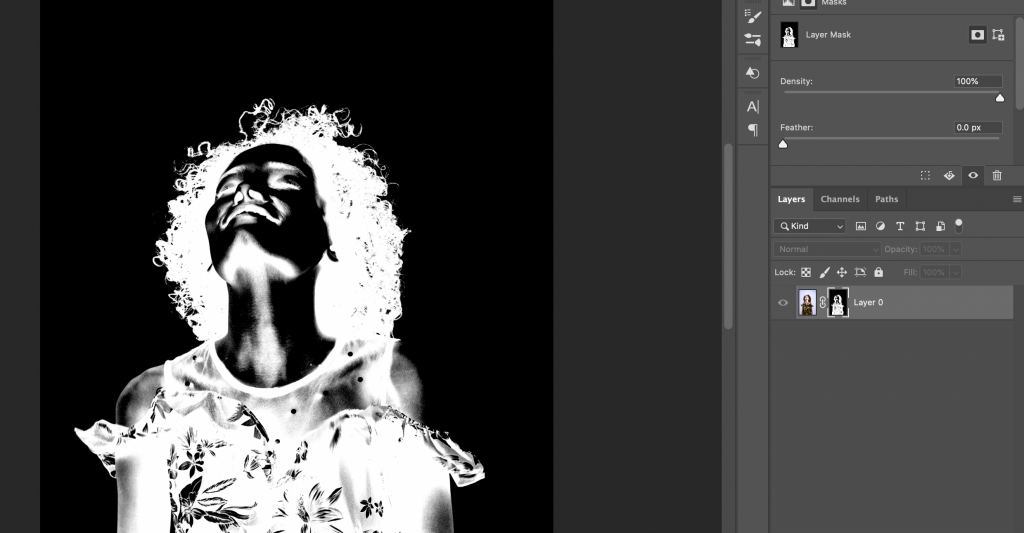
Once you’ve opened your image in Photoshop, go to the “Channels” panel, next to layers. You’ll see some color options.
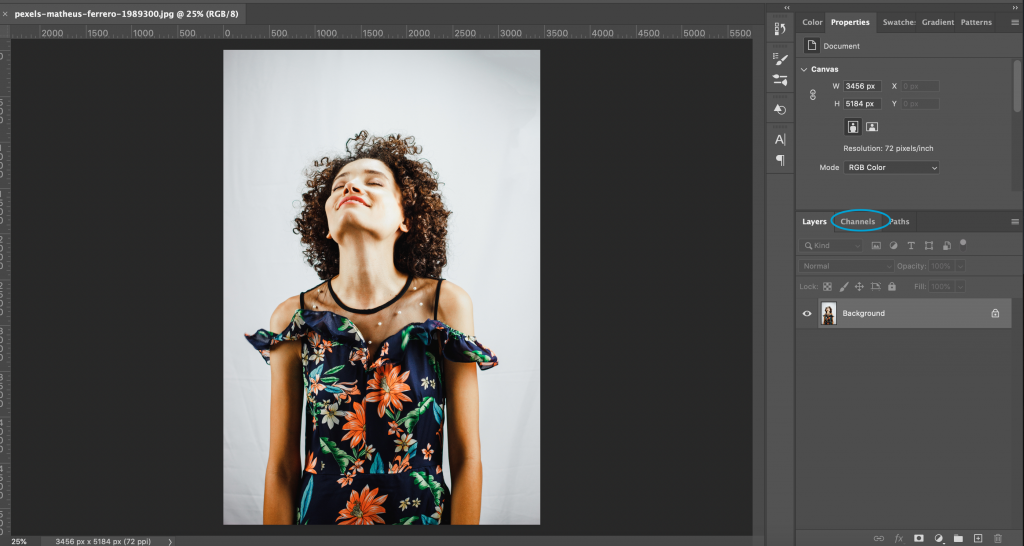
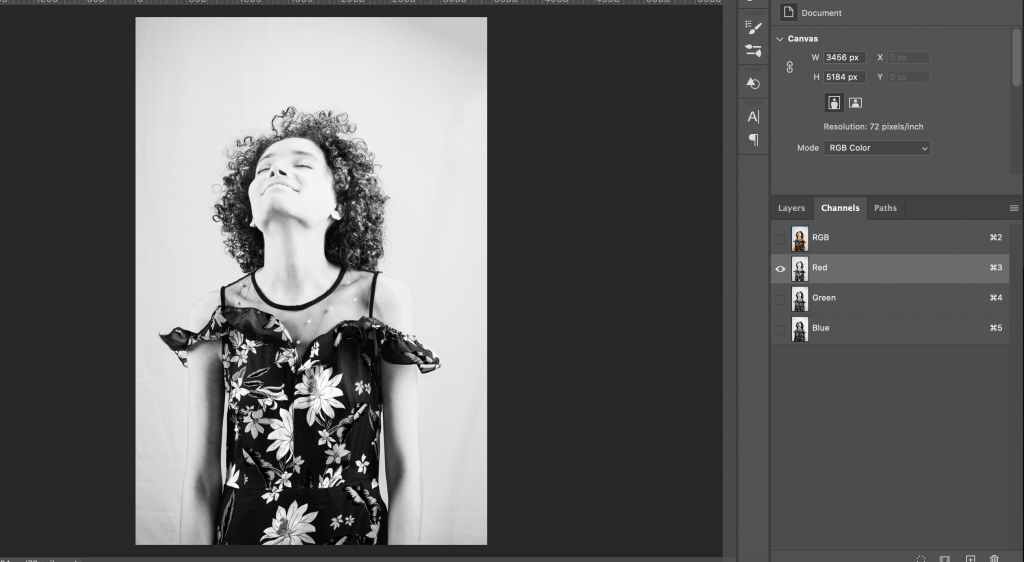
Here, we have red, green, and blue color channels. Go through each one, paying attention to the contrast between the subject you want to cutout and the background. For my image, the highest contrast was in the blue channel, but yours could be in the green or red. Once you’ve picked your high-contrast channel, drag it to the “plus” sign at the bottom of the panel to make a copy.
Now, command/control + L to bring up the Levels popup. We’re going to play with the levels to get the highest contrast between the subject and its background.
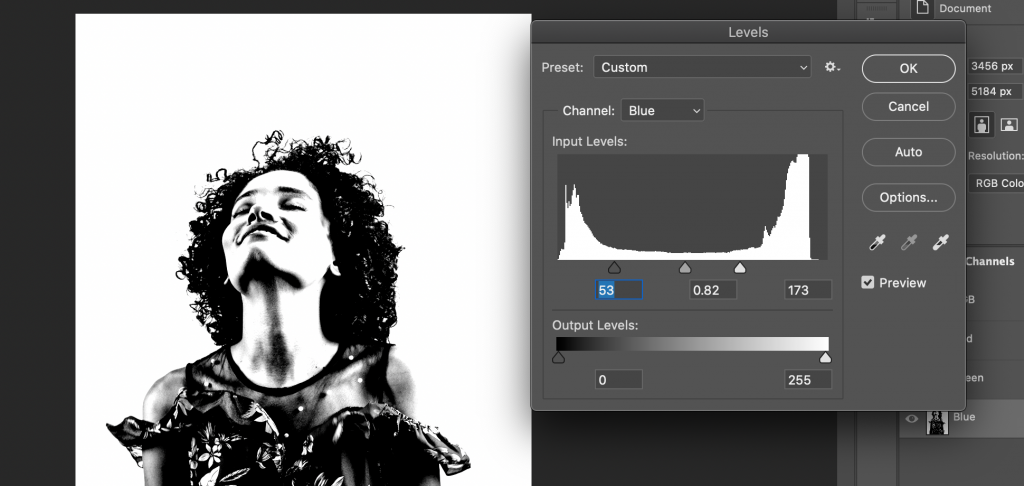
Like in the picture above, you’ll want to bring the white arrow to the left to brighten the background and the dark arrow the right to darken the subject, particularly her hair. Don’t do it too much, though, otherwise, you’ll compromise the photo and make it look too noisy. When you’re satisfied, click OK on the Levels panel.
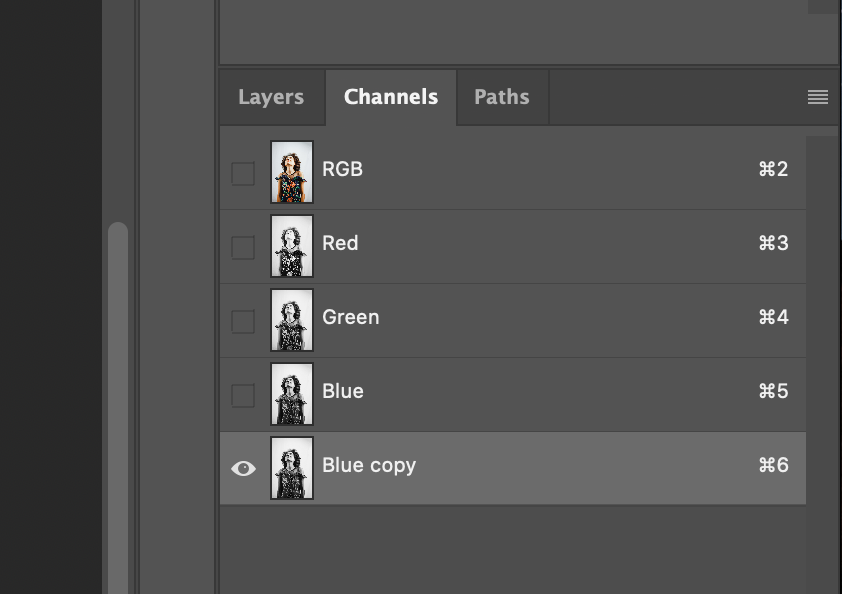
Next, go back to the channels panel and Command/Control + Click on the thumbnail in your COPY channel. This makes a selection.
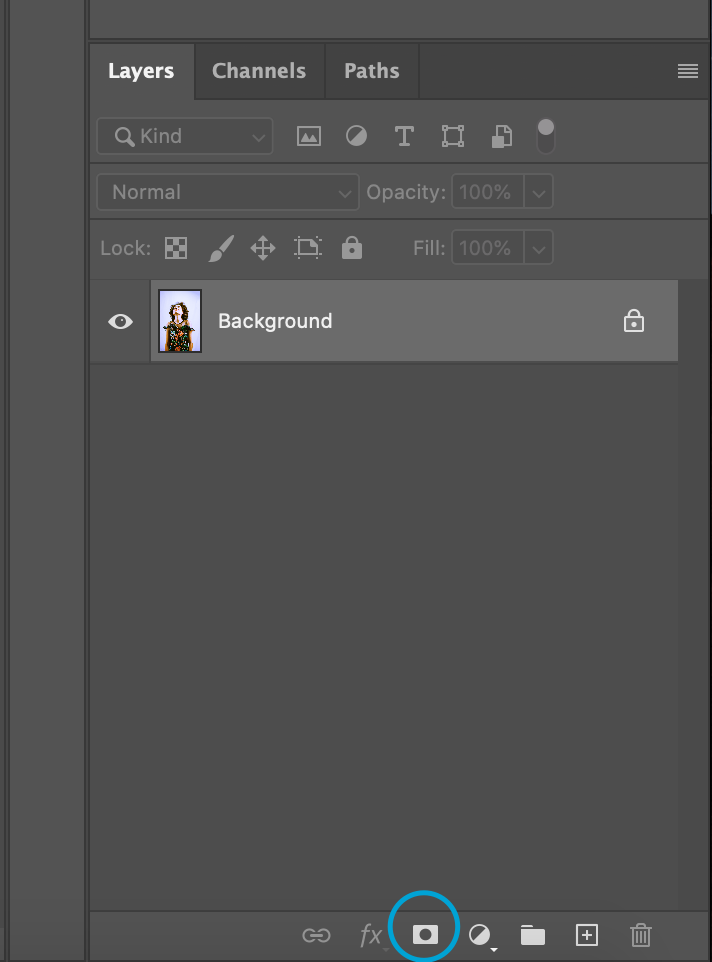
You may notice there are some parts unselected that we need to keep, but it’s okay. We’ll fix that later. For now, go to the Layers panel and add a layer mask.
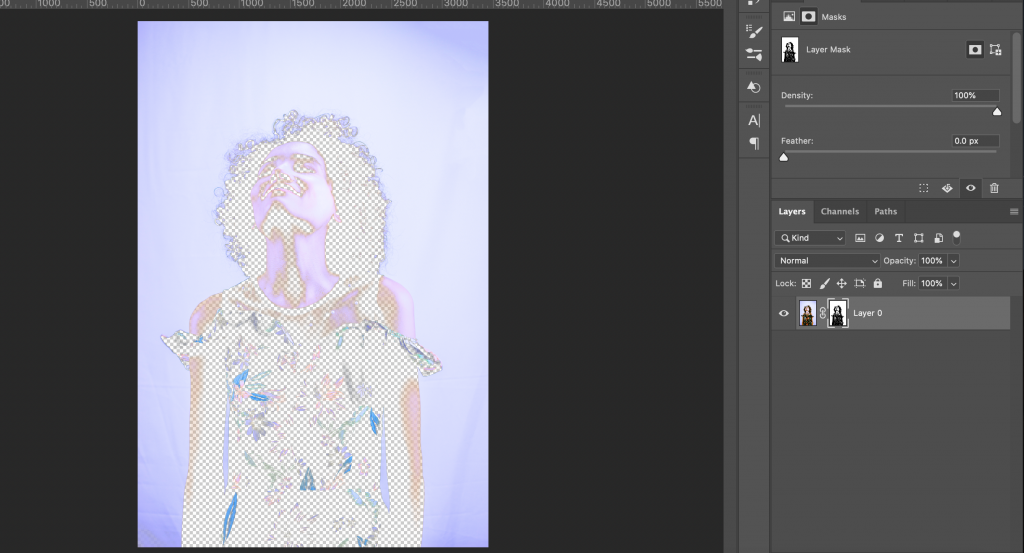
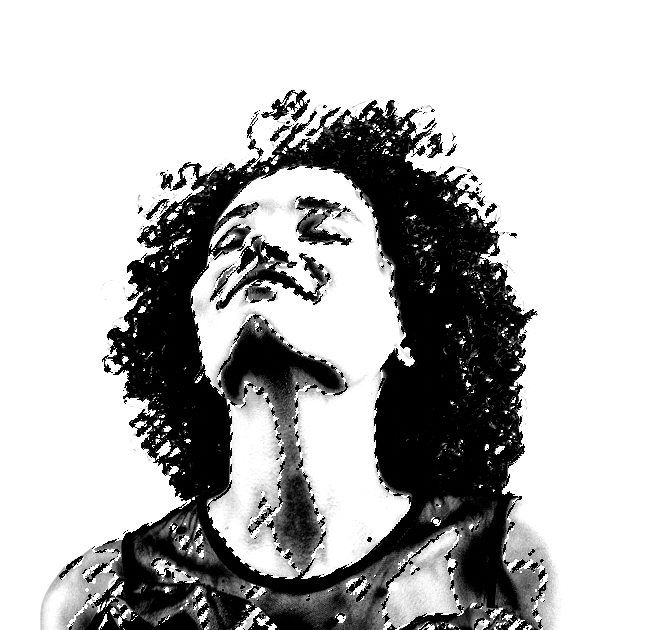
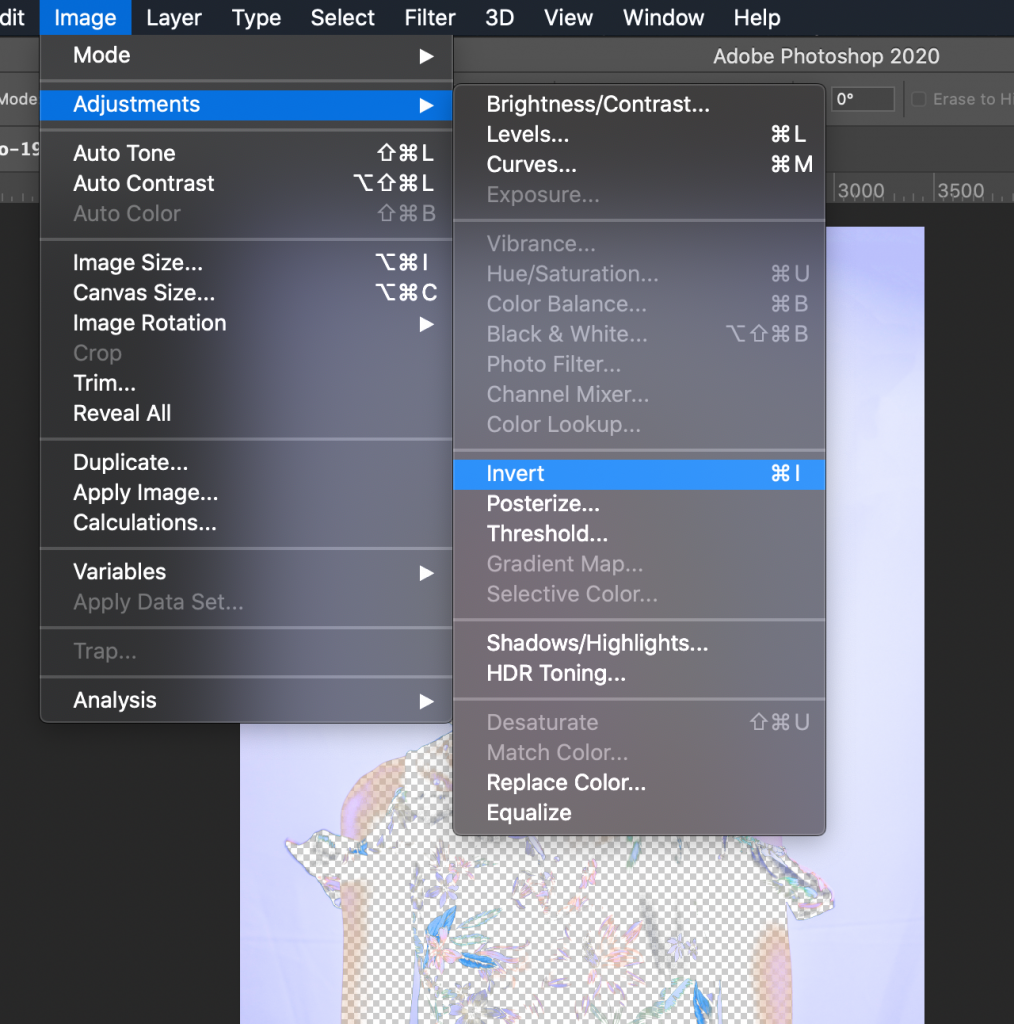
Notice how the layer mask left the background and made our subject transparent. We don’t want that. To change this, go to Image >> Adjustments >> Invert to switch up our selection.
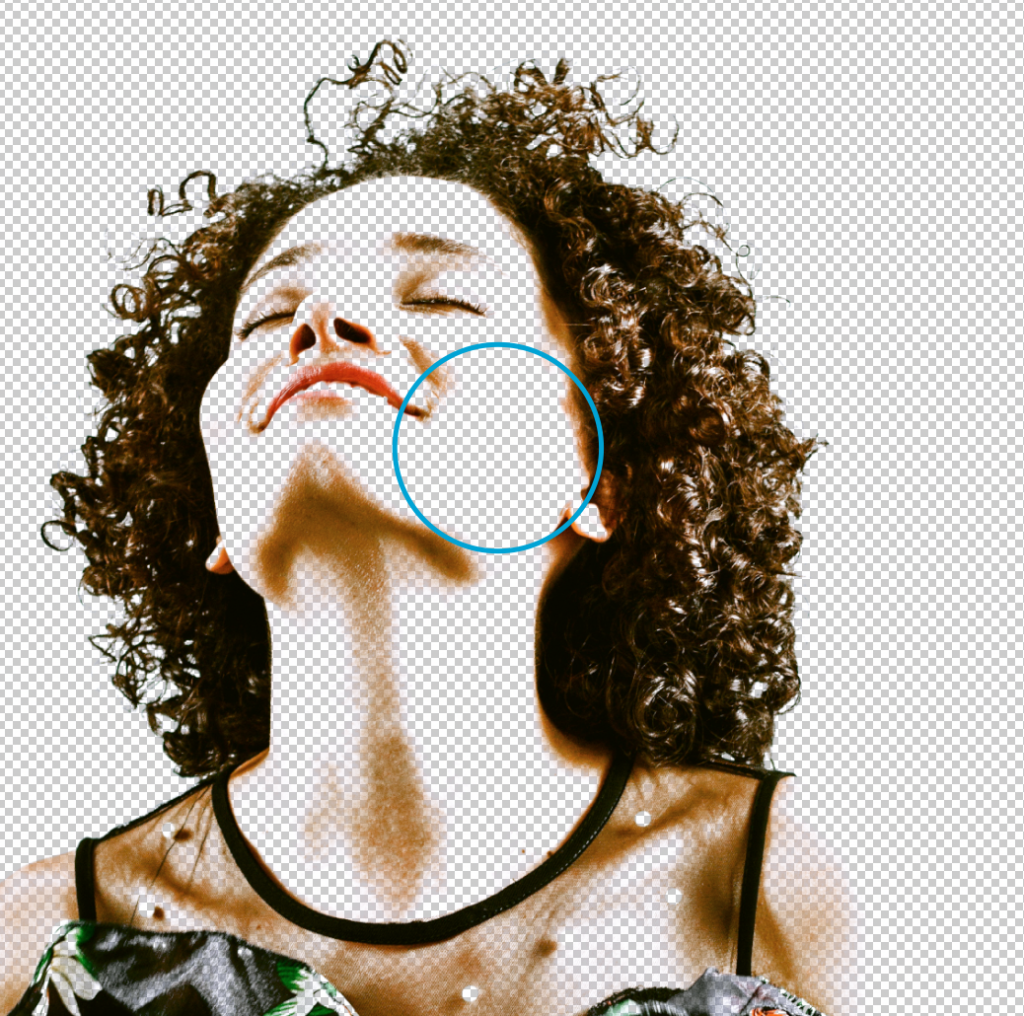
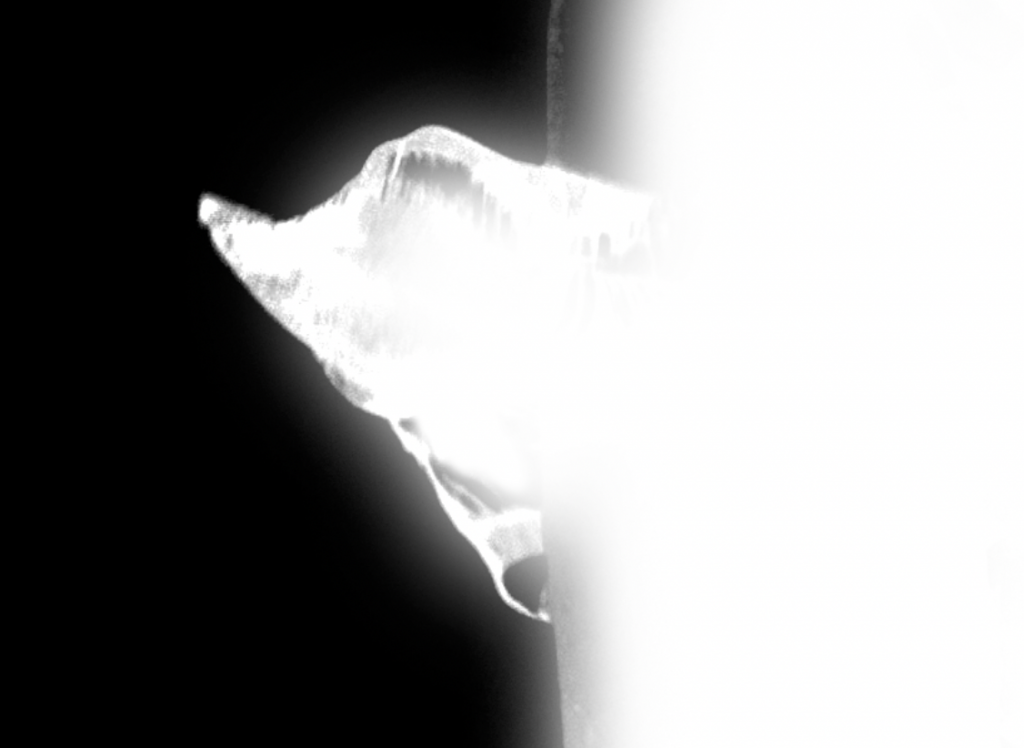
Almost there. We’ve inverted the selection, but some areas are still transparent where the color is close to the color of the background. To fix this, ALT/OPTION + CLICK on the layer mask thumbnail. This brings up a negative version of the image so we can better see what’s selected and what’s not.
Take the paintbrush tool and make it white and soft.
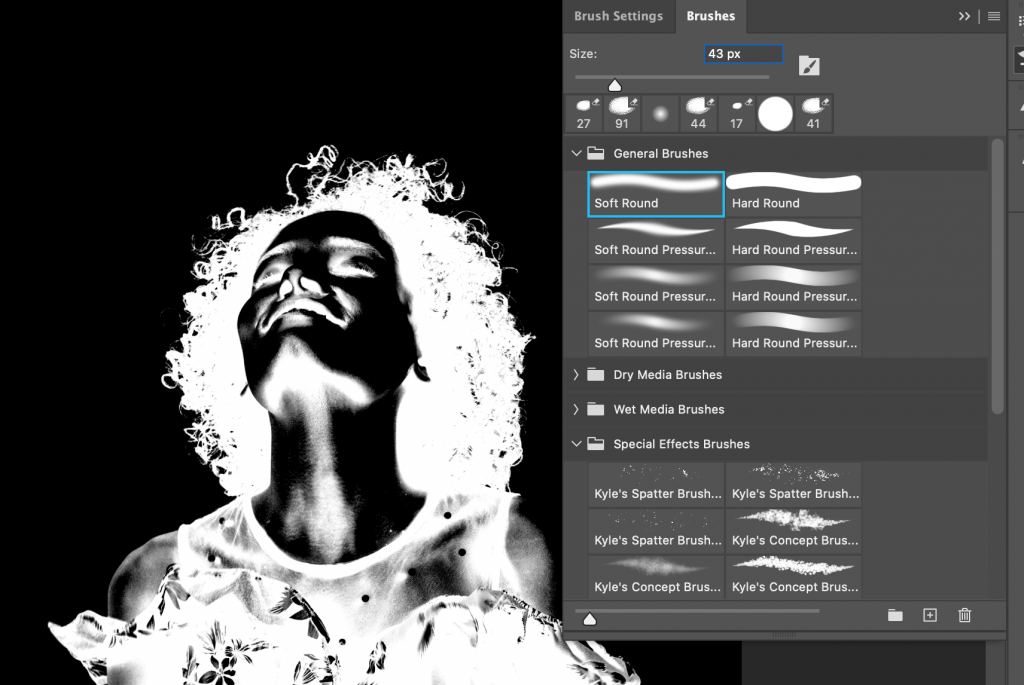
This part takes a while. Paint in all the black areas you want to keep: her face, shoulders, the flowers on her shirt. I suggest you use a large brush at first, then a smaller one for the details.
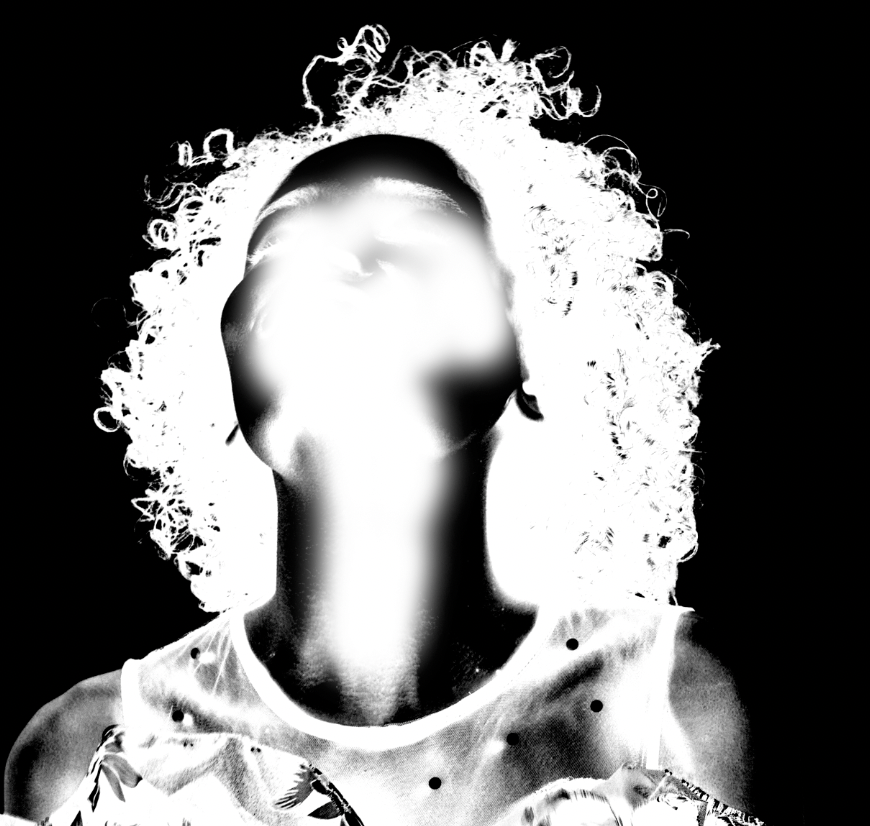
You can ALT/OPTION + CLICK on the layer mask thumbnail again to go back to the photo view to see some parts better. I did this on the shoulders a lot.
If you accidentally over-select with the paintbrush, no worries. Use the eraser to paint over what you didn’t mean to select.
Once you’re done, go back to the photo view. Now you’ve got a professionally cut-out image, frizz and all!
Getting started: Quick selection
Quick selection is another method for cutouts. It’s faster than using Levels, but it’s really only helpful when you want to cut out an object without fine edges, like hair, fur, or feathers.
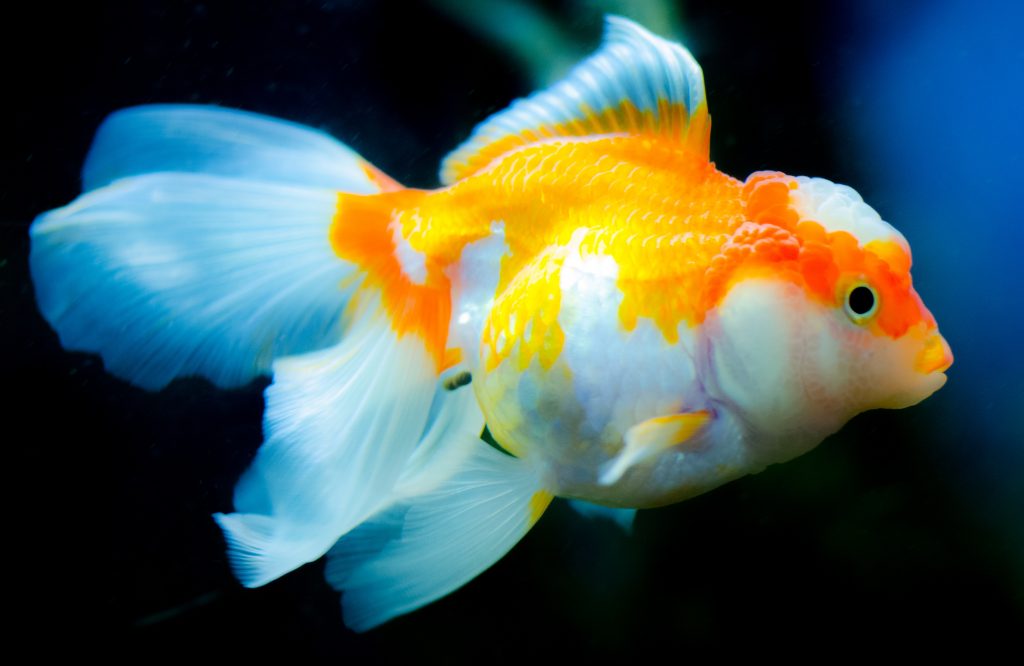
Pick from these images:

Once you’ve got your image in Photoshop, click the Quick Selection tool.
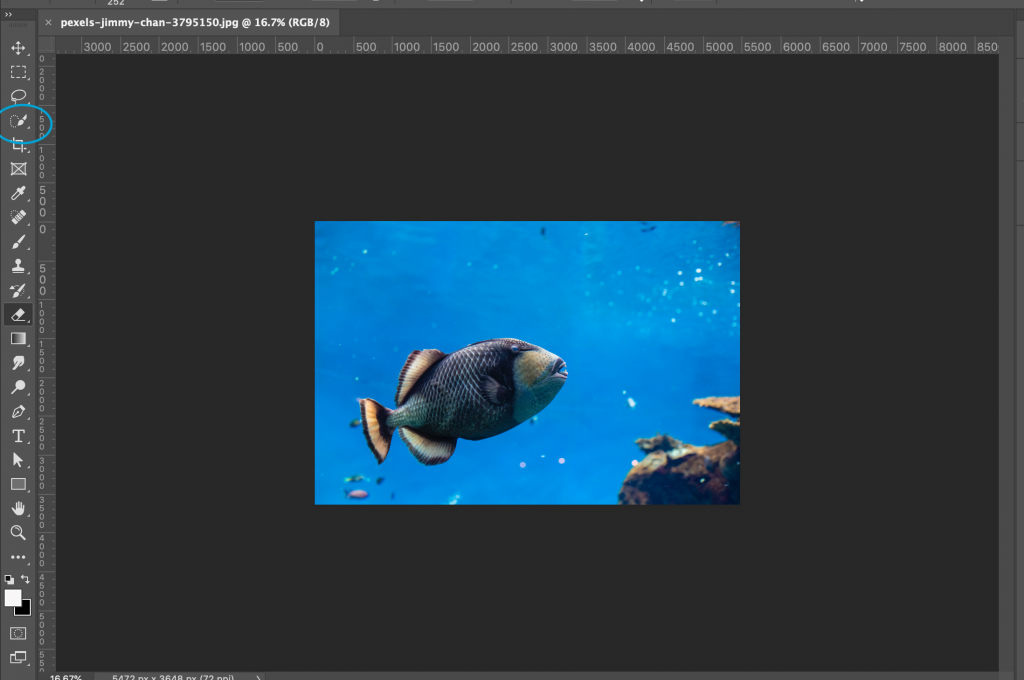
Using the tool, select the object. You can adjust the size of the tool and whether you’re selecting or deselecting at the top. The tool senses color changes, so if you get to an area that’s close in color to the background, it’ll be a bit tougher.
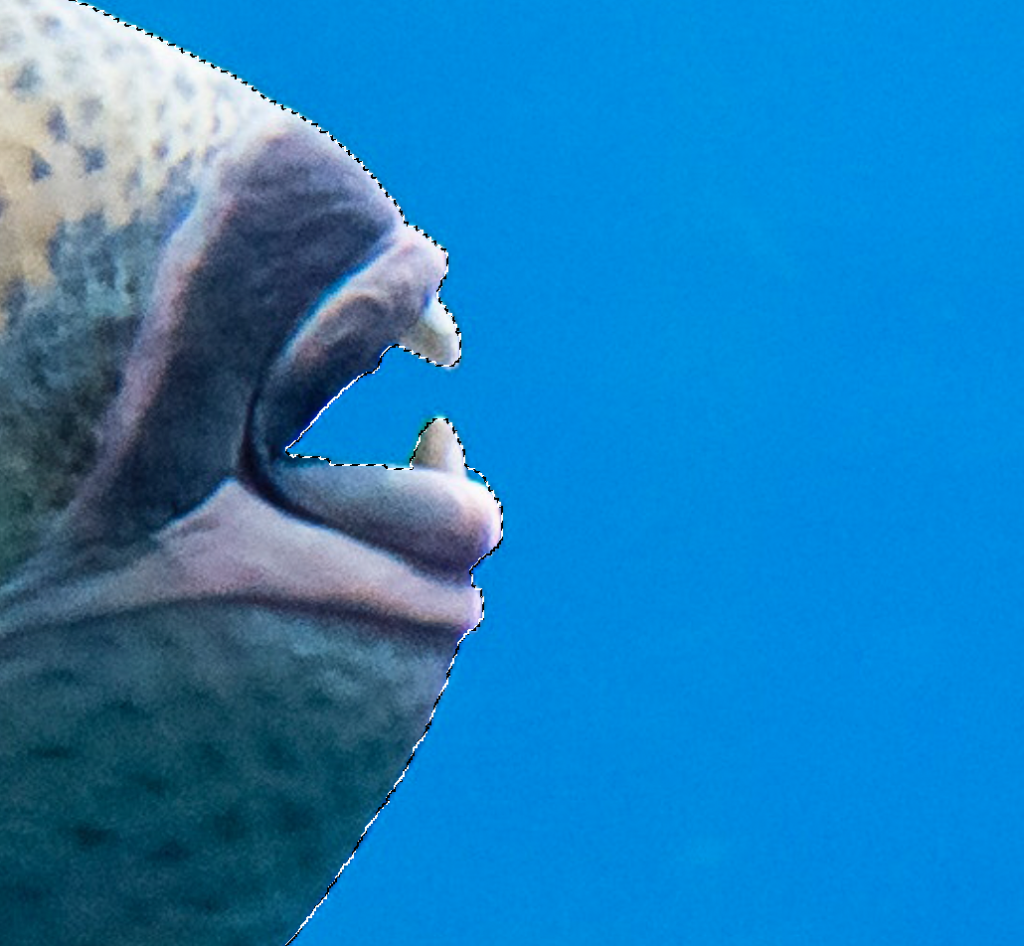
Make sure you zoom in!

You’ll notice that the Quick Selection tool isn’t perfect. That’s ok! We’ll use the Quick Mask tool to paint in areas we don’t need.
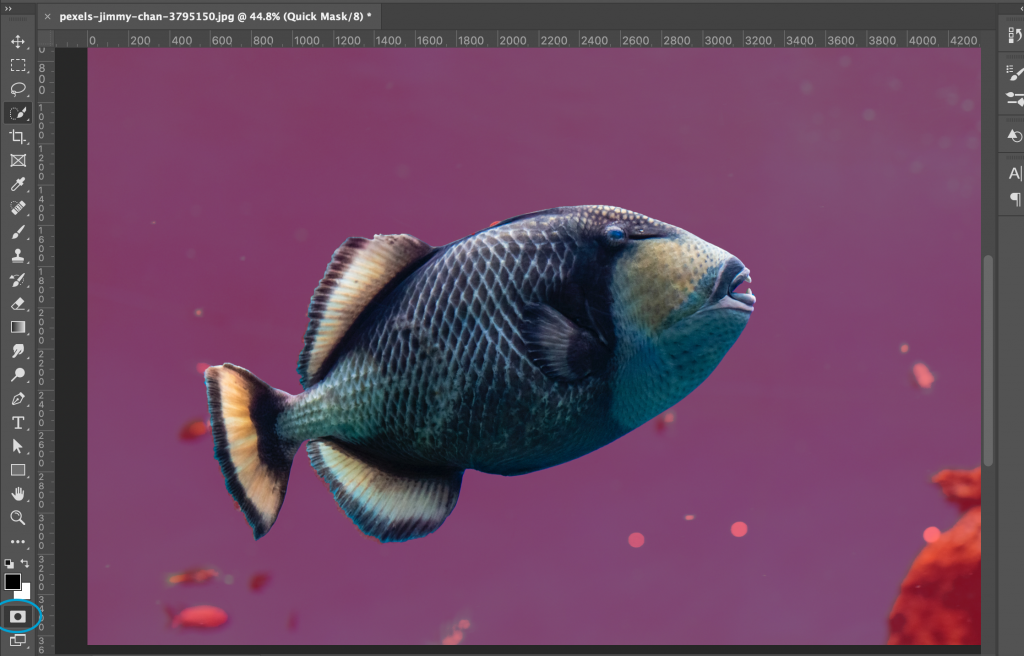
Quick Mask gives us a better look at what’s selected and what’s not. Looking at this fish, we can see that the Quick Selection tool missed some of the fins and a bit at the top. Zoom in and erase areas you want to include and paint in areas you don’t want. Remember, the red areas go away.
When you’re done, click the Quick Mask icon again to go back into Selection mode. Go to Select >> Select and Mask.

This opens your cutout on a transparent background.
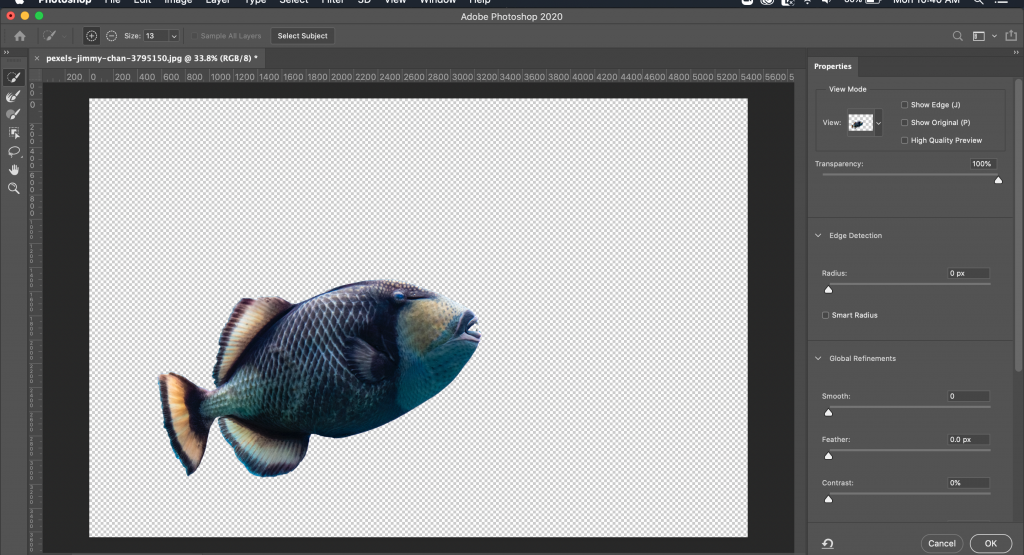
Next, we’ll adjust the settings on the right.
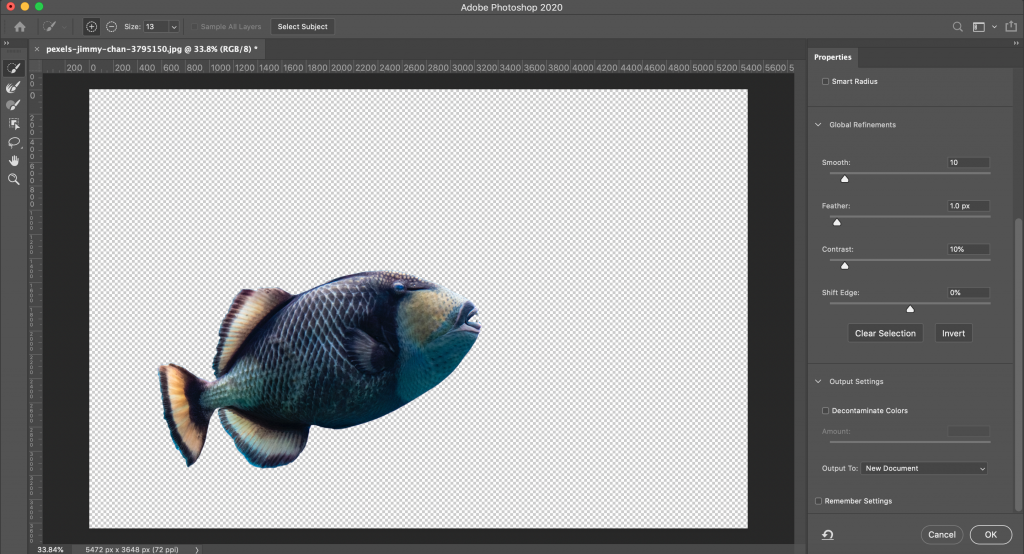
I typically set Smooth at 10 to smooth out jagged edges, but not so much that it distorts hard corners.
I set Feather at 1 or 2 to make the cutout’s edges fade, but just slightly. It helps erase imperfections that we may have missed when we edited the cutout.
I set Contrast at 10% to, well, give contrast between the cutout and the transparent background. Leave Shift Edge at zero.
Set Output to New Document to get a fresh start. Click OK to export it into a new Photoshop tab, and from there, you can export your cutout into a transparent PNG!
Addendum: Pre-work for low-contrast fine objects
There’s no one good way to do this, but I find the best method is to use the Object Selection Tool.
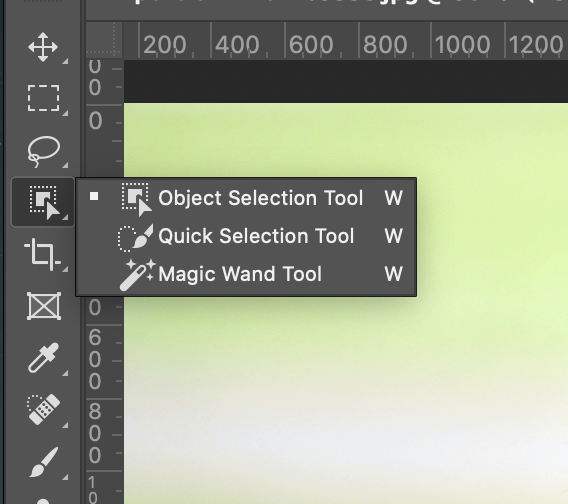
To use it, select the object in a rectangle. The tool automatically snaps to the object.
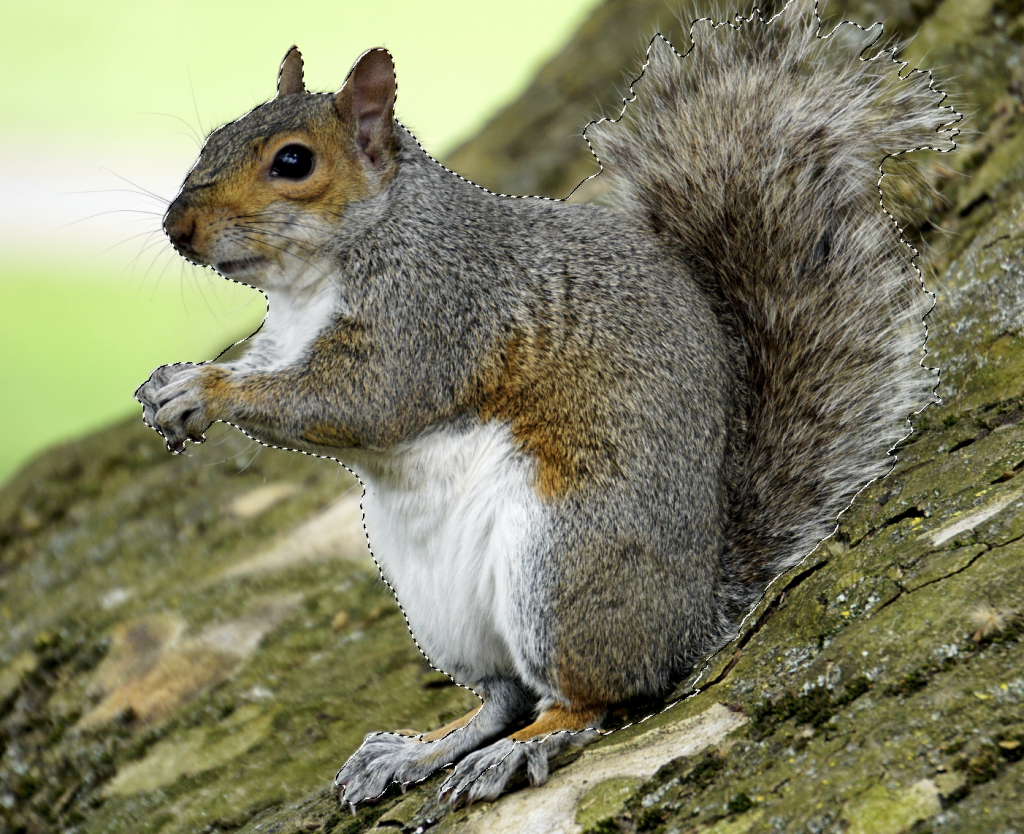
It did a pretty good job! But the feet aren’t selected. Use the Quick Mask tool to correct this.
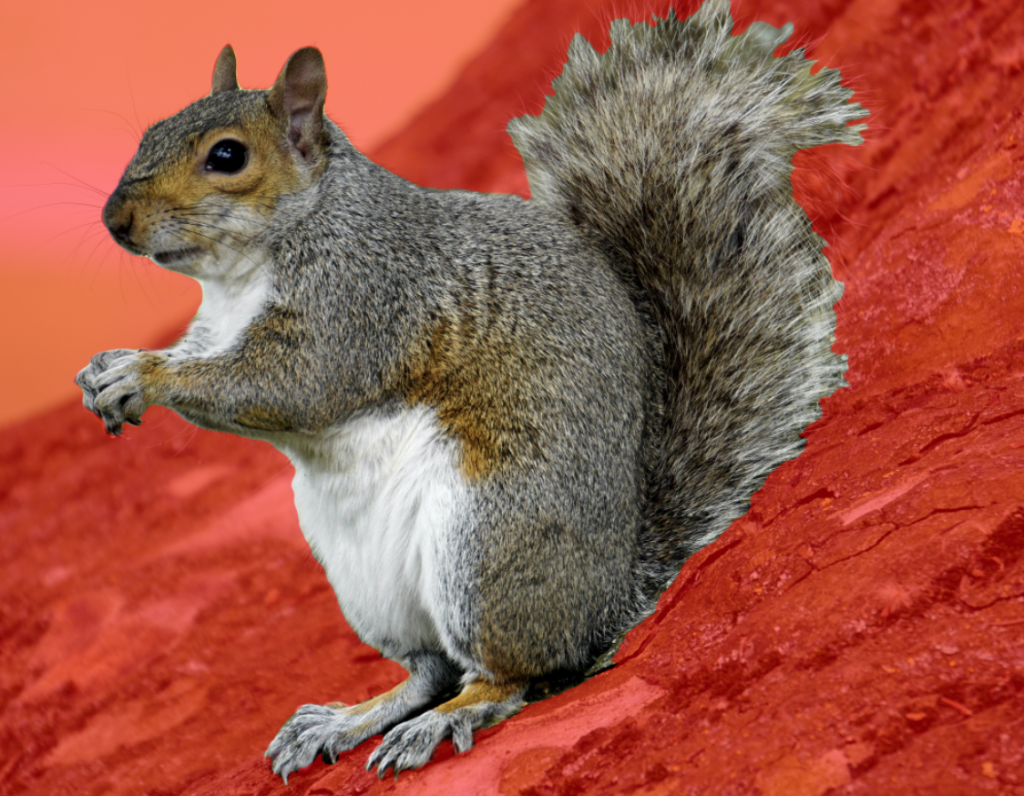
Exit Quick Mask and Select >> Select and Mask. Follow the same settings in the Quick Selection part of this training.
The result isn’t as good as the Levels method, but it’s the best we can do with a low-contrast photo.

Post your cutouts using all 3 methods in basecamp for feedback!
Part 2: Try it with your own photos
Take a picture of an animal, a plant, or a person on a plain or plain-ish background.
Post the unedited photo on Basecamp with an assessment for how you’d edit the photo and cut out the object you photographed.
Cut out the object!
Next, photograph a different object against a natural background. Repeat the assessment process.