
Step 1
Get the map/image (and any other relevant assets) from your client.
Note: If the elements that are meant to be interactive are not yet highlighted, make sure you clear that out with the client.

Step 2
Using the same file proportions as the provided image, start a Photoshop document, and using the map, start tracing out the highlighted elements, one per layer.
Tip: color coordinating with the map makes things easier.
Step 3
Export each layer as an individual file and name accordingly.

Step 4
Go to https://laits.utexas.edu/canvasser/author/.
Log in with your UT EID and corresponding password.
Step 5
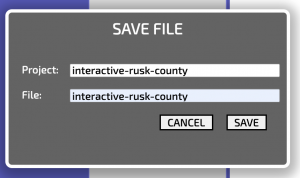
Click on File > Save File.
Then type in the name of the project, and a file to eventually upload your files to.
Step 6
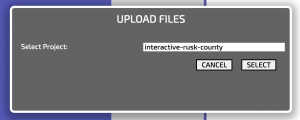
Click on File > Upload File > Select the project you just created.
Then upload all of your files. (i.e. the map + all of the interactive layers you will soon activate.)
Step 7
Click on Windows > Files (if the Files Window isn’t already open).
Look for your project, and under it you will see a list of all the files you just uploaded.
Select them all and click Link (to link them to your project file since they are currently stored on the project’s storage folder).
Step 8
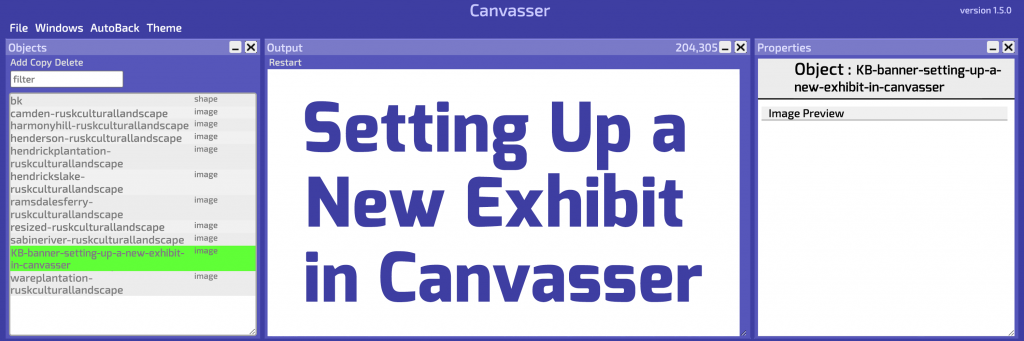
Click on Windows > Objects (if the Objects Window isn’t already open).
Click on Add, to add a new object for every asset you’ve uploaded.
Step 9
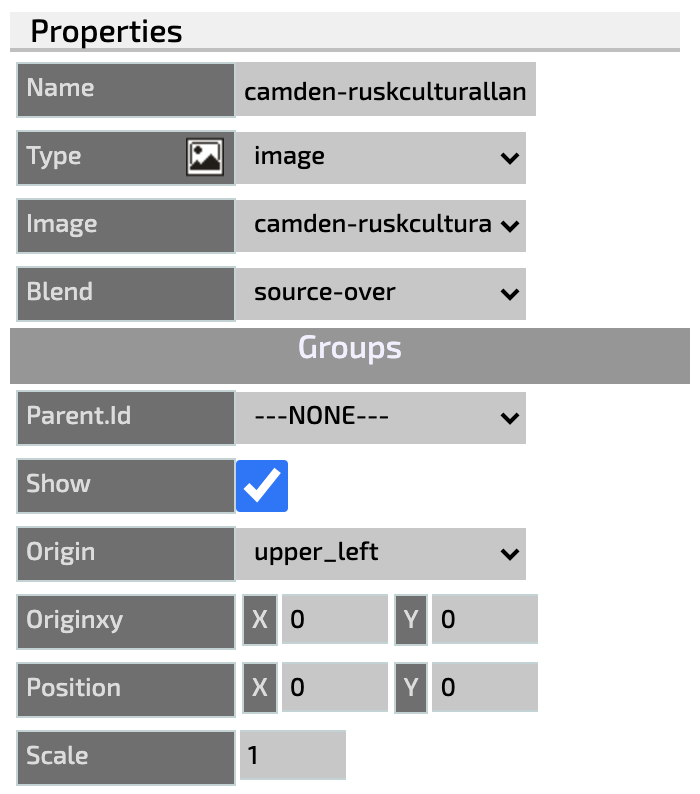
Then, click on each one of those Objects to start modifying them; assigning an image to each one of them and naming the objects correspondingly.
At this point, you want the object properties to look something like this:
Step 10
After you are done settling that for all of the objects…
Click on Windows > Layers (if the Layers Window isn’t already open).
Make sure all of your layers are organized in the right order (if there is one) making sure the map goes on top of it all.
Also, make sure all of the layers are marked as visible, even if they are being covered by the map layer.
Step 11
Now it’s time to make things interactive!
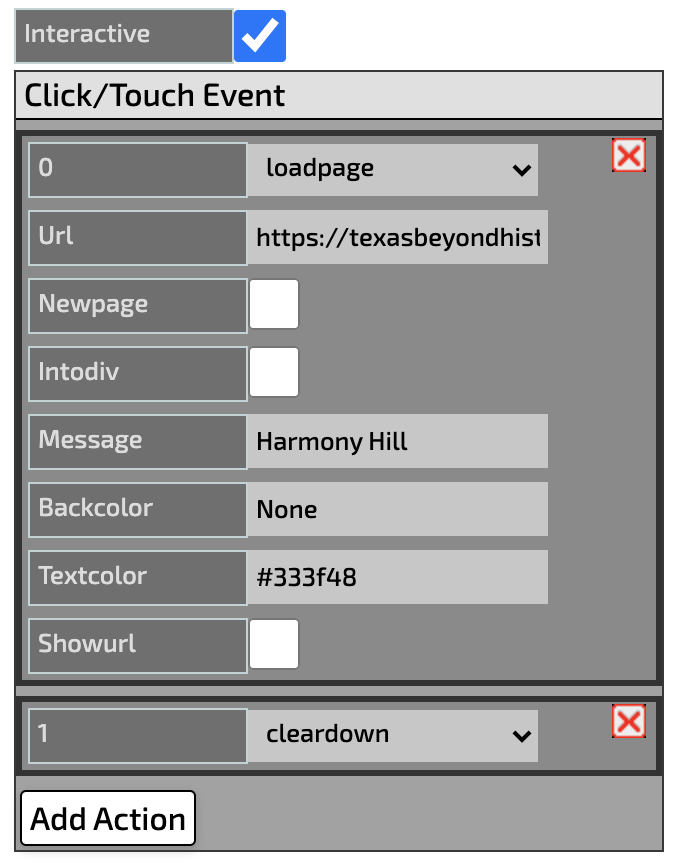
Click on one of the objects or layers that isn’t the map, and on the properties page click on “Interactive.”
Then click on loadpage, and add a URL (sort that with the team).
Note: it’s fine if you don’t add a message, backcolor or text color in this case. Those are only necessary when you markdown “New Page.”
Step 12
Repeat for all other elements.
Step 13
Make sure to click on File > Save File constantly throughout the process of developing this map.
Also, feel free to preview and test the interactive map after saving, by clicking on the provided url.
