Editing the Logo
1) Read through the to-do assigned in Basecamp
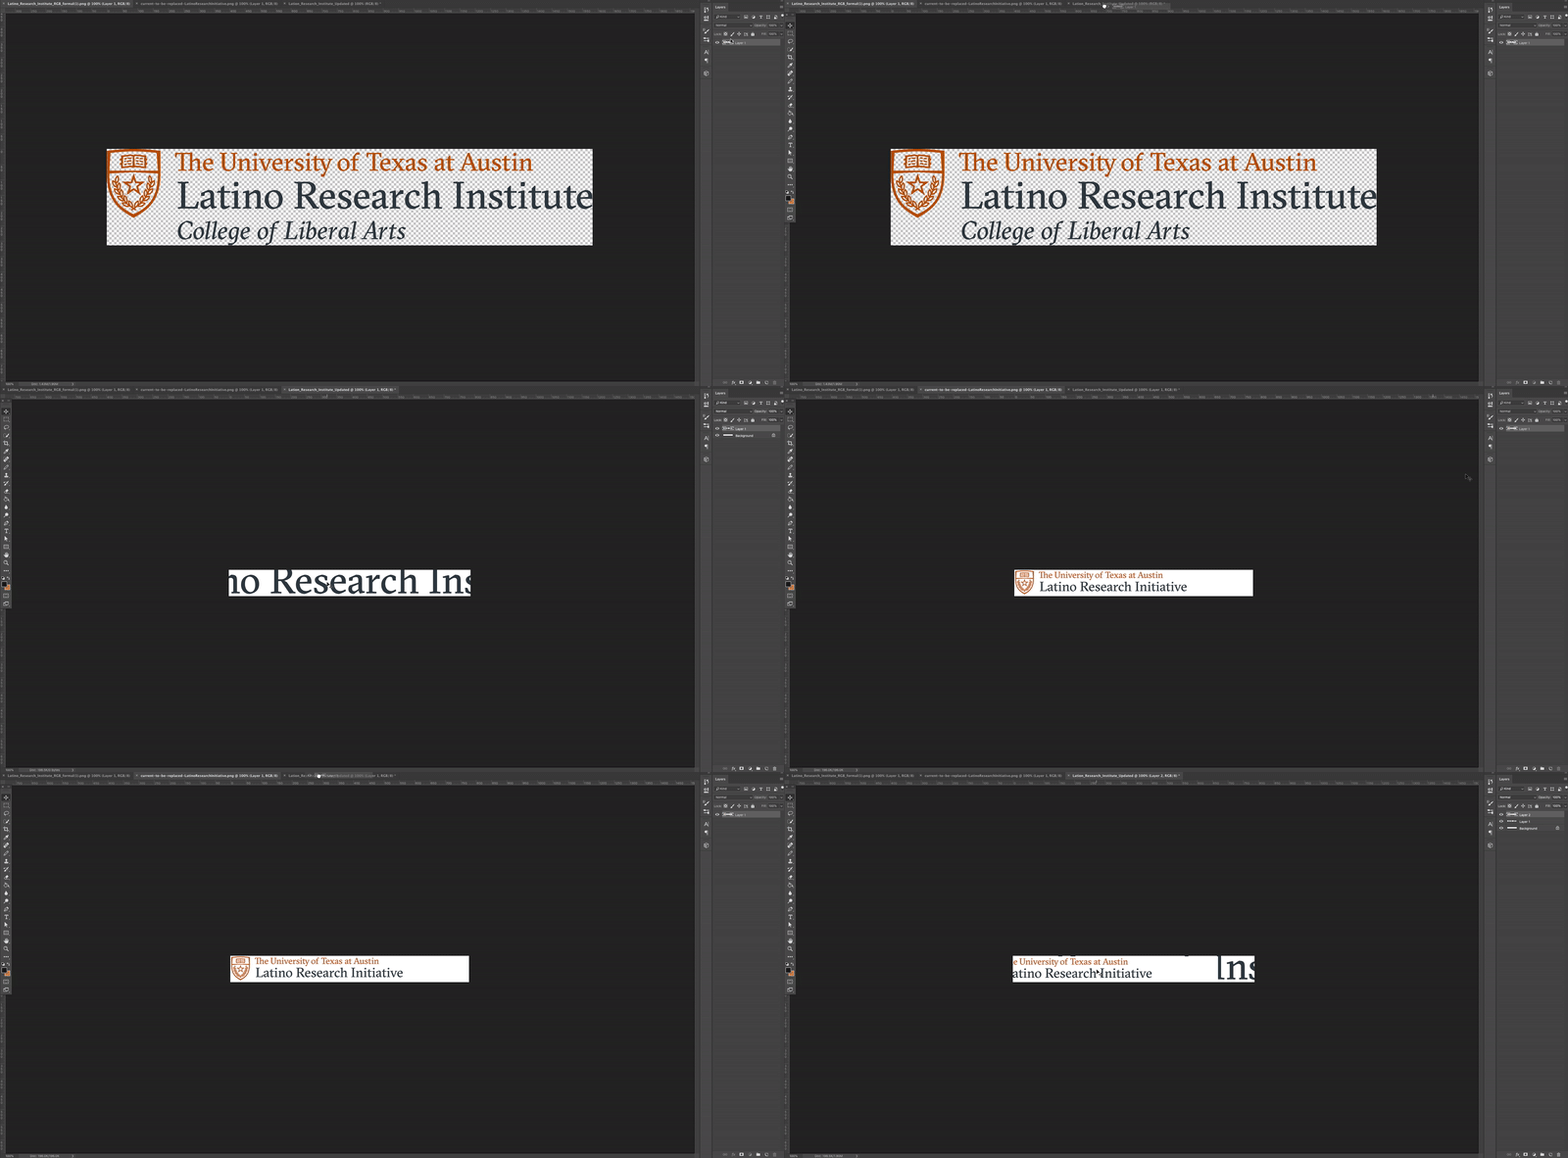
The to-do in Basecamp will include the link to the website you are updating, the old lockup, new lockup, and any edits/specs. Download the logos as you will need both to edit the updated lockup.
2) Open both the new and old lockup in Photoshop
3) Create a new file in Photoshop with the specs provided in the Basecamp to-do
4) Drag the two lockup files into the new file
5)Position the old lockup in the new file and set to a lower opacity
6) Position and resize the new lockup to match the old lockup
7) Edit out “College of Liberal Arts”
Use the Rectangular Marquee Tool to select the area containing what you want to edit out. Create a new layer and then use the brush tool in white to “whiteout” the contents contained in the selected area.
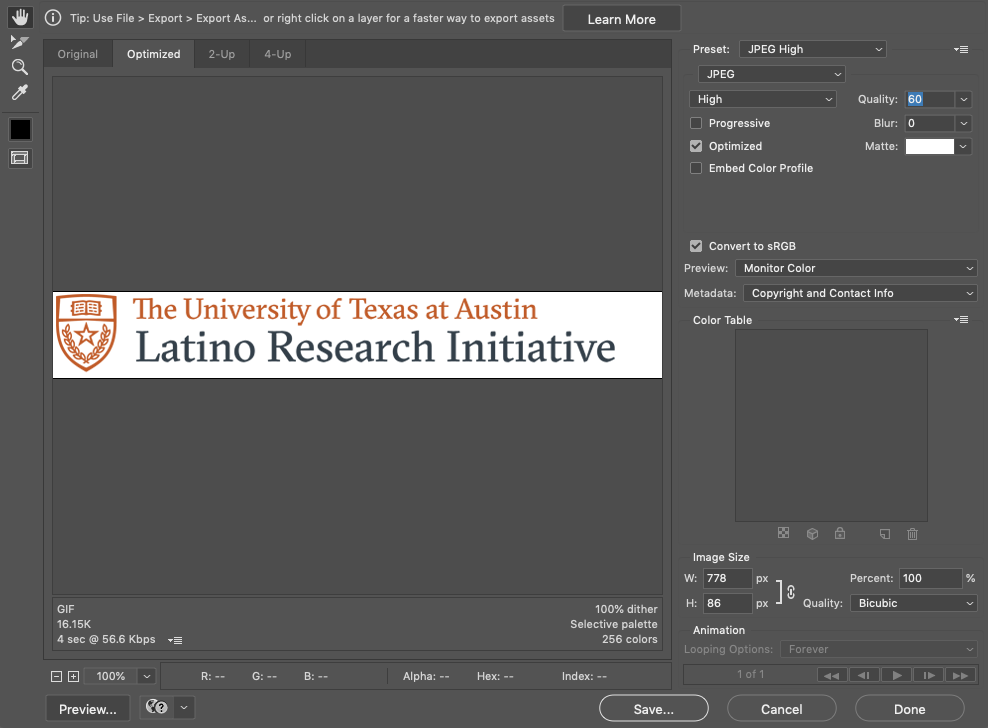
8) Export edited lockup
Export the edited lockup as an optimized jpg or png (specified in Basecamp to-do) by using “Save for Web (Legacy)…” in Photoshop’s export options.
Uploading to Cascade
1) Find the folder and file for the lockup in Cascade
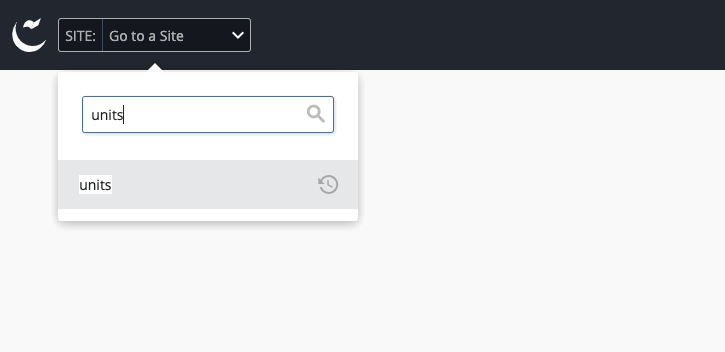
After logging in to Cascade CMS, find the folder where you should upload the logo. Click on Go to a Site in the top-left of your screen and go to units.
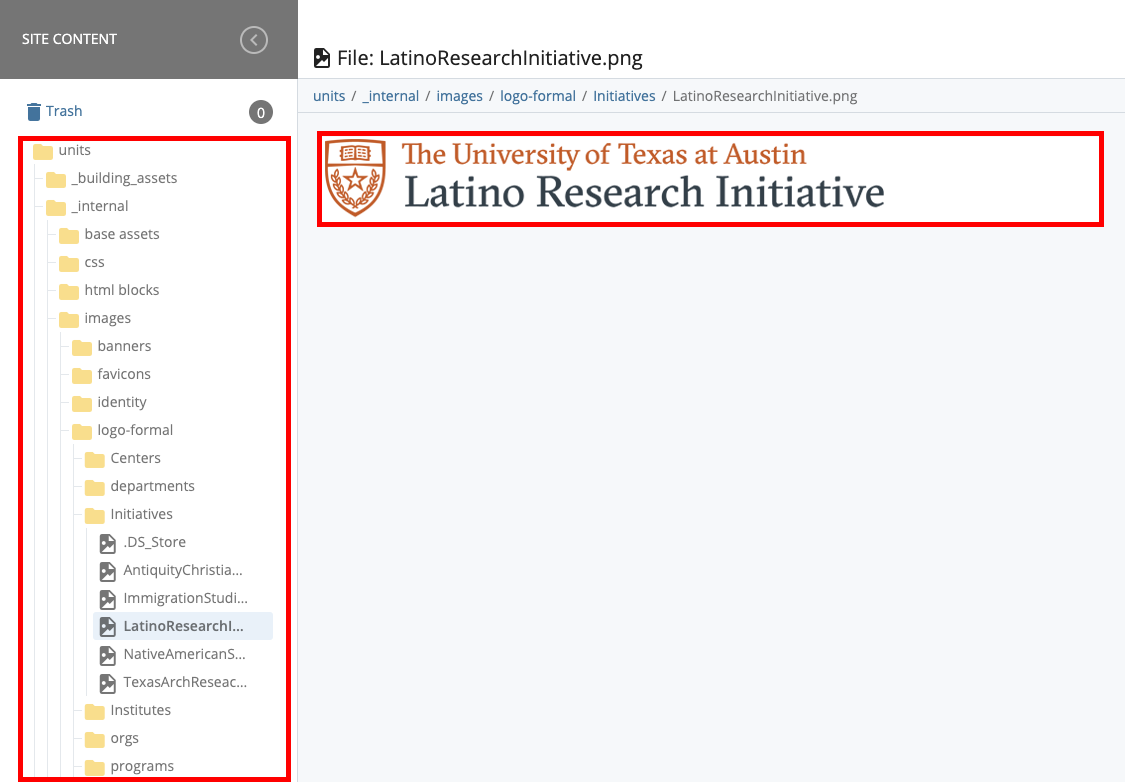
Logos are stored under units > _internal > images > logo-formal. Use the site content tree (left sidebar) to get there, then click on the corresponding folder for the site you’re updating (centers, departments, initiatives, etc).
2) Upload the updated lockup
Click the Edit button for the lockup’s file and then upload the updated lockup.


Click the Configure button and make sure both boxes are checked.
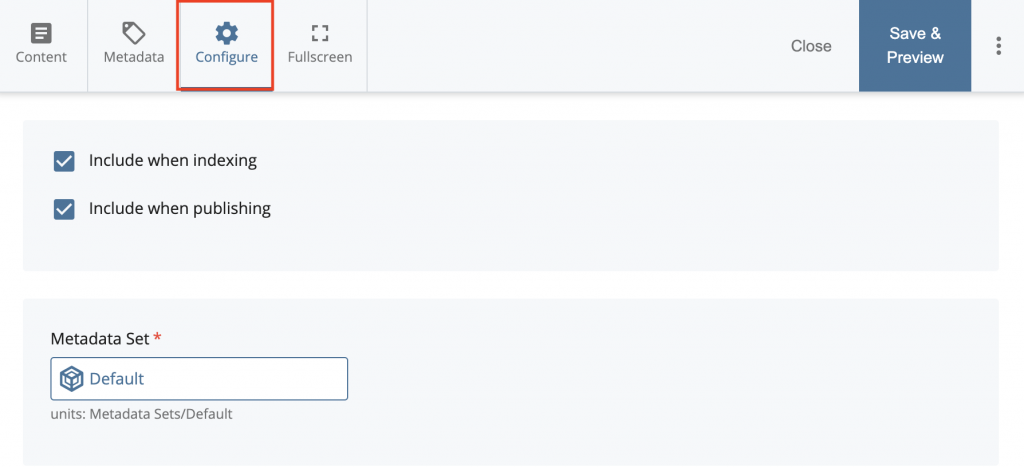
After uploading the file, check in the preview box to see if the file is correct and then press Save and Preview.

3) Submit and Publish to make your update go live
When publishing, it can take up to 24 hours for the edits to go live
.


4) Go to the site to view and check your update


