![]()

This training will get you acquainted with the tools you will need to transform basic shapes and into more complex shapes using Adobe Illustrator.
Part 1: Basic Shapes Manipulation
Please download this starter document here. The Ai document you’re given will be your worksheet; in it, you’ll find 3 examples of complex shapes that can be made in Illustrator. In the same document, follow along with the steps to recreate the shapes as closely as you can. The idea is to become familiar enough with Ai tools that you can create any complex shape you want to.
Note: There are usually multiple ways to complete a task. Use the hints below as guidelines if you get stuck, but go with the method that works best for you.
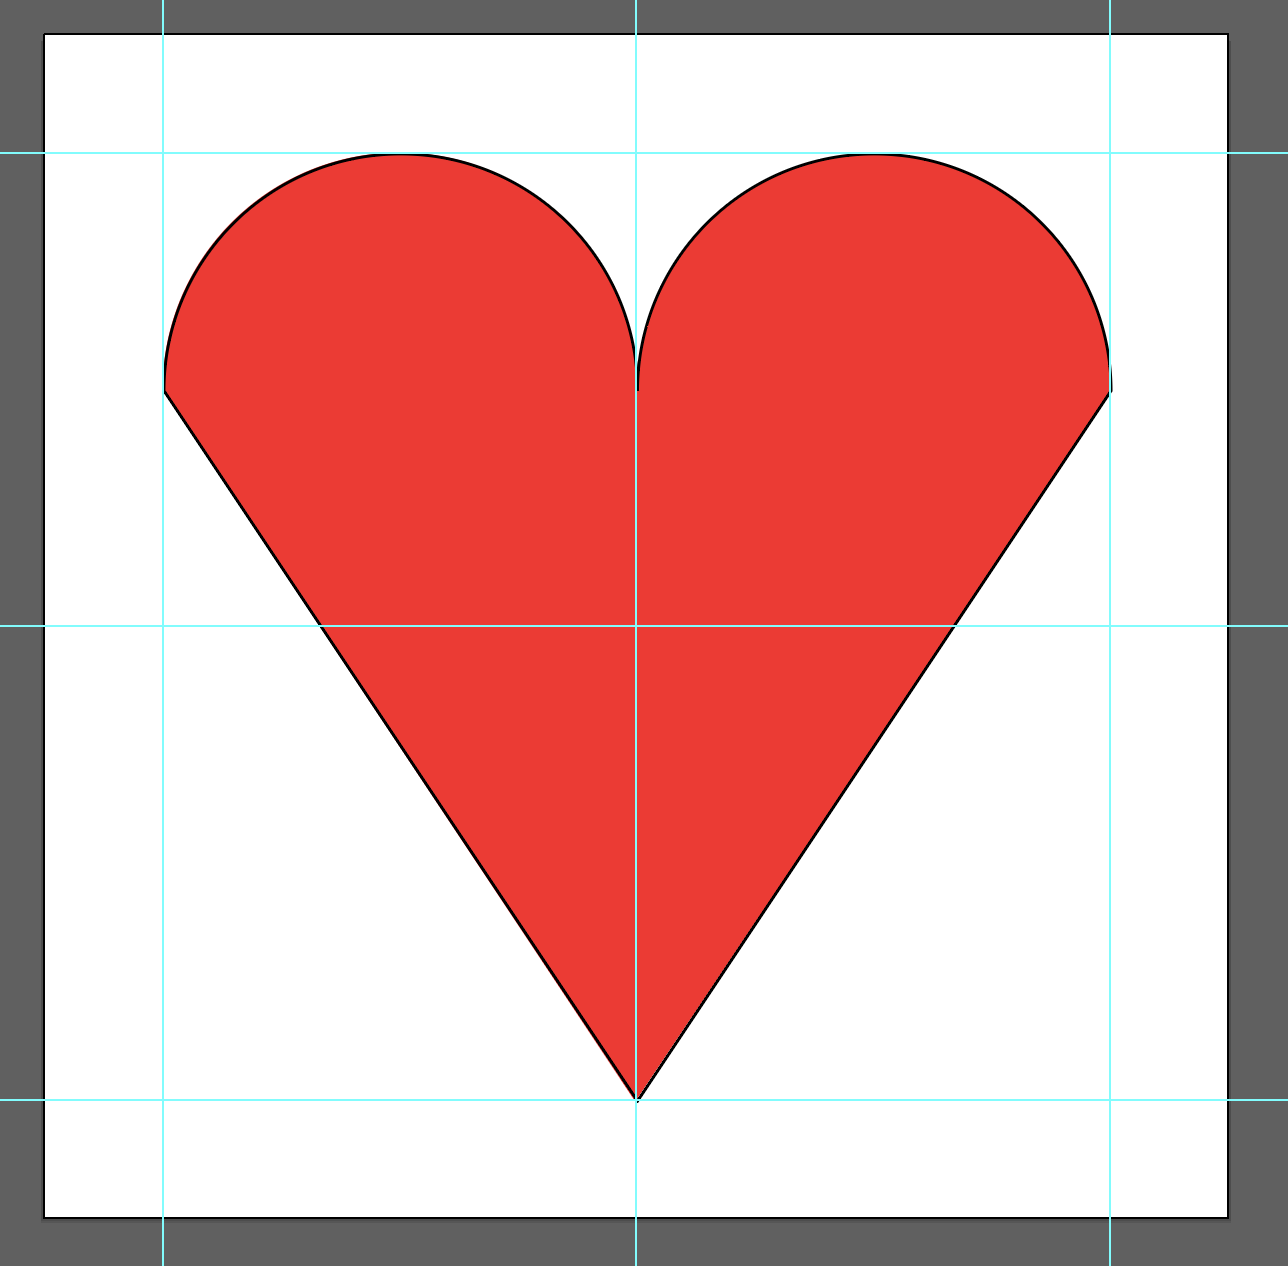
Symmetrical Shape (Heart)
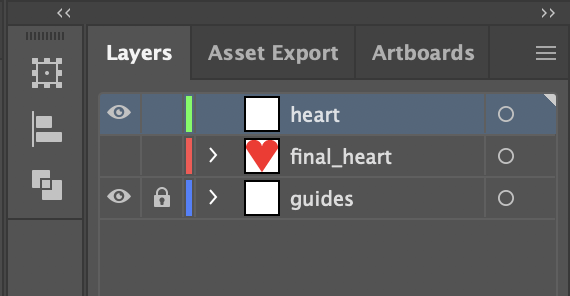
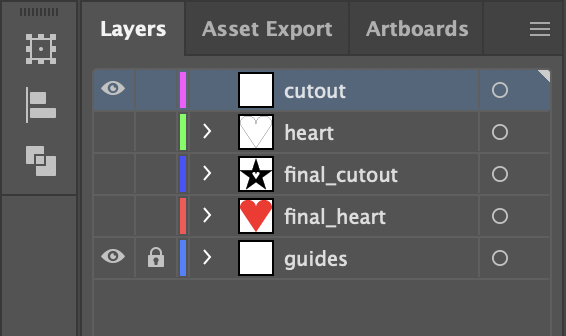
- Choose the layer named “heart.” You will be putting all of your work here. The layer “final_heart” will be where you can check to see if your work aligns well.
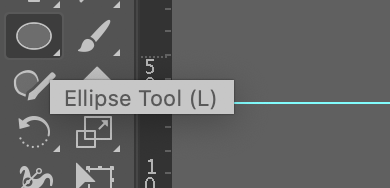
- Select the Eclipse tool by clicking L.
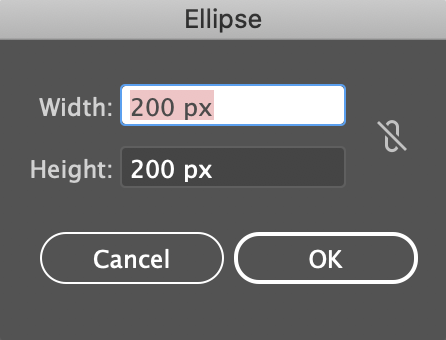
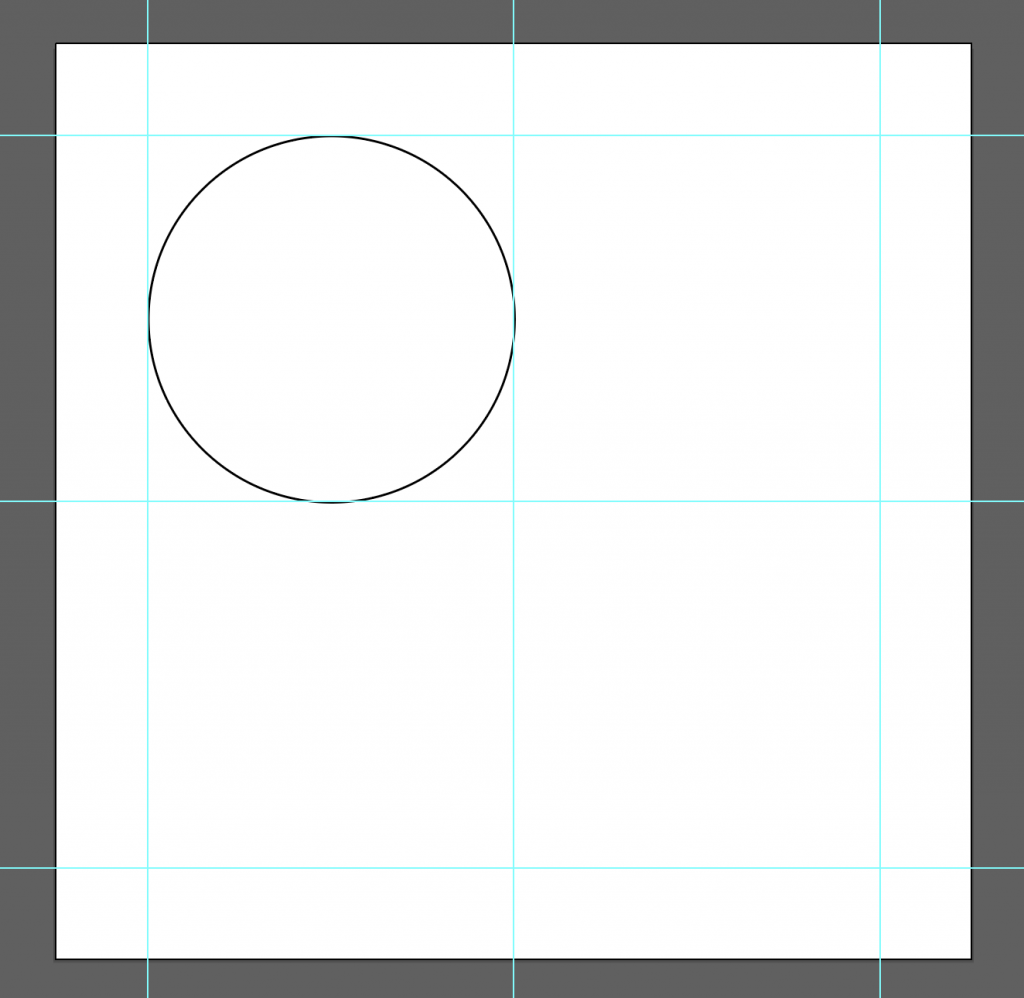
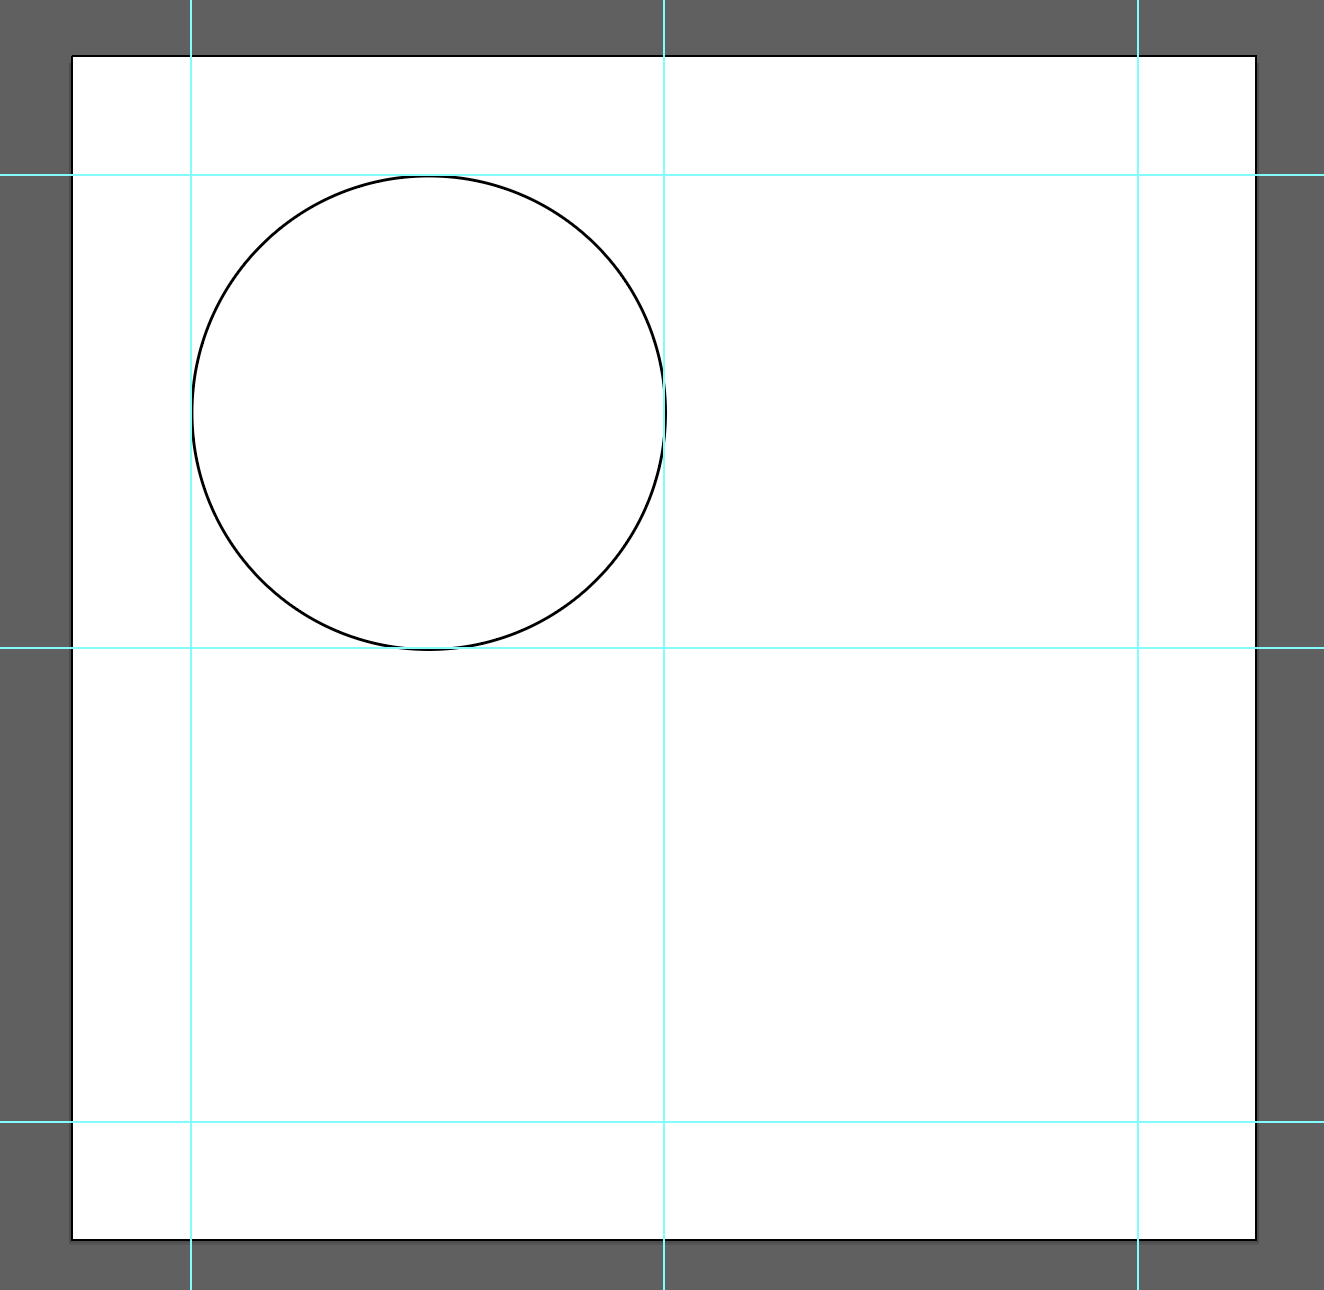
- Click anywhere on your artboard and create a 200 x 200 px eclipse / circle.
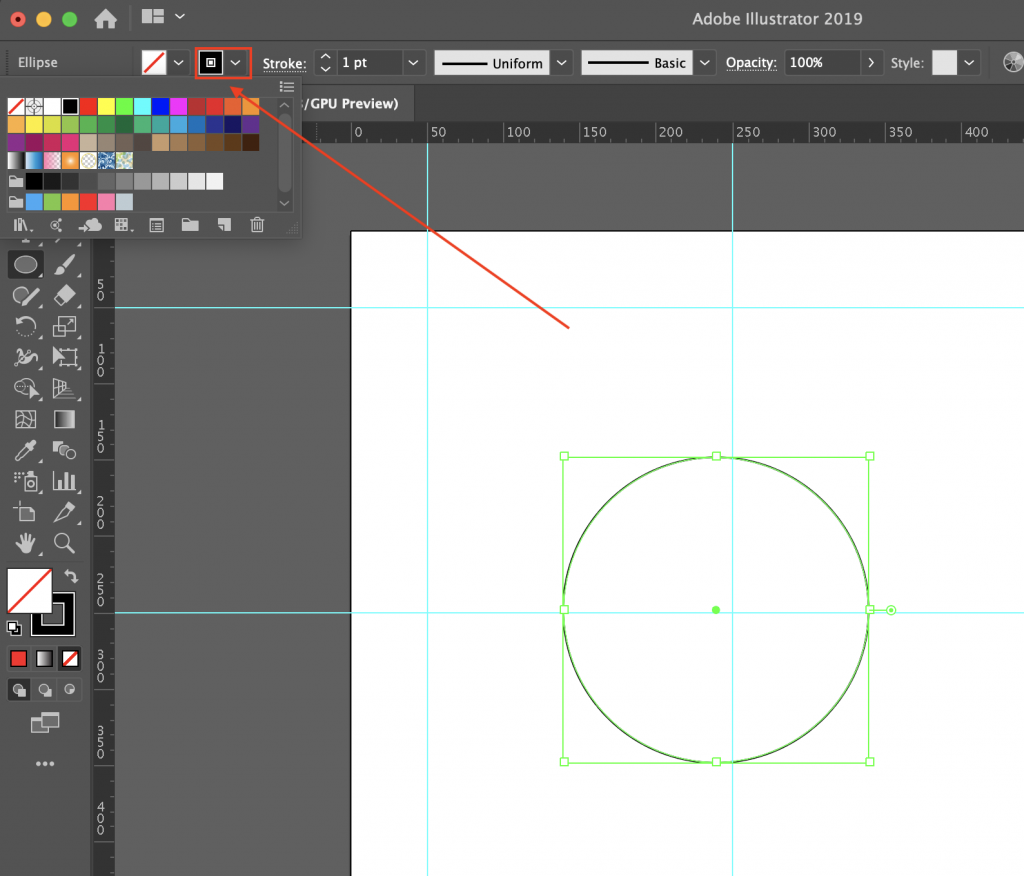
- Give your circle an outline, if there isn’t one, so you can see it on the screen.
- Move this circle to the top left square so that it fits perfectly.
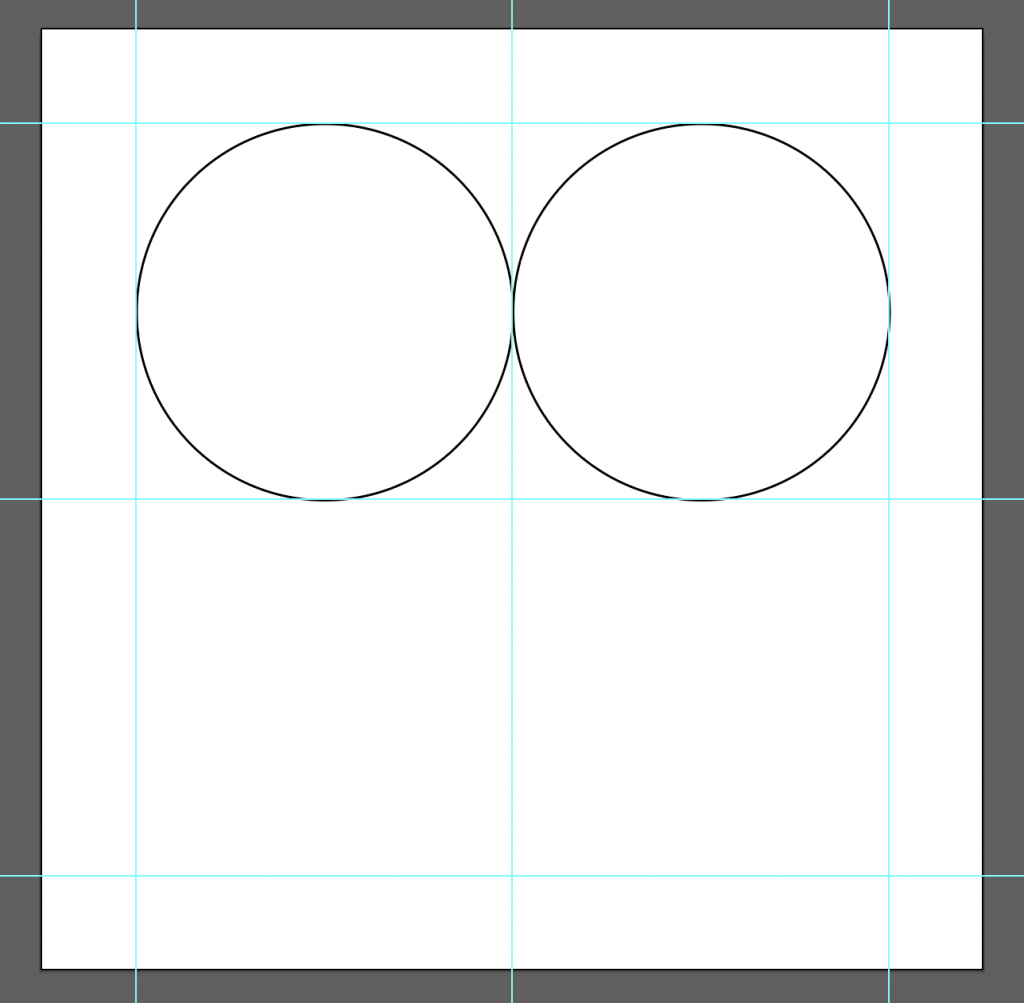
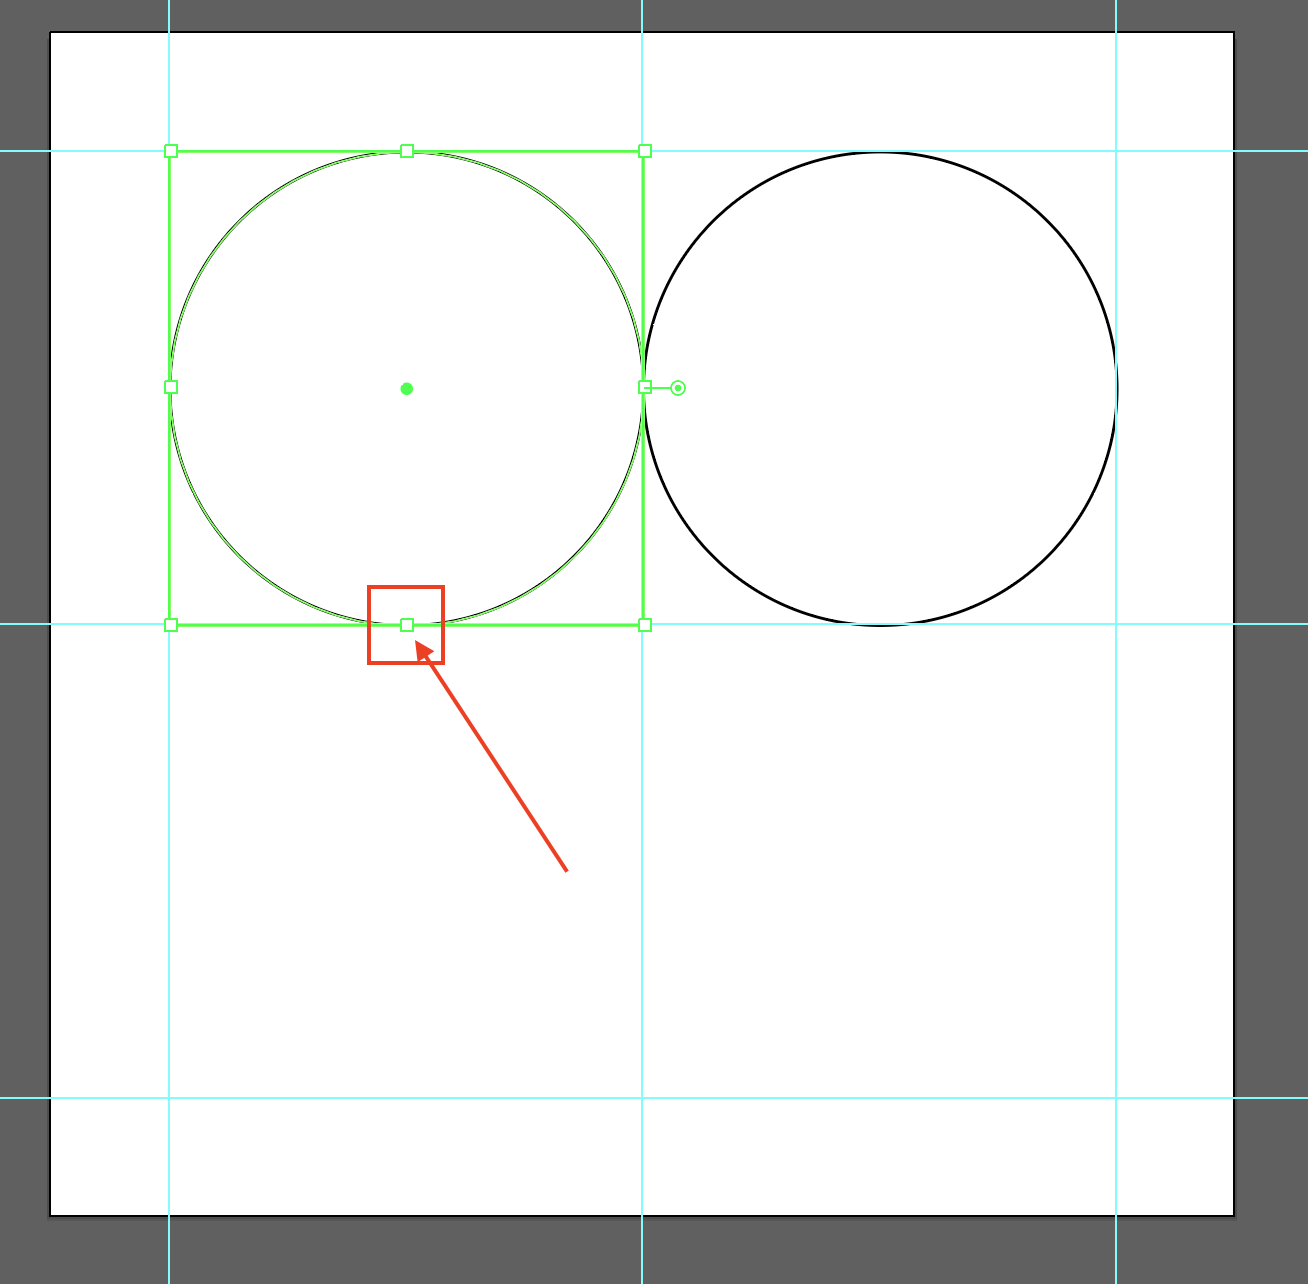
- Duplicate this circle by clicking Ctrl / Cmd + C and then Ctrl / Cmd + F. The Ctrl / Cmd + F pastes the new circle directly on top of the old one. Then hold Shift and move this new circle to the top right square so that it fits perfectly. Holding Shift allows you to lock the horizontal or vertical movement of the object (in this case we will lock the vertical and only change the horizontal position – don’t worry, Ai will detect which movement you want to lock based on your cursor drag).
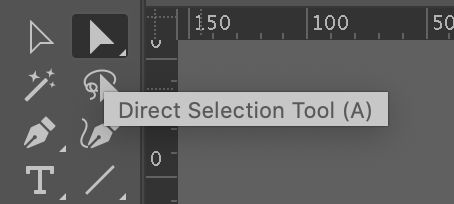
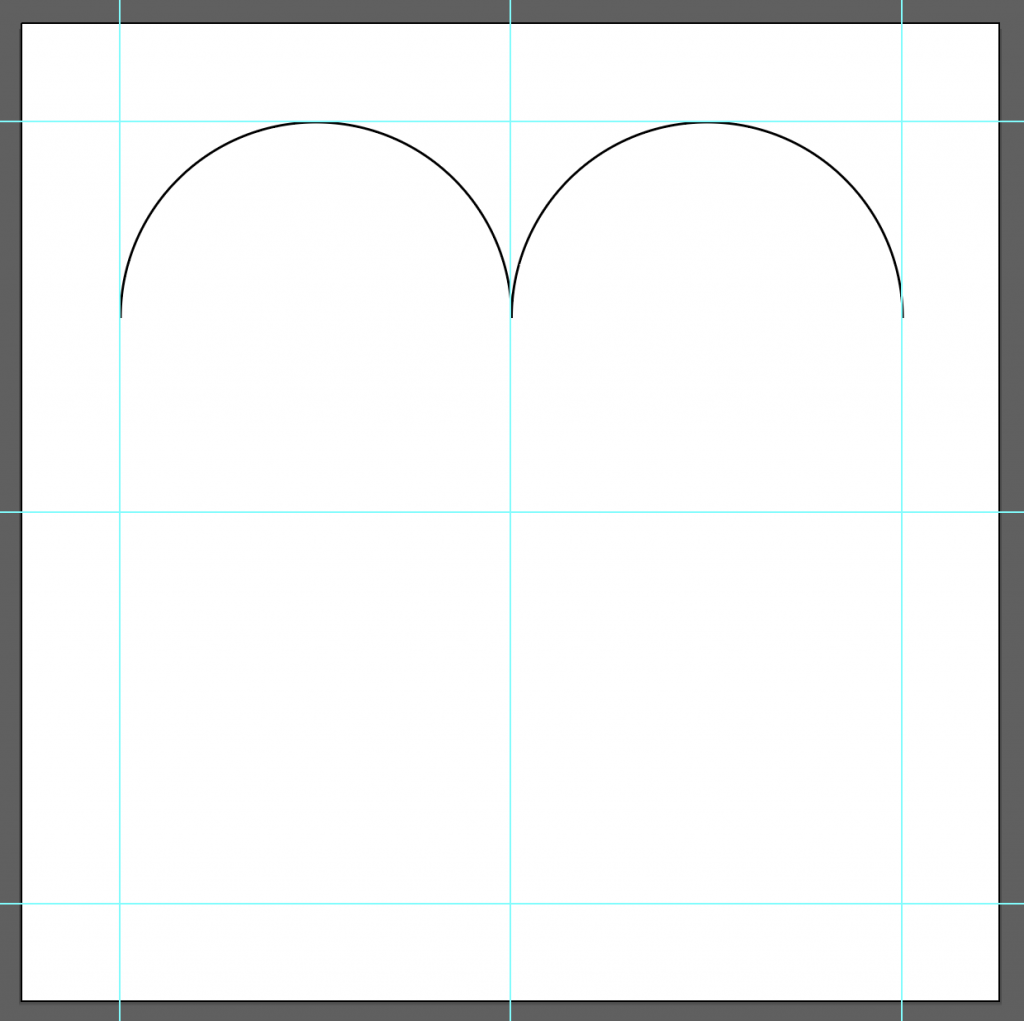
- Next, we need to delete the bottom anchor points of the two circles to create 2 half-circles. Click on the Direct Selection Tool.
- Then click on this bottom anchor point.

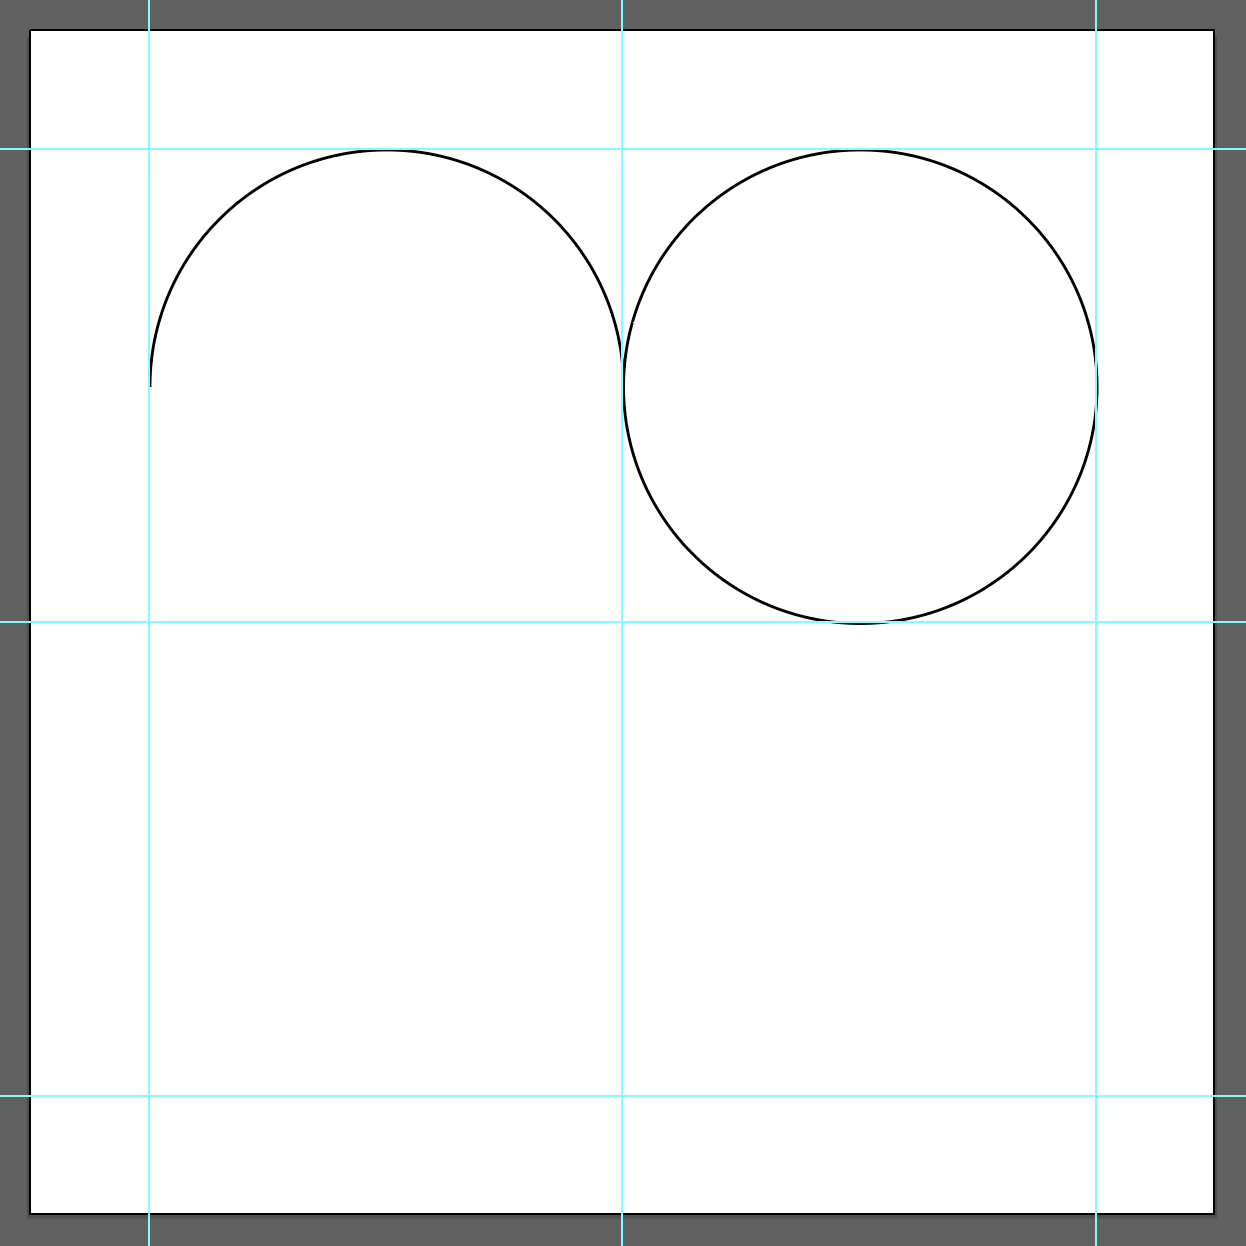
- Click Delete. You should have something like this.
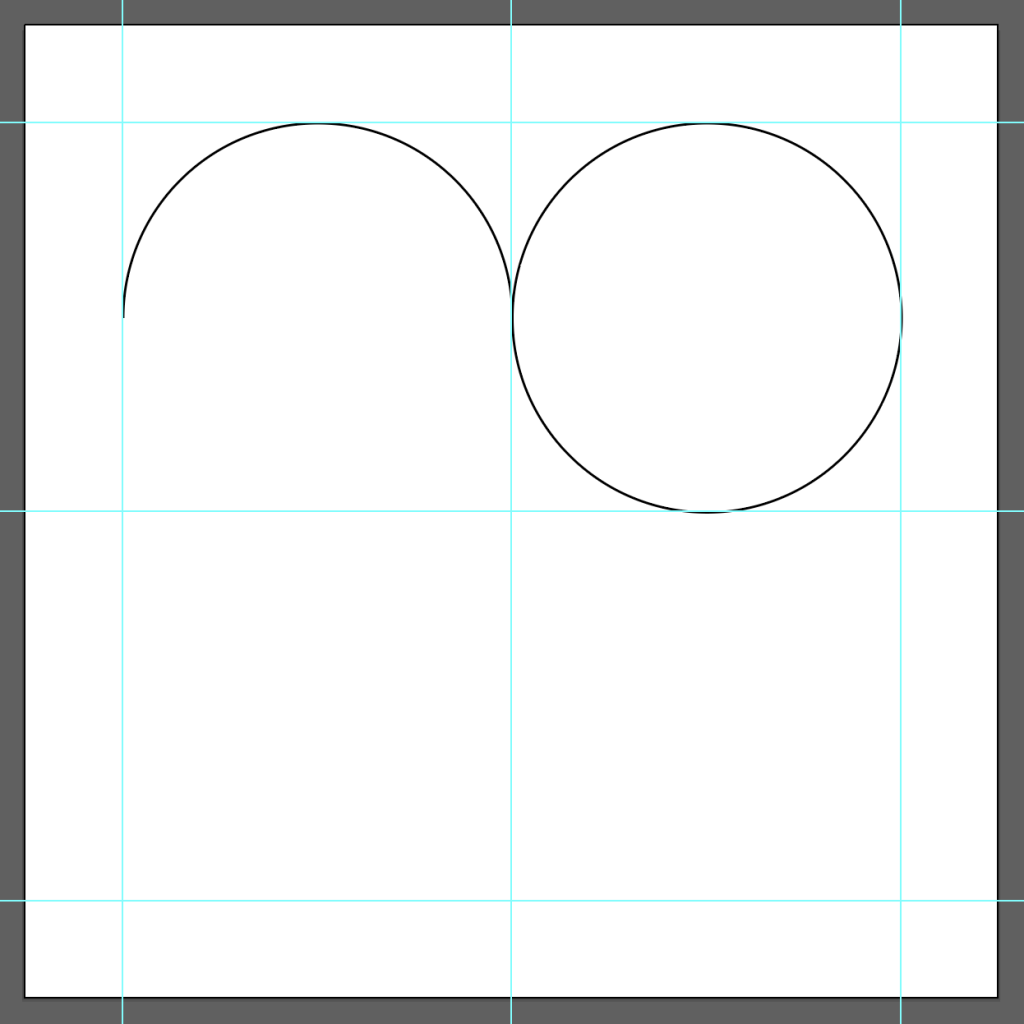
- Repeat the process similarly to delete the other circle’s bottom anchor point.
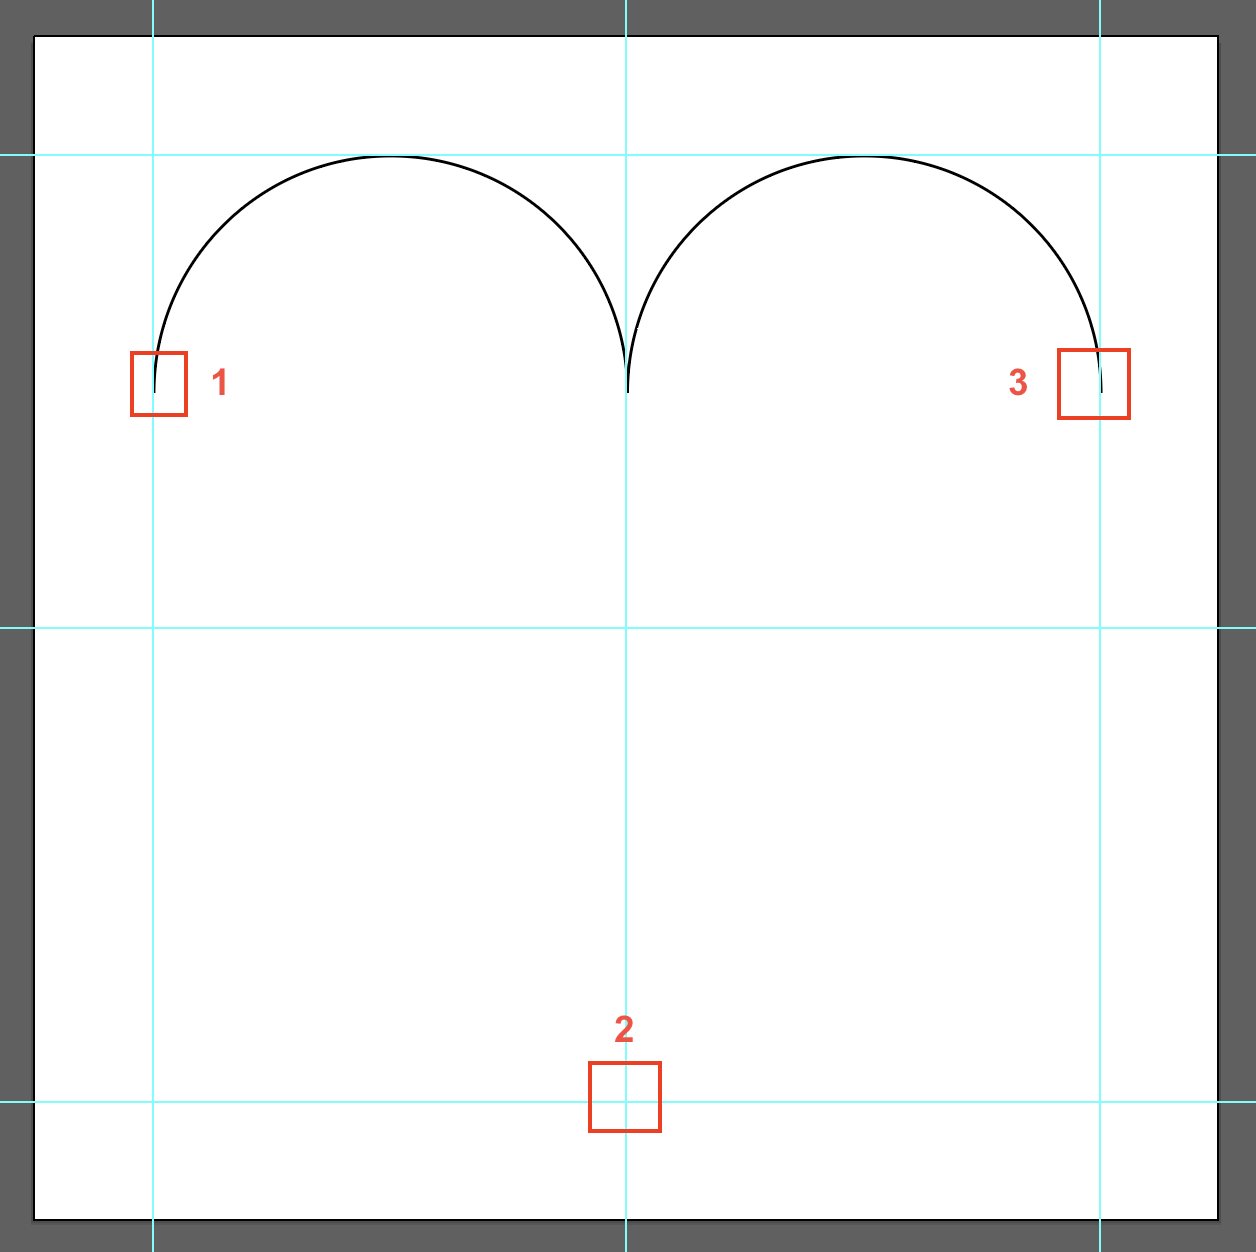
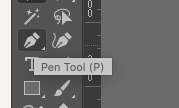
- Now we’ll connect the heart using the pen tool. Click on this tool.

- Click on the leftest anchor point of the left circle to add an anchor there. Then click on the mid-point of the bottom guide. Lastly, click on the rightest anchor point of the right circle.
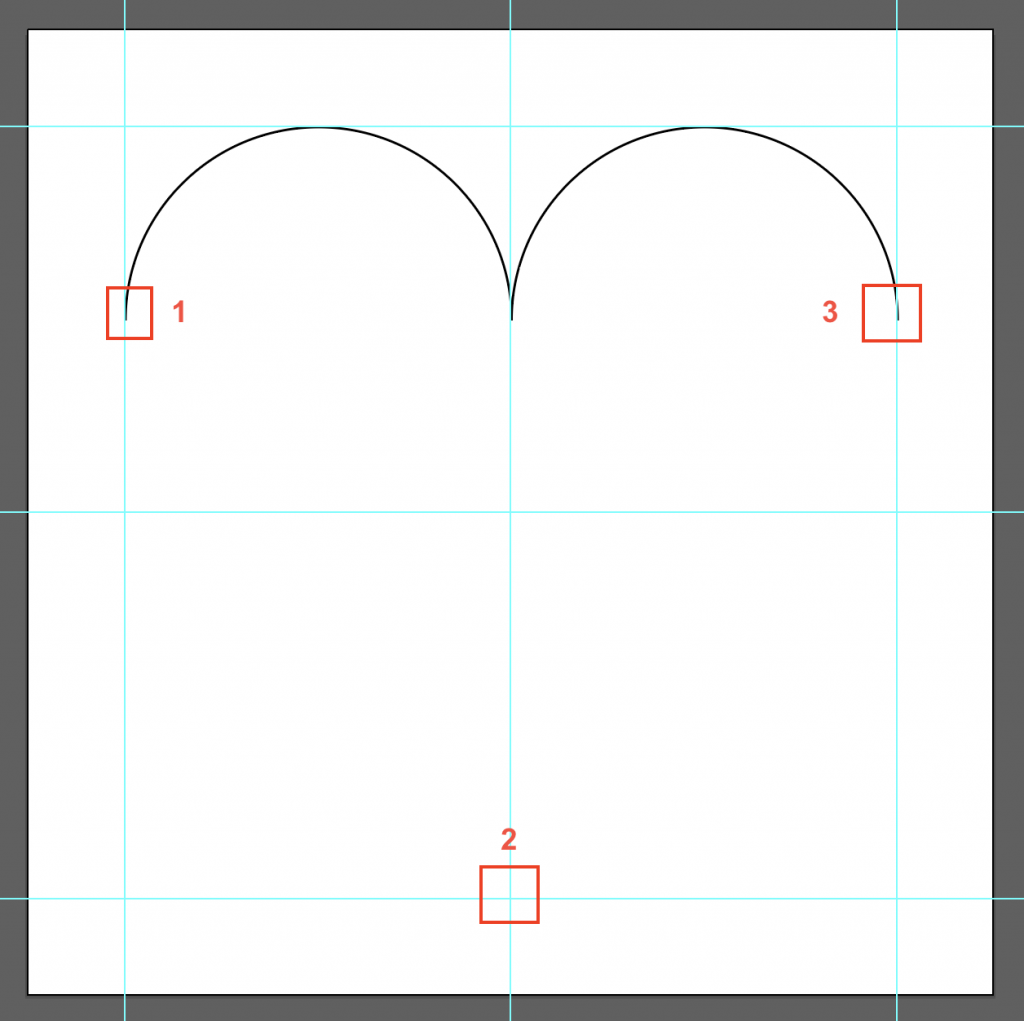
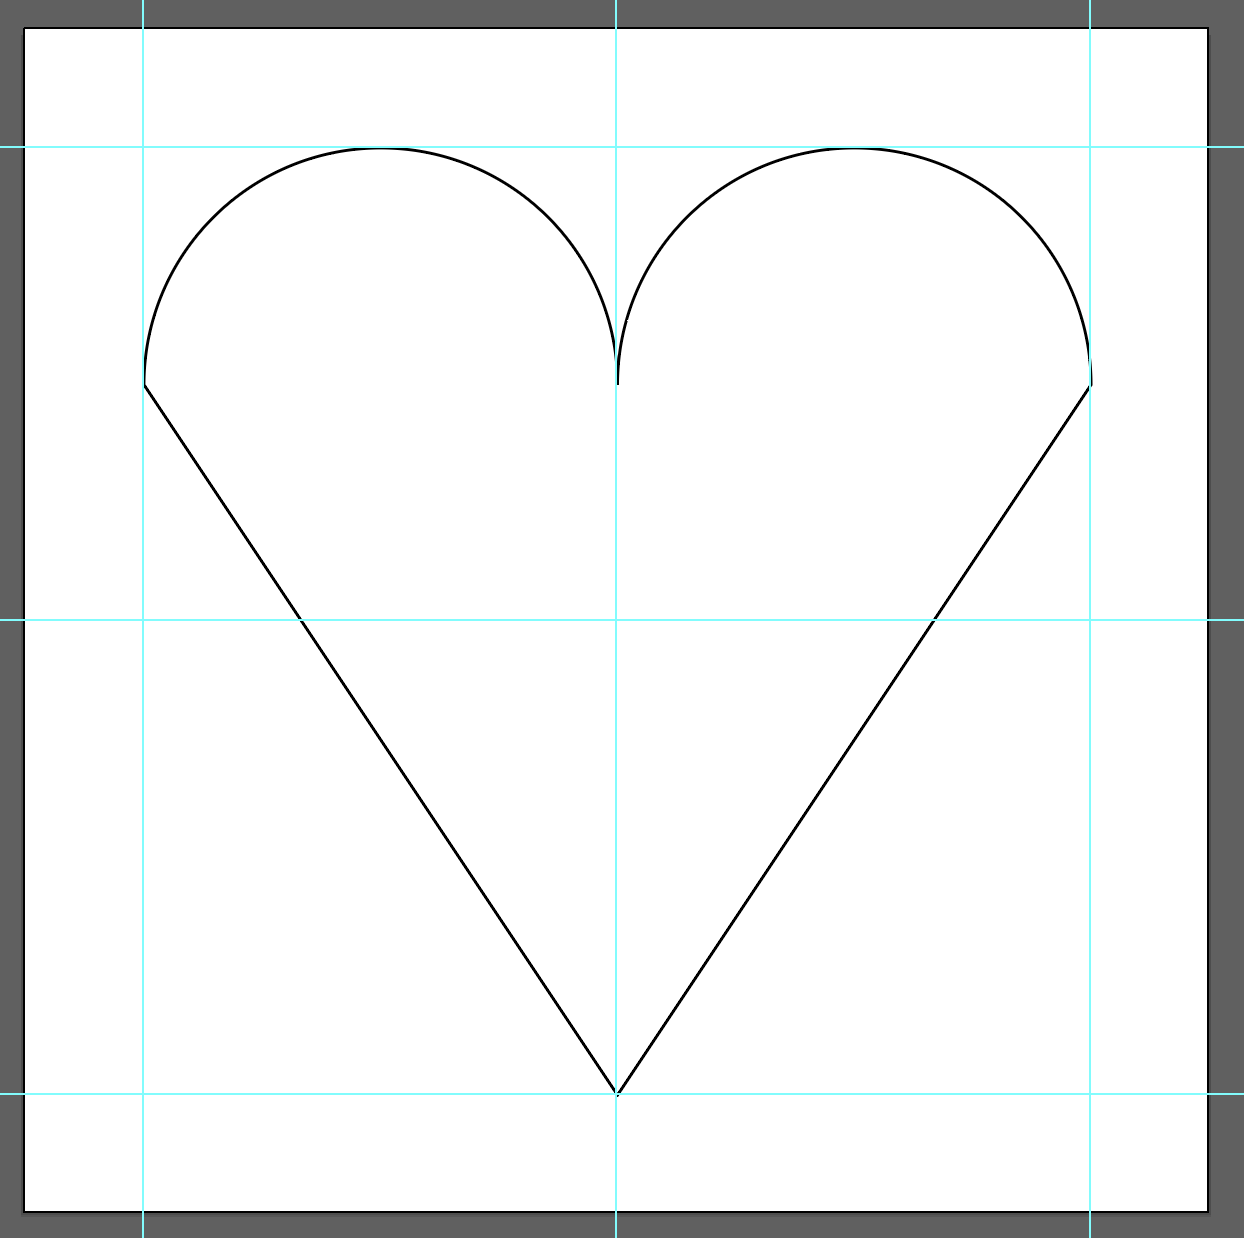
- You should end up with something like this.
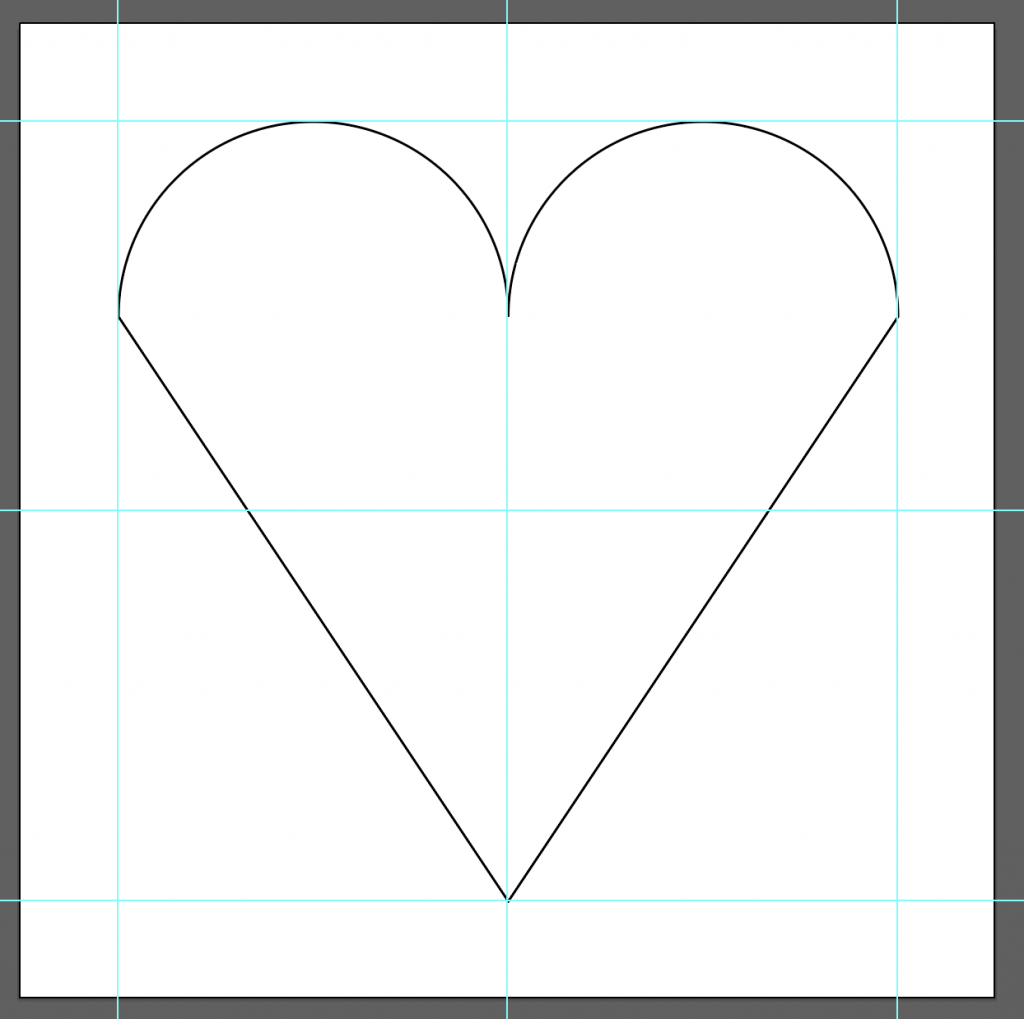
- Toggle the visibility of the “final_heart” layer. If it fits your heart perfectly, you’re good to go!


Cut Out Shape
- Now hide the “heart” and “final_heart” layers, and click on “cutout.”
- Holding down on the Eclipse Tool. You’ll see a drop down appear. Choose the Star tool.
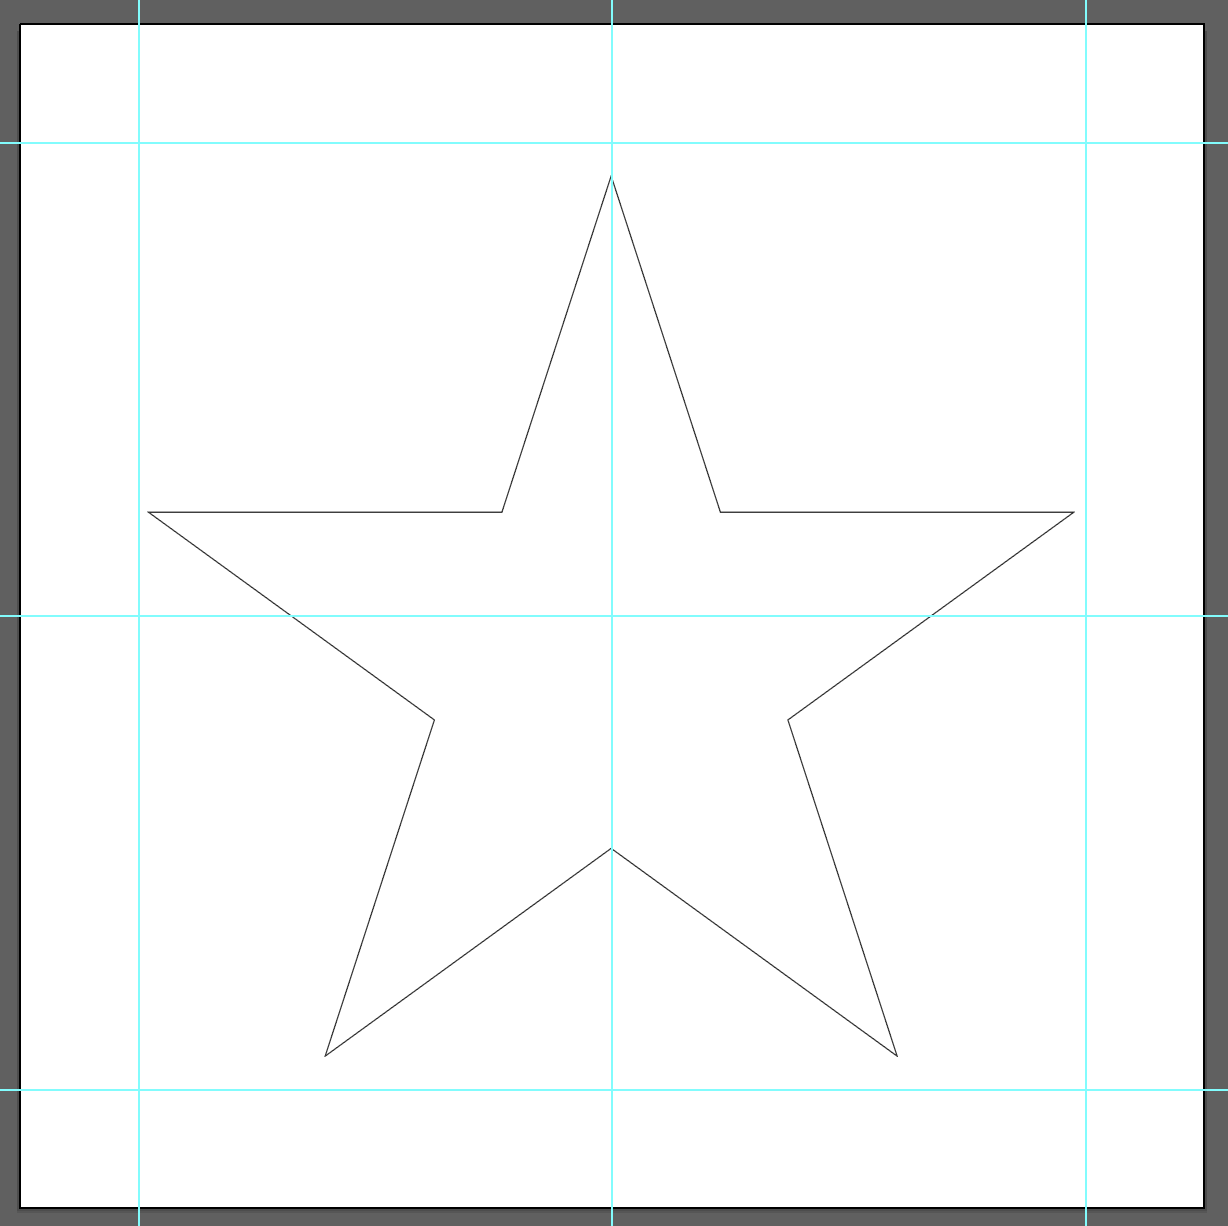
- Hold Shift + Alt and draw your star of an arbitrary size. We’ll adjust it later. Align it so that the star’s center is at the center of your guide.
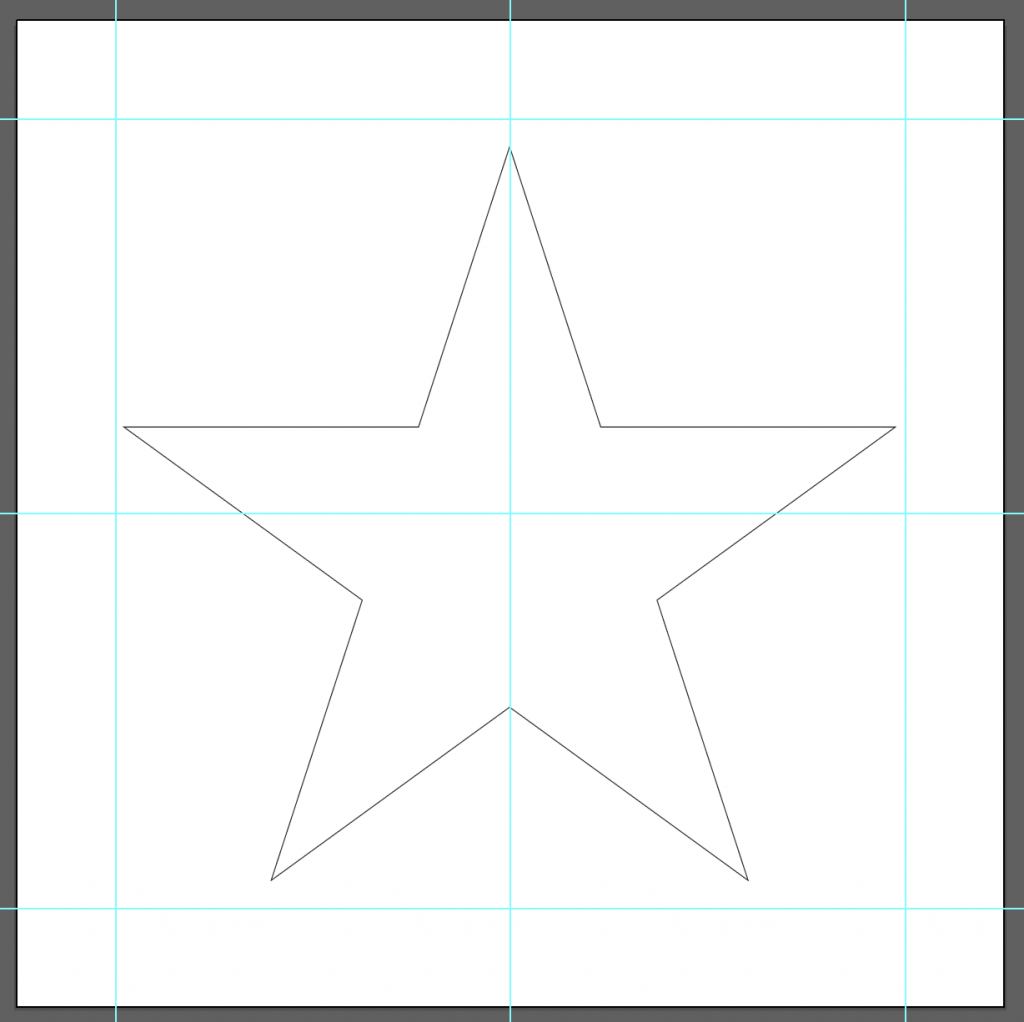
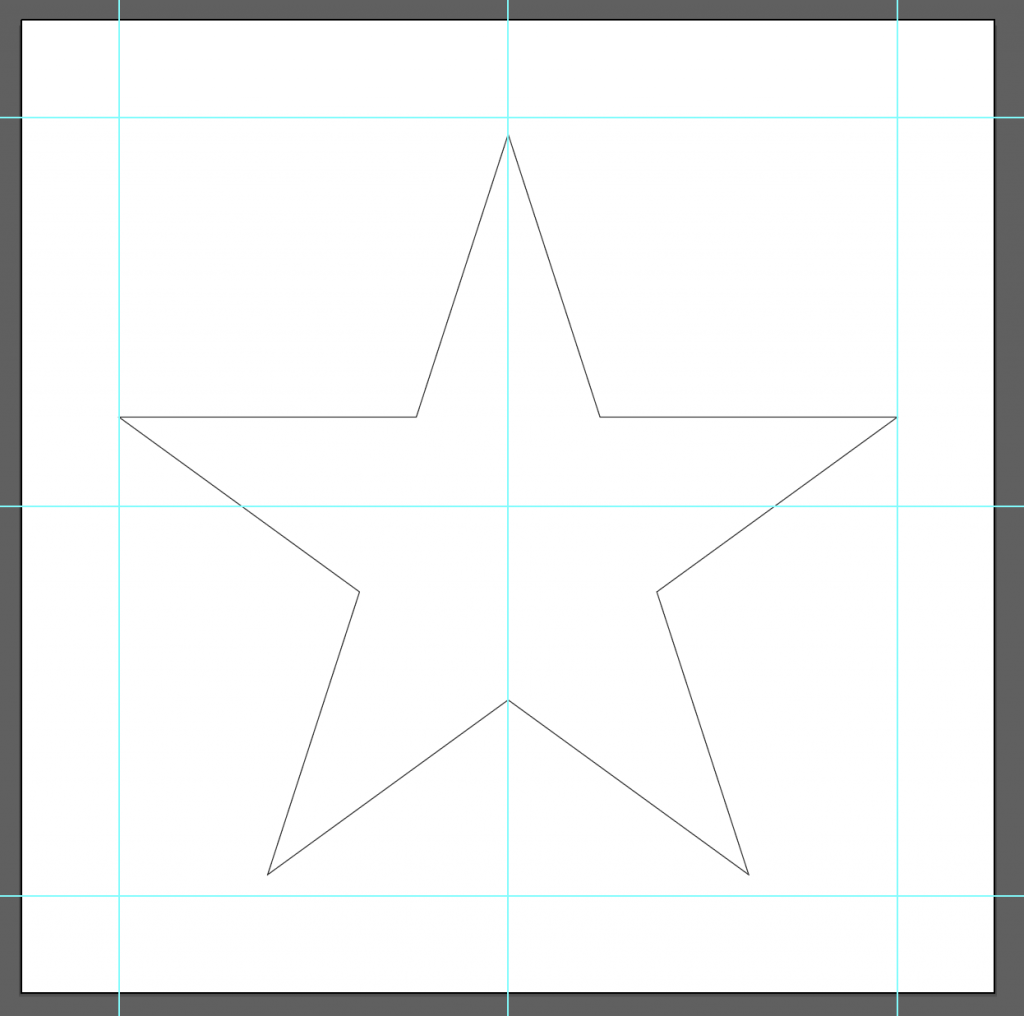
- Click on the star to select it, and adjust its size by holding down Shift (to preserve aspect ratio, so that your star won’t look flattened or stretched). Align it so that the left and right wings touches the left and right vertical guide, while the center is still aligned with the guide’s center. The bottom and top will not touch the guide and that’s okay!
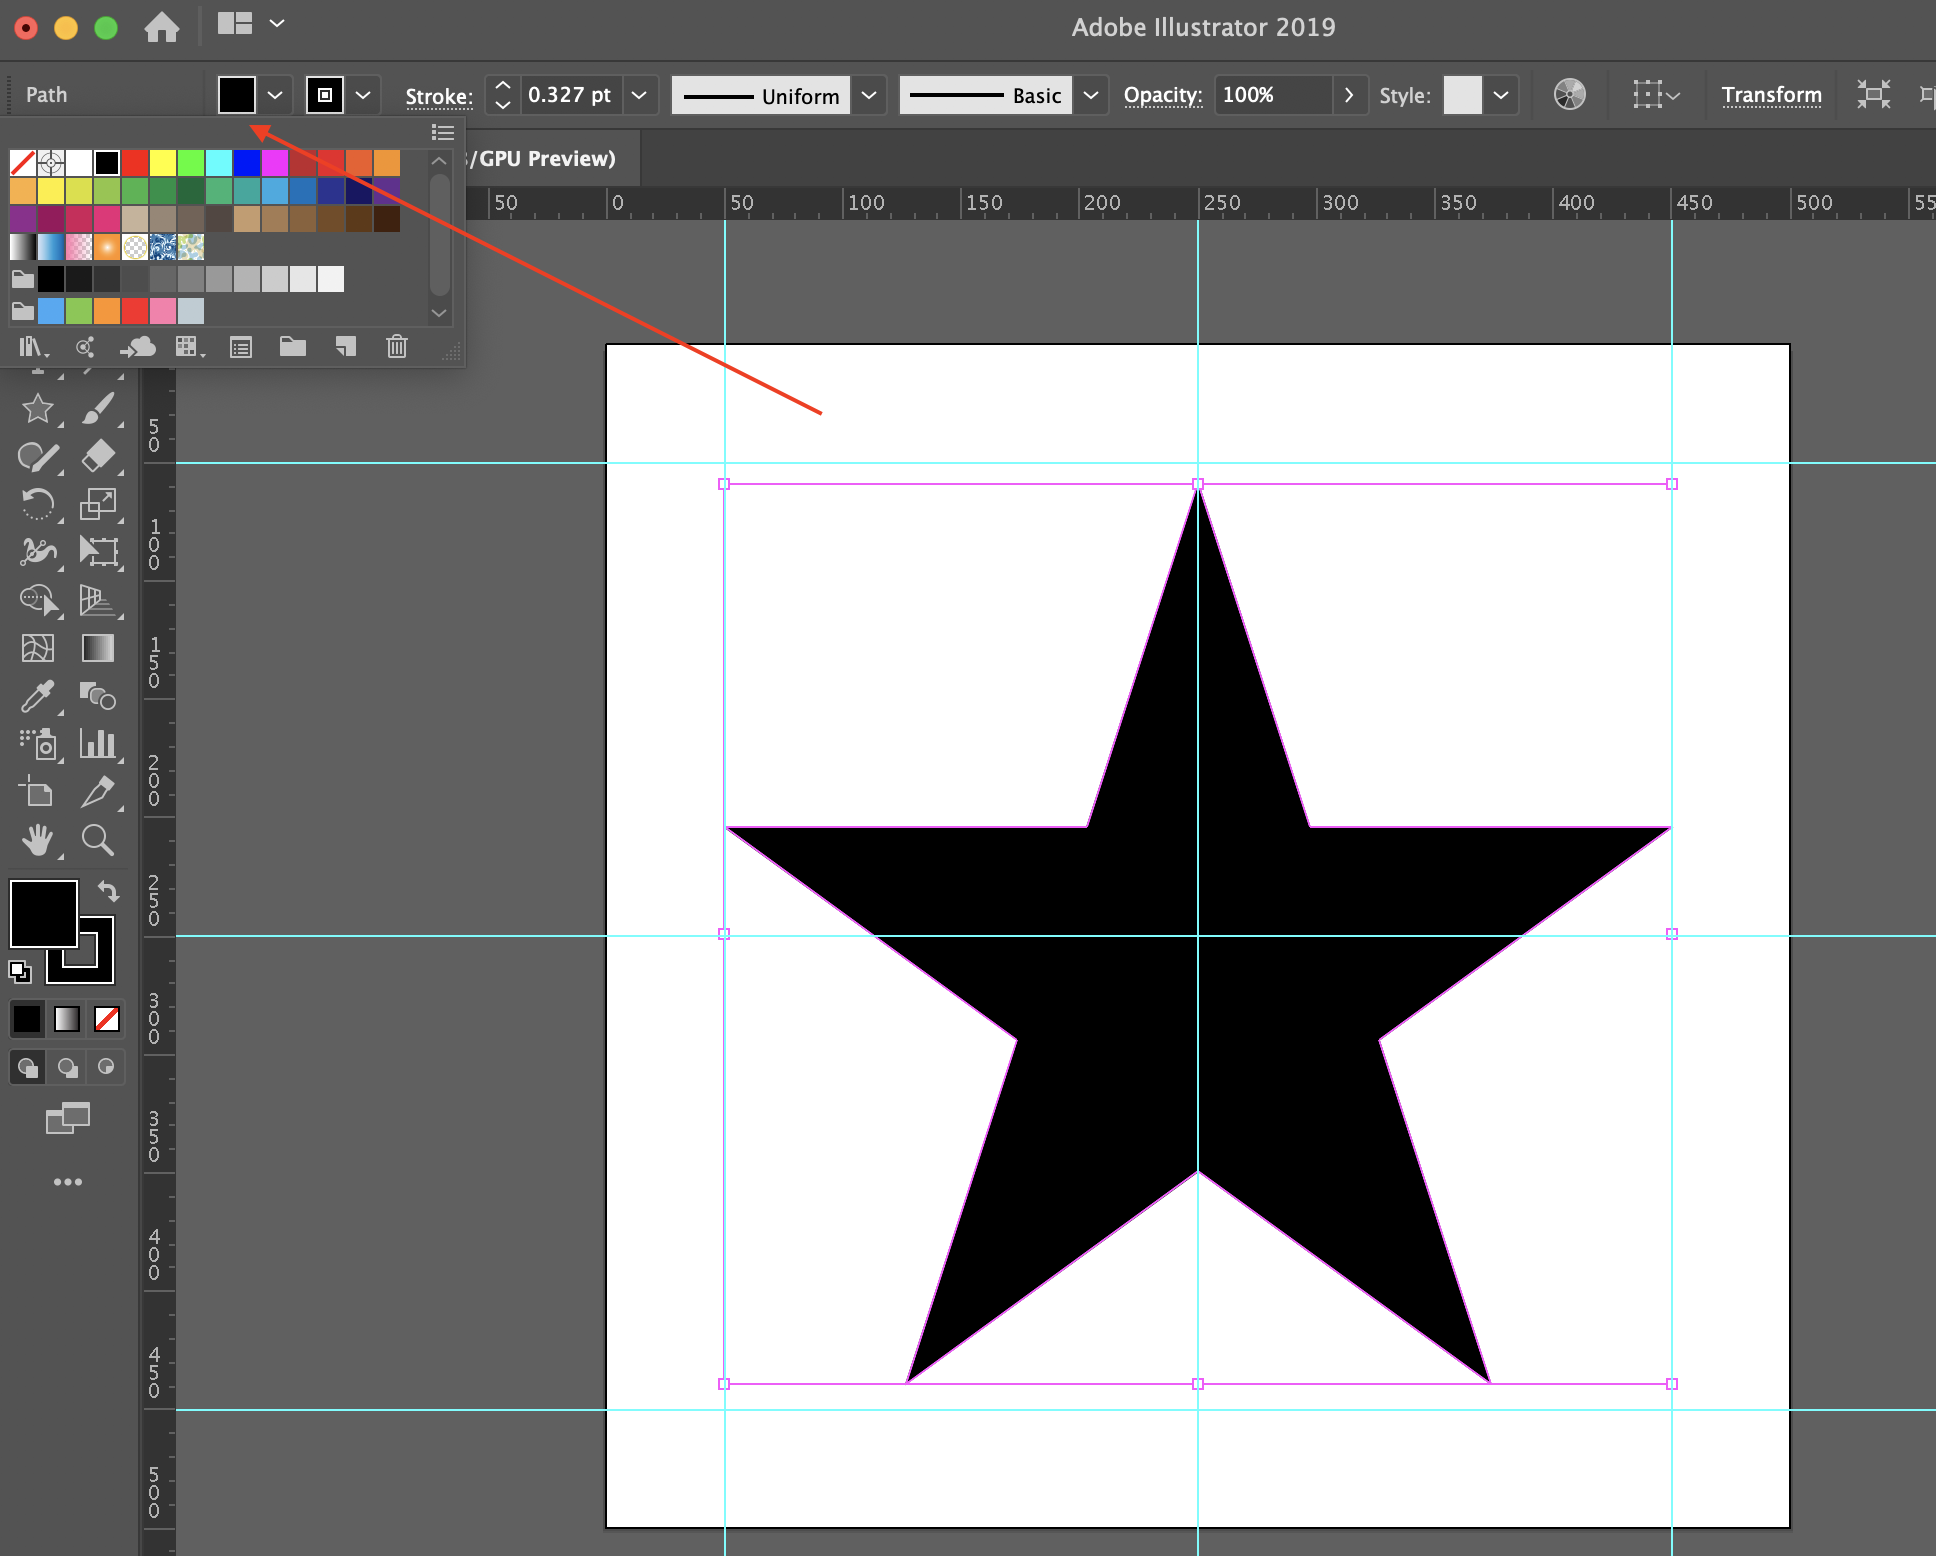
- Give the star a solid color.

- Now copy the heart from the “heart” layer and move it to the “cutout” layer. You must unhide the “heart” layer in order to copy from it. Put it on top of the star.
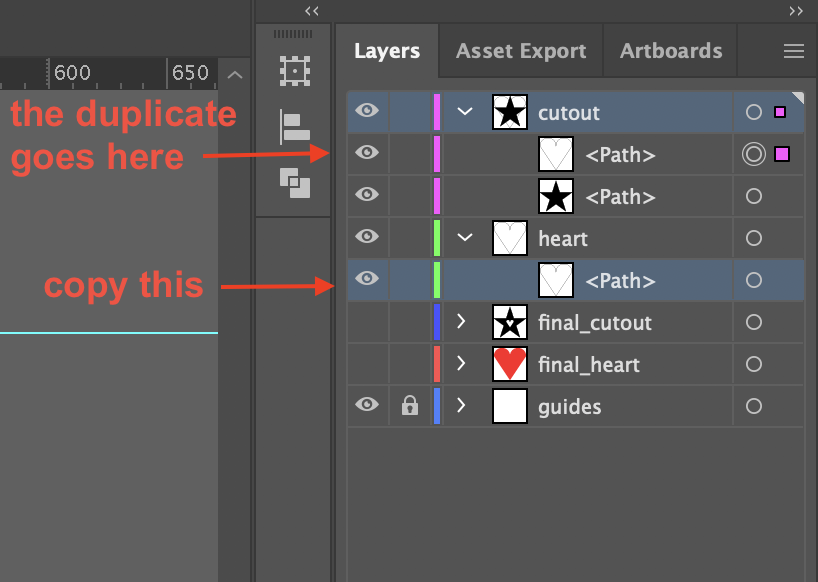
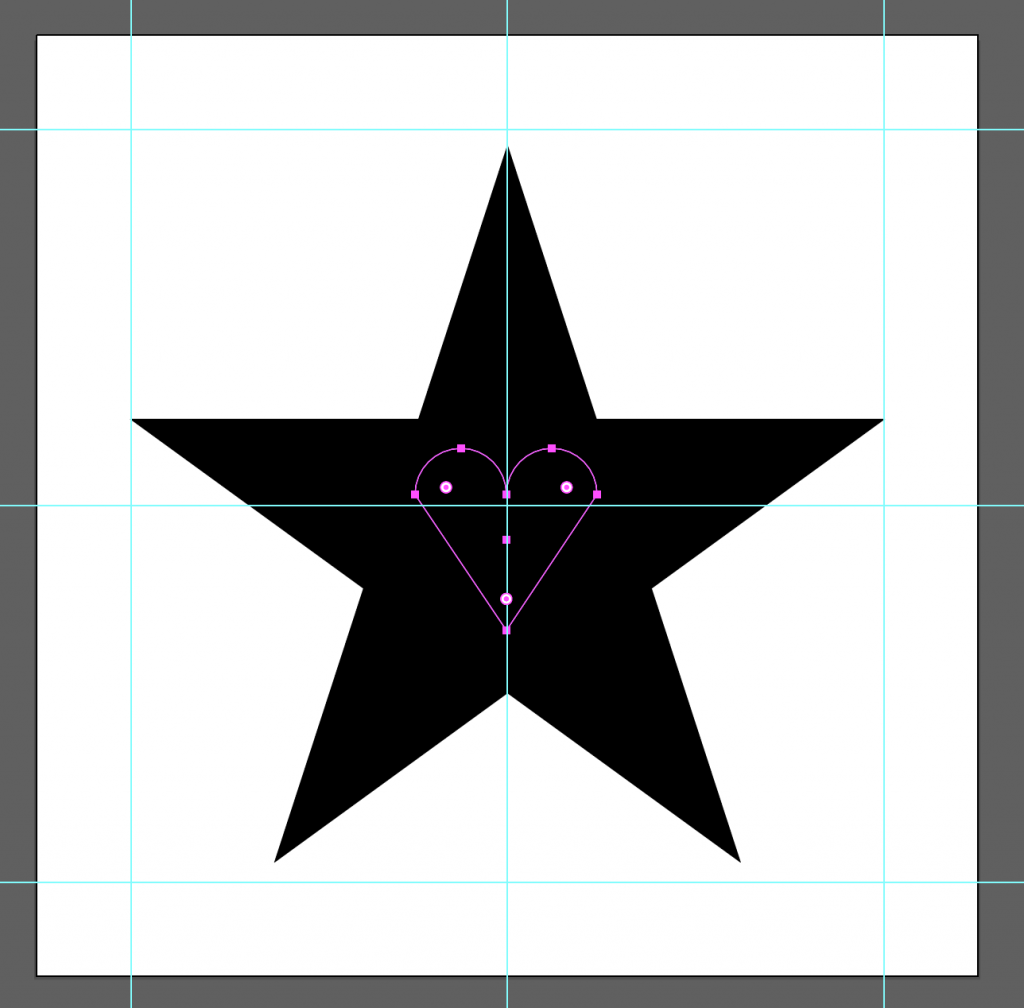
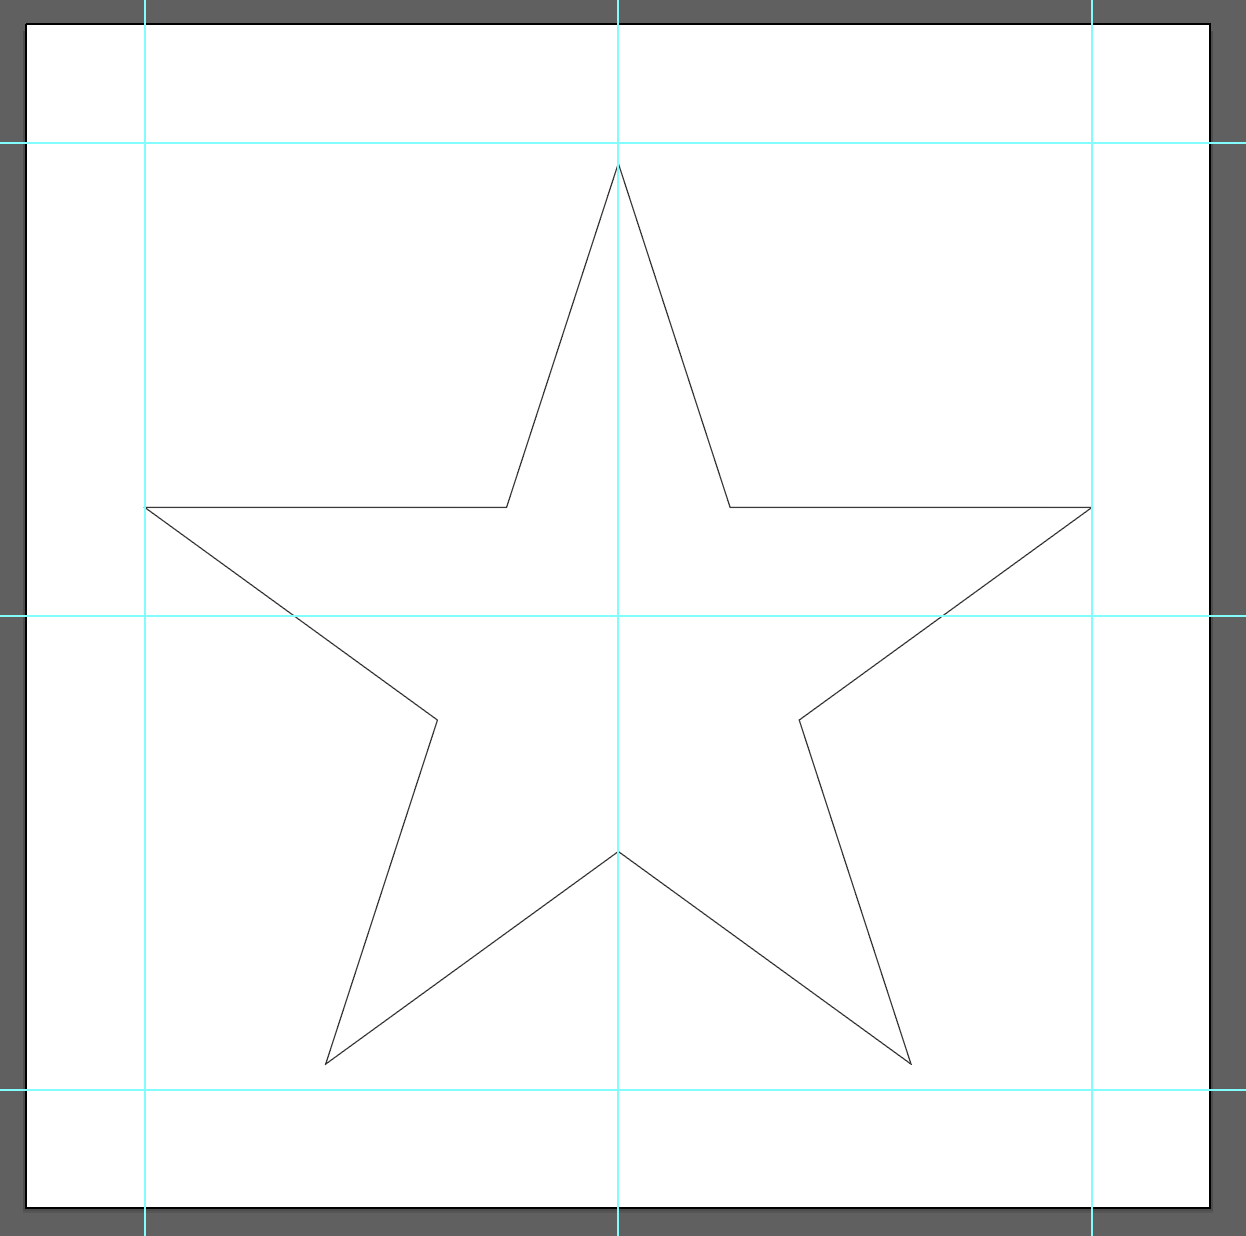
- Now hide the “heart” layer again. You should still have the duplicated heart visible. Select it, hold down Shift and resize it so that it can fit in the star. Place it in the middle of the star. Note that the center of the heart doesn’t necessarily needs to be at the center of the guide.
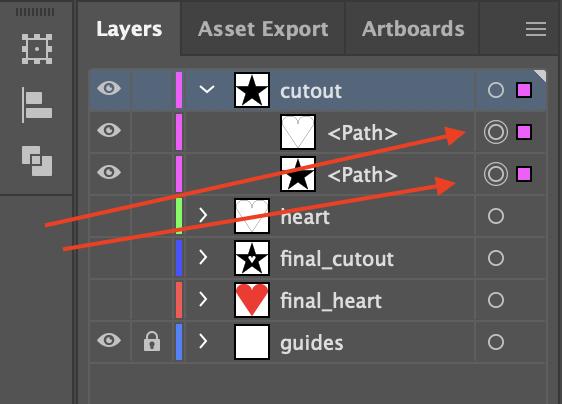
- Now select both of the shapes. Hold down Shift while you click on both the these double circles in the Layer panel to select both shapes.
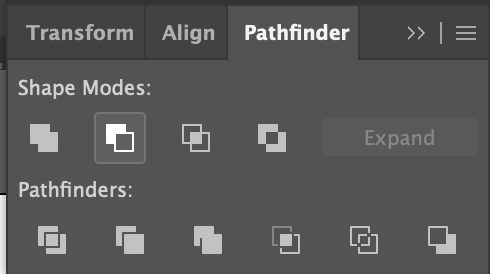
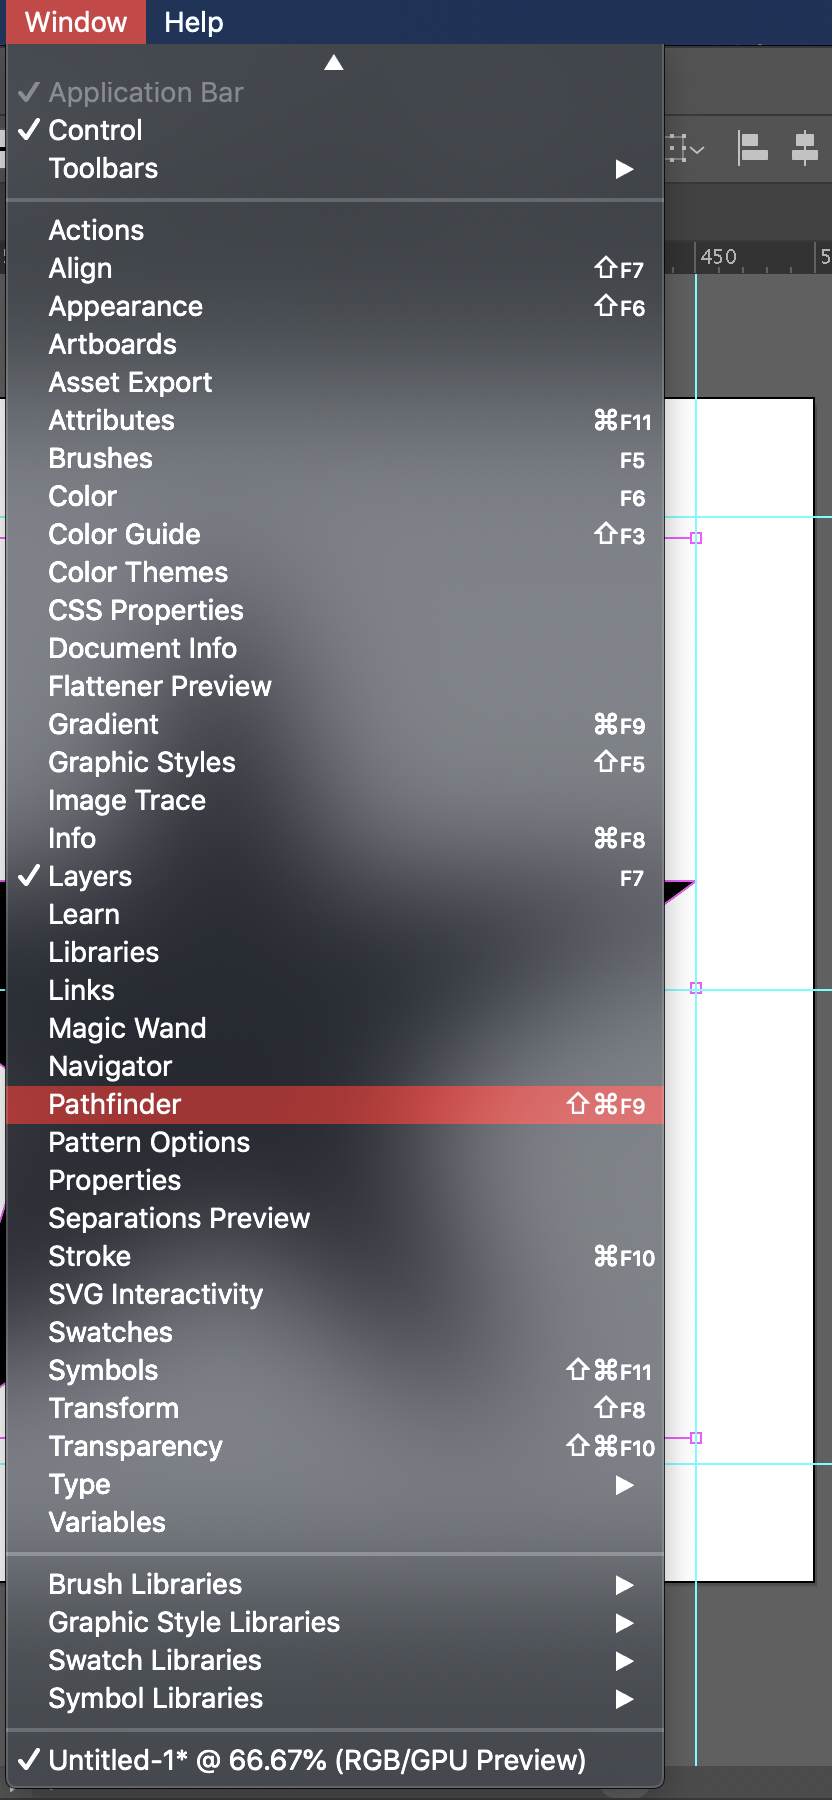
- Now click Window > Pathfinder.
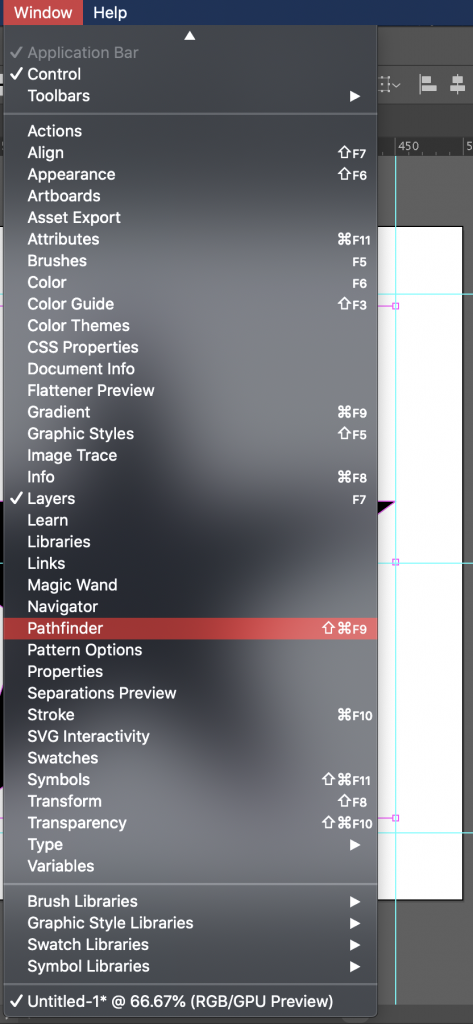
- The Pathfinder panel will pop-up. Click “Minus front.”
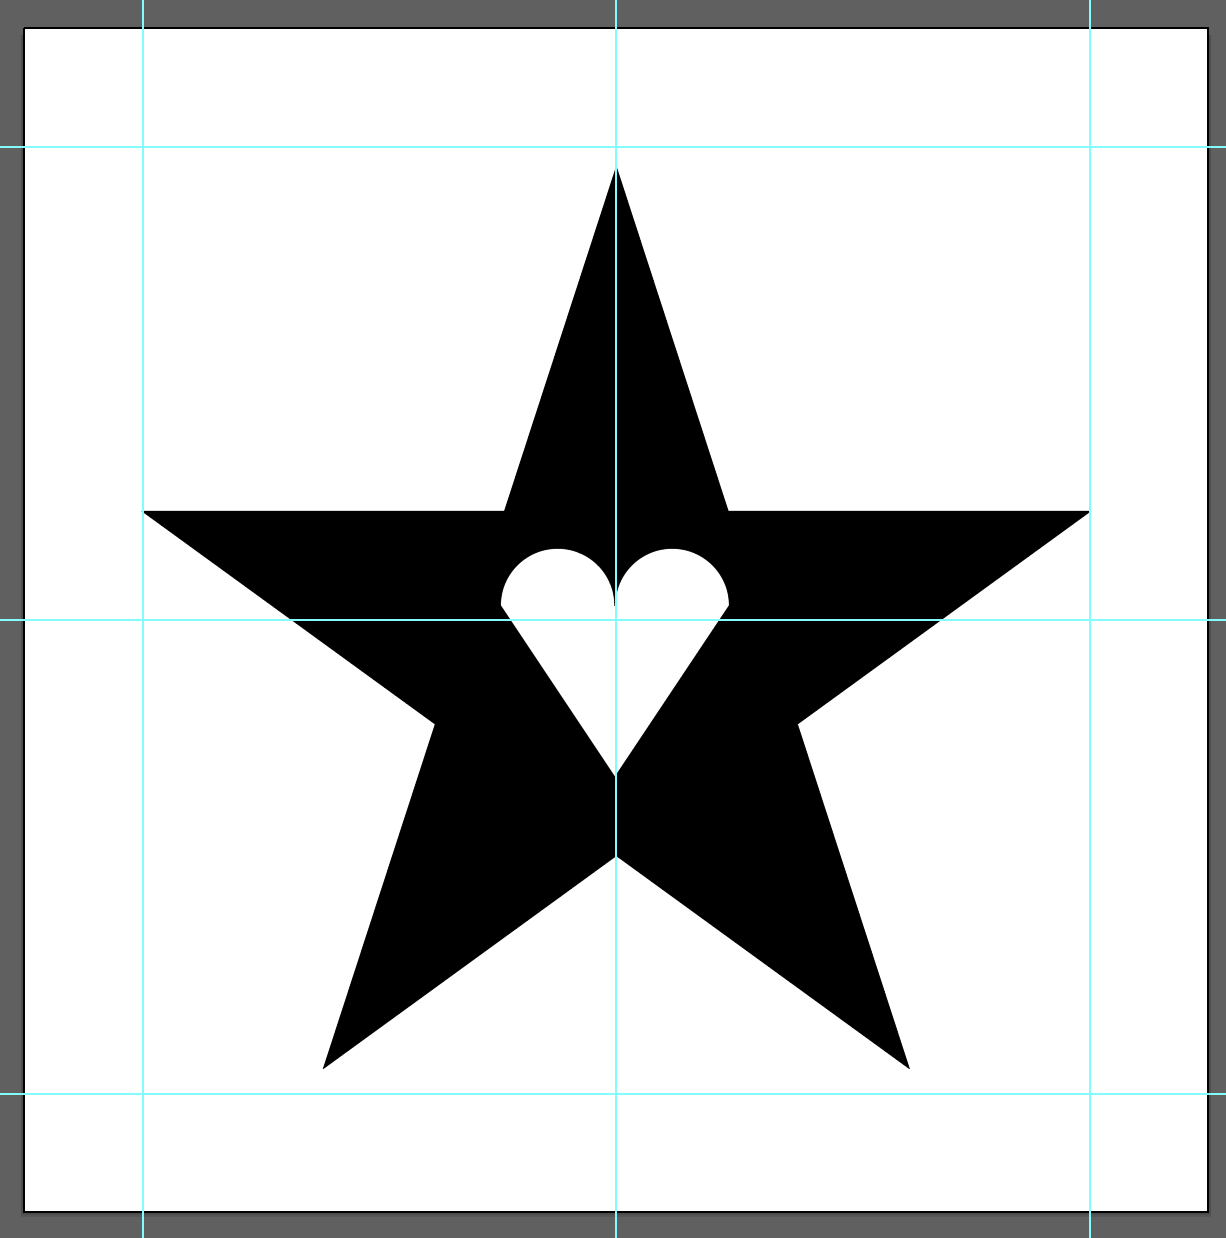
- You should have something like this. You can also check your work by toggling the visibility of the “final_cutout” layer, but note that for this shape you don’t need to be exact.


Radial Form
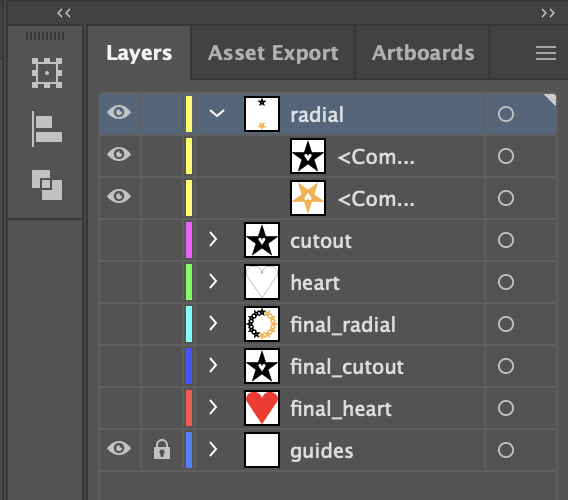
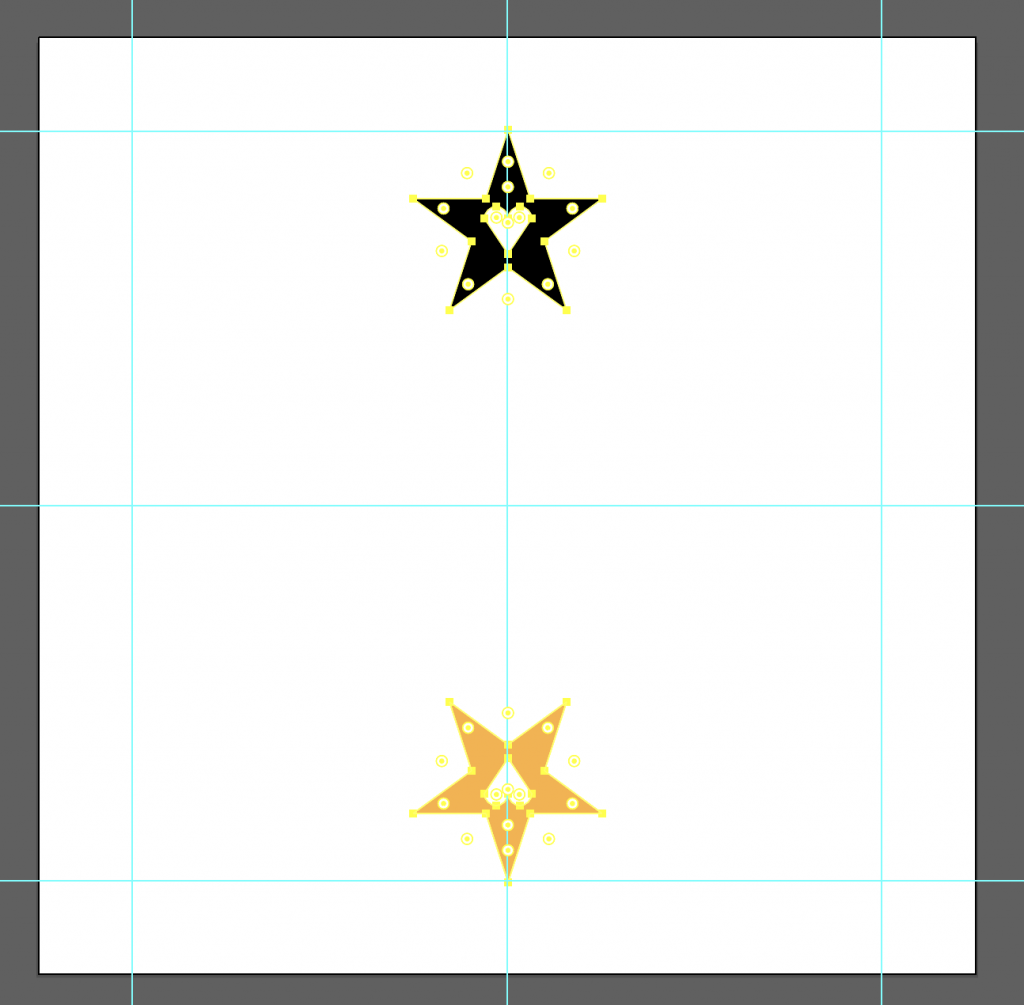
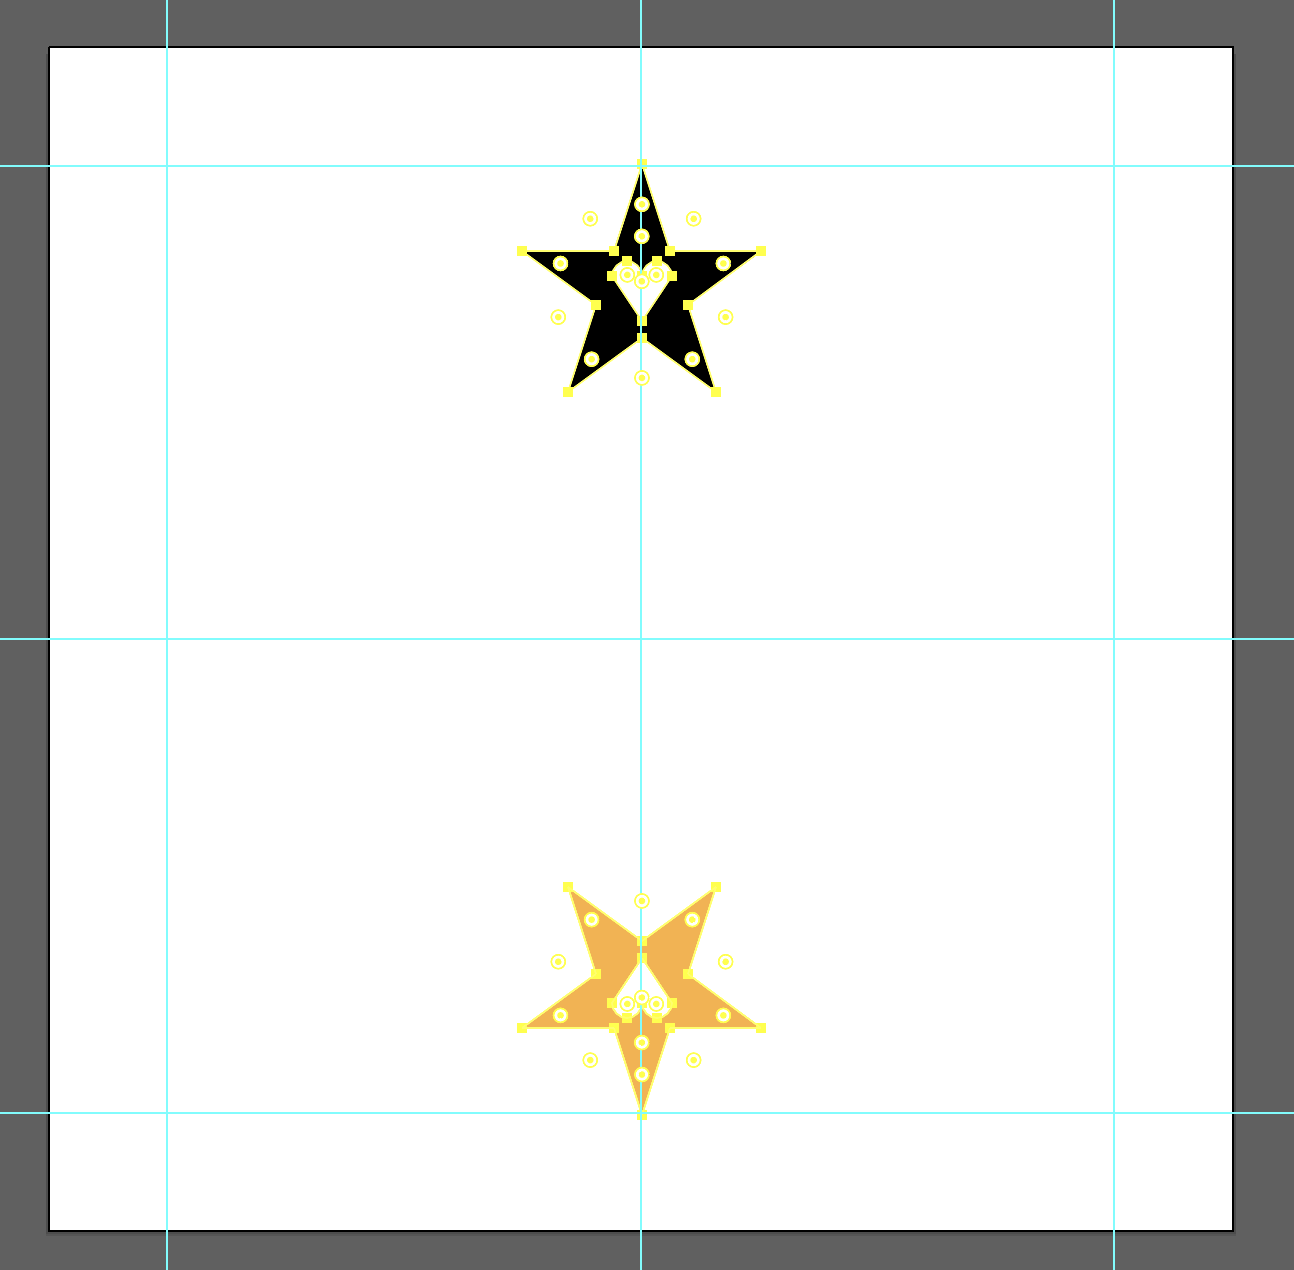
- Click on the “radial” layer. You should see that the two starter stars are already there for you.
- Select both stars by clicking on the Selection Tool, and hold Shift while clicking on both stars.

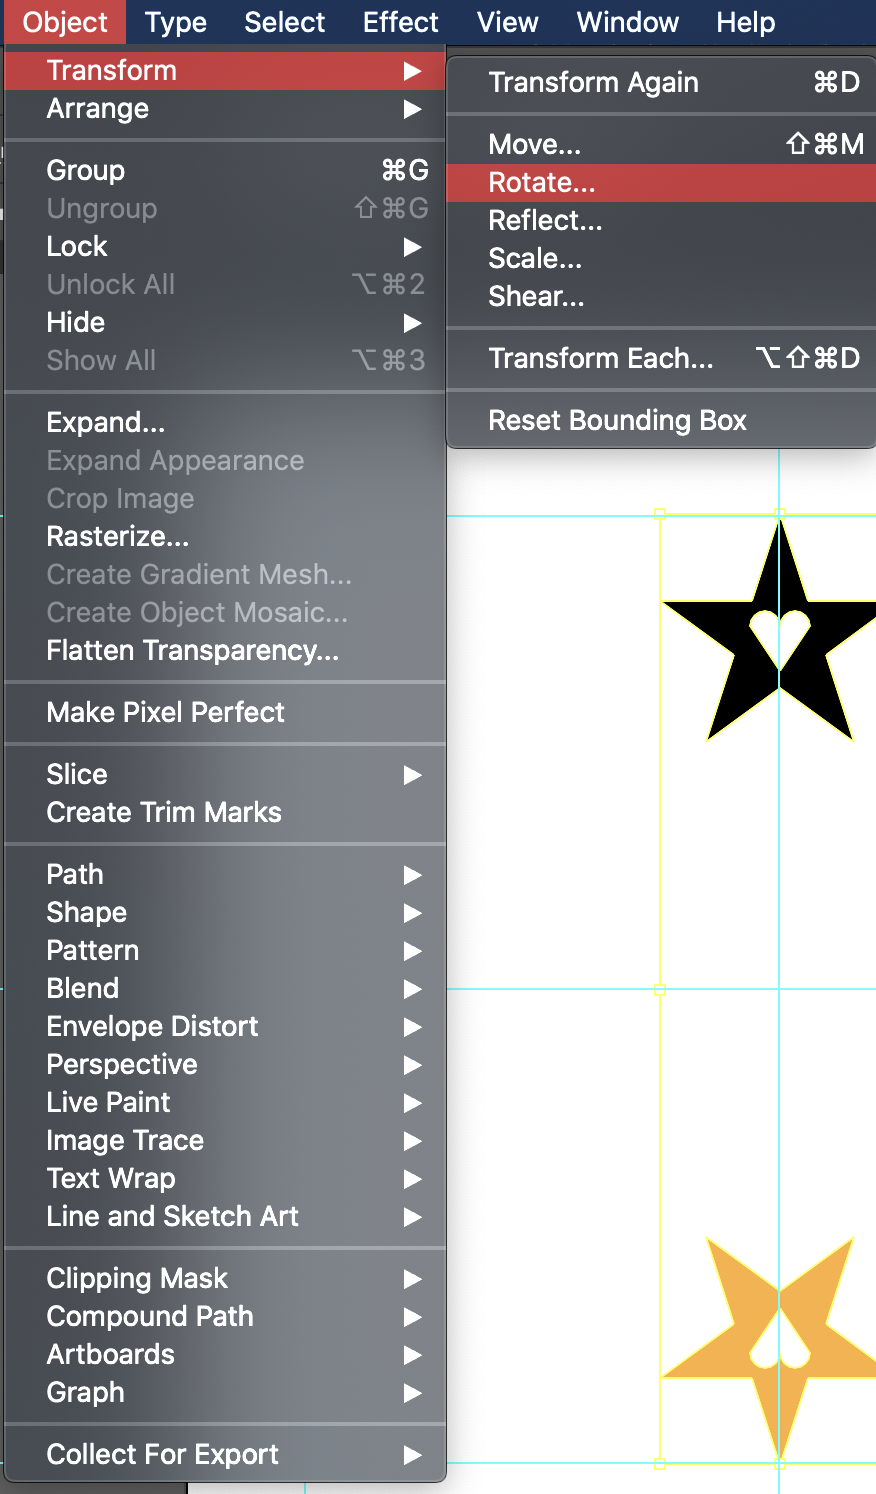
- Click Object > Transform > Rotate.

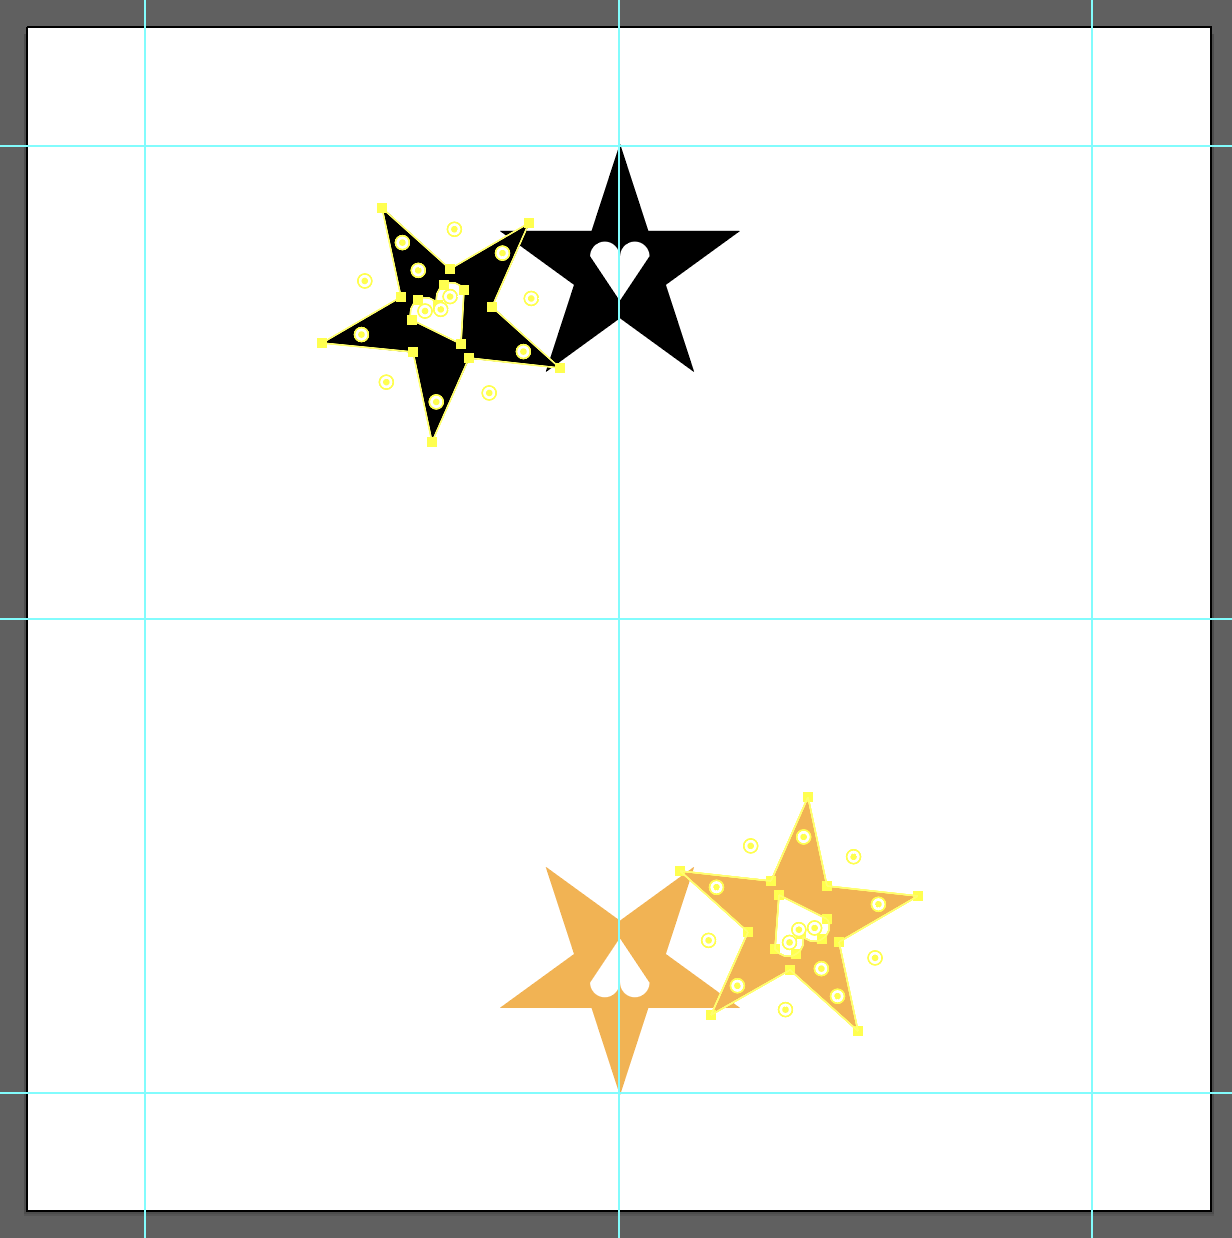
- Set the rotating angle to 30° and click Copy.

- You should see something like this.

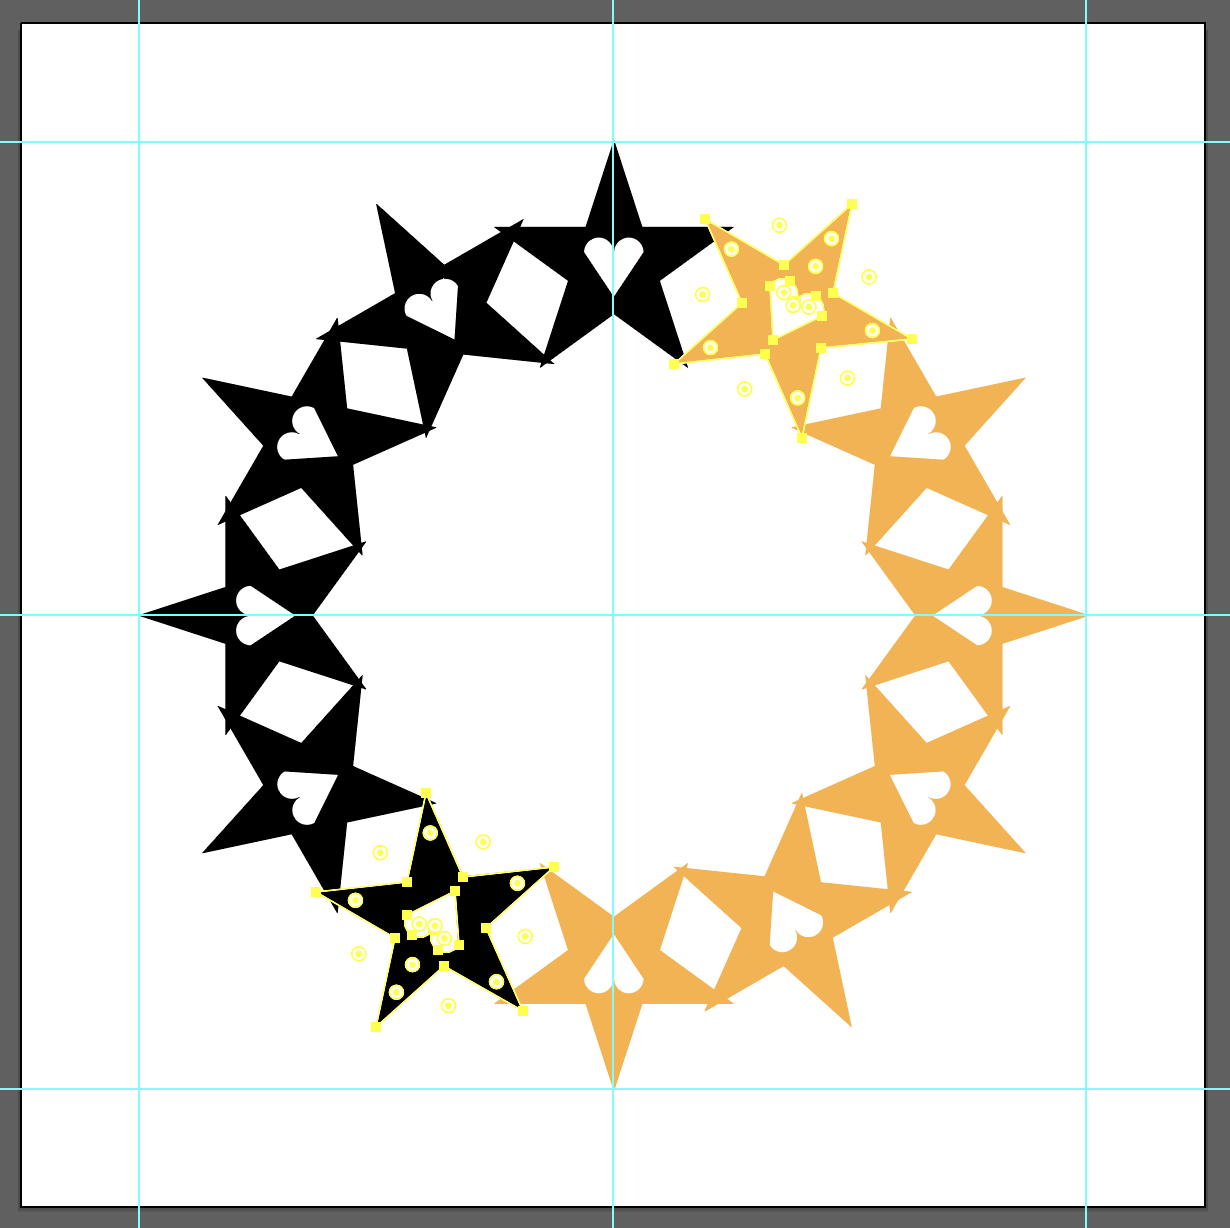
- Click Ctrl / Cmd + D until you have a full circle of stars.

- You can check your work by toggling the visibility of the “final_radial” layer.
Part 2: Intermediate Radial Form
In this part you will be following instructions to create a simple flower pattern. Then, you can use the tips and tricks learned from this section to create your own pattern
- Start with a 500×500 px document in Illustrator.
- Add guides to keep your radial pattern.
- If the Ruler is not yet visible to you, click View > Rulers > Show Rulers

- Create a layer named “guides.”
- Click and drag from the vertical ruler to make a vertical guide. Place this at the 250 horizontal mark.
- Similarly, click and drag from the horizontal ruler to make a horizontal guide. Place this also at the 250 vertical mark.
- Click L (Eclipse Tool) and click anywhere on your Artboard. Make the circle 420×420 px. Then place this circle at the center, hence the intersection of the two line-guides. Right-click on your circle and choose “Make Guide.” Then lock this “guides” layer.

- If the Ruler is not yet visible to you, click View > Rulers > Show Rulers
- Create a new layer. This will be where your flower will be.
- Draw a circle.
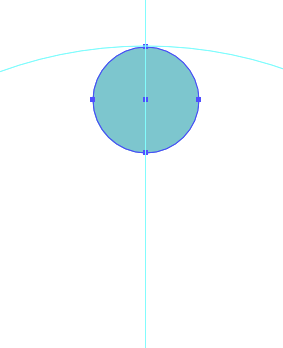
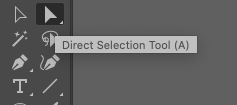
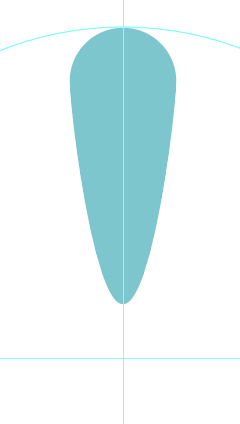
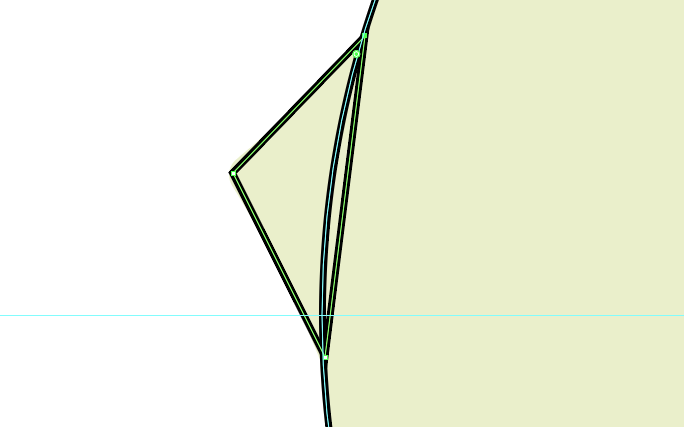
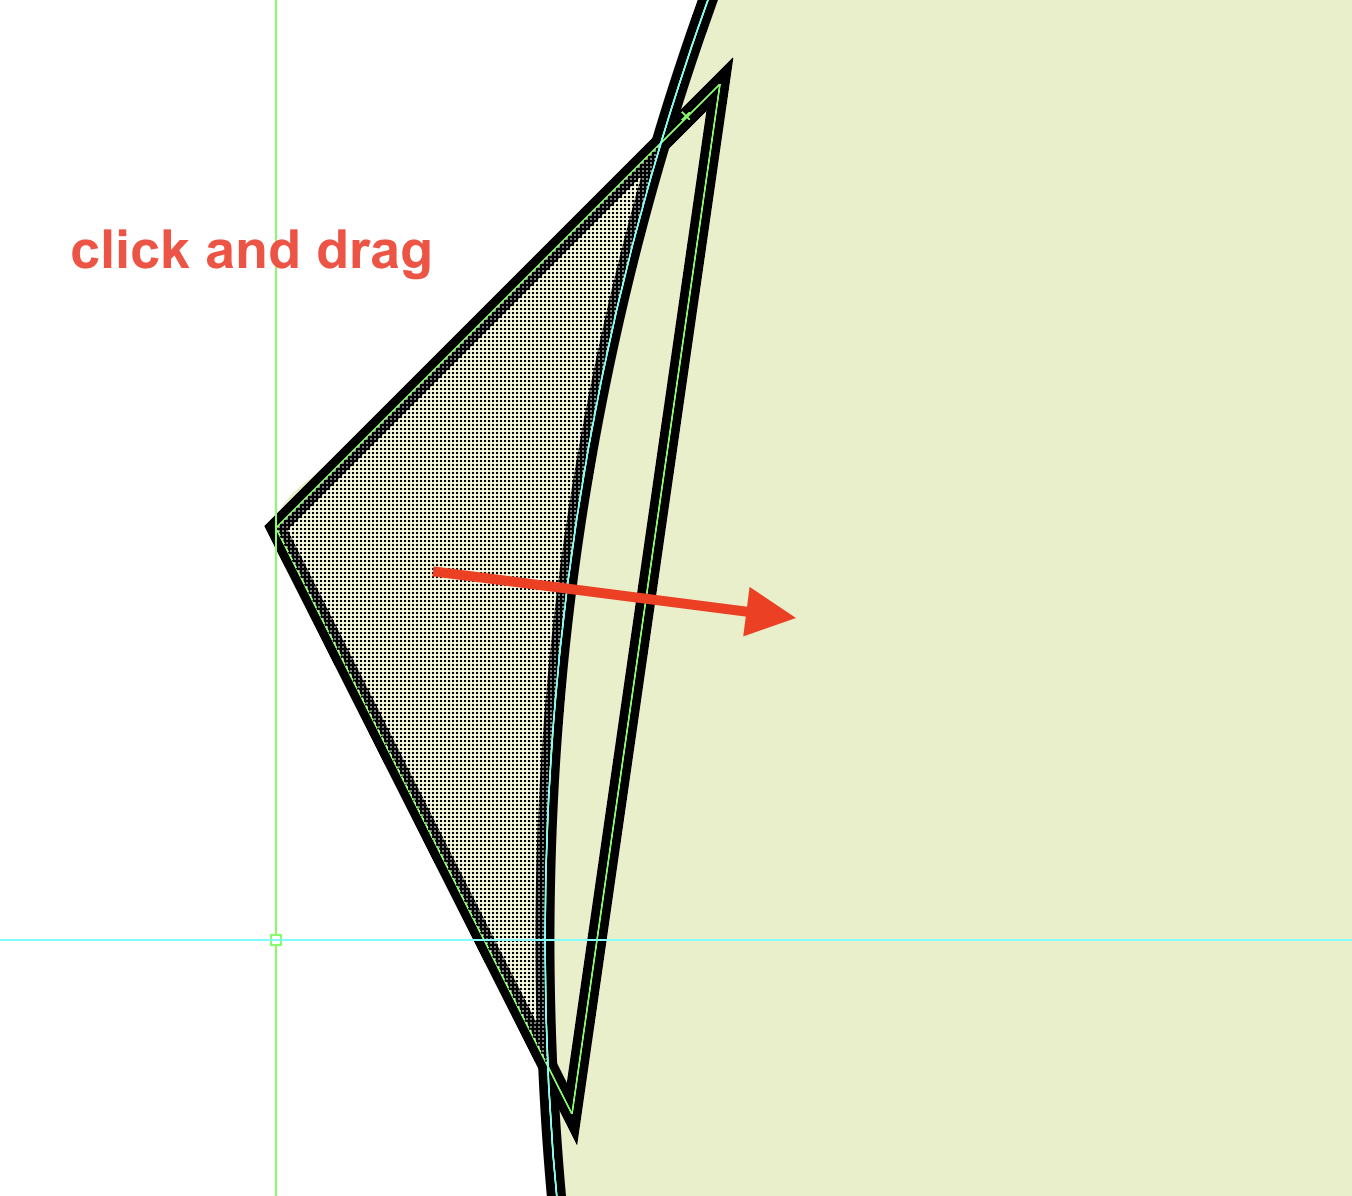
- Use the Direct Selection Tool to drag the bottom of the circle to create a petal.
- It should look like this.
- With the object selected, click on the Rotate tool.

- Then hold Alt and click on the center of rotation. Enter a rotation angle. The formula is 360 / (the number of objects you want).
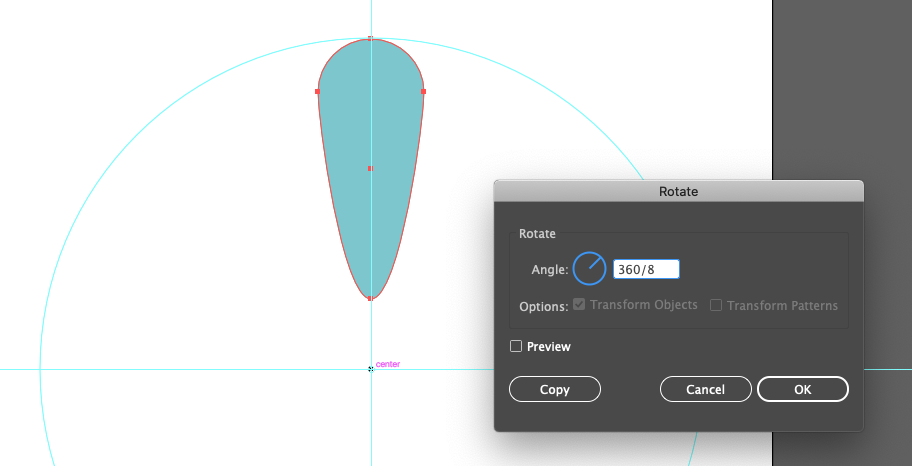
- Click Copy. Then click Cmd + D (or Ctrl + D) until you have a full circle of petals.
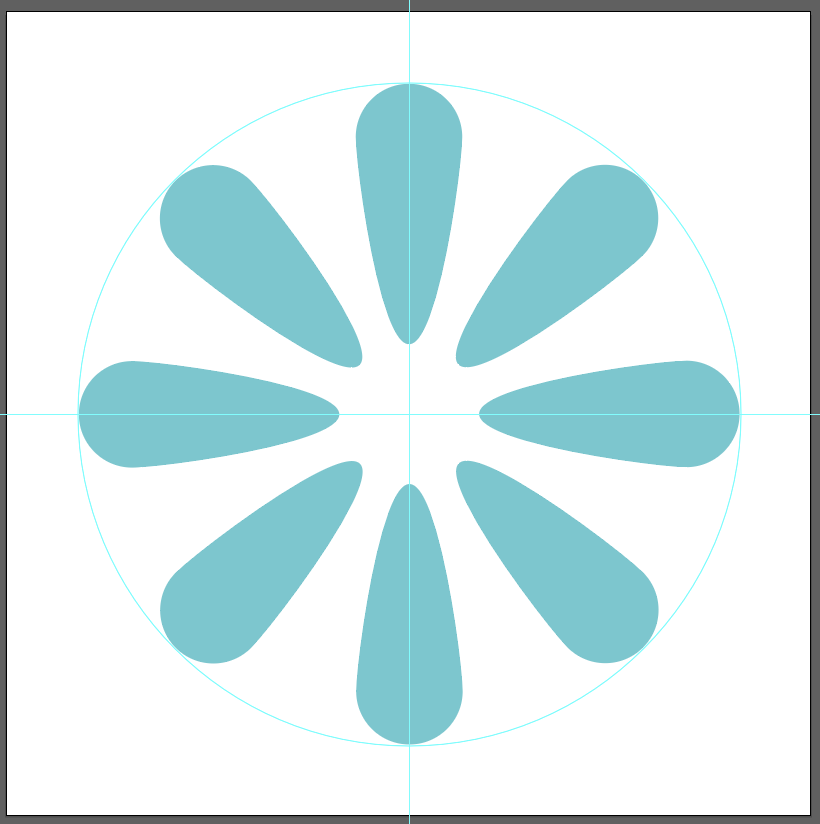
- That’s it! Export this file as a transparent PNG and upload it for review on Basecamp, then create your own pattern using these techniques as well as some basic geometry (30, 60, 45, 90, 180 degrees, etc.)! I’ve included one I created here as an example.

- Update your blog with your work and a description of your experience.
Part 3: Advanced Shape Builder Tool
In this section you will be utilizing the Shape Builder tool to recreate a simple Bird icon.
- Download this starter file: https://utexas.box.com/s/mzlgq3gp851olhu36q7rol7l410d7w9j
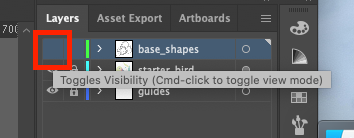
- The artwork in the layer “starter_bird” will be the icon you’re recreating. Take a moment to think about what geometric shapes are being used to compose this Bird. Then when you’re ready, turn on the visibility of the layer “base_shapes” for the solution by clicking on the eye in front of the layer.
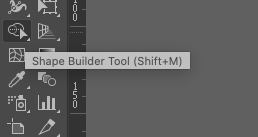
- Select All (Ctrl + A / Cmd + A) of the base shapes and click on the Shape Builder Tool.
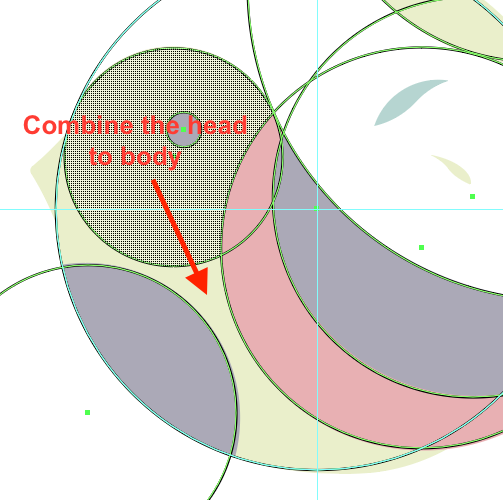
- Combine what you want and subtract what you don’t want. To combine shapes, drag the shapes together.
- To subtract shapes, hold Alt / Option and click on the shape you’d like to subtract.
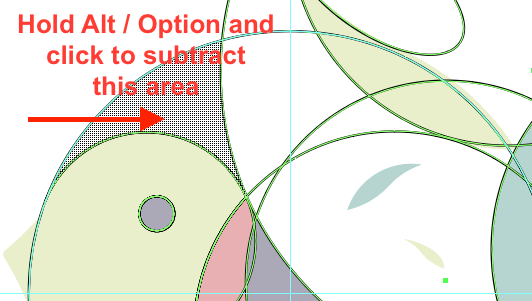
- You will need to experiment with combining / subtracting shapes. Ctrl + Z / Cmd + Z to undo if you made a mistake. Here’re some hints of what to combine.

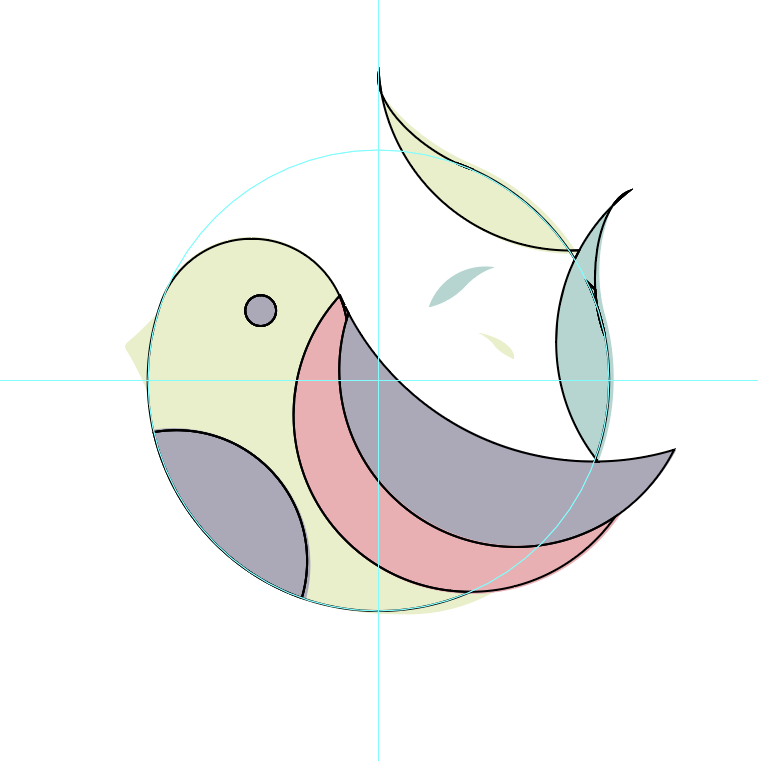
- After combining / subtracting the large shapes, it should look like this.
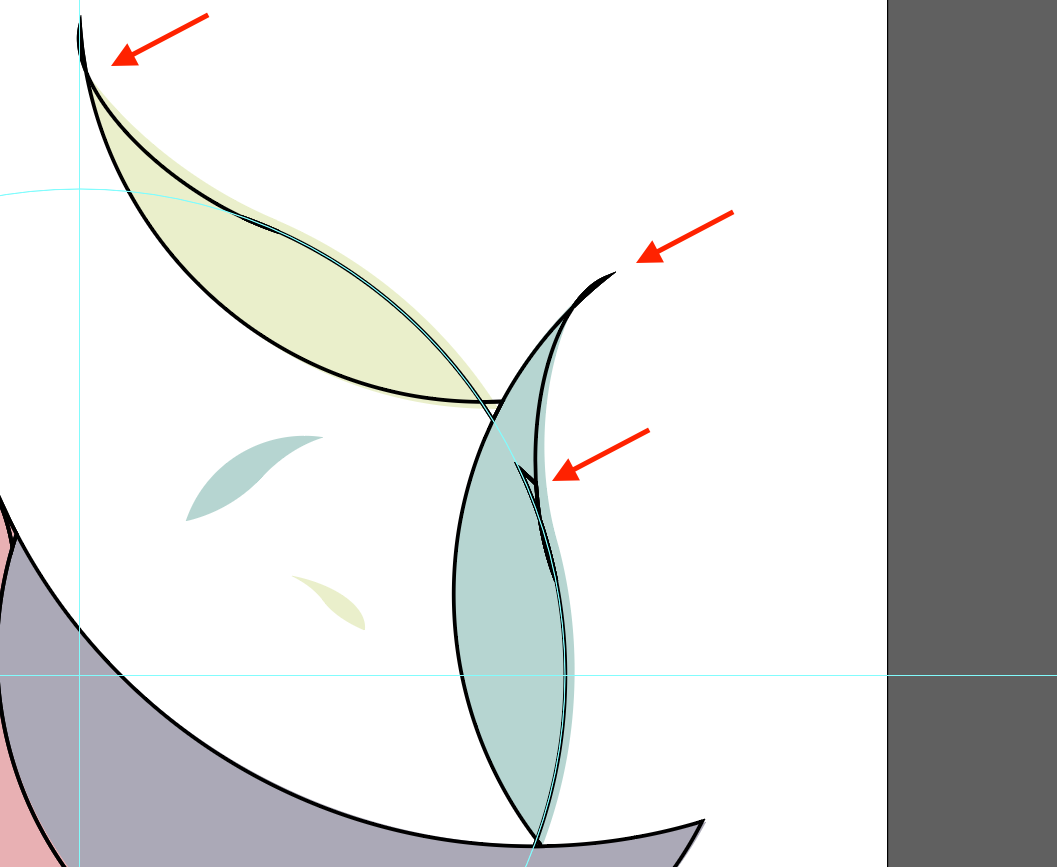
- You will need to do some line clean-up. Notice the intersecting lines here.
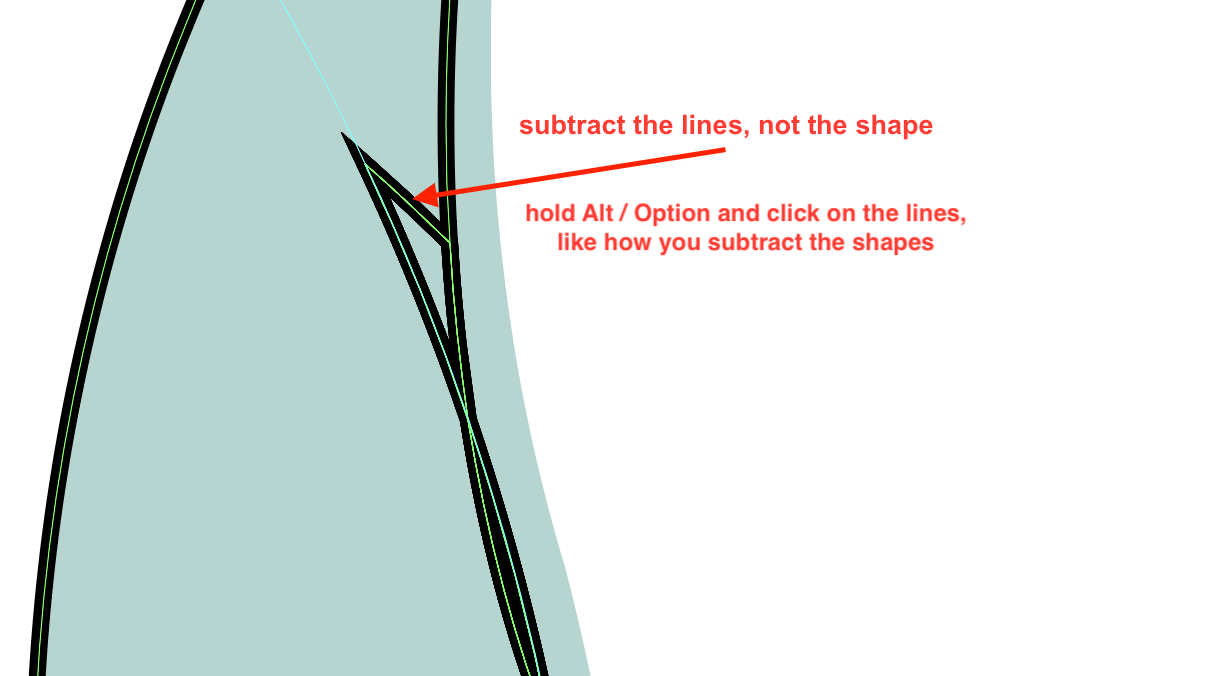
- Be careful with the clean-up. Sometimes, you might want to clean up the lines and not the shapes.
- Lastly, you will make the beak. Click on the Pen tool.
- Using the Pen tool, draw a triangle at the front of the Bird’s head. Be sure to make a complete shape by connecting the last anchor point with the first one. It should look like this.
- Select both the beak and the Bird, then use the Shape Builder Tool to combine them.
- If you want to, use the Direct Selection Tool to round up the beak. Drag the corner (the small white circle at the corner) to round it. If you find yourself having a hard time navigating the corner tool, check out this tutorial: https://www.youtube.com/watch?v=SgUucMjnf2s
- You’re done! You can color in your bird if you’d like to, otherwise, save and upload your Bird with transparent background.