

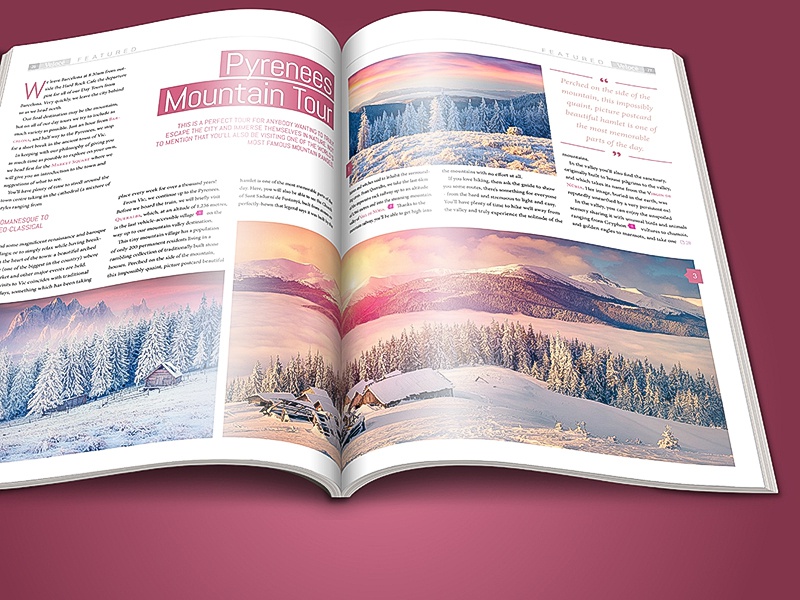
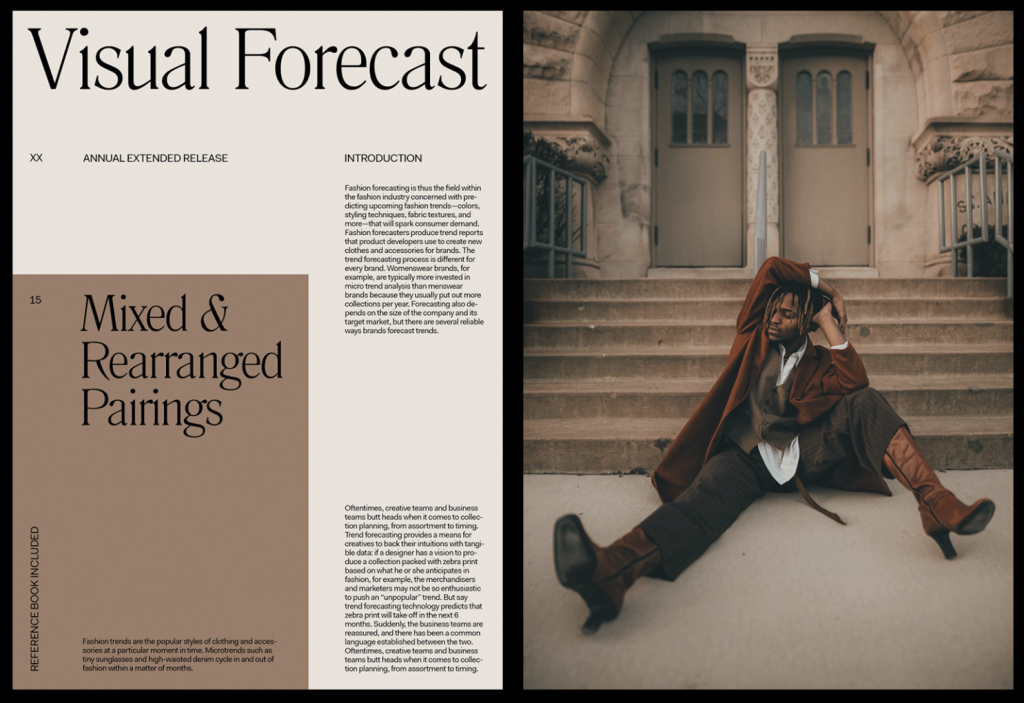
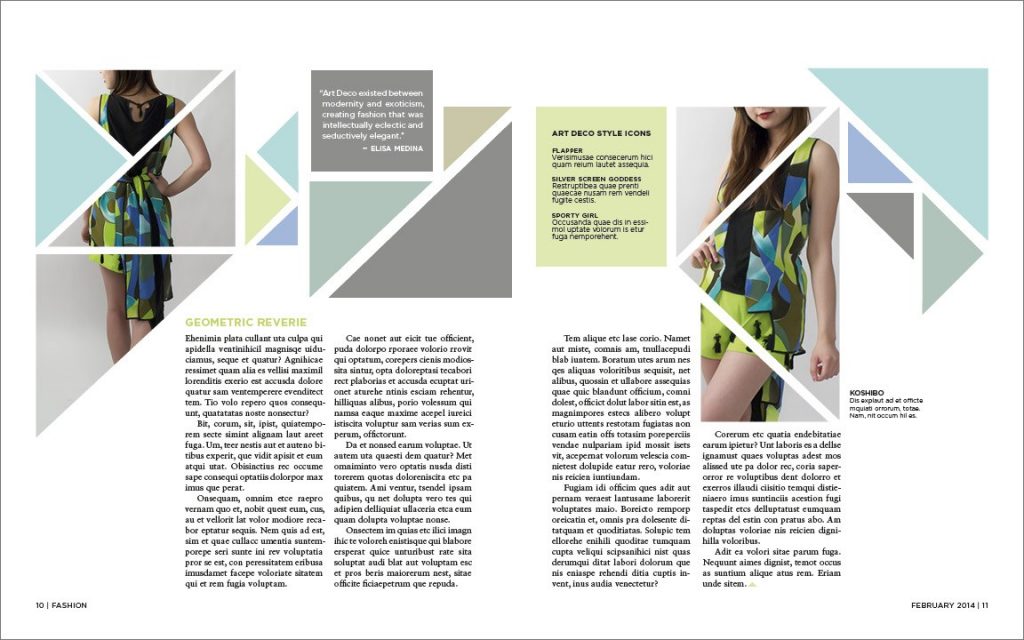
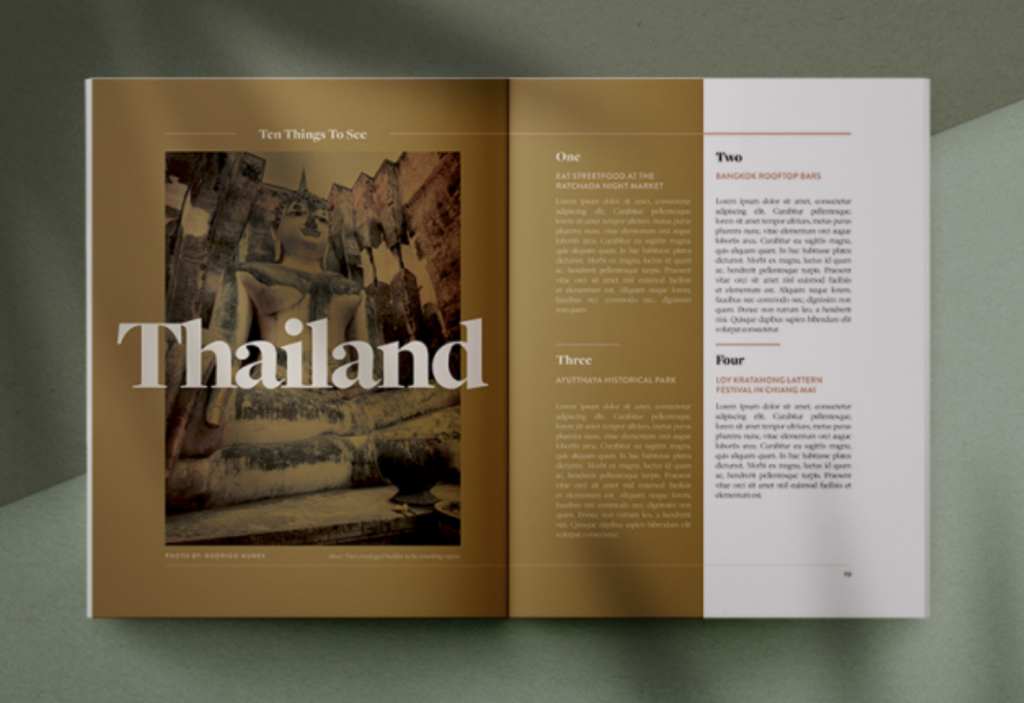
For this training, you’ll combine all of your knowledge of shape, type, color, hierarchy, and more to create a 4-page magazine spread in inDesign. Usually you’ll receive images and text from the client to lay out, but for this training, you can choose any topic you like. You may re-design an existing magazine spread, or come up with something entirely new. By the end of this training, you’ll have practiced setting up a master template on inDesign, incorporating color into a text-heavy design, and creating a balanced, evenly-spaced magazine layout. Note how the examples below incorporate color in text, lines, and shapes, and how those colors match and/or contrast the colors of the images:
Assignment Specs
Your spread should have 3-4 images with captions (giving photo credit), a title and subtitle, and at least 400 words of body text — this amount at 12pt should take up about 1/4 of the space on all four pages. You may use placeholder text for the captions and body paragraphs.
Once you’ve brainstormed, comment on basecamp with your proposed spread idea, including a color scheme, title/subtitle, and images you intend to include in your design. No worries if these images change later on.
Creating your Document
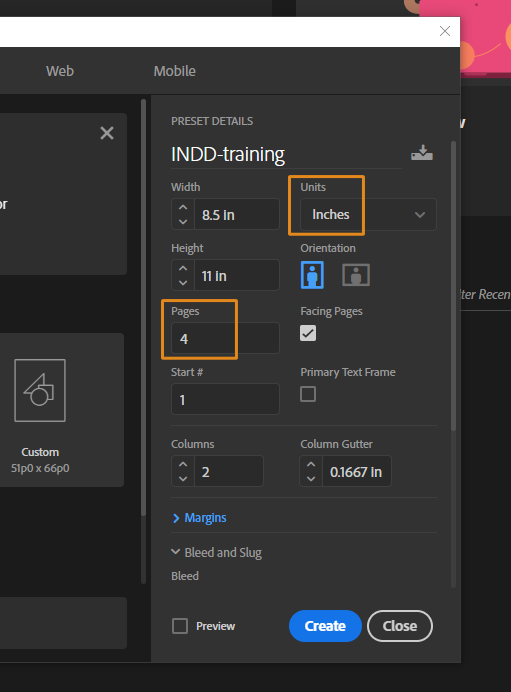
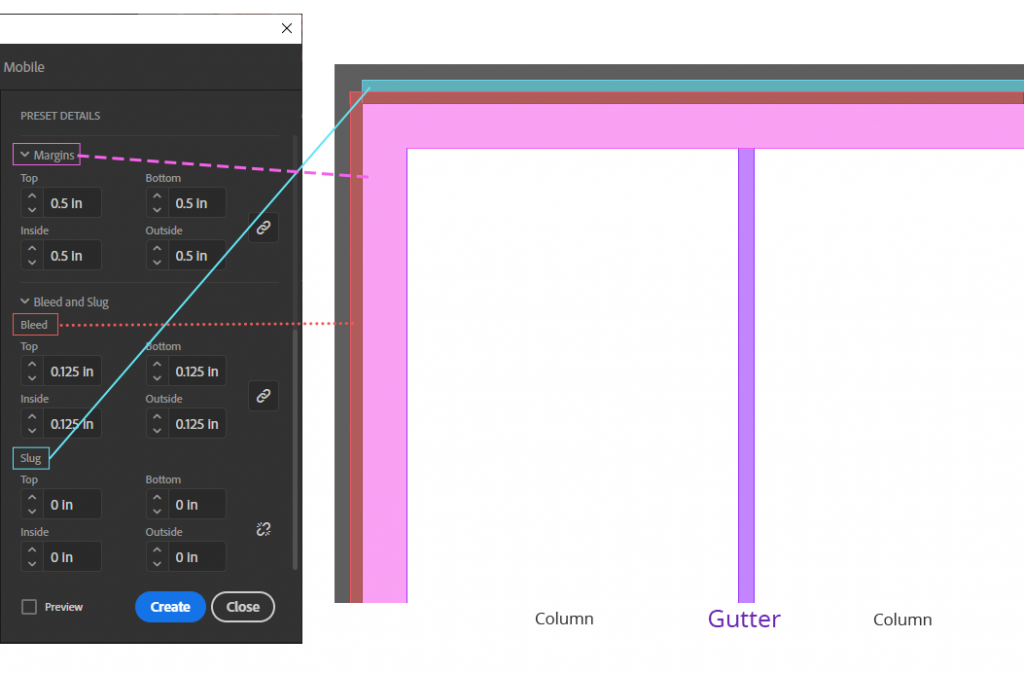
1. Go to “File > New Document” and select these basic settings (# of columns is optional). Be sure to set the margins, bleed, and slug accordingly.
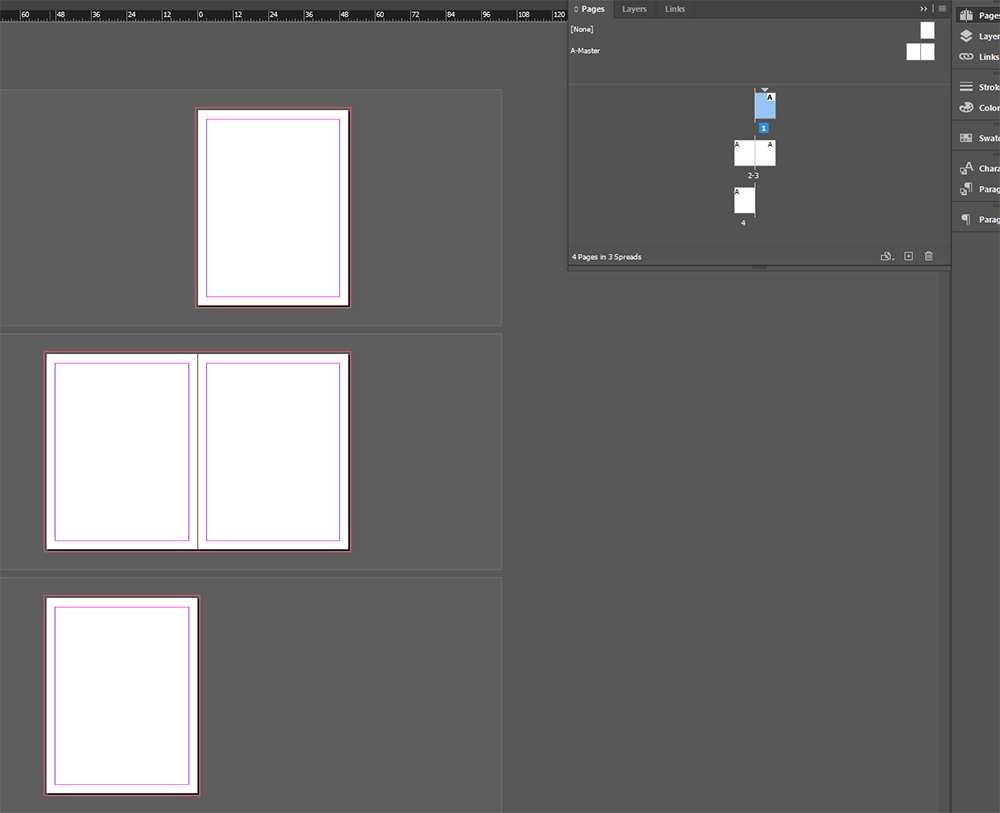
2. Right now your document has a cover page, but for this training we want to work on 2 sets of side-by-side pages, or spreads.
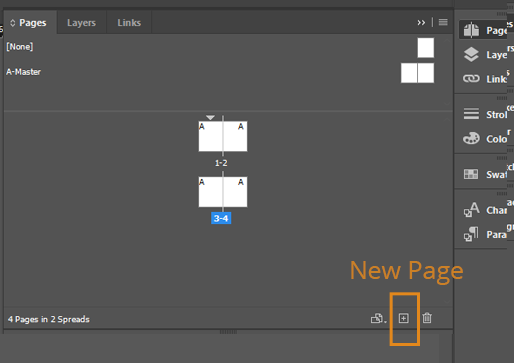
First, right click anywhere within the Pages panel and toggle “Allow Document Pages to Shuffle” OFF.

Then, right click > “Delete Spread” on the cover page. You will have three pages now, so add a fourth page with the “Create New Page” button. This process is helpful to know because not all documents will need a cover page, despite InDesign creating one by default.
Preparing your document
Master templates are particularly useful for book designs that have page numbers and other design elements that should remain consistent on every page.
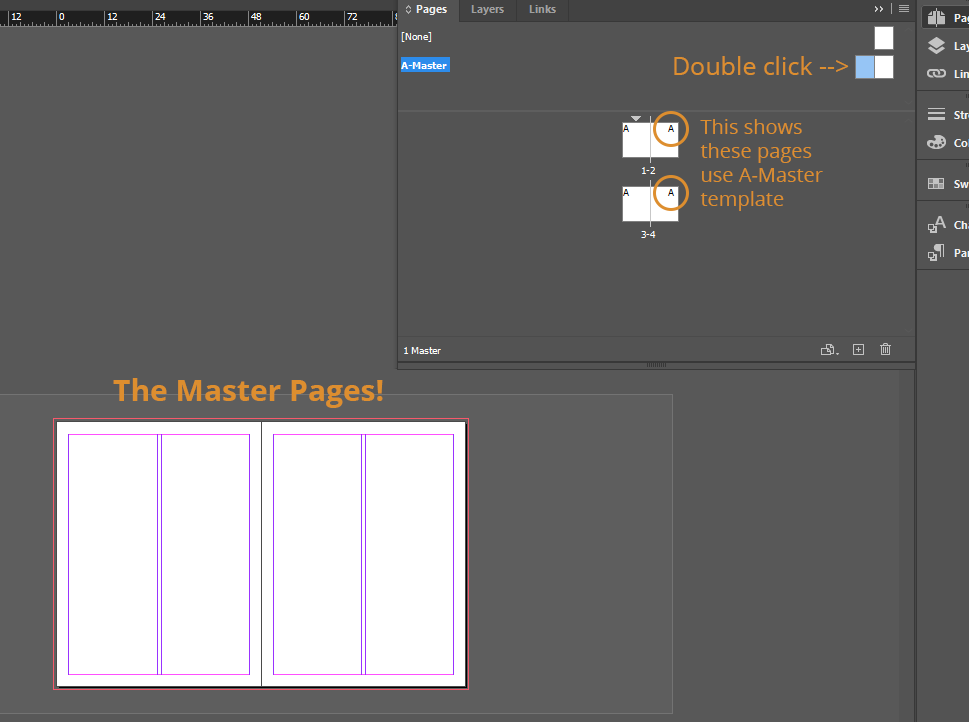
1. To start, double click the “A-Master” pages to enter master template editing mode. Anything you put on the page in this editing mode will appear on every page assigned A-Master template. It is possible to create multiple master templates.
You may recall setting up grids from Lesson 3: Typography. If grids were helpful to you, you should apply those settings now.
2. Add Page Numbers. Create a textbox with the Text tool (“T”). Then go to “Type > Insert Special Character > Markers > Current Page Number”.

An “A” will appear in your textbox. Place it where you like on your page – you can style the text now or later. Copy and paste it onto the other page.
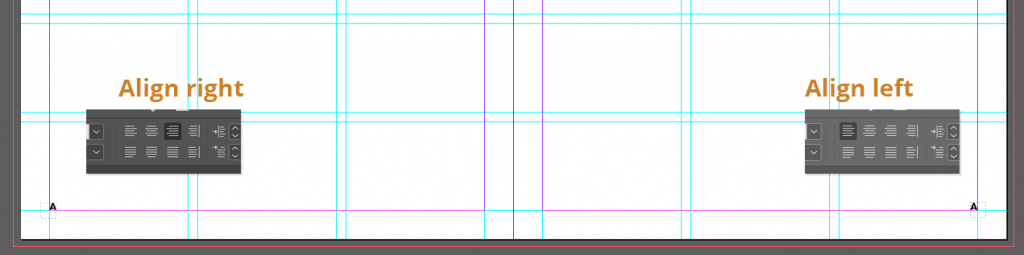
*If you are placing page number in a corner, and not the center, remember this trick:
For the Left Page, align page number text to the right.
For the Right Page, align to the left.
4. Exit Master template edit mode by double clicking on one of your pages in the Pages panel. You will see your guides and page numbers are applied to each page.
Congrats! Your page is set up, and it’s time to start designing.
Tips for Designing
Because there are so many moving parts involved in a magazine spread, it can be difficult to figure out where to begin. In this section, we’ll give you some optional steps you can take in creating your design, as well as point out some cool inDesign tools to elevate your spread.
Sketch a Layout
Once your topic has been approved and you’ve selected images, sketch potential layouts on paper that includes blocks for photos, text, and captions.
Use Image Placeholders
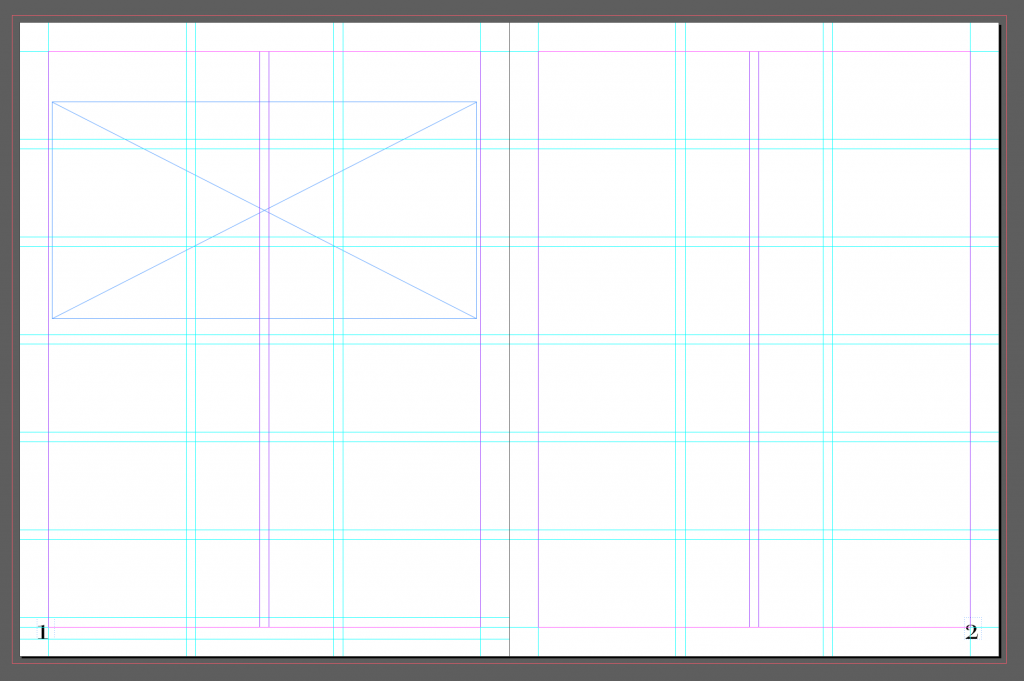
Use the rectangle frame tool to lay out where your images are going to go.

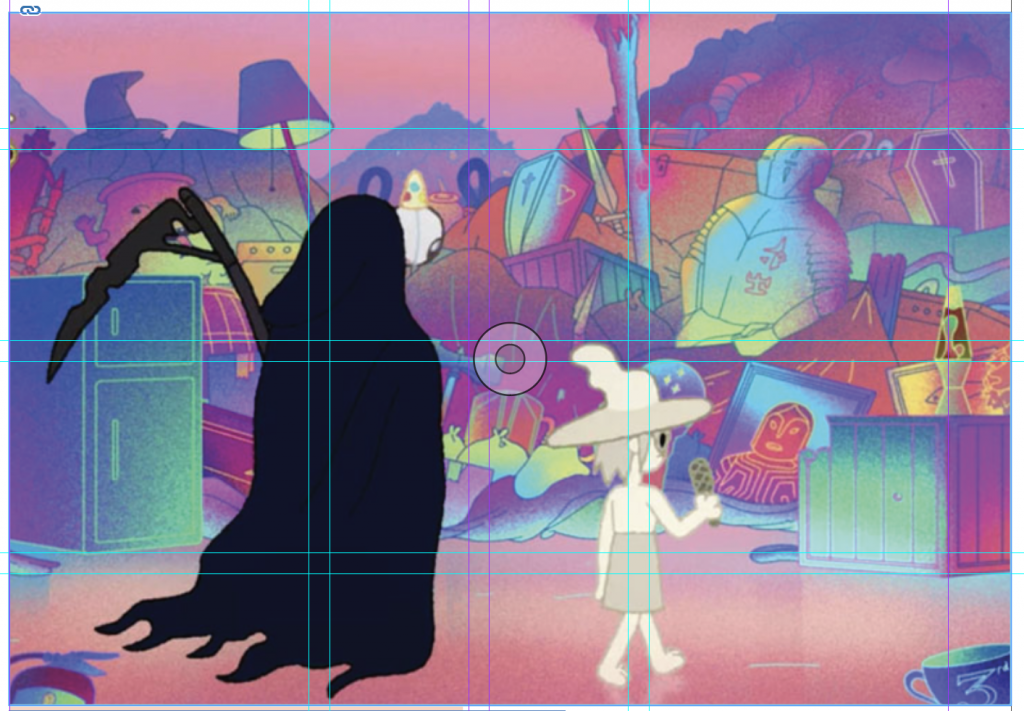
When you are happy with your image placement, you can drag your images into these frames to place them. Clicking once on the circle in the center of the image (see below) allows you to edit the size of the image within the frame. Make sure to hold shift while you are resizing to avoid distorting the image.
A note on placing images:
There are two ways to place images into inDesign: linking and embedding.
Linking: InDesign will use the file pathways on your computer to link to the image. This is helpful if you may need to edit the image further because these changes to the image will reflect live in InDesign. However, file links can be easily broken if the file moves, gets renamed, or for whatever reason can’t be found by inDesign. So, if you’re using this method, be sure to put everything in one folder on your computer, keep it all there, and don’t rename files.
Embedding: If you don’t plan on editing your images, you can embed them so they will be stored within the document and can’t be lost.
Lay out Text
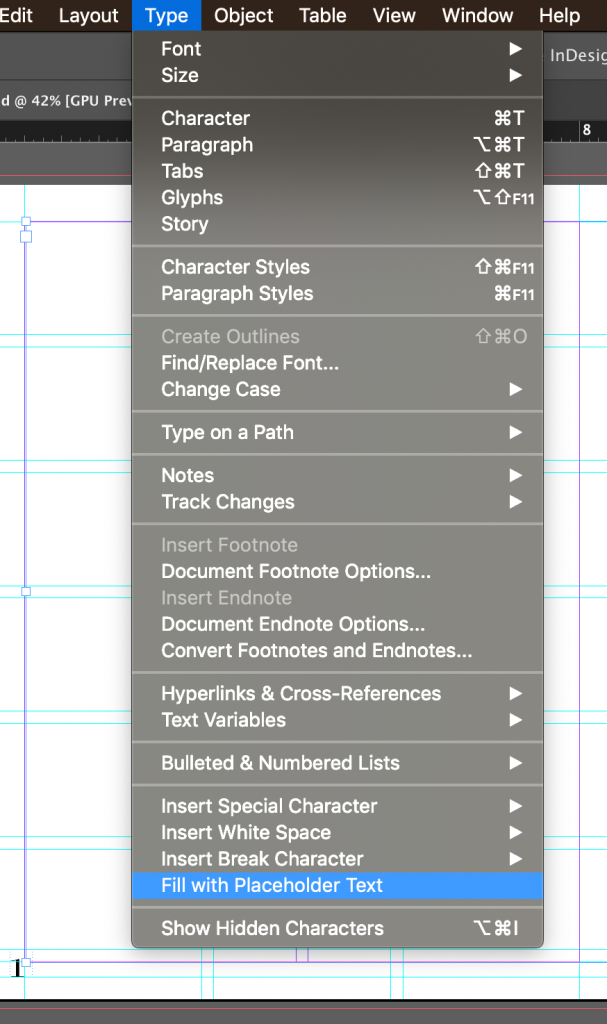
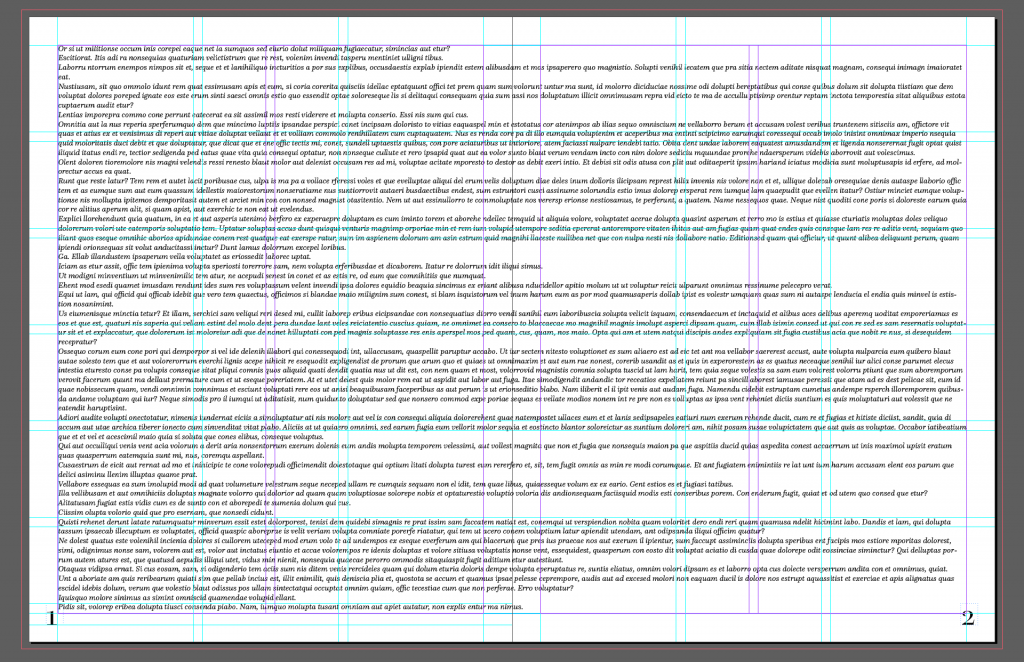
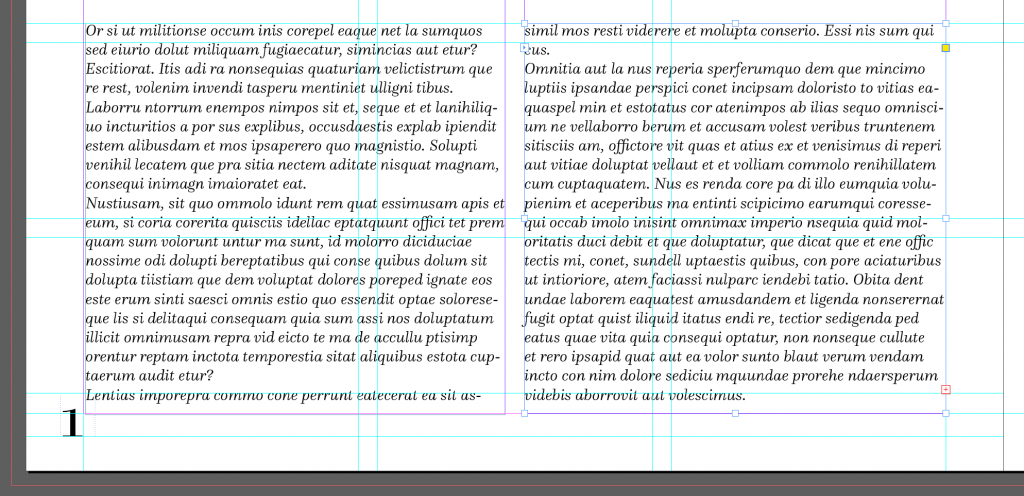
If you’re creating your own topic for this activity, no need to write a whole article! Let’s create some placeholder text. This can be useful if you’re designing a spread that does not have text written already. Create a textbox that is the size of however much text you want in the entire spread. Then, with the textbox selected, click Type > Fill with Placeholder Text. Your box will be filled with Latin characters, like so:
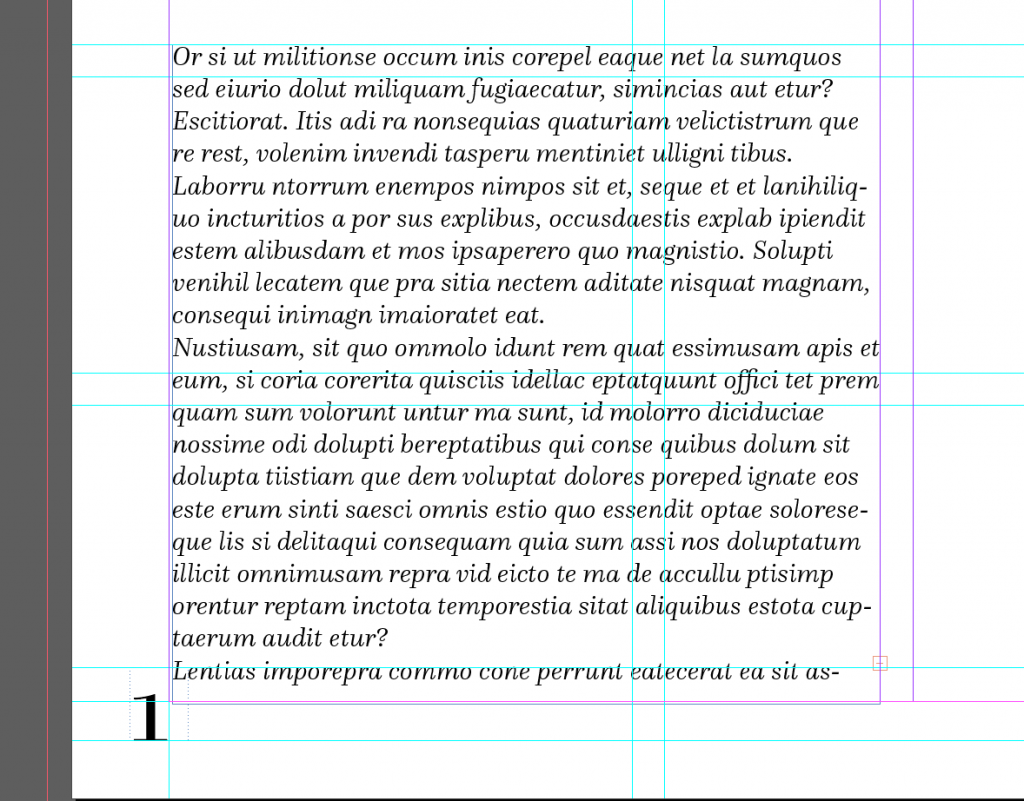
Now, shrink this textbox down and place it where you would like your text to begin. You will notice a small red plus sign in the bottom right corner of the box. This is an indicator that there is text within the box that isn’t visible.
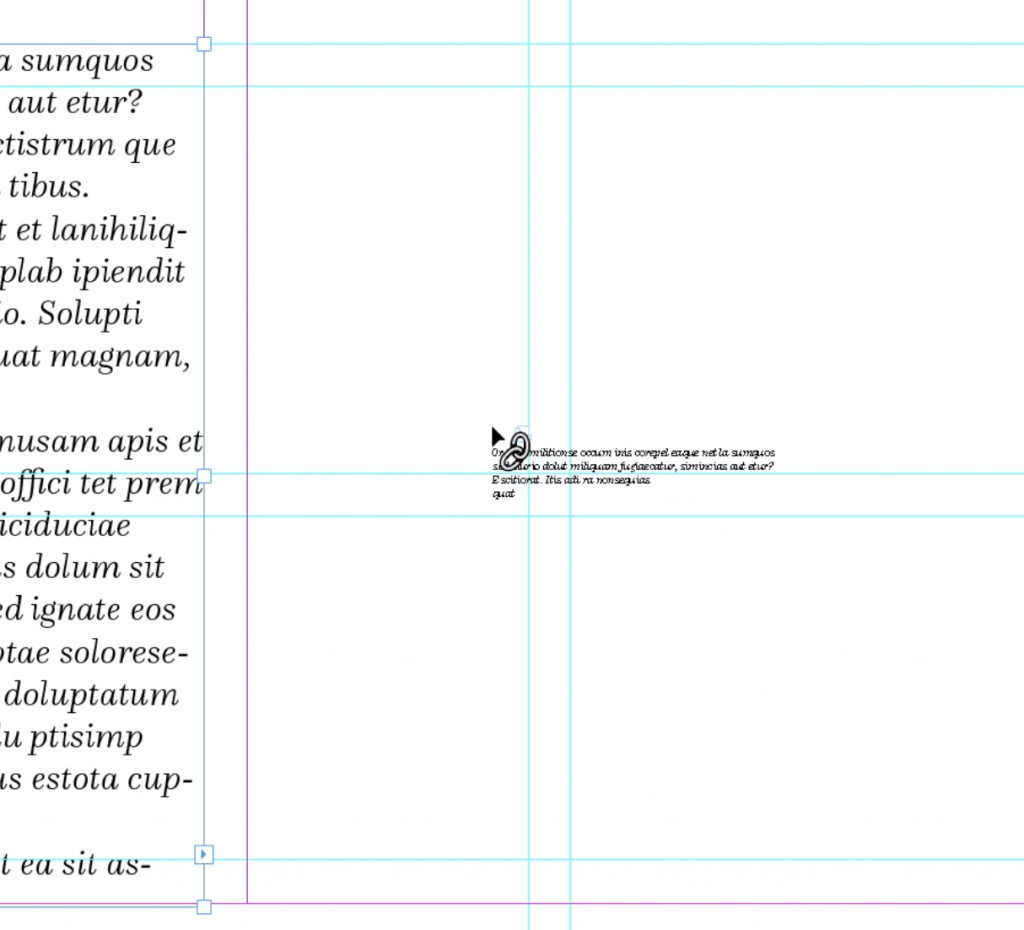
Now, create some more text boxes, sized and placed where you want them to be. Once your text boxes are laid out, click the red “+” on your first text box once, then click on the next textbox. The text should spill into this box. Continue doing this until all of your text is laid out.
Add some color
One way to make sure your colors and images match is to create your color scheme from the image. There are two ways to do this.
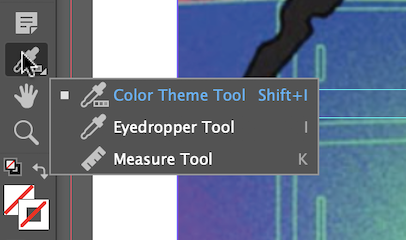
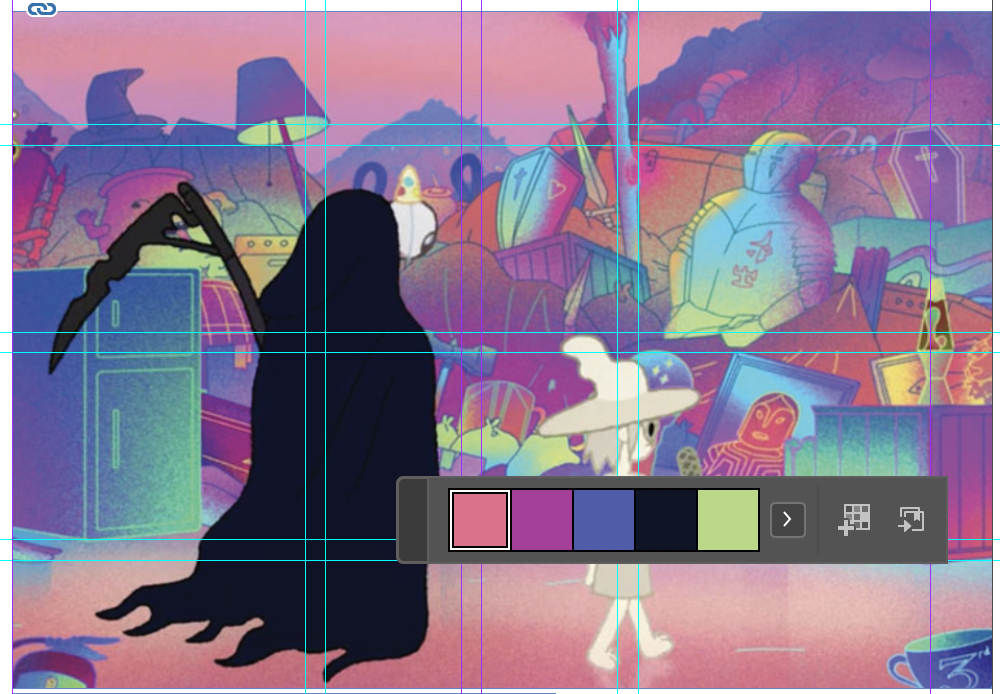
The Color Theme Method:
With the Color Theme Tool, inDesign will create a color palate based on an image. Just select the tool in the left toolbar, then click on an image.
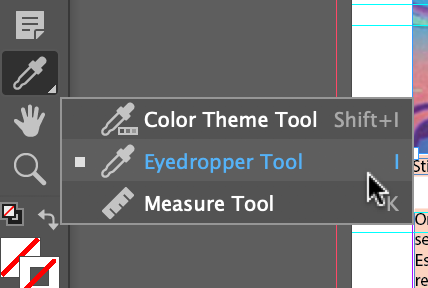
The Eyedropper Method:
You can also use the eyedropper tool to select specific colors from your image. Simply click and hold on the color theme tool to change to the eyedropper, zoom in on your image, and click on the color you would like to use.
If your images don’t have the colors you’re looking for, try this random palate generator on coolors.com.
Note on Color Use:
When choosing colors and fonts, its important to ensure your final design is as accessible as possible. People with vision impairments such as color deficiency or with reading disabilities may have greater difficulty digesting ads with very decorative fonts and colors. To avoid inaccessibility, check that your design meets the following criteria:
- Can the ad be understood without color?
Color use is great and can really contribute to a design, but those with color deficiencies won’t be able to see the role color plays. Make sure any ideas conveyed by color are also understood by other design elements. For example, if you’re using green and red to indicate positives and negatives, use icons designs such as checkmarks and X’s to match that idea.
2. Are your colors in high contrast?
We’ve all experienced looking at a powerpoint presentation that has neon green text on a bright blue background. Be sure when choosing color pairings, particularly between text and background, that are in high contrast in terms of both vibrance and saturation. Remember, you have trouble reading it, someone else does, too!
Once you’ve completed your design, comment on Basecamp for feedback.