
Before starting this training, make sure you have already completed the following:
Documentation is a crucial part of web development. Most clients you’ll work with won’t have your level of programming or CMS knowledge.
The goal of documentation is to provide clients with instruction so they can maintain their site on their own after the developer is finished building the site.
Many CMS have plugins that create an easy to access space for documentation. For WordPress, we use the WP Help Plugin. For Grav, we use the Admin Helpdocs plugin.
The Admin Helpdocs plugin makes a tab in the admin dashboard that houses pages of documentation that you can edit directly in Grav.
This training will show you how to install and create documentation for Grav sites.
Installing Admin Help Docs
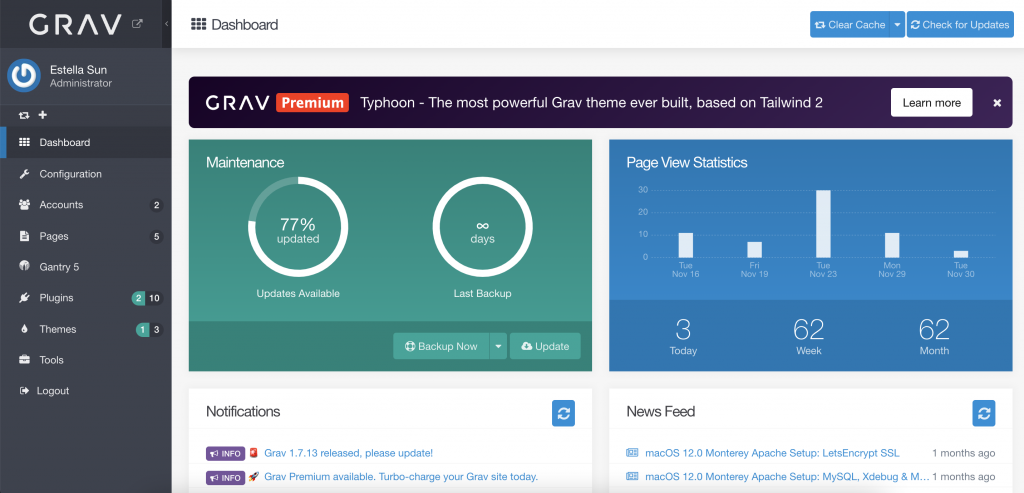
Start up MAMP and open your personal Grav site that you created for your Gantry 5 training. Go into the admin dashboard. (reference your gantry training if you forget how to do this)
Go to https://github.austin.utexas.edu/cola-laits/admin-helpdocs.
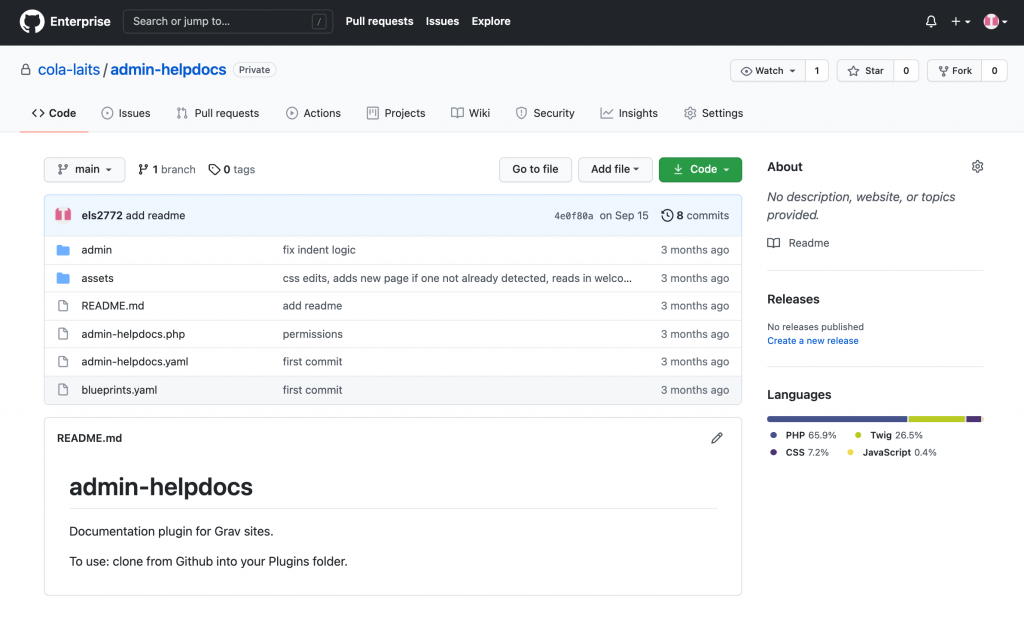
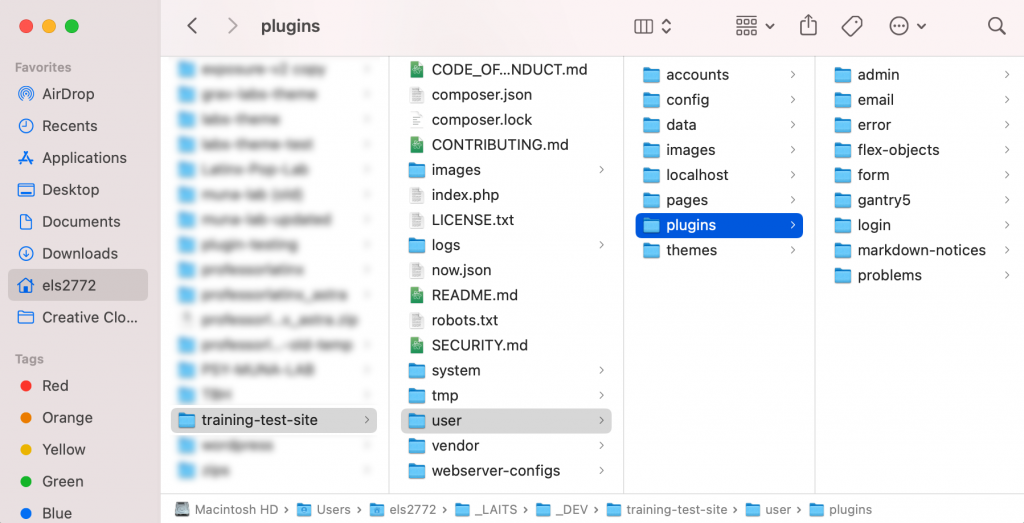
Clone the admin-helpdocs repo. Then copy it and move it to the plugins folder. You can find the plugins folder by going to: your site’s root directory/user/plugins.
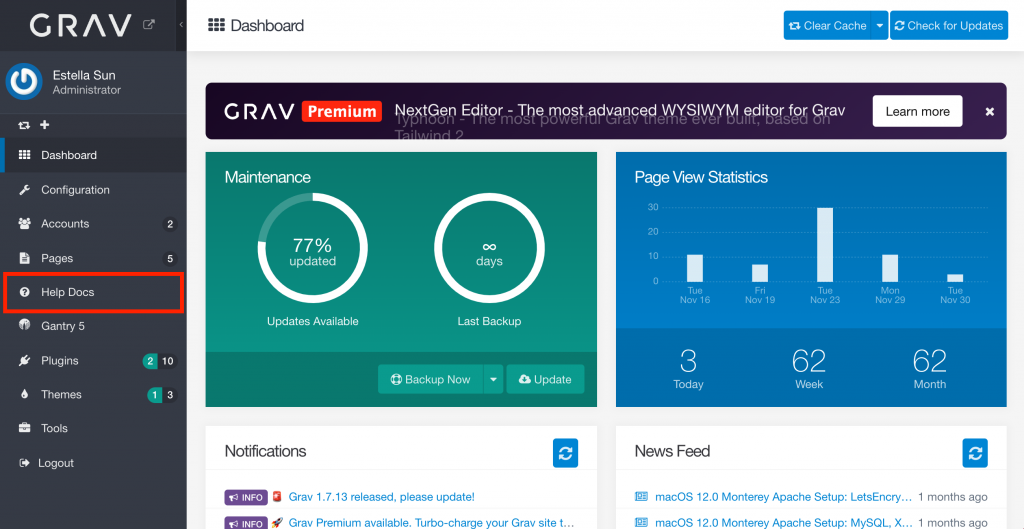
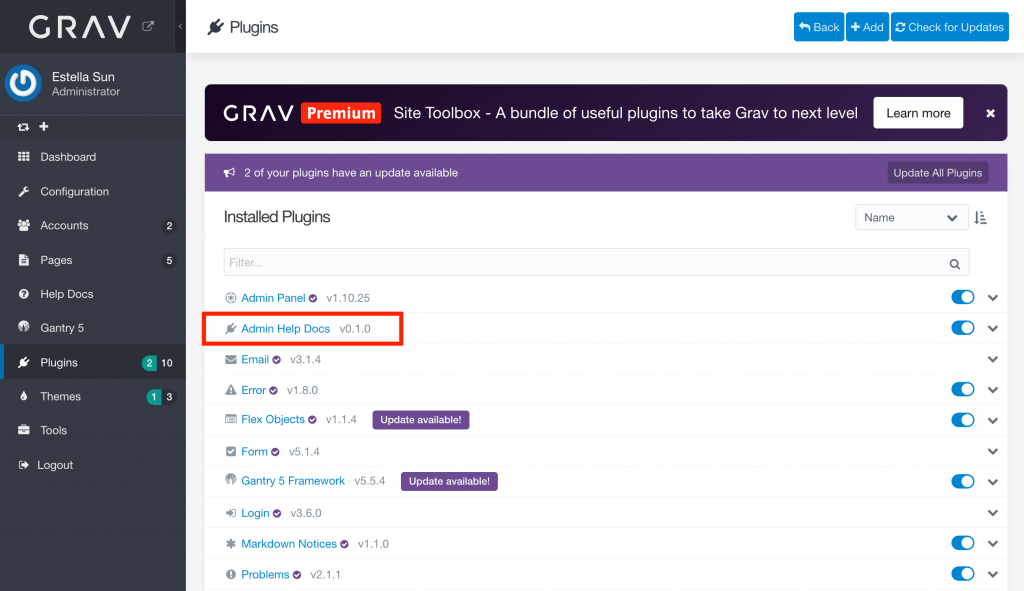
Go back to your Grav admin dashboard and refresh the page. You’ll see a new Help Docs tab in the left sidebar.
Go to the Plugins tab and find the Admin Help Docs plugin. Click on it.
Scroll to the bottom. You should see the Help Page Root be set to “helpdocs”.
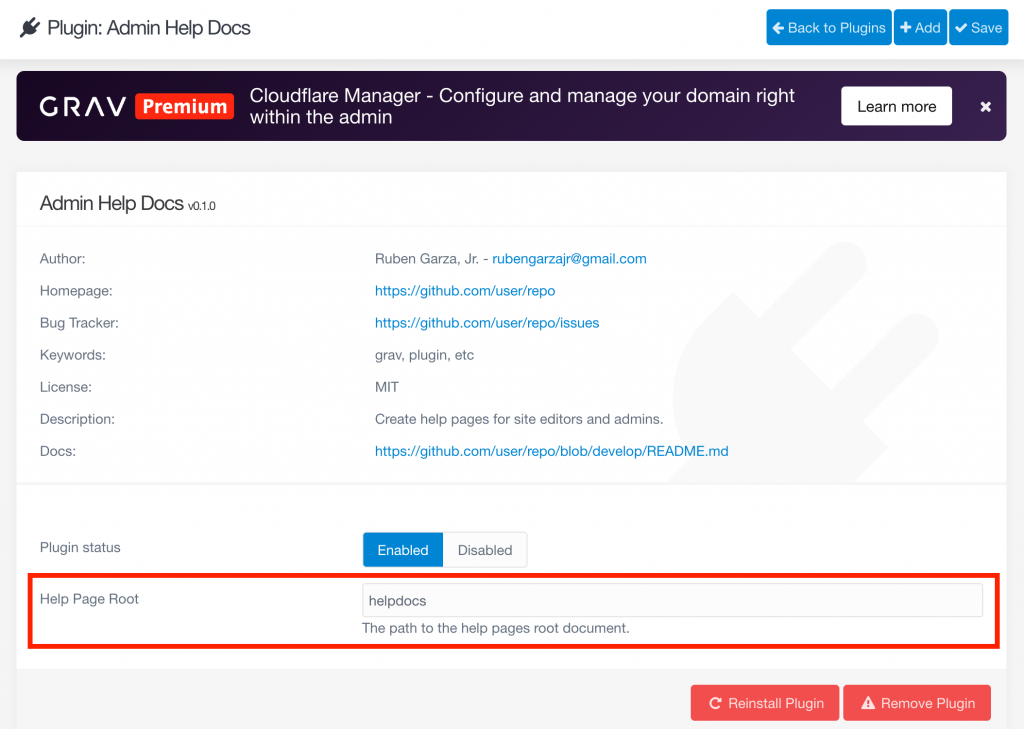
Click Save in the top right corner.
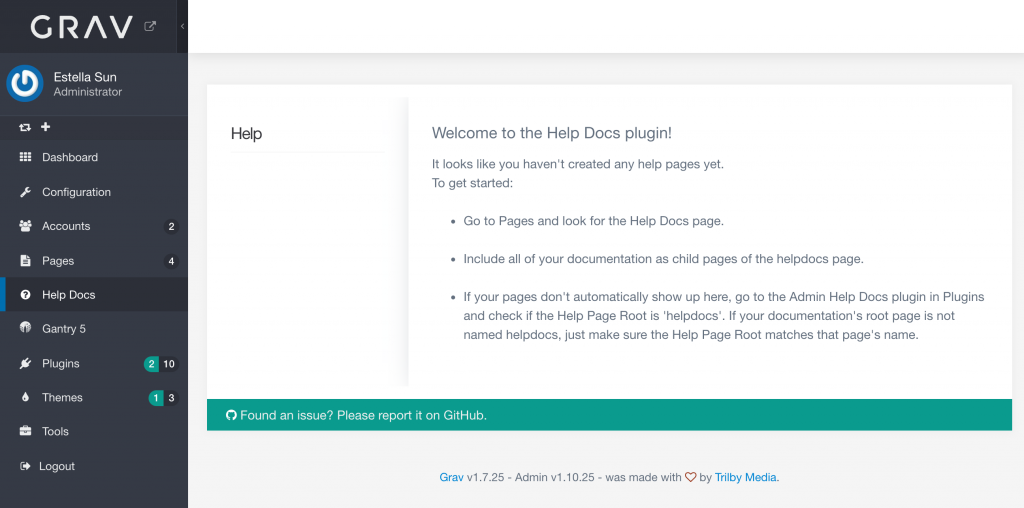
Then go to the Help Docs tab. You should see the default Help Docs welcome message.
Adding Help Docs Pages
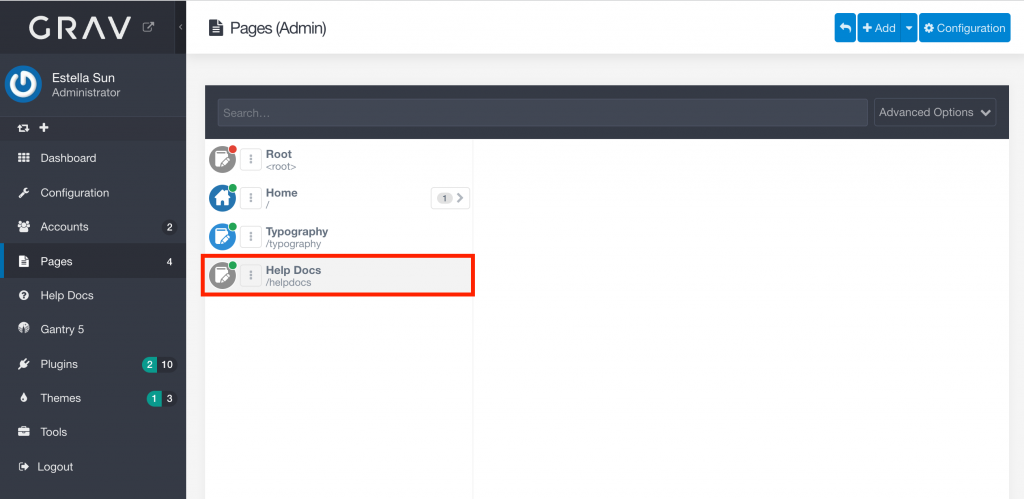
Go to the Pages tab.
You will see a page called Help Docs. Any subpages of this parent page will be displayed in the help docs tab.
Click the Add button. Name your new page and set the parent page to “Help Docs”. Click Continue.
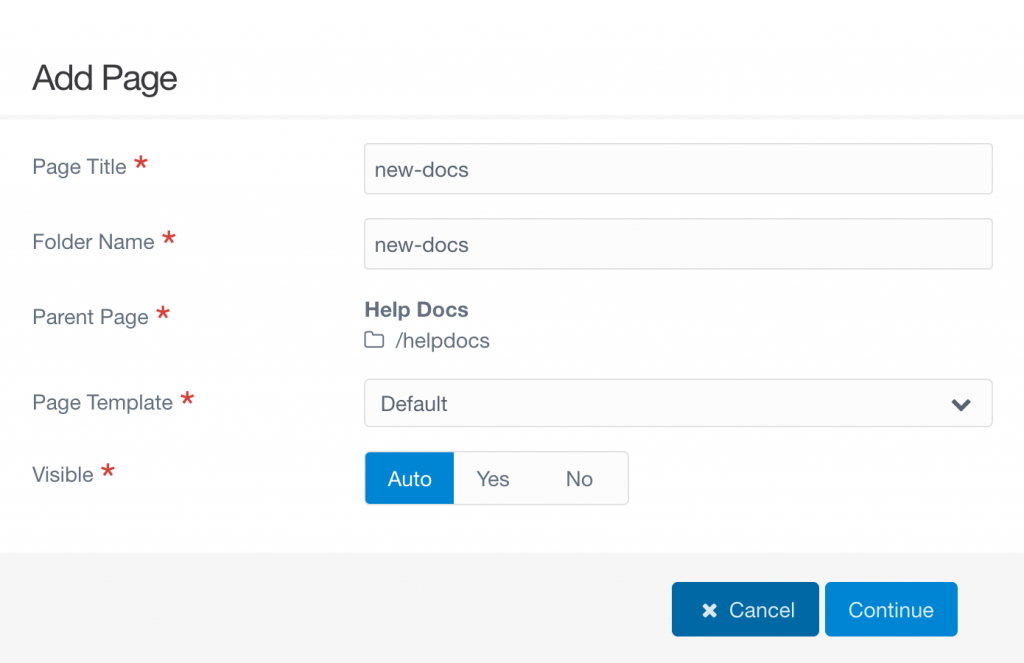
You will automatically be taken to the page editor. Click Save and start putting in some content.
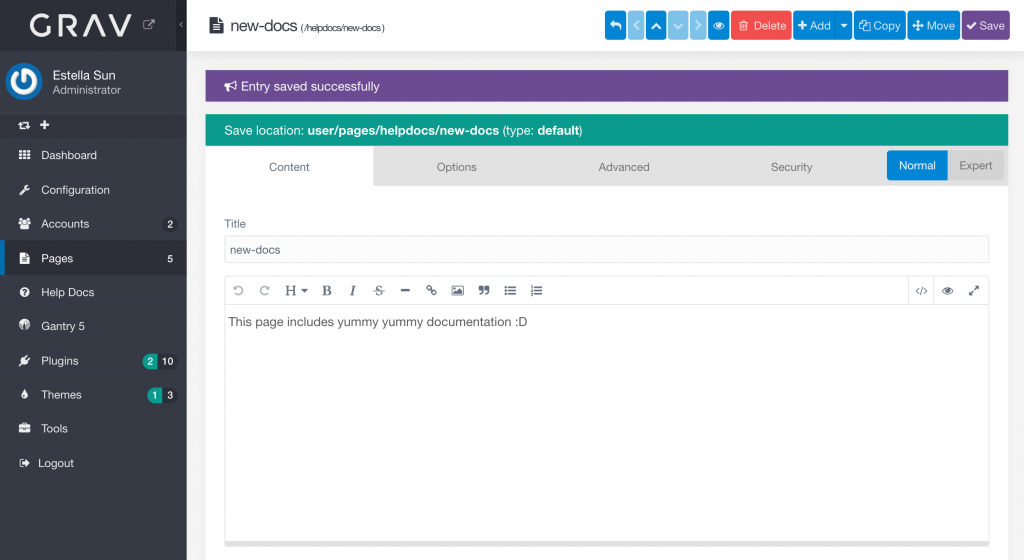
Once you’re done, click Save.
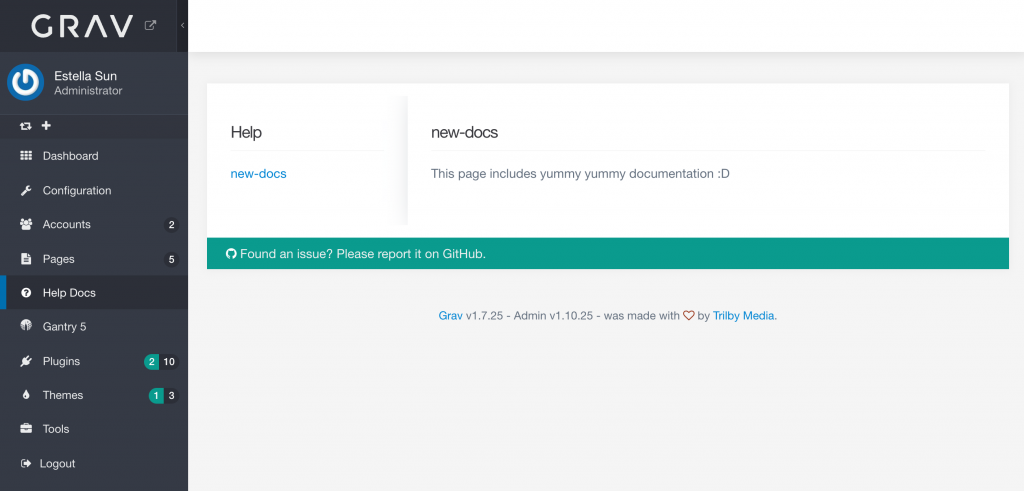
Go back to the Help Docs tab.
You should see your new page listed under Help. Click on it to see its contents.
You can also make subpages, delete, and edit like any other normal page. Remember, as long as the root is the Help Docs folder, it will show up in the Help Docs tab.
Making Help Docs Visible to New Users
Developers will create new user accounts for their clients to use. Every time you create a new user, you will need to take certain steps to ensure that they’ll be able to actually see the Help Docs tab in their admin dashboards.
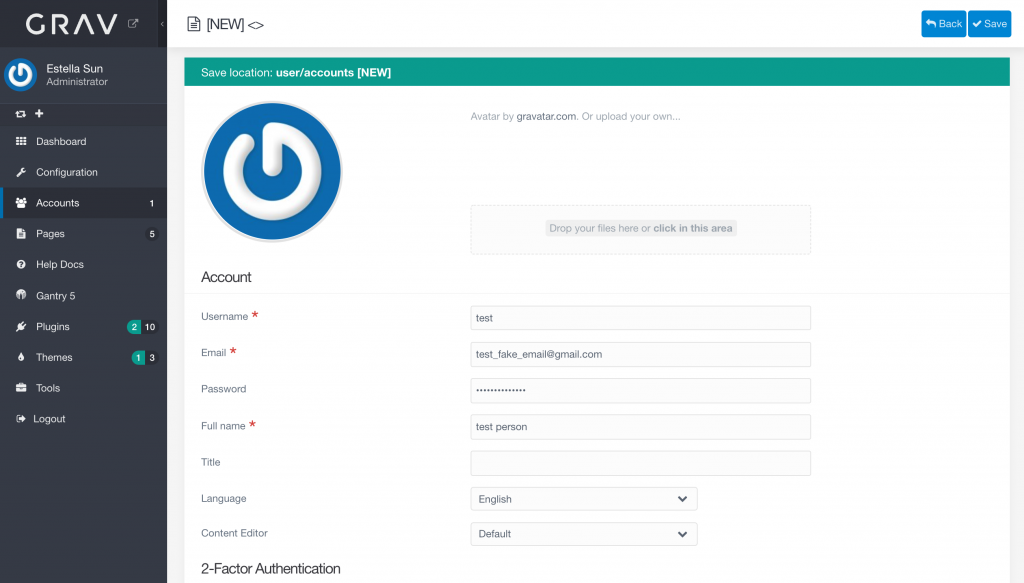
Go to the Accounts tab.
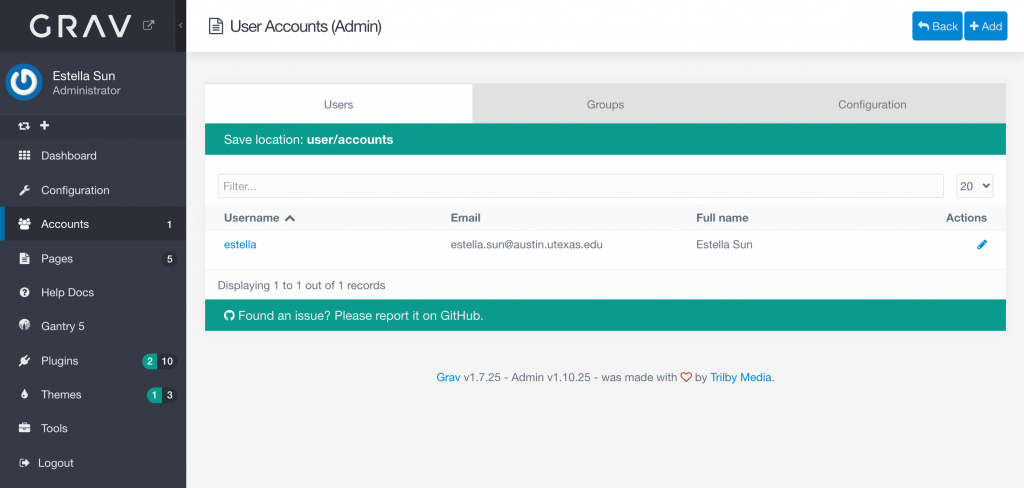
Click the Add button. Enter a username, email (this can be fake), password, and full name for your new user.
Scroll down to the Permissions section.
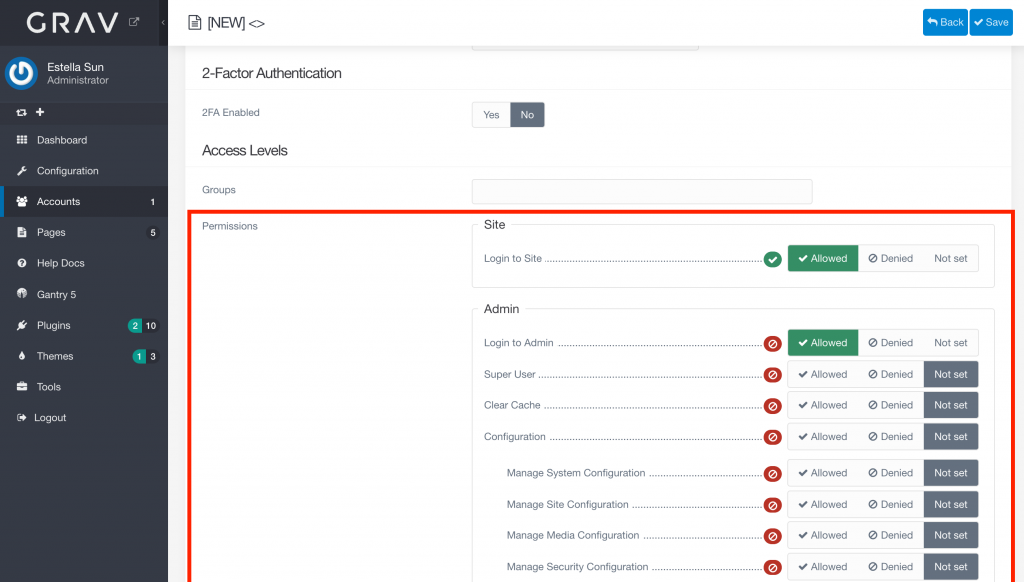
Make sure the following are checked to be Allowed:
- Login to Site
- Login to Admin
- Pages (and all of its sub-permissions)
- Gantry
- Helpdocs
Note: These permissions may change based on the project and client needs.
Click Save.
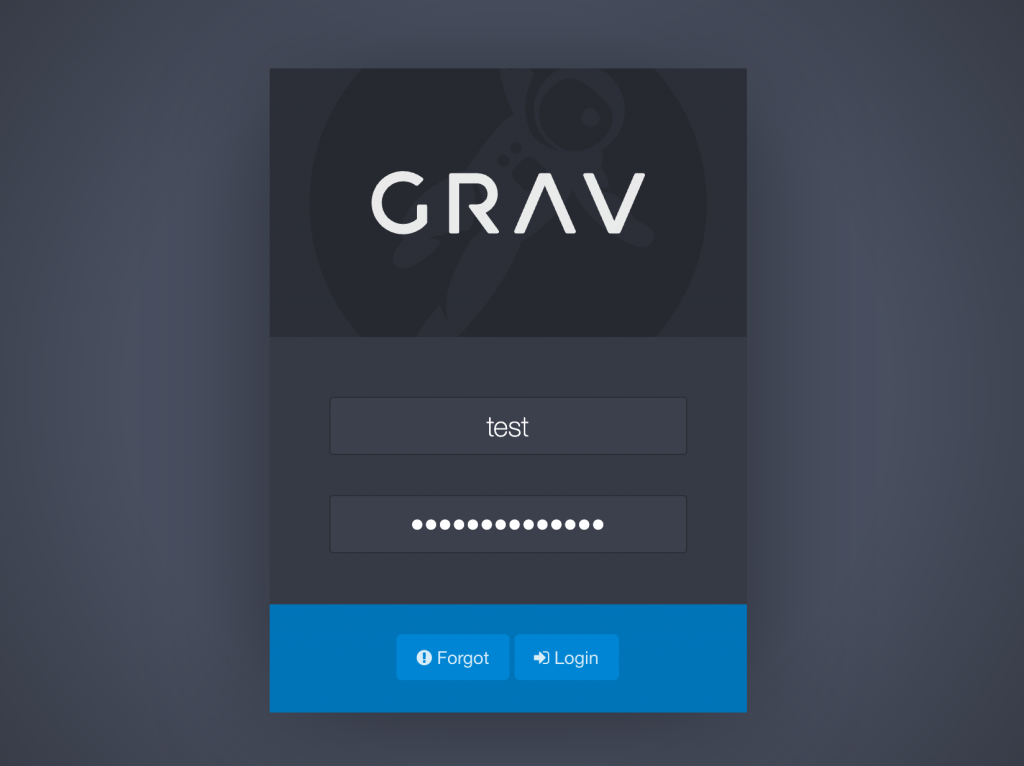
Now try logging out of your current account and logging in as the new user you just created.
You should see the following tabs in the left sidebar.
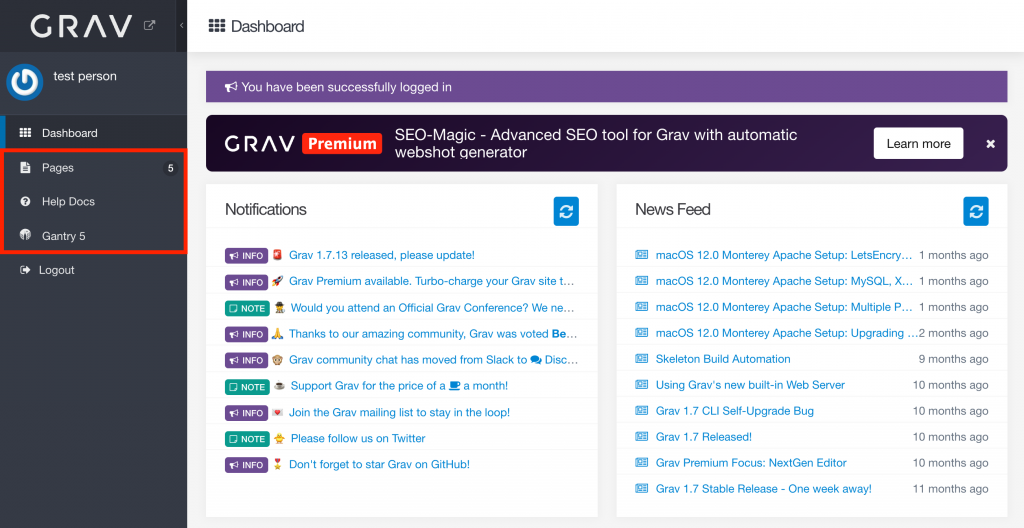
Now when you click on the Help Docs tab you should see your new documentation!
Congratulations!
You’ve completed this tutorial on using the Admin Help Docs plugin.
Happy Coding 🙂