

This training will go through the basics of the Gantry 5 framework for Grav.
Note: Basic knowledge of CSS/HTML is required to complete this training.
Before starting this training, complete the following tutorials to set up a local Grav site on your machine:
Assets you will need for this training:
Table of Contents
- Set up: Activating the Helium Theme and Installing the Gantry Plugin
- Step 1. Building the Header and Footer
- Step 2. Building Custom Layouts
- Step 3. Inheriting the Navigation and Footer
- Step 4. Building the Homepage Banner with a Custom Particle
- Step 5. Adding and Editing Page Content
- Step 6. Adding a Custom Stylesheet Asset
- Step 7. Adding a New Page
- Step 8. Now It’s Your Turn!
Set up: Activating the Helium Theme and Installing the Gantry Plugin
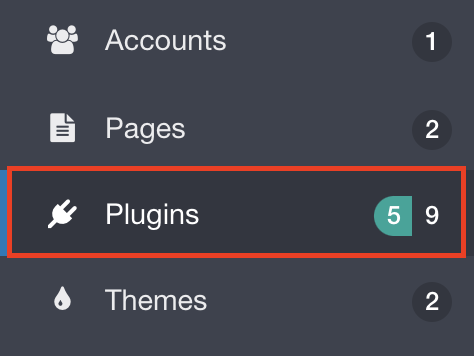
Once you have made your new Grav site, login to the admin dashboard. Click on the Plugins tab in the left-hand navigation.
On the plugins page, click on the Add button.

In the search bar, search for ‘Gantry.’ Then click the Install button next to the Gantry plugin.

The Gantry plugin was built to work exclusively with the Helium theme. In order for the Gantry plugin to show up, we will also need to activate the correct theme.
Themes pre-define styling and basic functionality of sites. When we create our own websites using CMS’s, we will be making our own customizations on top of these base themes.
Note: Usually, the way to do this is by making a Child theme that inherits from the Helium (parent) theme. To keep things simple in this training, we won’t be making a child theme.
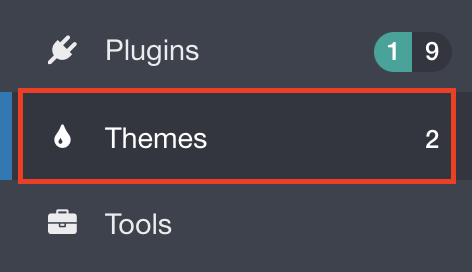
In the left-hand navigation, click on the Themes tab.
Then click on the Add button in the top right.
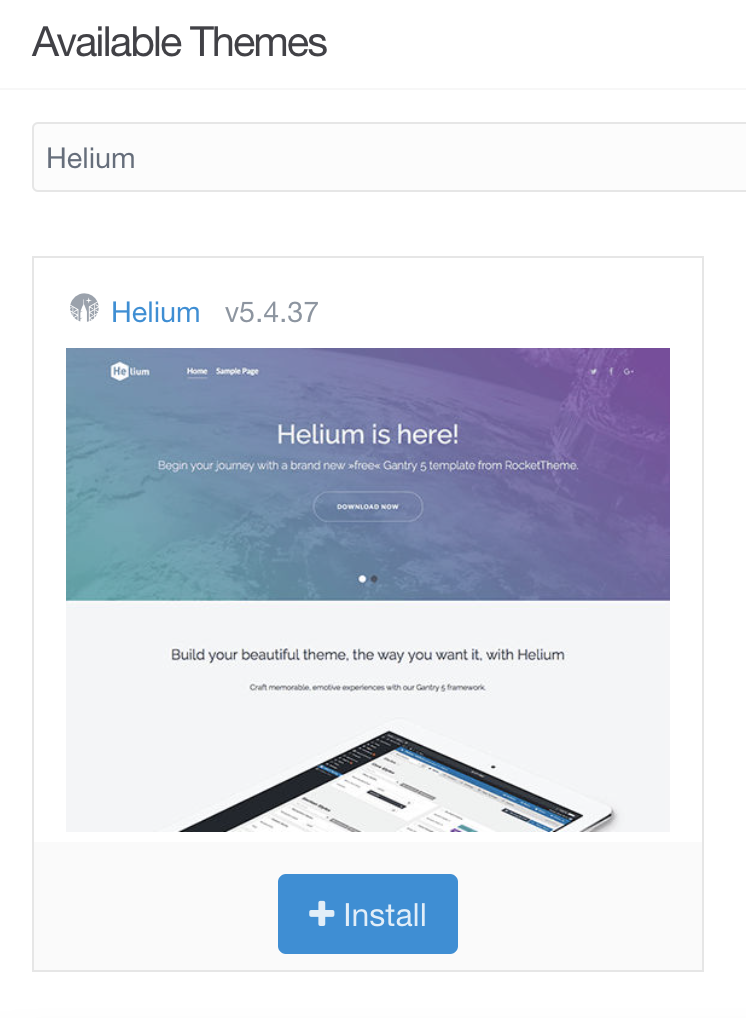
In the search bar, type in ‘Helium’ and click Install.
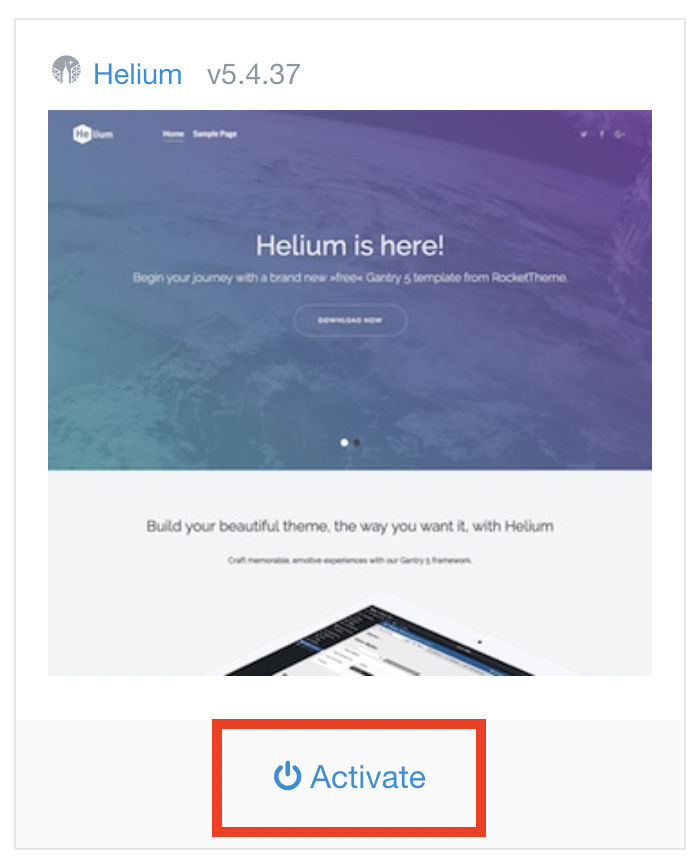
Once it’s done installing, click Back to Themes. The Helium theme should appear in your Installed Themes. Click Activate.
Once activated, you should see the Gantry tab appear in your left-hand navigation.
Now that we have Gantry set up, let’s start building our site. For the remainder of this training, we will be referencing this Figma as the design for our new website: Gantry Training Figma.
Step 1. Building the Header and Footer
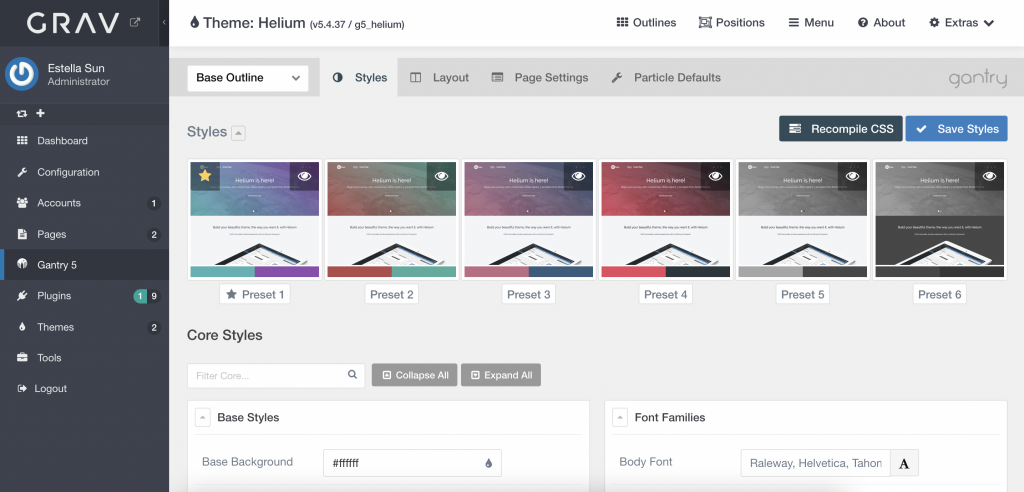
Click on the Gantry 5 tab in the left-hand navigation. You should be taken to the Base Outline Styles page.
It is common practice for every website to have a navigation header and footer, so let’s make those first.
In the top navigation in Gantry, click on Layout.

The Layout tab is where you can organize content and customize how each page is formatted.
Each page is broken down into Sections (Navigation, Header, Intro, etc.)
Inside each section, you will notice blocks of content. These blocks are called Particles in Gantry. On the left is the Particles Panel where you can choose content types to add to your site.
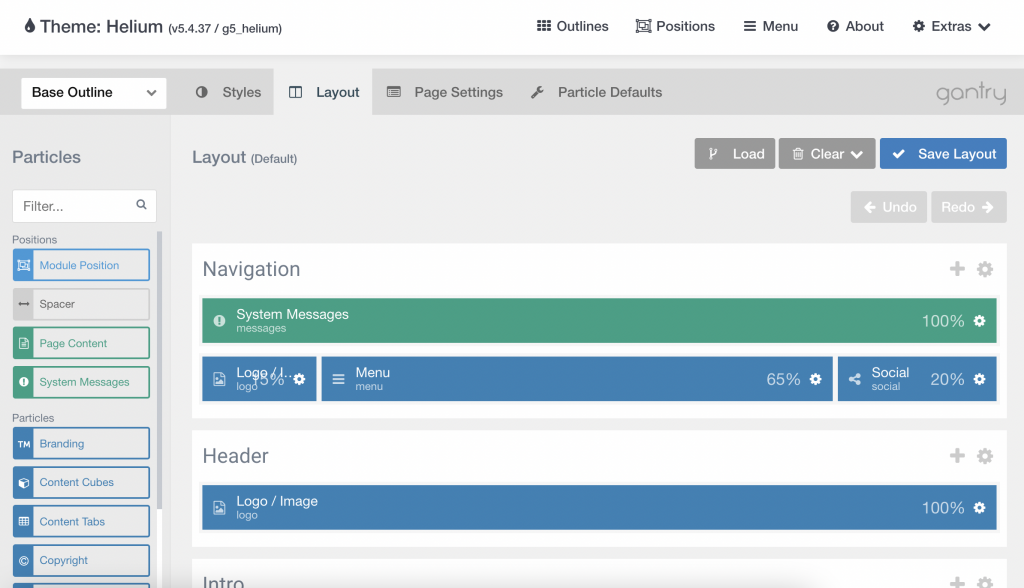
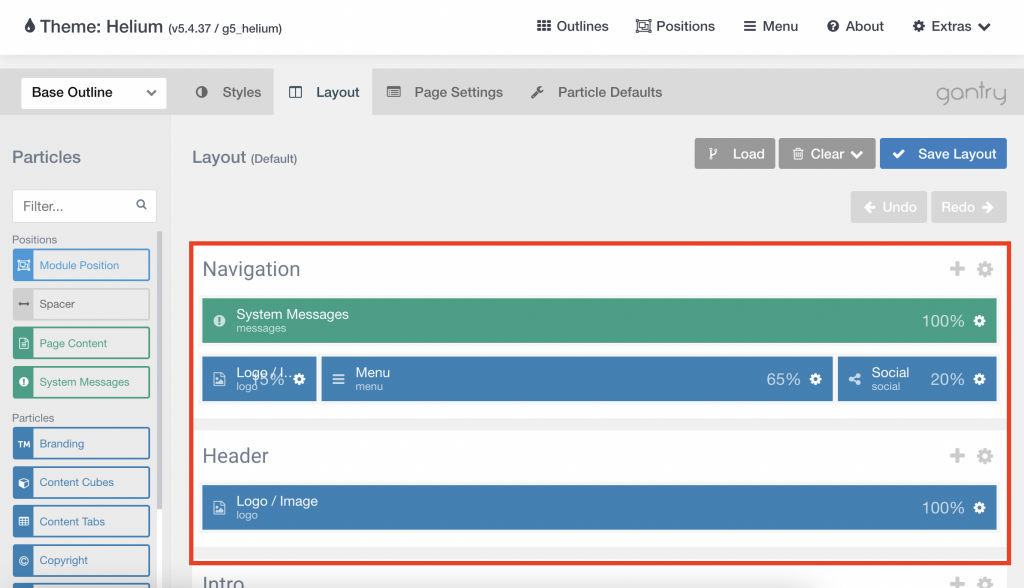
Navigation Header
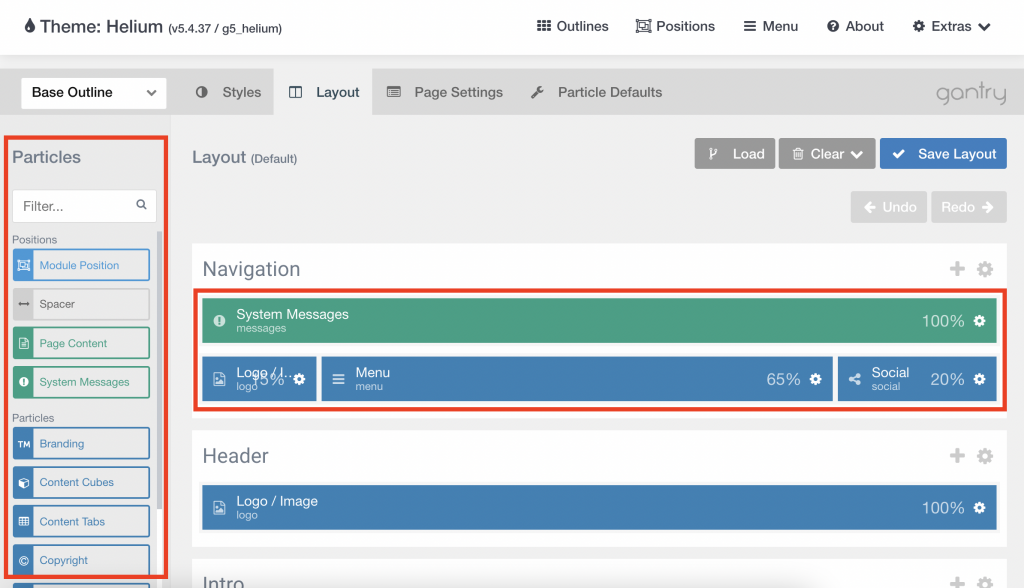
To make our Navigation Header we will be working in the Navigation section.
Let’s remove everything that currently lives in that section and start from scratch.
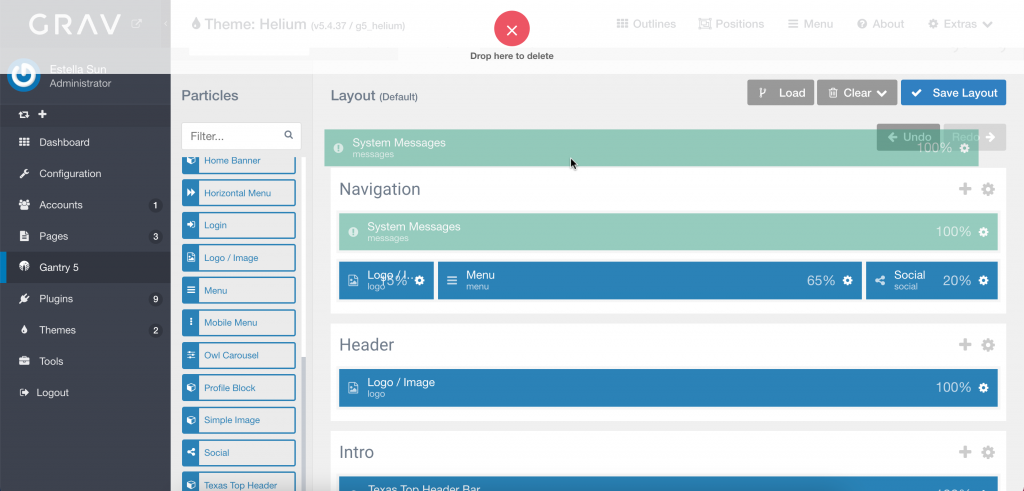
Click on the green System Messages particle and drag it to the top of the page. You should see an overlay that says “Drop to Delete.” Drop the particle to delete it. Do this for all of the remaining particles in the Navigation section.
Now let’s add the particles we actually want.
Grab the Logo/Image particle from the Particles Panel and drop it into the Navigation section.

Next, grab the Menu particle and drag to the right-side of the Logo/Image particle in your section. You should see a black bar to indicate that you’re placing the particle in the same row.

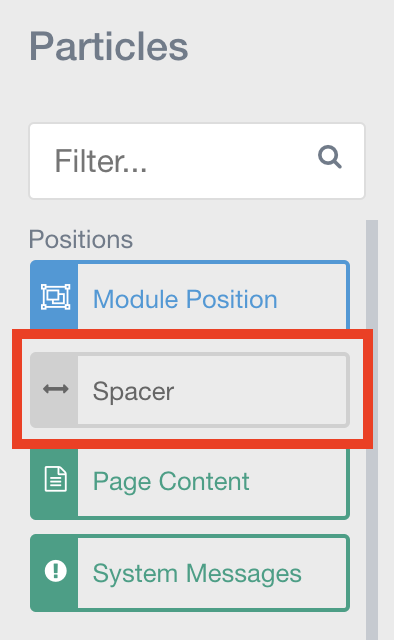
Let’s also drop a Spacer particle in between the Logo/Image and Menu particles.
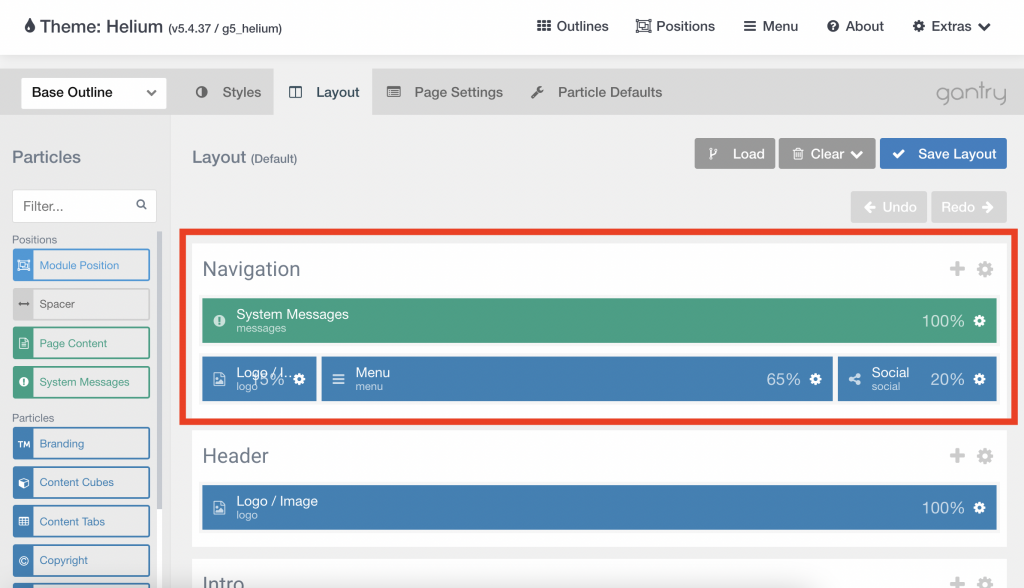
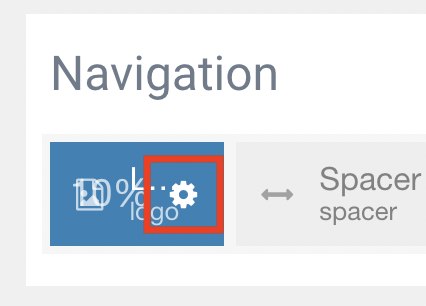
Your Navigation section should now look like this:

In Gantry, you can easily customize the spacing of particles by dragging the right or left edges of the particle. We want our Logo to be smaller and left-aligned, so let’s drag our Logo/Image to be 25% wide. Now drag the Menu particle to be 25% wide, leaving the spacer to fill the rest of the space in the middle (65%). Like so:

Click on the gear icon on the Logo/Image particle.
Delete all of the code in the SVG Code text input.
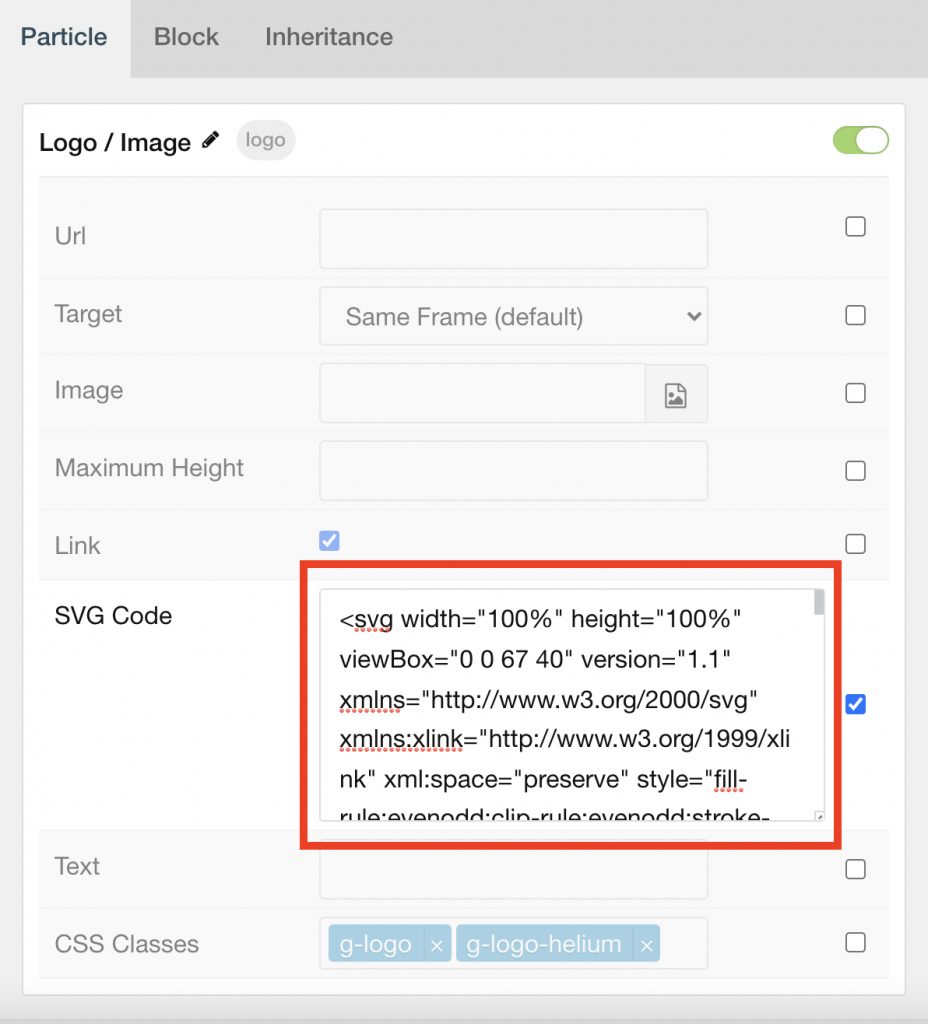
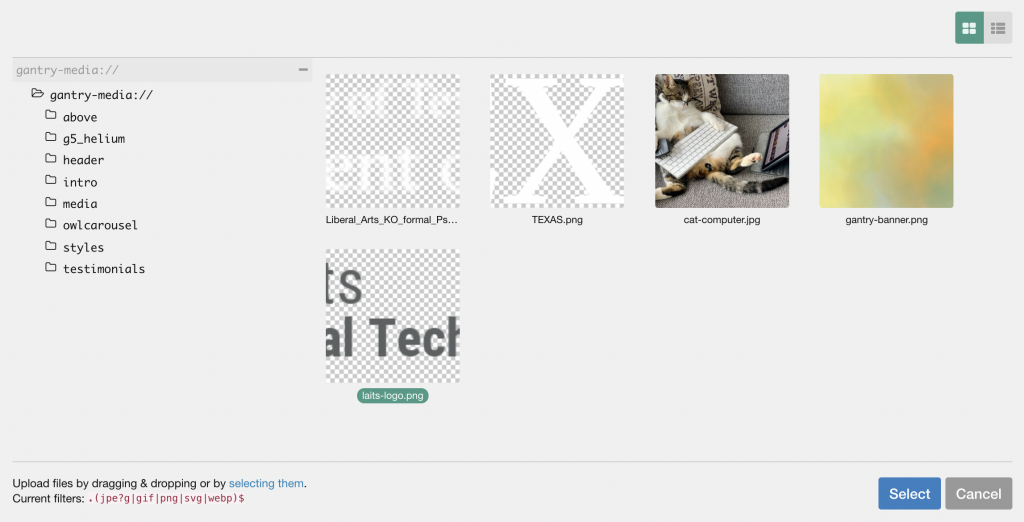
Then click on the image-picker icon for Image.

Drag and drop the Liberal Arts Logo into the image-picker from your finder/file explorer and select it. Click Select and then click Apply and Save.
Footer
Scroll down to the section called Footer. Remove all of the current particles like we did for the Navigation and drop the following particles in one row:
- Branding
- Menu
- Branding
- Social
Your Footer section should look like this:

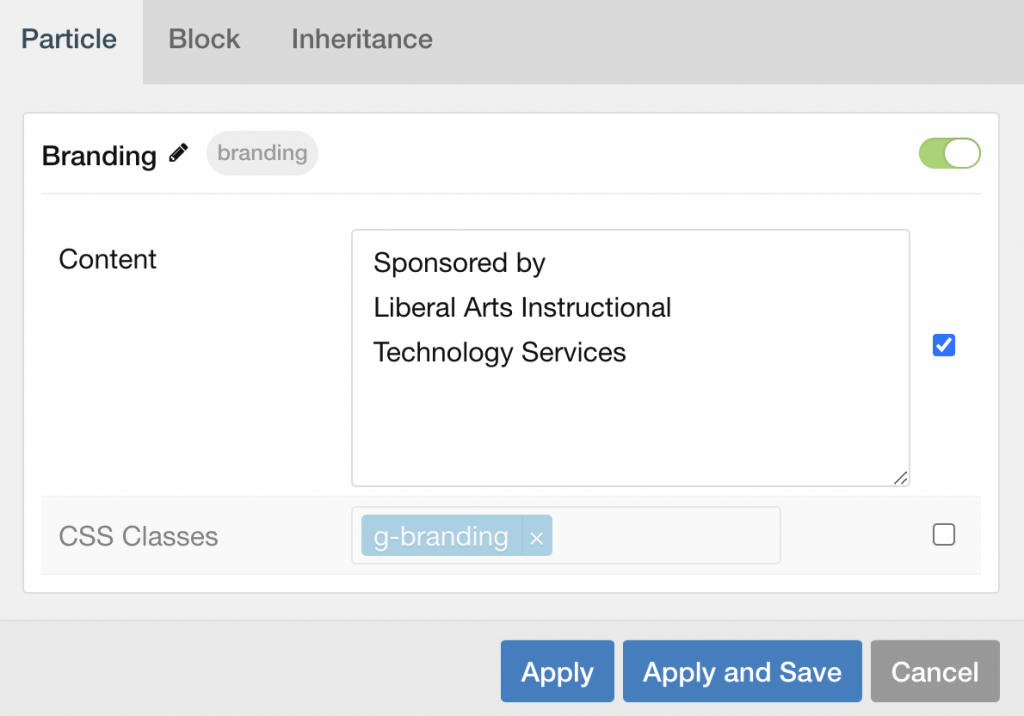
Click on the gear icons to edit each of the Branding particles to match the content in the Figma.
Quick Markdown Lesson:
Several of the particles use Markdown. For example, in the Content input in the Branding particle, you can use markdown to add line-breaks and more to the text.
Markdown is a markup language that adds formatting elements to plaintext documents. Markdown Basic Syntax: https://www.markdownguide.org/basic-syntax/
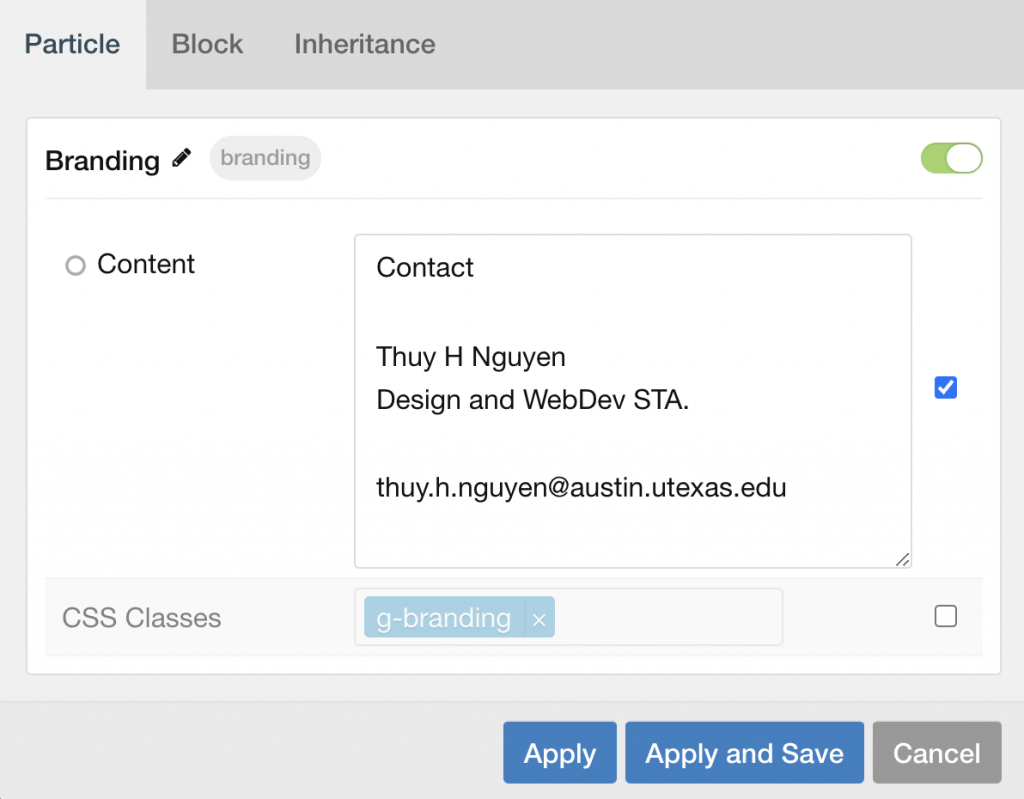
Then click Apply and Save.
Click on the gear icon on the Social particle.
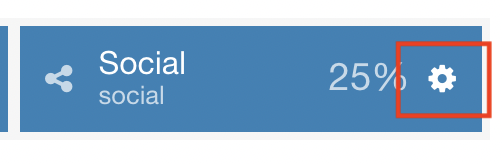
In Display, check “Icons Only”.

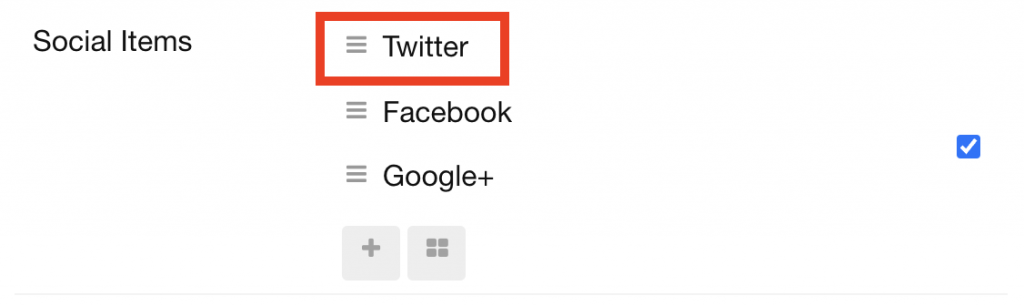
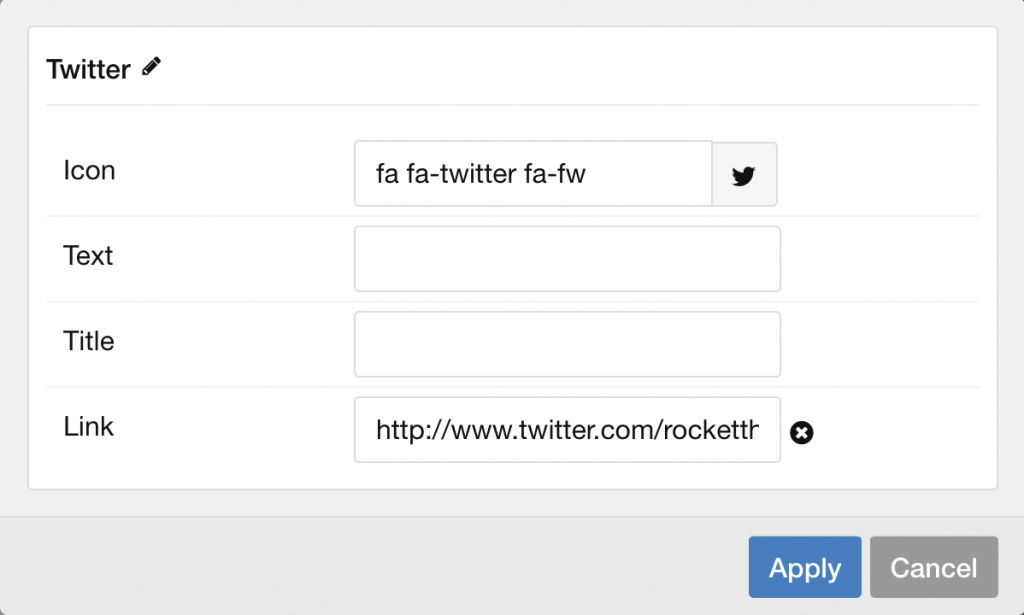
In Social Items, click on each pre-existing item to edit the Icon and URL. Once you are done, click Apply and Save.
We’ve completed building the Navigation and Footer. We will be returning to these later.
Step 2. Building Custom Layouts
You may have noticed that the default outline includes some premade sections (ex: Navigation, Header, Intro, etc.) We can actually make Custom Layouts to rename and reorganize sections to better fit our needs.
To make a custom layout, we will first need to create a new Layouts file in our directory. In finder or your file explorer, go to:
your_root_directory/user/themes/g5_helium/layoutsIn the layouts folder, create a new file called something like “training-home.yaml”
Copy the following code into your new file.
version: 2

preset:
  image: gantry-admin://images/layouts/default.png

layout:
  /navigation/:
    -
      - menu

  /spacer/:
    -
      - position-spacer

  /mainbanner/:
    -
      - position-mainbanner

  /body/:
    -
      - position-body

  /footer/:
    -
      - position-footer

  offcanvas:
    -
      - mobile-menu
This code creates more specified sections for our Home page. We have included: Navigation, Mainbanner, Body, and Footer as sections.
Save your YAML file.
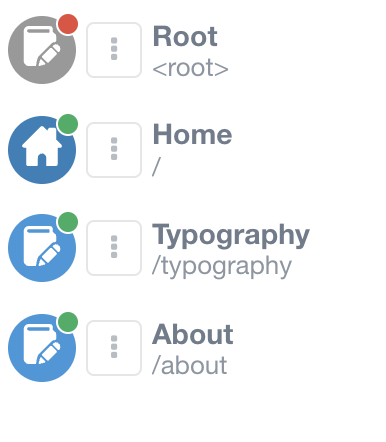
Now, refresh the Grav admin dashboard. In the top navigation, click on Outlines. We will create a new Outline for each page on our site.

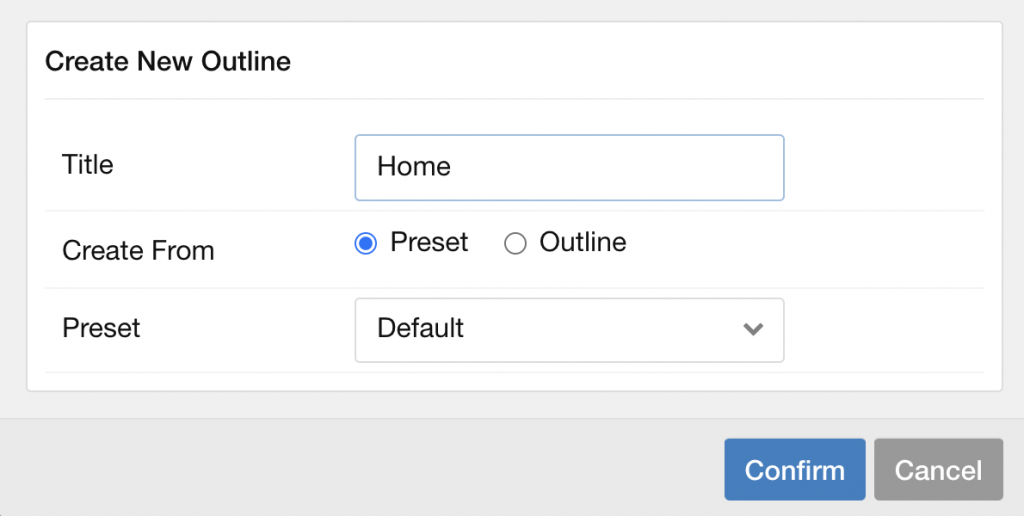
Click on the plus icon next to “Outlines”.

Title it “Home.” Leave the other options as their defaults, and click Confirm.
Click Back to Setup and return to the Layouts page in Gantry.
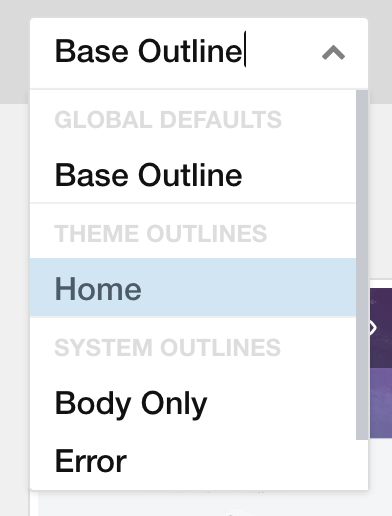
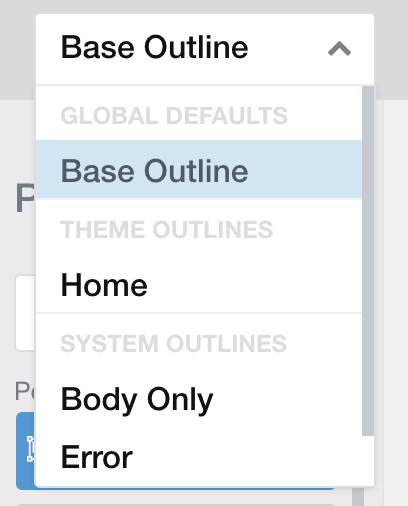
Click on the dropdown that currently says Base Outline. This is the Outline Selector. You should see your new Home outline listed. Select it. You are now editing the Home outline.
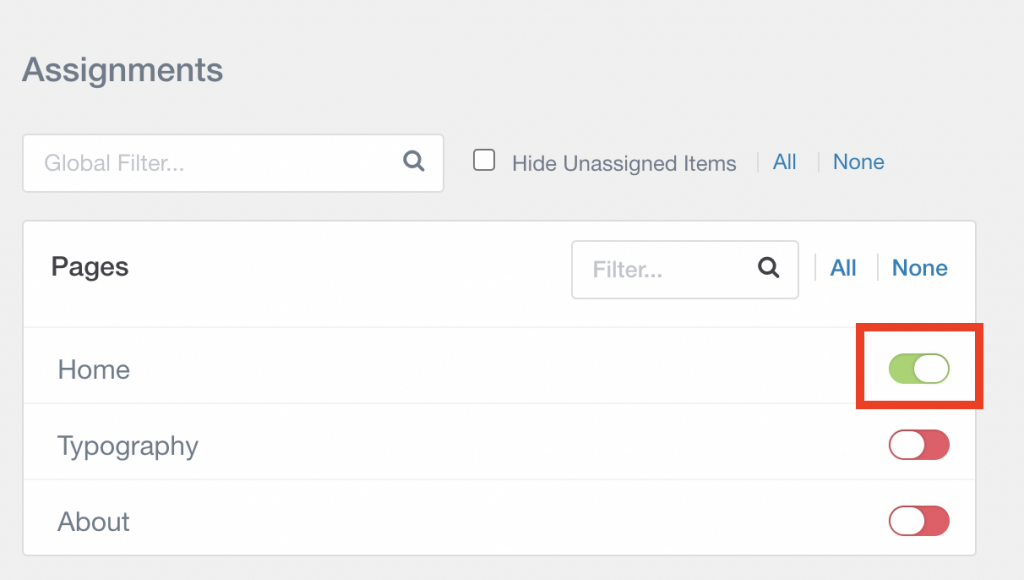
In order to connect this new outline to its corresponding page, click on the tab called Assignments.

Toggle the switch next to Home to assign this Outline to the Home page. Click Save Assignments.
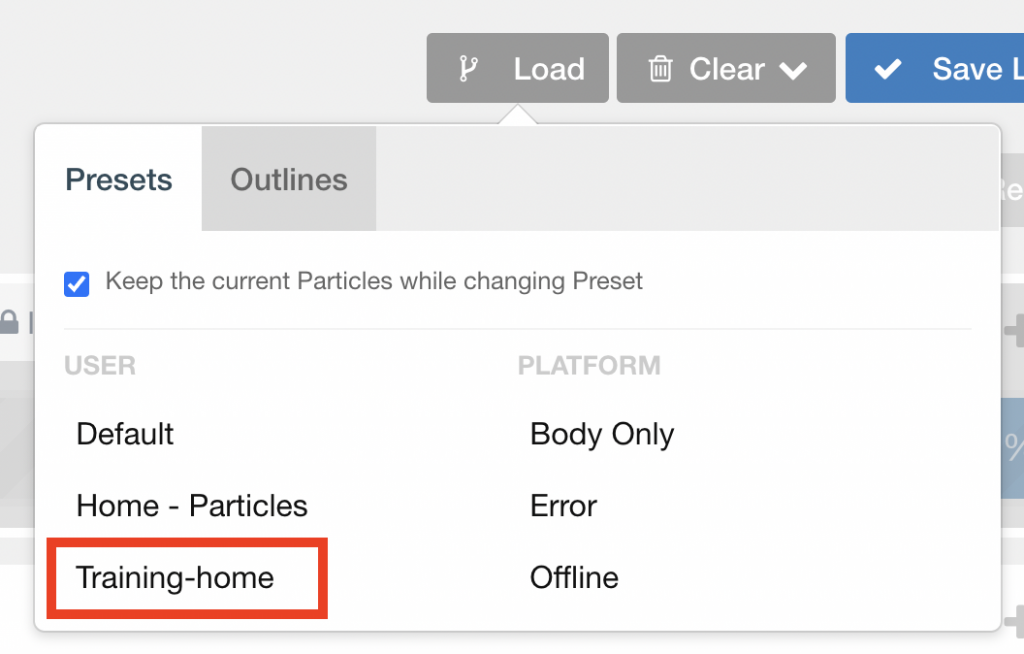
Go back to the Layout tab and click on the Load button.

This will give us the option to choose and apply our newly made custom layout to this outline. Select the training-home layout. Click Continue on the warning message.
You should now see that the outline has the sections you made in your custom layout.
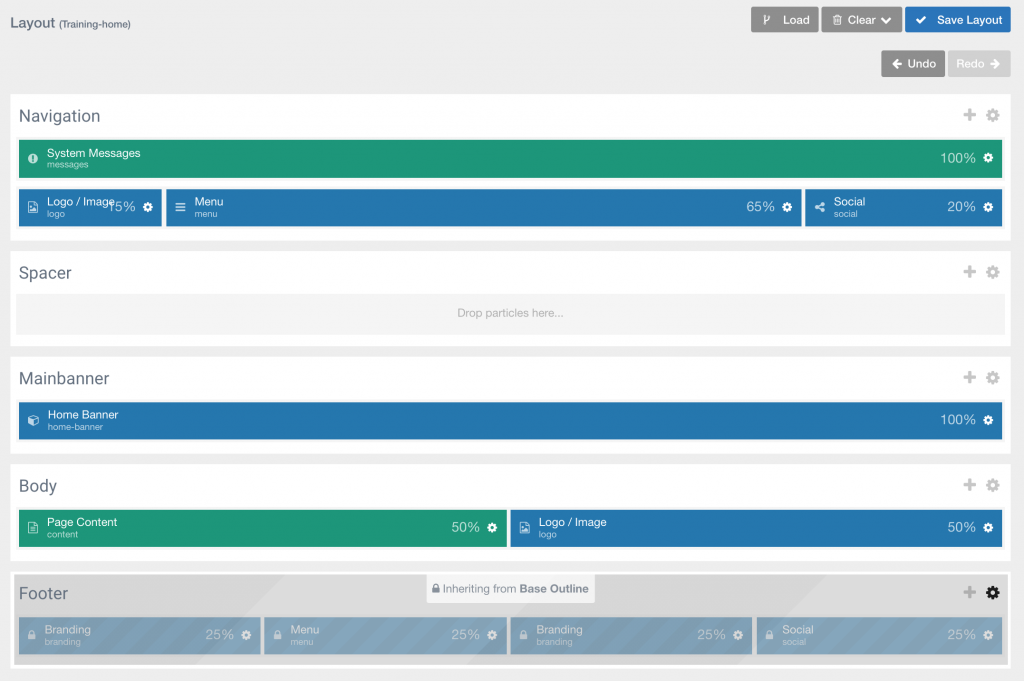
Click Save Layout.
Step 3. Inheriting the Navigation and Footer
Now that we’ve created our Navigation, Footer and Home outline, we want to apply the Navigation and Footer so that it displays on every page on our site.
Click on the Outline Selector and click on Home.
In the Navigation section, click on the gear icon to access the Section Settings.
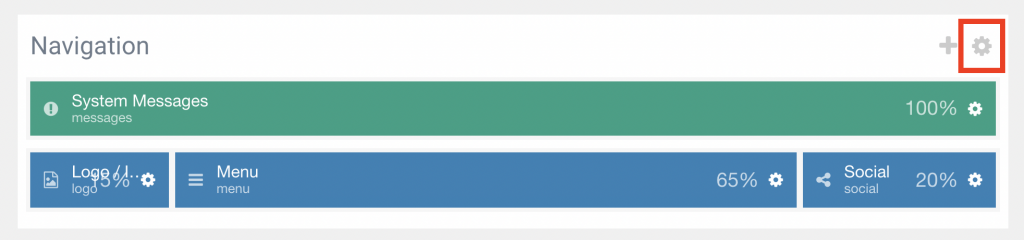
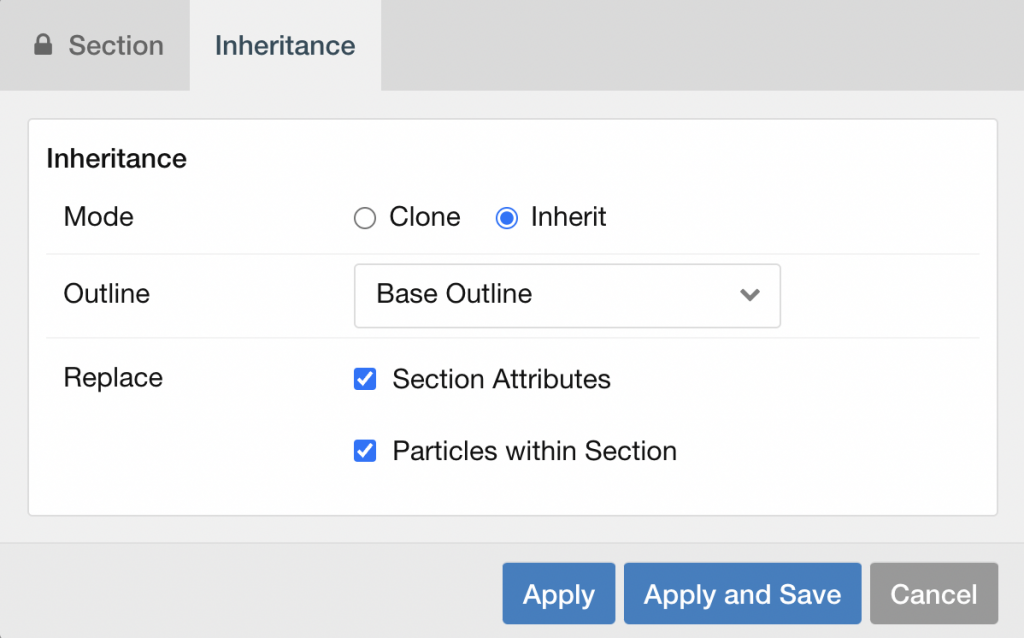
Click on the Inheritance tab.

In the dropdown called “Outline”, click Base Outline. This means we want to inherit from our Base Outline where we just created our Navigation and Footer.
Check the boxes that say “Section Attributes” and “Particles Within Section”. Click Apply and Save.
You will see that the Navigation section is now grayed out and locked.

Now scroll down to the Footer section and repeat the above steps.
Once you Apply and Save, your homepage Navigation should look like this:

And your homepage footer should look like this:

Step 4. Building the Homepage Banner with a Custom Particle
Sometimes the default particles in Gantry don’t deliver enough functionality for what we want to include on our website. When that’s the case, we can create custom particles.
Let’s make a custom particle for the homepage banner in our Figma.
To make a custom particle, we will first need to create a new Particles folder in our directory. In finder or your file explorer, go to:
your_root_directory/user/data/gantry5/themes/g5_heliumIn the g5_helium folder create a new folder called “particles”. We will store all custom particles for this site in this folder.
Next create two files:
- home-banner.yaml
- home-banner.html.twig
For every new custom particle you create, you will need to make a yaml file and a html.twig file.
The YAML file
The YAML file is the blueprint for the particle. We will be specifying what fields we want to include in our particle.
Copy the following code into your YAML file.
name: Home Banner
description: block includes full width banner image and a logo and title overlay
type: particle

form:
  fields:
    enabled:
      type: input.checkbox
      label: Enabled
      description: Globally enable to the particles.
      default: true

    banner:
      type: input.imagepicker
      label: Banner Image
      description: Select image

    title:
      type: input.text
      label: Title
      description: Customize the section Name.
      default: Title Goes Here

    logo:
      type: input.imagepicker
      label: Logo
      description: Select logo
Notice how each field contains the following:
- Type → specifies the data type and type of data input (file picker, text field, dropdown, etc.)
- Label
- Description
- Optional default value → what value is used if user does not enter any data
For a more extensive list of YAML Field types, visit: https://docs.gantry.org/gantry5/advanced/particle-yaml-field-types
For our Home banner we will want to include a banner image, logo, title, and description.
Save your YAML file.
The Twig file
The Twig file pulls information from the YAML file and is basically the template for the particle.
Copy the following code into your twig file.
{% extends '@nucleus/partials/particle.html.twig' %}
{% block particle %}

<div class="home-banner" style="
  background: url({{ particle.banner }});
  background-position: center;
  height: 280px;
  position: relative;
">
  <div style="
    padding-left: 80px;
    padding-top: 25px;
  ">
    <img src="{{ particle.logo }}">
  </div>
  <div style="
    position: absolute;
    bottom: 0;
    padding-left: 80px;
  ">
    <h1>{{ particle.title }}</h1>
  </div>
</div>

{% endblock %}
Notice how we’re using HTML to build the structure of our particle and inserting the particle variables into where we need them.
Save your Twig file.
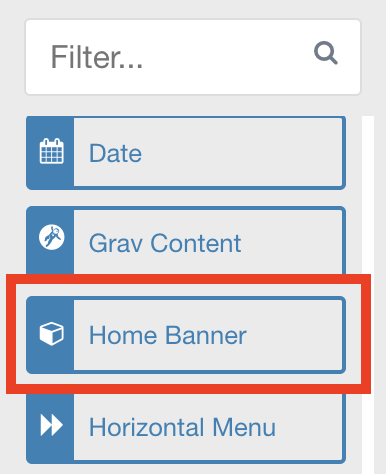
Now that we’ve created our particle, refresh Gantry. You should see your new particle in the Particle Panel. Drag the particle into the section called Mainbanner.
Click on the small gear icon to edit the particle.

Download the gantry-banner.png and cola-logo.png files from Box.
Click on the image-picker icon to edit the Banner Image. Drag in your downloaded banner and select it.

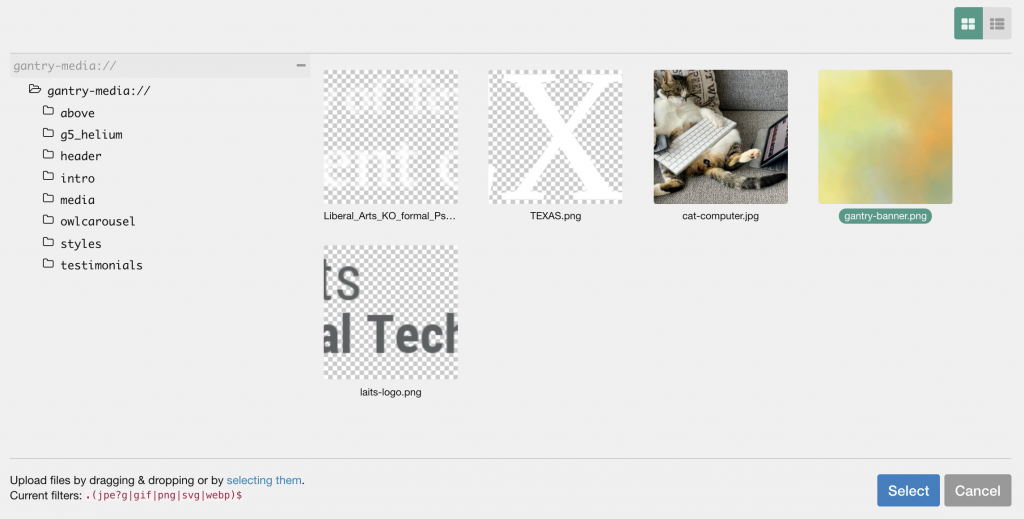
Do the same for the Logo.
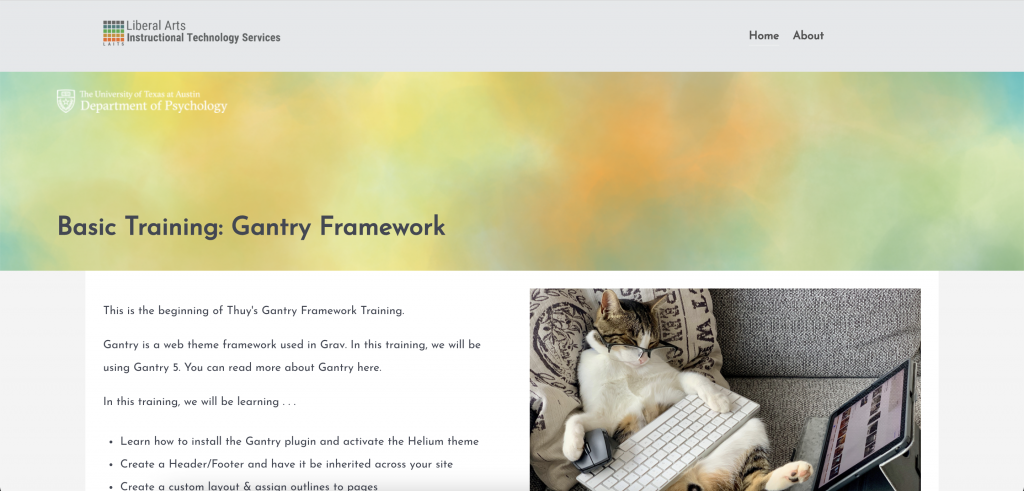
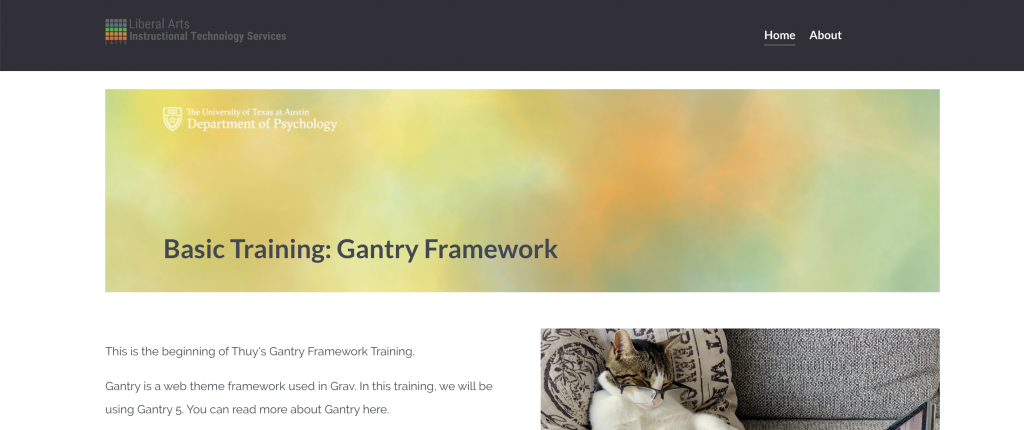
For the Title, enter “Basic Training: Gantry Framework” into the text field.
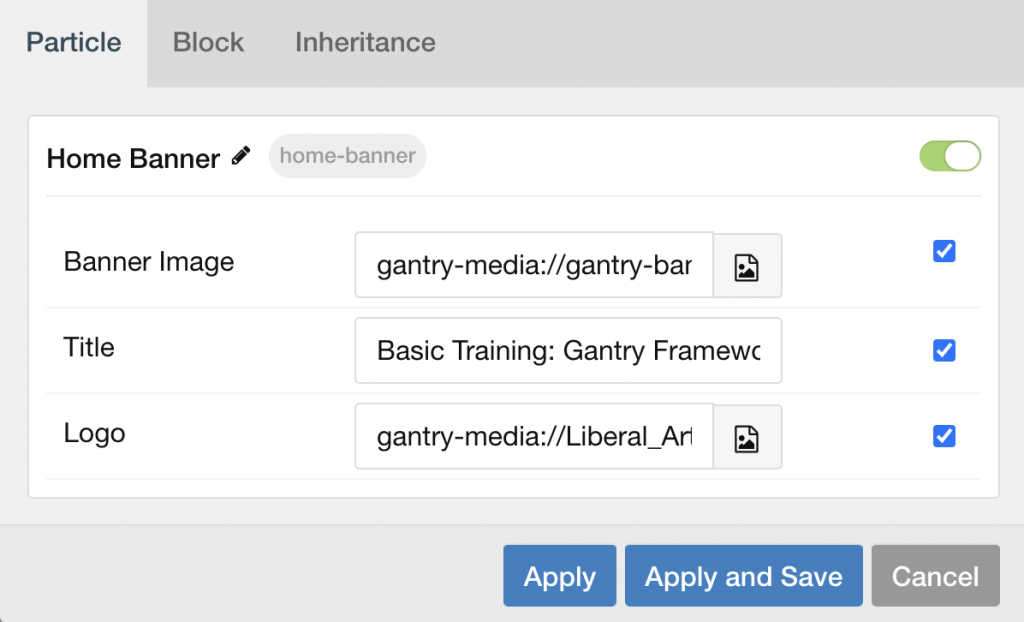
Click Apply and Save.
Reload the front-facing home page. It should look like this:

Step 5. Adding and Editing Page Content
Now that we have a header, footer, and main banner, we can move on to adding in the necessary content to the body of our page.
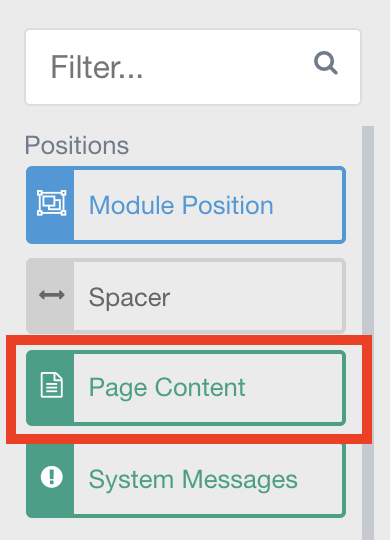
We will use the Page Content particle to include all the page content.
First, we need to actually create some page content for the particle to grab.
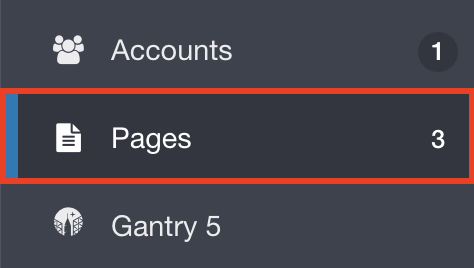
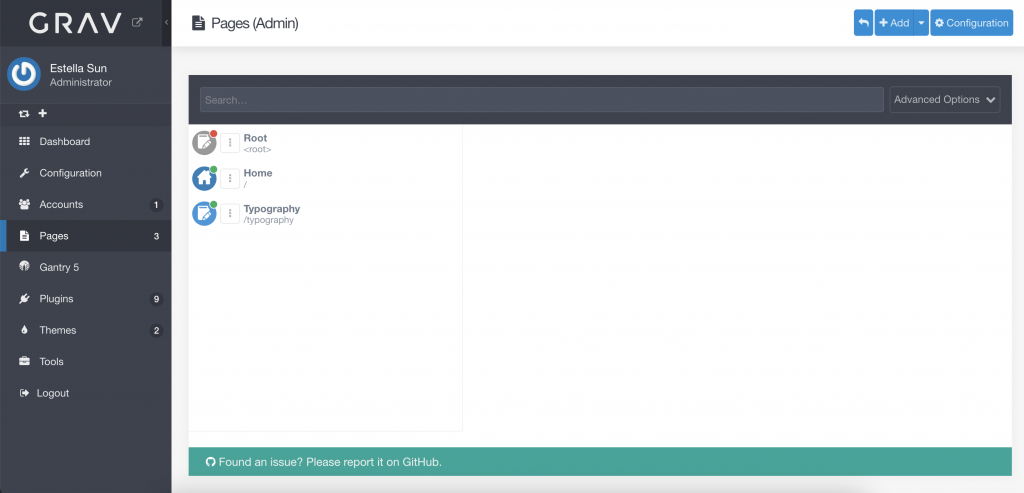
Click on the Pages tab in the left-hand navigation. You will be taken to a list of all the pages on your site.

To edit Home, click on Home.

Paste the Homepage text from the Figma into the WYSIWYG editor.
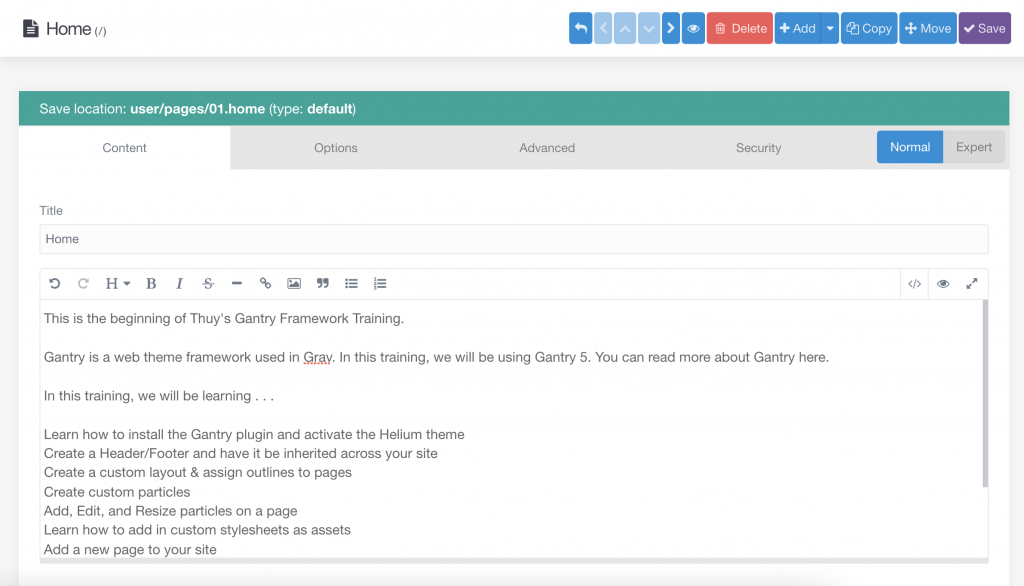
Click Save.
Go back to your Home outline in Gantry. Find the Page Content particle and drag it into the Body section. Click Save Layout.

To insert an image drag the Logo/Image particle to the right of the Page Content particle in the Body section. Both particles should have a width of 50% in the same row.

Click on the gear icon of the Logo/Image particle. Delete the SVG code and in Maximum Height, enter 100%.
Use the image-picker to select the cat-computer.jpeg.
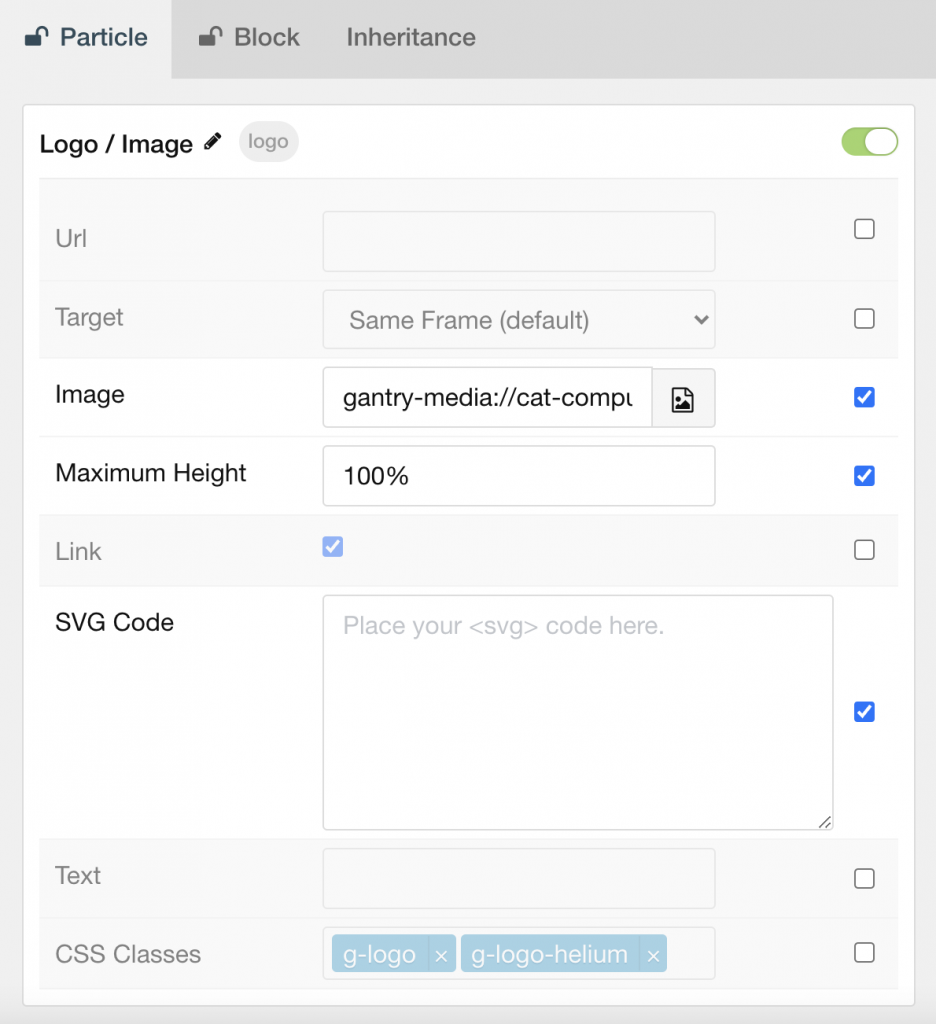
Click Apply and Save.
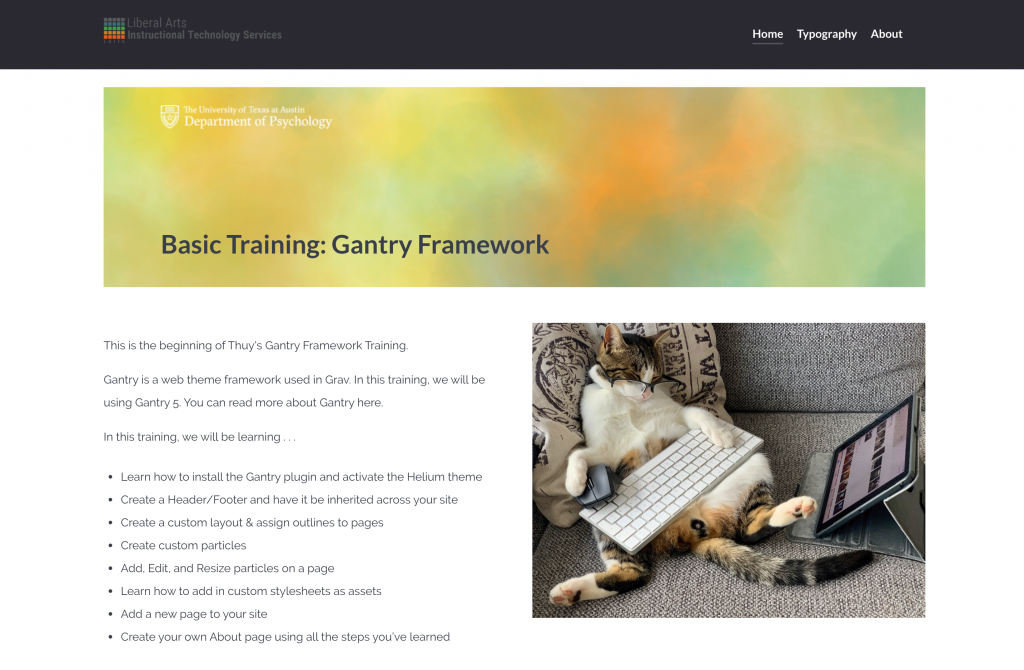
Your Homepage should now look like this:
Step 6. Adding a Custom Stylesheet Asset
Our site still doesn’t look quite right. There’s a lot of unnecessary spacing and stylings that come with the basic Helium theme but don’t match our desired design. To make more specific CSS changes to our page, we can add a stylesheet as an Asset.
In your finder or file explorer, go to:
your_root_directory/user/data/gantry5/themes/g5_helium/cssIn the box folder of assets, you will see a file also named “training-custom.css” Download and copy that file into the css folder.
Save your CSS file.
In Gantry while on the Home Outline, click on the Page Settings tab.

Scroll to the section called Assets.
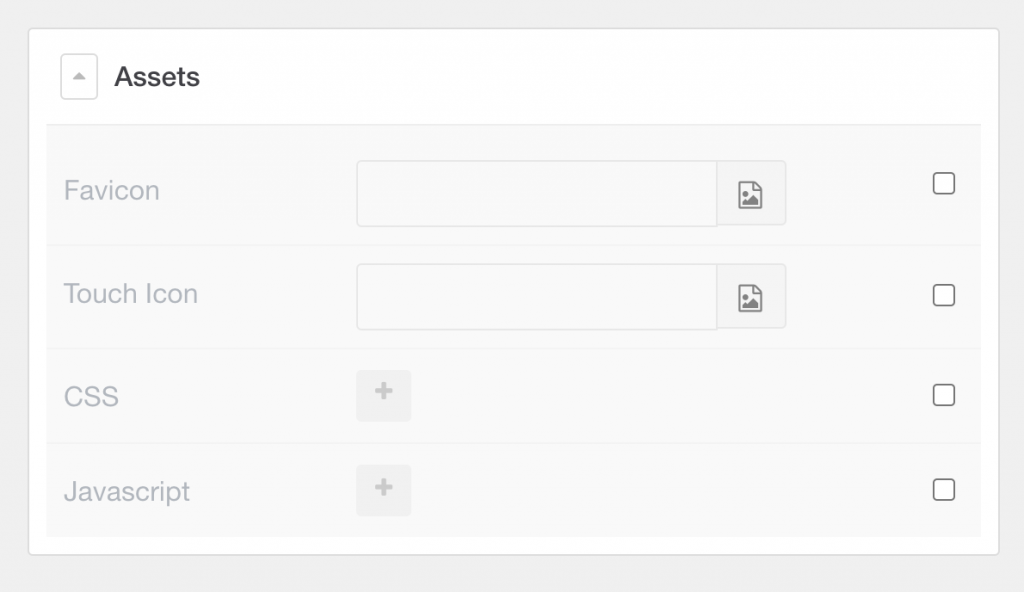
In the subsection labeled CSS click on the plus button to add a new item.

Name this item “Custom CSS” then click on the item you just added to open the editor.
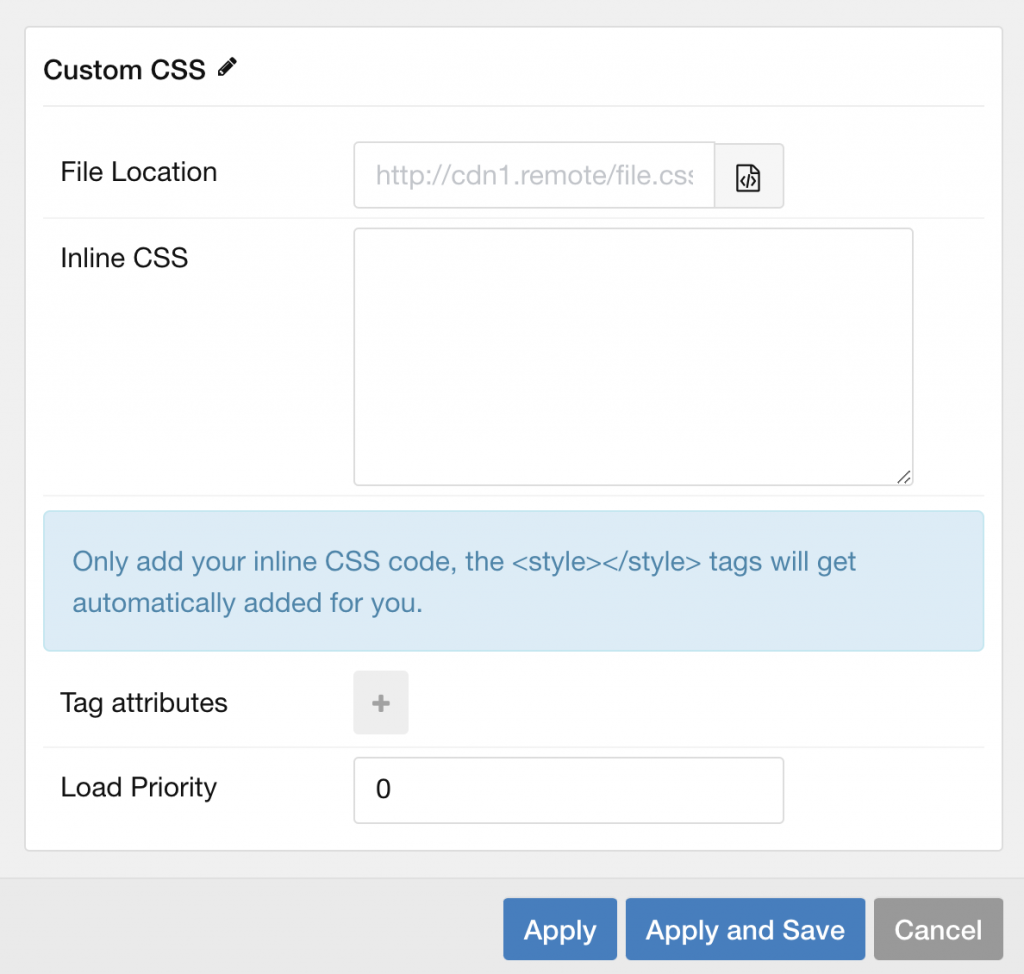
Click on the file icon next to File Location. This will open a file picker. Click on the CSS folder and select your training-custom.css file. Click Select. Then click Apply and Save and Save Page Settings.

Note: If you want your stylesheet to apply to the entire site and not just this individual page, you will need to repeat this process on each new outline.
Any time you want to make more CSS edits, all you have to do is edit the training-custom.css file directly and save it. Your new changes should show up once you refresh your page.
Refresh your home page. This is what it should look like:
Step 7. Adding a New Page
We’ve completed the home page! Nice! Now, let’s add another page. Grav’s default pages include a Home page and a Typography page.
You can edit and manage your pages in the Pages tab in the left-hand navigation bar.
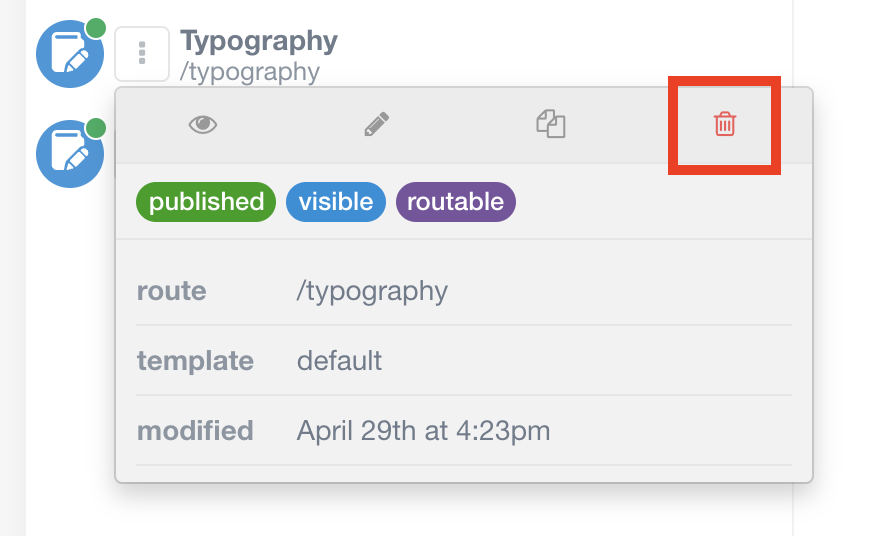
First, let’s delete the Typography page since we don’t need it. Click on the three dots next to the Typography page. Then click on the red trash icon. Click Continue.
To add a new page, click on the Add button in the top right.

We will make this page the About page. Enter “About” in the Page Title text field. Leave the rest of the settings as they are.
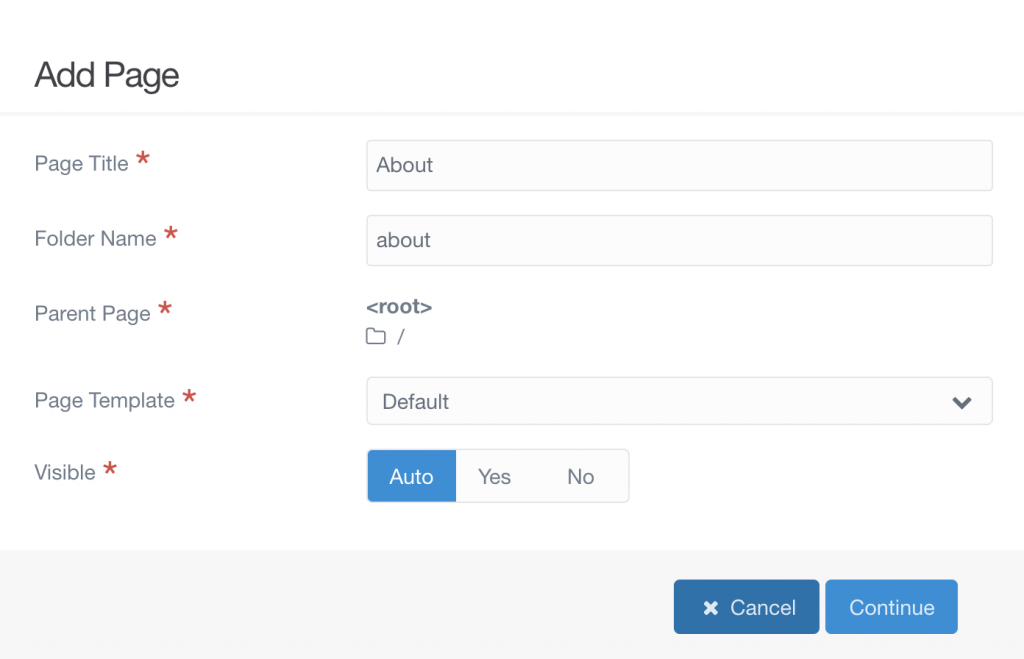
Then click Continue. Grav should automatically take you to the page editor.

In the upper right corner, click Save. Then click the back button to return to the Pages tab.

You should see your new About page listed there.
Now let’s refresh our front-facing site. You should now see a new page called About in the navigation bar.
And before we forget, let’s apply our custom CSS to this new page as well (refer to Step 5).
Step 8. Now It’s Your Turn!
Use what you’ve learned in the steps above to complete the rest of your new grav site. We’ve made the Home page, now try building the About page.
Figma Link: https://www.figma.com/file/bPV6qNcQXcVqbnrPNA3Sd1/Gantry-Training-Figma?node-id=0%3A1
Tips:
- There are always multiple ways to do things in web development! Try to figure out how to make customizations if you’re running into limitations with the given particles in Gantry. (Can’t find a good button particle? Try making a custom one!)
- Remember responsiveness! The Helium theme already provides some mobile responsiveness, but sometimes things slip through the cracks. Use CSS to make sure your website looks good on ALL devices.
- Not seeing your changes reflected on your site? Try clearing the cache and hard reloading your page. There is also a Clear Cache button in the Grav Admin Dashboard.
Helpful Documentation Links:
Grav: https://learn.getgrav.org/17
Gantry: https://docs.gantry.org/
W3 Schools HTML/CSS tutorials: https://www.w3schools.com/html/default.asp
Markdown Documentation: https://www.markdownguide.org/basic-syntax/