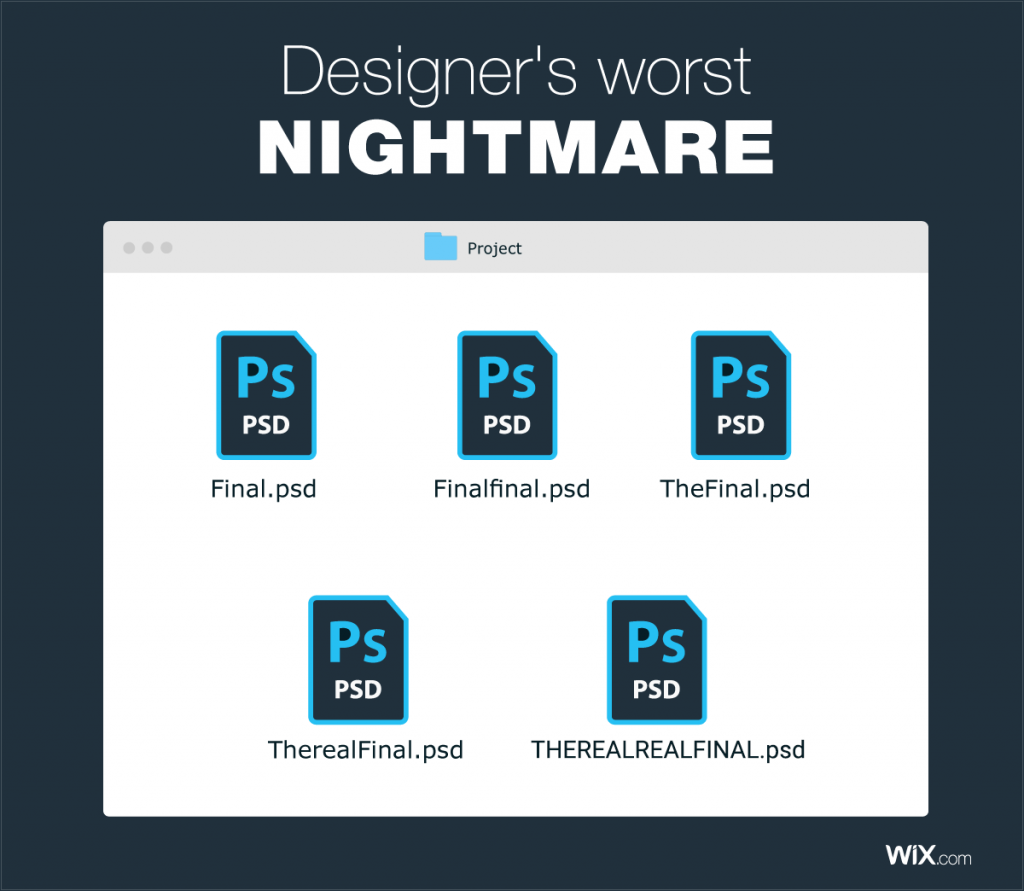
Just like in design, oftentimes you will find yourself wanting to save multiple copies of your work. I’m sure we all know this struggle . . .

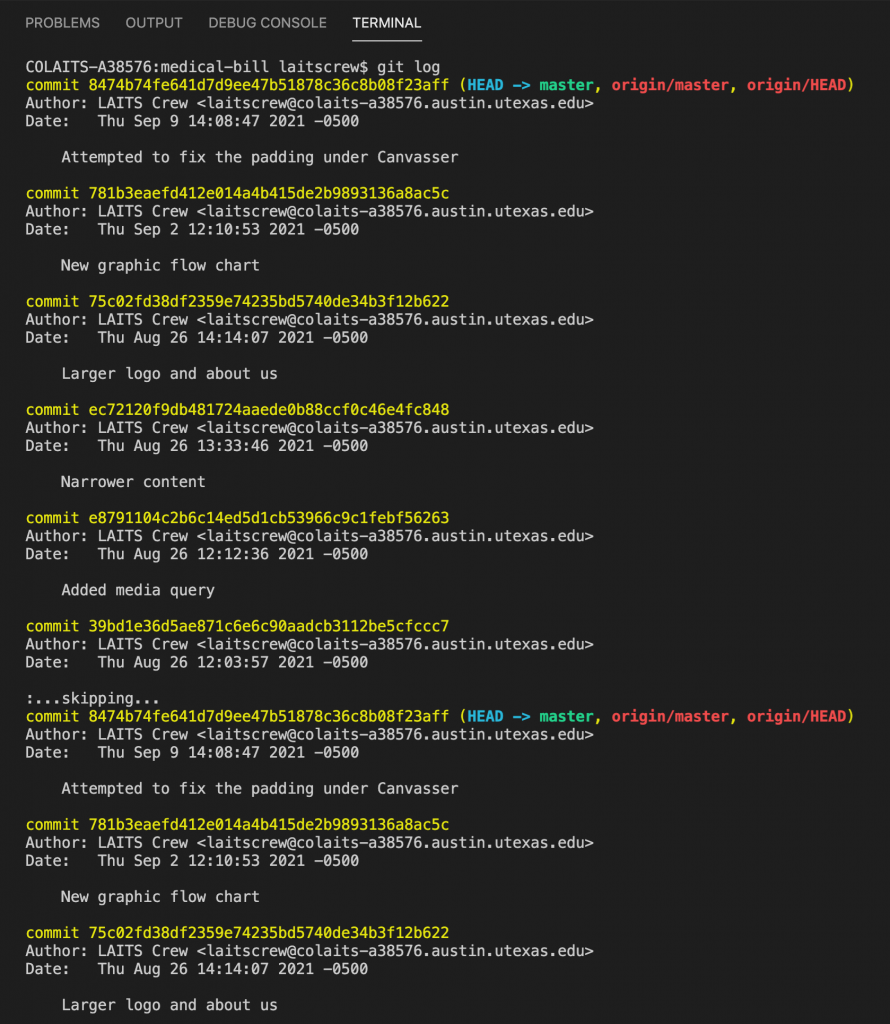
Well, (un)fortunately for developers, we don’t have to deal with the struggle of knowing which one is the actual final version. Instead we have these hash codes (the yellow lines in the screenshot below):
All jokes aside, this is just to highlight the necessity and importance of version control. As you could’ve guess, version control (or source control) is the practice of tracking changes in digital work in general and specifically software code. This allows you to easily go back to previous versions of your code and revert the changes if needed. It also allows for procedural development, making it easier to review and debug.
In this training, you will be learning how to use git, one of the most popular version control system used for software development. By the end of the training, you should be able to:
- Create your own GitHub repository.
- Clone, make changes, commit, and push to the repository.
git vs. GitHub
New users of git / GitHub can get confused between the two. So what’s the difference? git (with the g not capitalized) is a version control system, whereas GitHub (g capitalized, proper noun) is a hosting service that lets you manage git repositories. GitHub also provides a UI that makes it easier to use git.
There are many other platforms to use git other than GitHub, such as Bitbucket, GiLab, Phabricator, etc.
Once you start working more and more with git and GitHub, you’ll start to get a feel for how they work / are different from each other. For now just remember that they are not the same :).
Getting Started
Go to https://github.austin.utexas.edu/.
Log in with your UT EID and password.
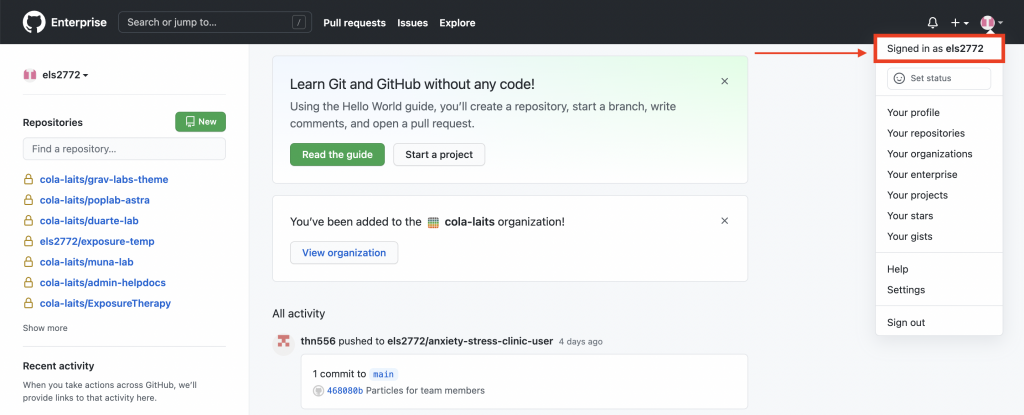
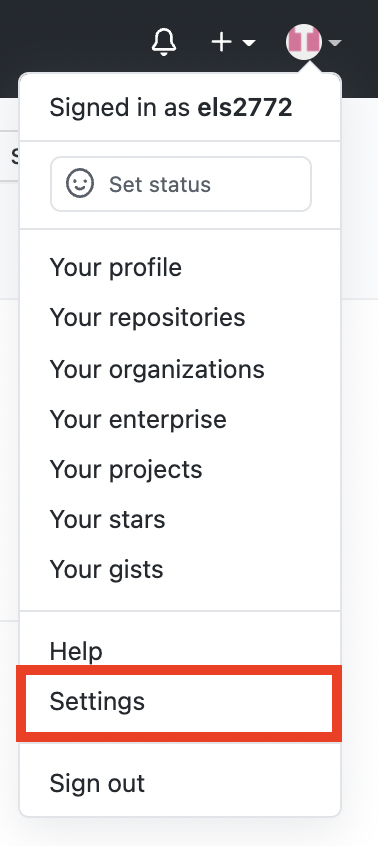
You should now be logged in. Click on your profile at the top and make sure that you are signed in under your EID (Signed in as [your-EID]).
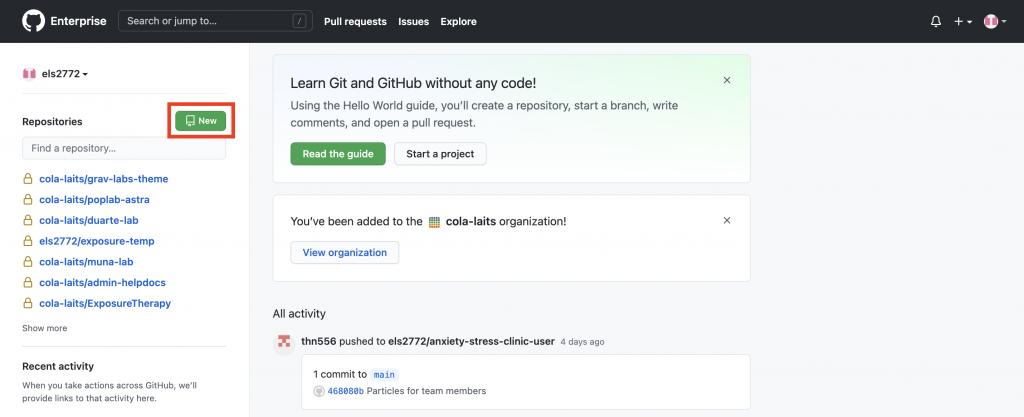
First, we need to create new repository (repo). A repository is where all changes to a project will be tracked and stored.
In GitHub, click New.
Name your repository according to this format: FirstName LastName git Training.
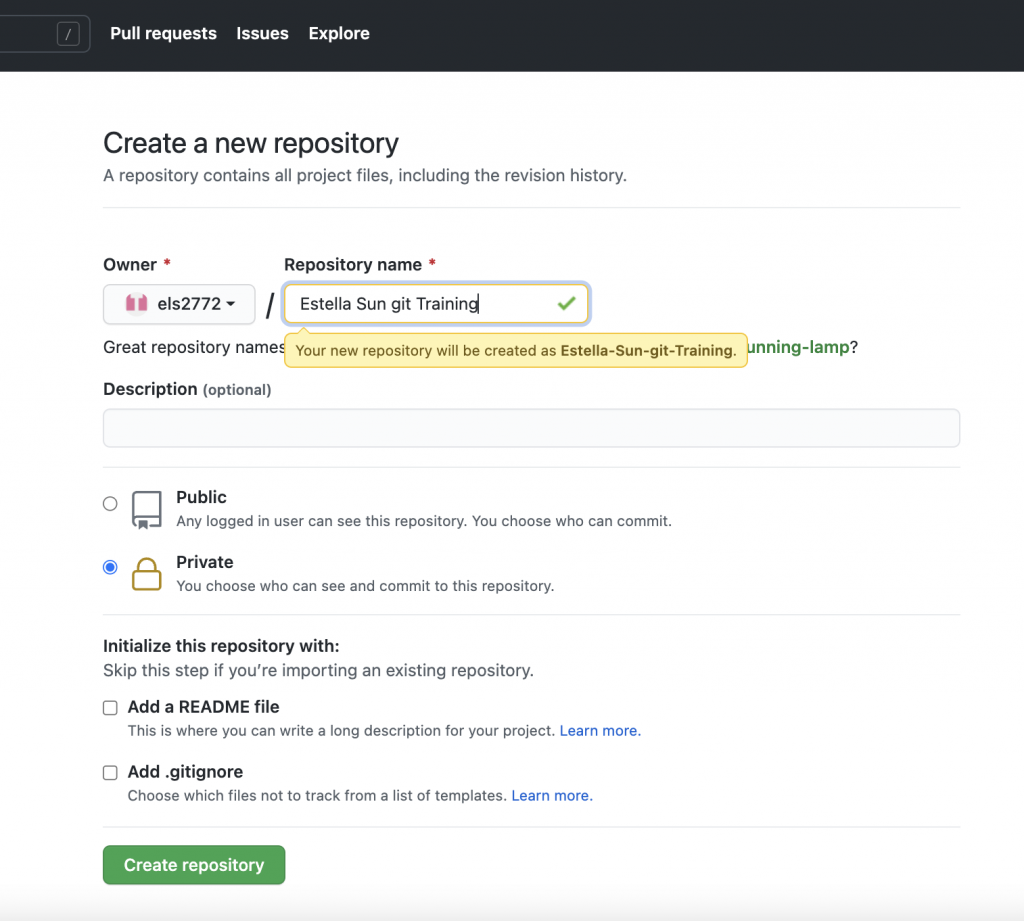
[Optional] Give your repository a description.
Set your repository visibility to Public (so that we can see your beautiful work!).
Under “Initialize this repository with,” check “Add a README file.” We will be editing this file in this training.
Typically a README file is where you can put summary text and documentation for a project. We will be editing this file to demonstrate how to use git for this training.
Your new repo configuration should look something like this:
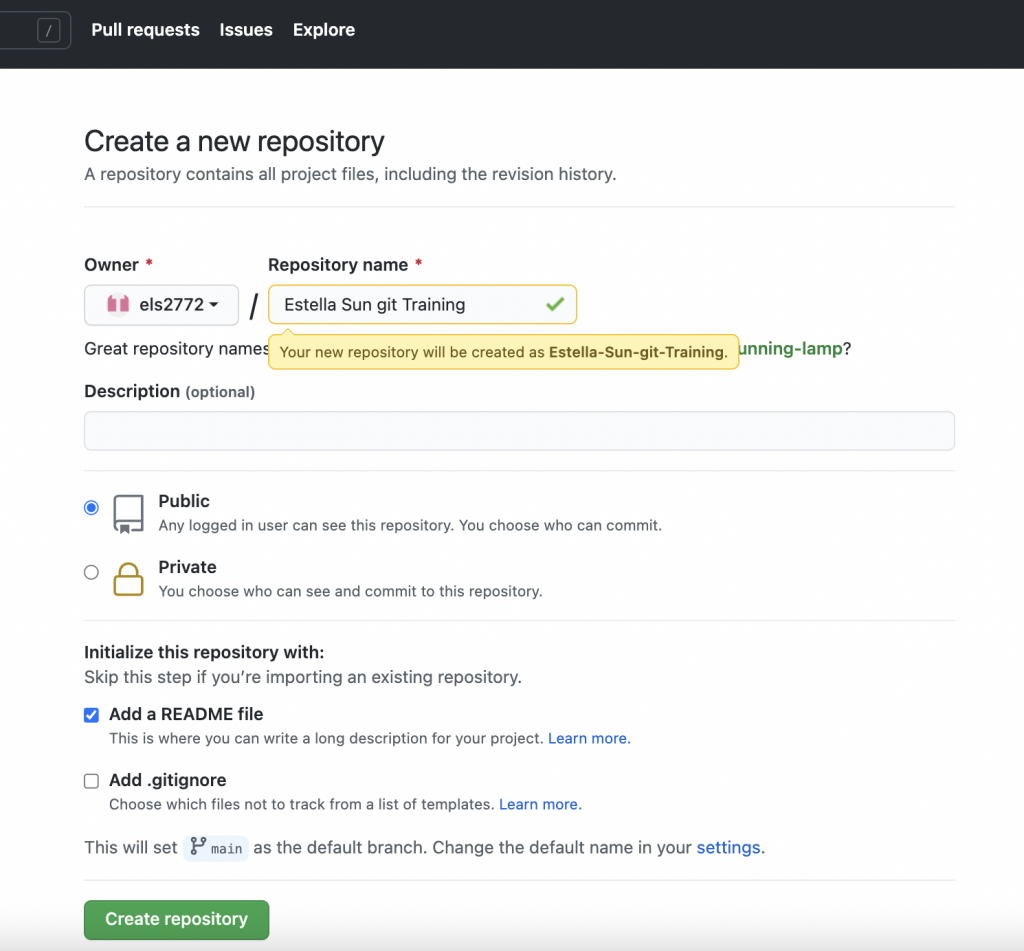
Click “Create repository.”
Clone the Repo to your Computer
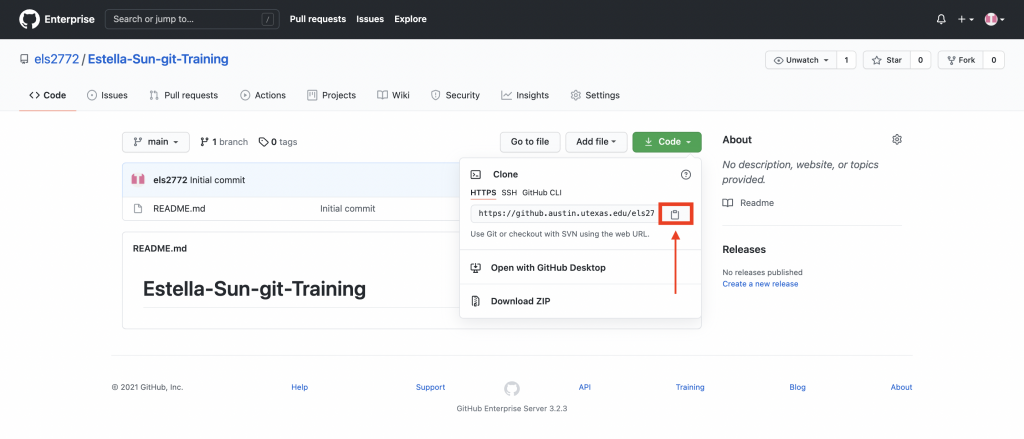
Once you’ve created your repository, you should see your repo UI like this.
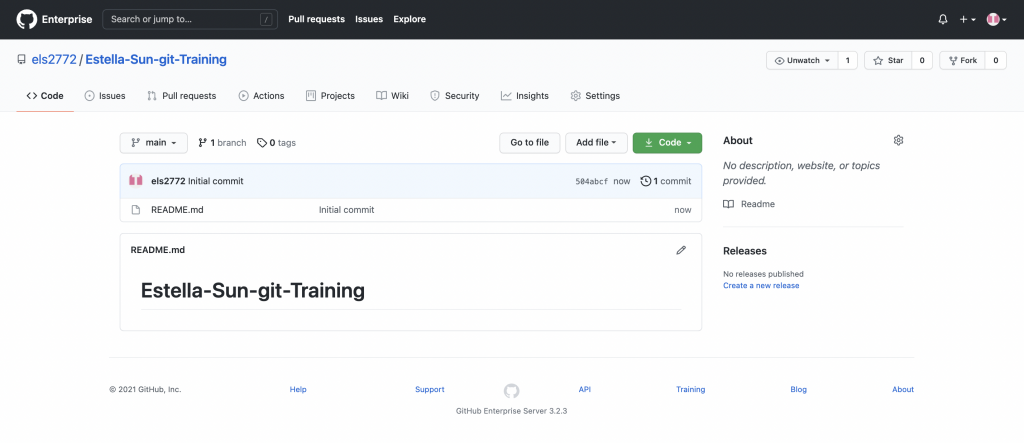
Click the dropdown next to “Code,” and click the clipboard symbol next to the repo URL. This will copy the cloning link to your clipboard.
Open the Terminal on your computer. You can do this by searching “terminal” in the launchpad (Mac).
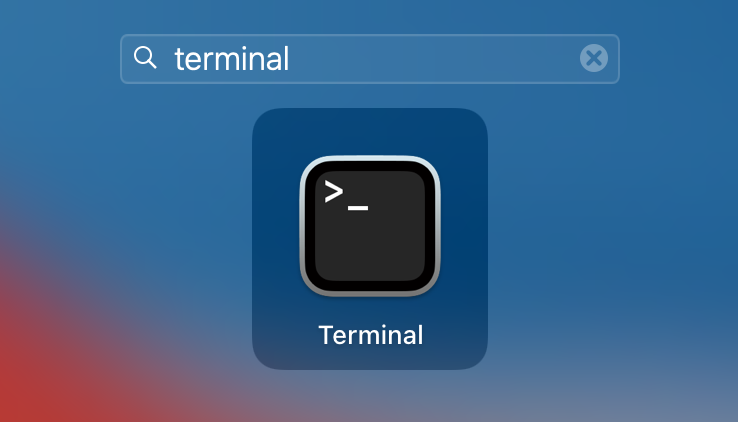
The Terminal is a command line system that allows users to control the operating system and make changes. Using the Terminal takes a little getting used to, but it’s a super important skill for any developer.
The first thing we need to do in the terminal is change the directory to the one we want to copy our repo into.
If you are working on a LAITS computer, please clone your repo into your STA folder in the LAITS Server.
To access the server, follow these instructions:
- Open your Finder and click Go in the top menu.
- Click Connect to Server…
- Enter smb://file.laits.utexas.edu as the server url. Click Connect.
- For your login, use your UT EID and password. Click Connect.
- Select the “sta” volume and click Ok.
- Find your folder or create one if you don’t already have one.
Now let’s go back to the terminal.
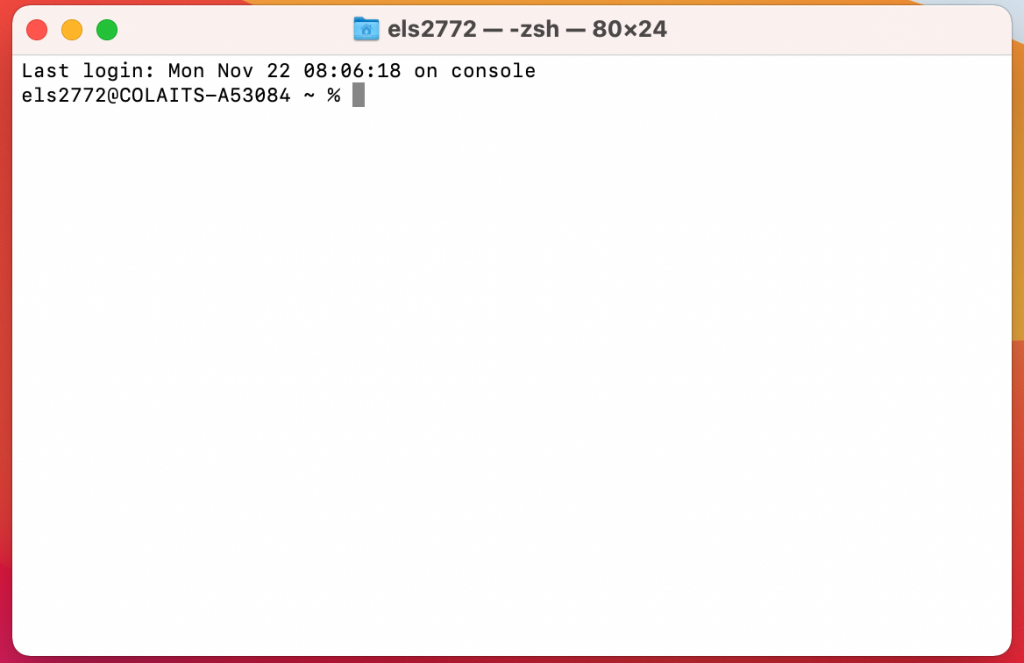
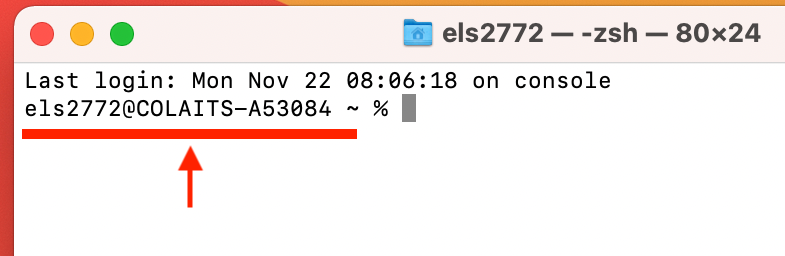
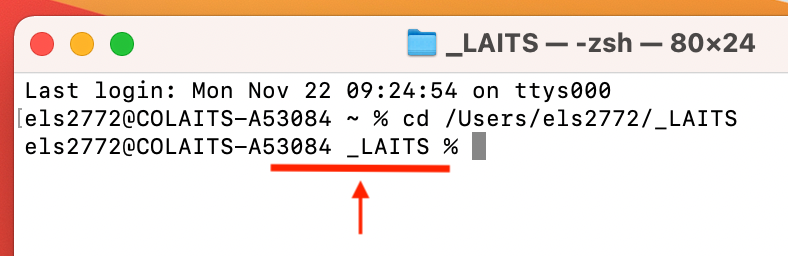
When you first open the terminal, it sets itself to a default directory.
You can see which directory it’s currently sitting in right before the blinking cursor.
To change the directory, we will use the cd command. Type the following into your terminal:
cd DESIRED-DIRECTORYHint: an easy shortcut to get the directory you want is to drag the folder you want from your Finder into the Terminal after your cd command.

Once you’re done, press enter to execute the command.
You will see the directory updated before the blinking cursor.
Now we’re ready to clone your git training repo. Cloning means creating a local copy of the Github repository on your machine. We will refer to this copy as your local repository. The copy on github.com is your remote repository.
Type git clone and paste your copied repo link like this:
git clone REPO_LINK
Press Enter.
Git may ask you to enter your login credentials. Github no longer allows normal password access for security reasons. Instead, they provide personal access tokens. Any github user can generate a token and use it. You can think of it as a special, more secure password.
To generate a personal access token, go to your Github profile. Click Settings.
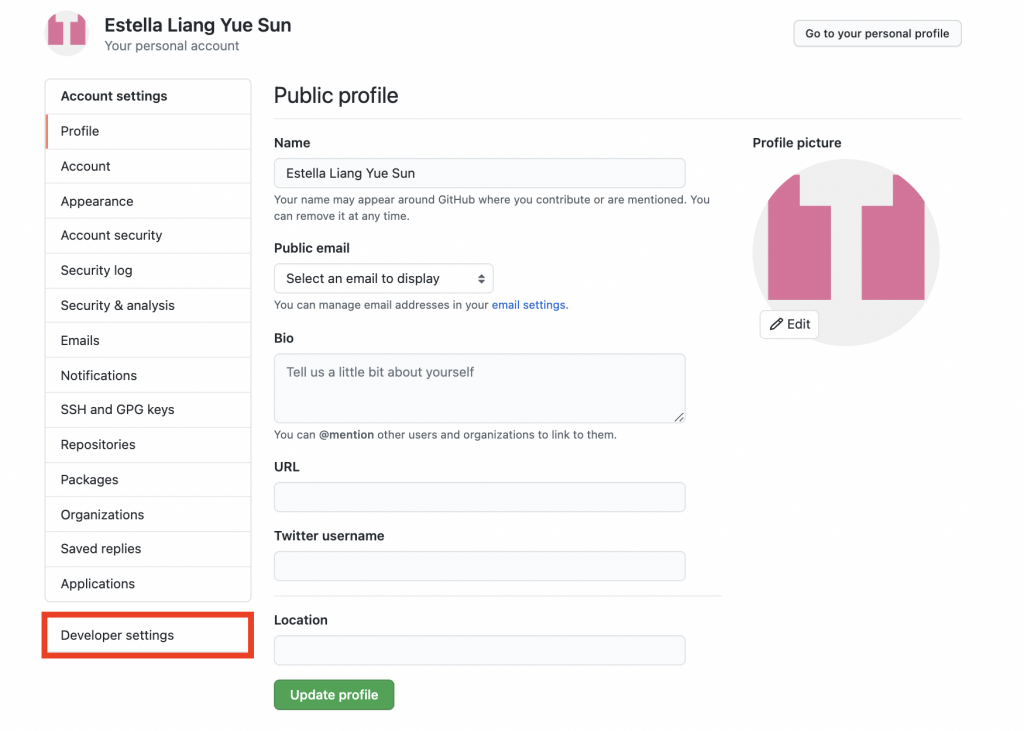
Scroll to the bottom of the left menu and go to Developer Settings.
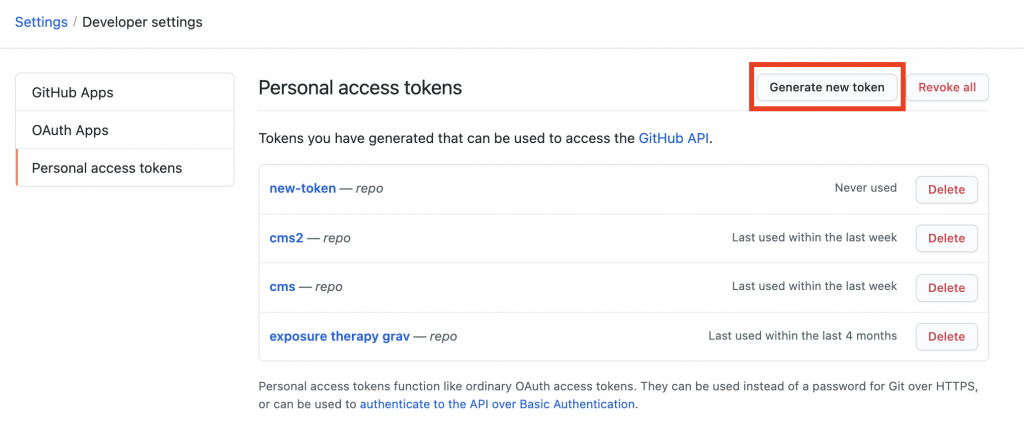
Go to Personal Access Tokens.
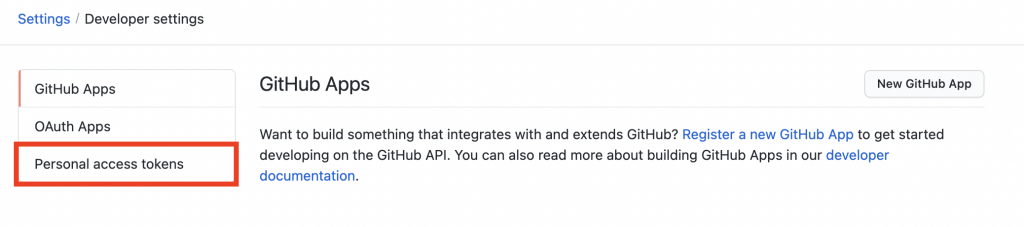
Then click the Generate New Token button.
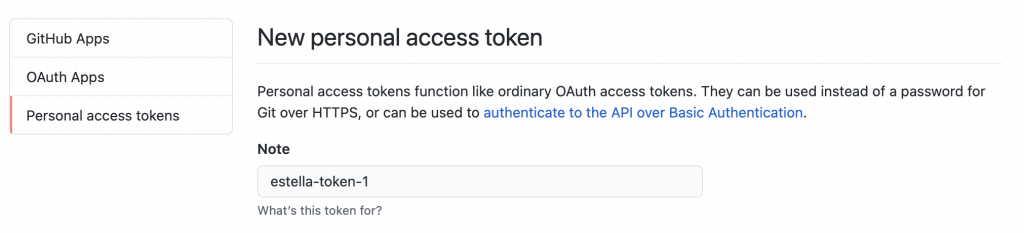
Name the token to whatever you want in the Note text field (ex: “sta-token-1”).
In the Select scopes section, check the box that says “repo”. This will automatically select all of the sub-boxes under it.
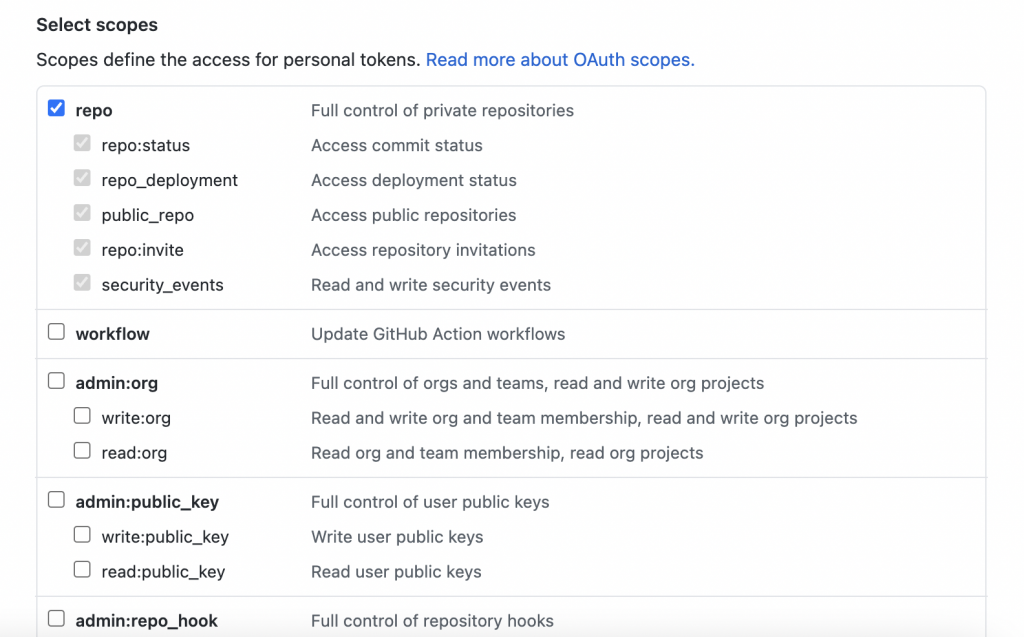
Scroll down and click Generate token.

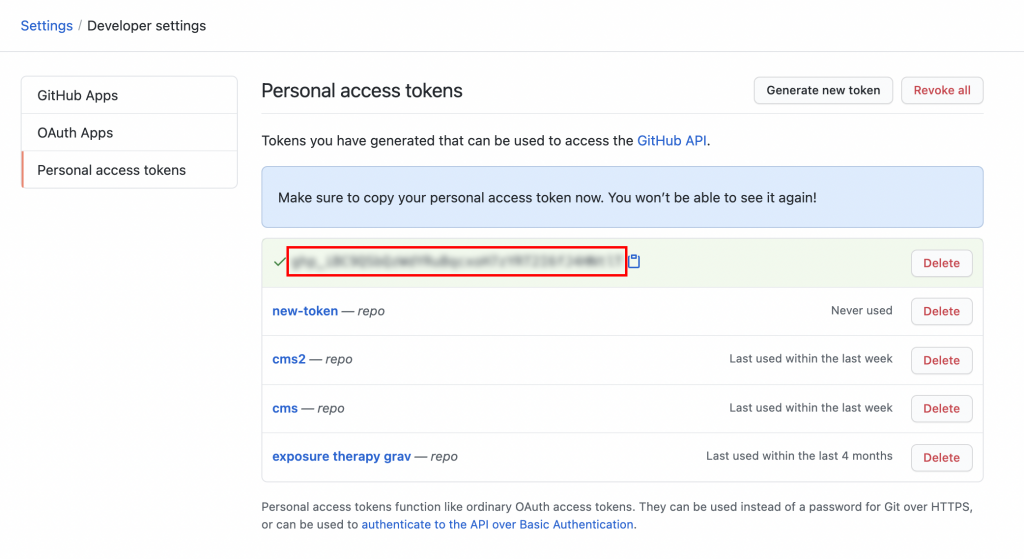
You will see a new string of random numbers, letters, and symbols. This is your new personal access token. You will be able reuse this token for all future GitHub functions.
IMPORTANT: Copy it and save it somewhere safe. Once you leave this page, you will no longer be able to access or see it again and will have to make a new token.
Once you’ve copied your token, go back to your terminal. For your Git credentials:
- Enter your EID as the username.
- Enter your new personal access token as the password.
Edit your README.md file
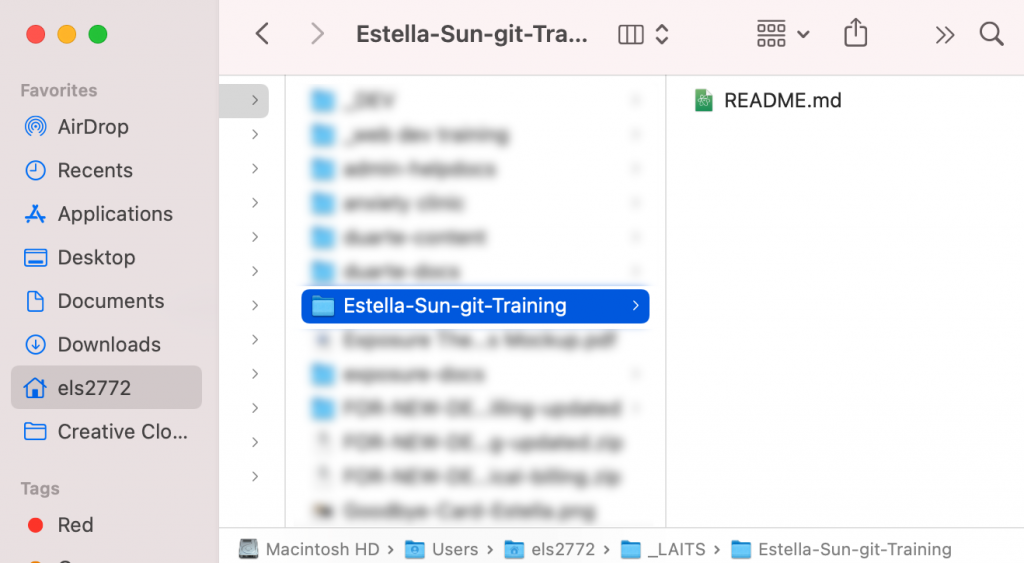
Once your repo has been cloned, you should be able to see it as a new folder in the directory you selected.
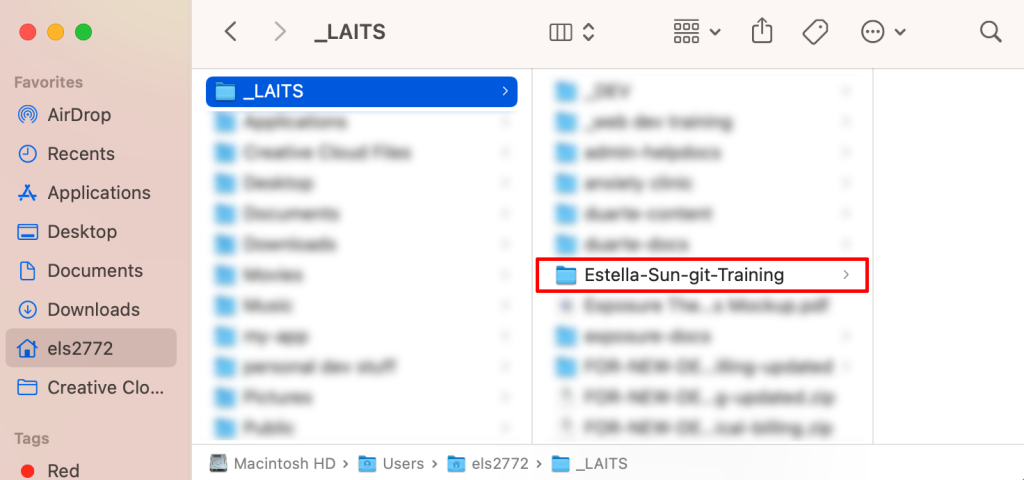
You should see the README.md file in your new folder.
Open this folder in your code editor of choice. If you’ve never used a code editor before, we will be using Visual Studio Code in this training.
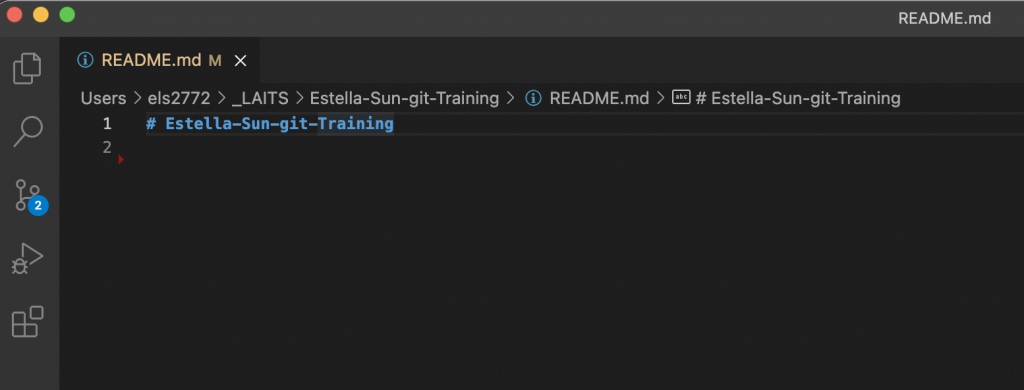
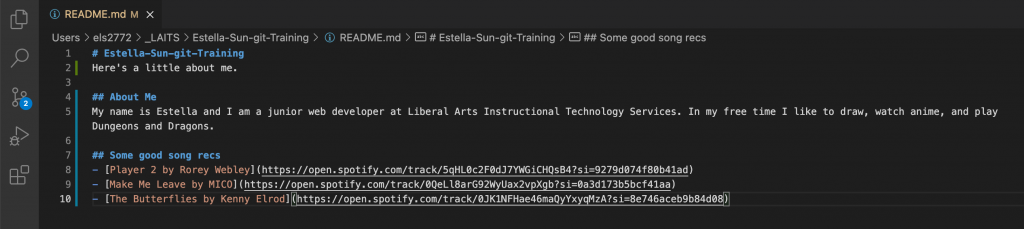
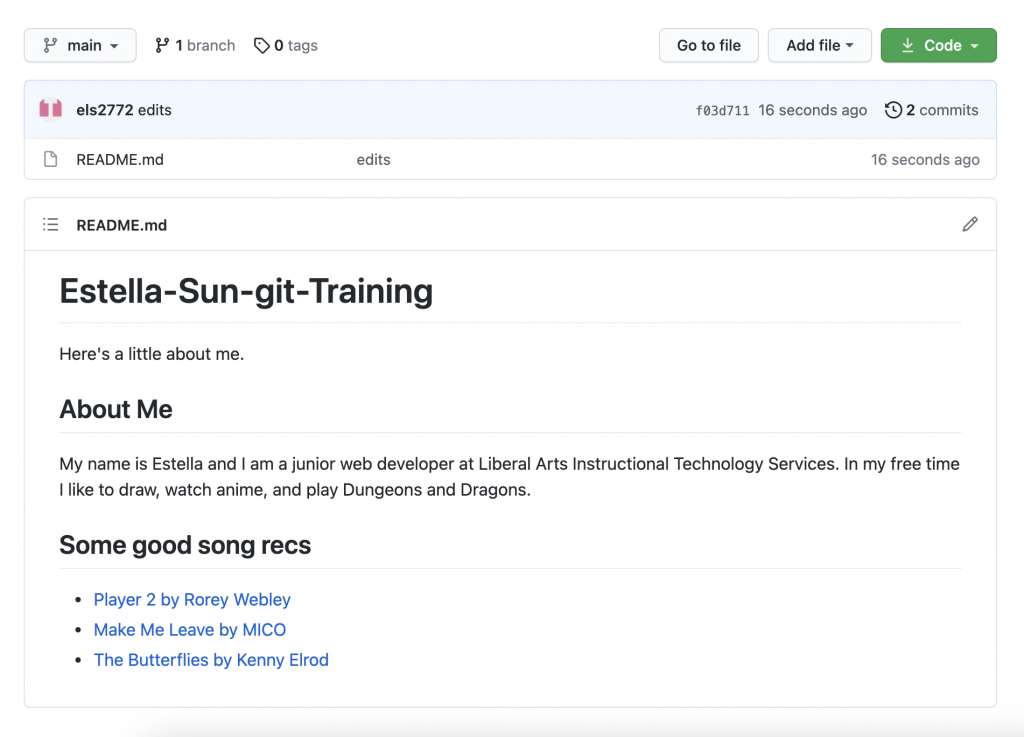
Edit this file to add some information about yourself. You can include anything you want. Mine looks something like this.
The README file is a markdown file, so here’s some basic markdown syntax if you’d like to format your file prettily. This is completely optional, feel free to just have text if you would prefer.
To start large header, type
# [header-name] or
## [header-name]
For smaller headers, add more #. The more hashtags you have,
the smaller the header will be.

To embed a link, follow this syntax:
[text-to-display](https://my_url/)

To add bullet points, simply start each bullet point with a “-“. For example:
- My first bullet point
- My second bullet point
Pushing your changes
Once you’re done with the file, go back to the terminal. We will now be saving our changes and updating our repo in Github with the new changes. This process is often referred to as “pushing your changes.”
To do so, we will need to do a series of simple commands.
But first, we will need to change our directory. Right now, we’re in the folder we cloned our repo into. What we want is to be in the cloned repo folder itself.
In the terminal type:
cd YOUR-LOCAL-REPOSITORY-FOLDER-NAME
git add
Next, in the terminal type:
git add README.mdPress Enter.
This command adds a tells git that you want to include updates to a particular file (in this case, our README file) in the next commit.
git status
Next, in the terminal type:
git statusThis is an optional command, but a very useful one. Git status shows you the current state of your staged changes. Press Enter.
You should see in green, your modified README.md file.
git commit
Next, in the terminal type:
git commit -m “First commit”Press Enter.
A commit is a snapshot of your project where a new version is created in your current repository. The commit command doesn’t actually move any changes to your remote repository.
git push
Next, in the terminal type:
git pushPress Enter.
The push command uploads the updated local repository to the remote repository.
View Your Results
Go back to GitHub and view your repo. Refresh the page. You should see your changes to the README file up.
If there’s something that doesn’t look like how you wanted it to be, simply make the changes to the file, add, commit, and push again.
Congratulations! You’ve learned the basics of committing and pushing code using git.
You can imagine how this allows for multiple developers to work on the same project by cloning repos.
git has powerful tools to help with merging changes from multiple developers, seeing the differential changes, and reverting changes if needed. We didn’t cover those in this training, but hopefully this gets you started on using git :).
GitHub Desktop
While understanding and knowing how to navigate the terminal is important, many people find it quite inefficient. Many IDEs have built in git integrations.
If you have a development environment you are already comfortable with that includes git integration, feel free to continue using it. If not, another useful tool is GitHub Desktop.
GitHub Desktop is an app that provides a streamlined and user friendly way to commit, push, pull, etc. instead of doing it all directly in the terminal.

To download GitHub Desktop, go to https://desktop.github.com/.
Note: If you are using a LAITS computer, you will need admin permissions to install new applications. Ask your web dev manager for assistance.
To view the documentation for GitHub Desktop, go to https://docs.github.com/en/desktop.
If you are interested, we highly encourage you to research and learn tools like these to improve your development workflow.
Resources
- Example repo: https://github.austin.utexas.edu/els2772/Estella-Sun-git-Training
- git docs: https://git-scm.com/docs