Adding texture to an image is a great way to make an image appear 3-dimensional, even though it is flat. Textures can also develop visual intrigue in simple, minimalist designs. In this lesson, you’ll learn:
- How to add textured borders to images
- How to add a texture overlay to an entire image or a portion of an image
- How to add textures at 3-D angles
Download this box folder containing all of the photos and textures you will need to complete this training.
Part 1: Borders
This section of the training will teach you how to use a clipping mask to add interesting borders to your images. To do this, you will need a transparent background image of your border, and the image you would like to add that border onto. For this training, all of the images and textures have already been provided for you in the box folder.
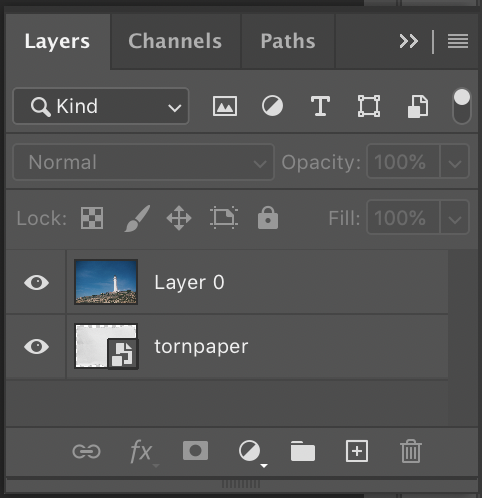
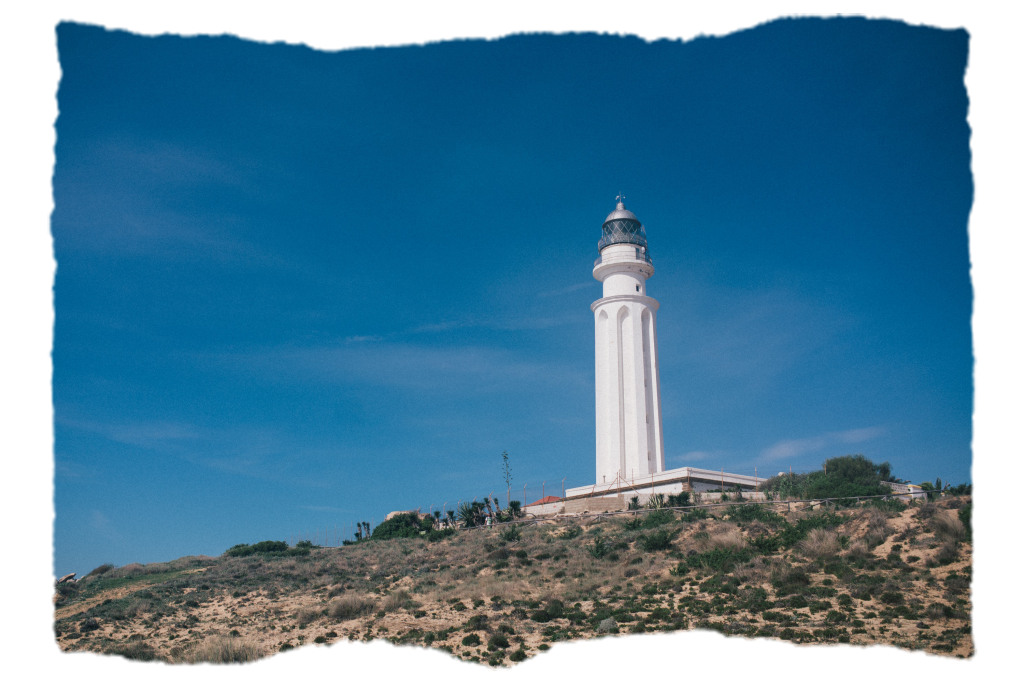
- Open the image titled “lighthouse.jpg” in photoshop. In the Layers menu, click once on the lock icon on the image to create an image layer.

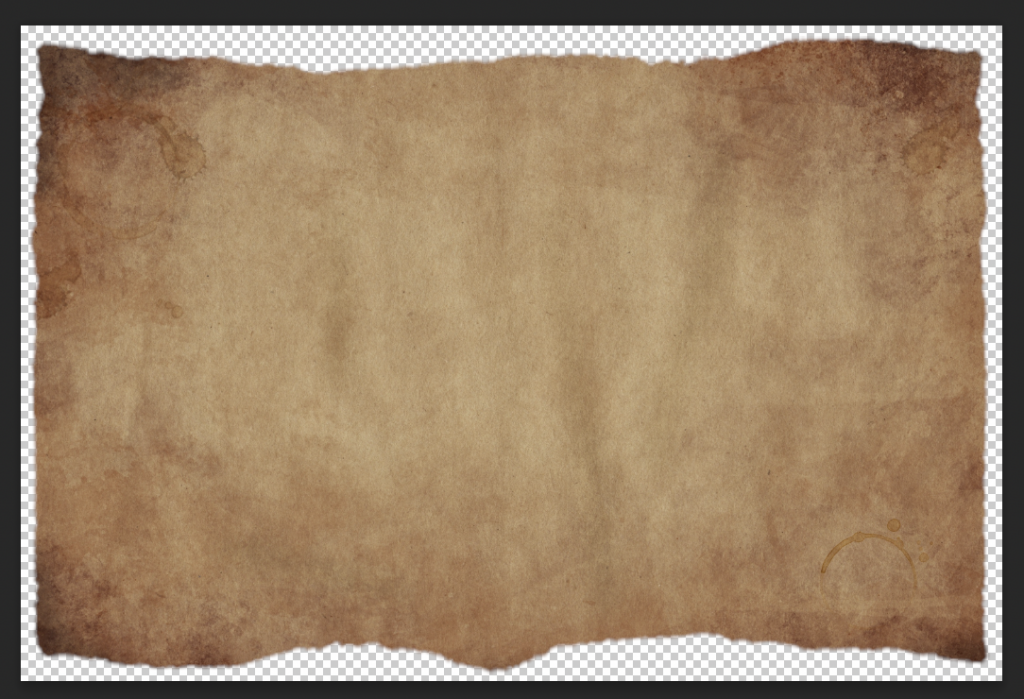
2. Click File > Place Embedded and select “tornpaper.jpg”. Enlarge the texture until it covers as much of the lighthouse image as possible (The border will not be blurry once you edit transform mode). Once you are happy with where the image is, move the tornpaper layer beneath the lighthouse layer in the Layers Panel. You will only see the lighthouse layer after doing this.
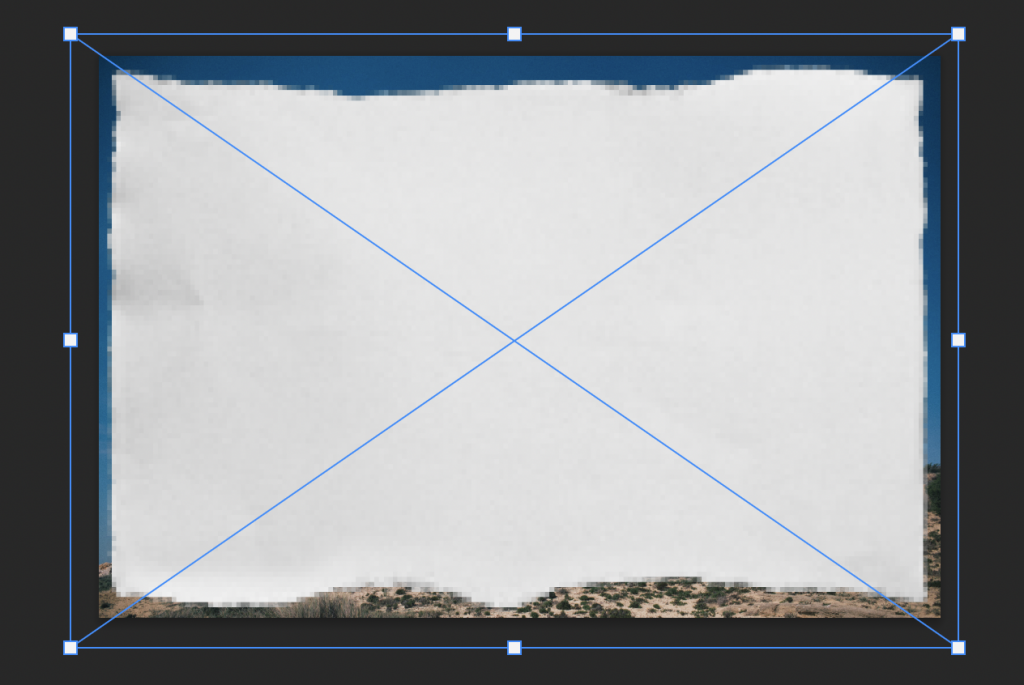
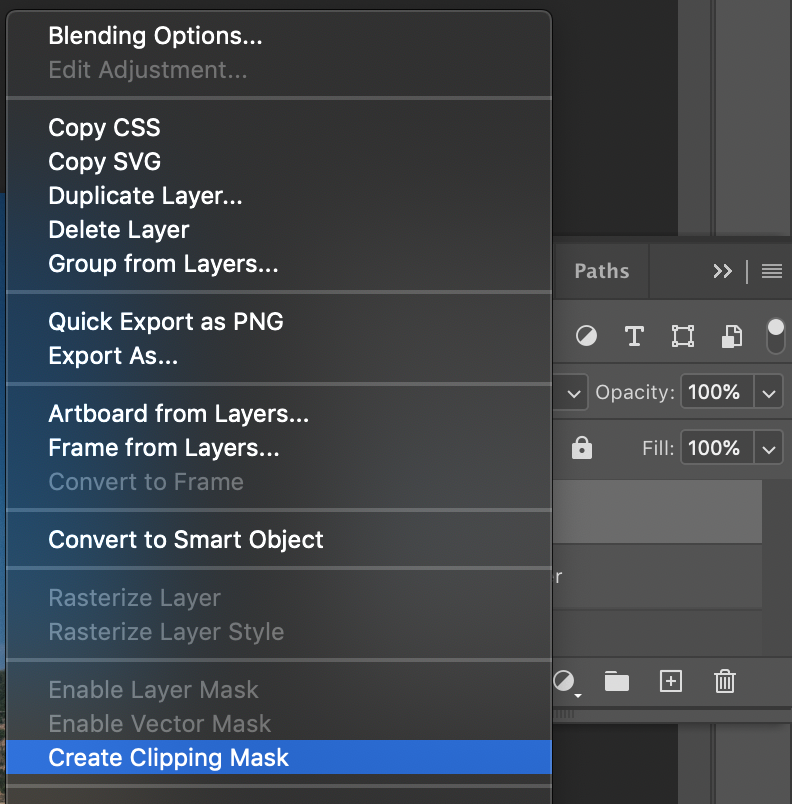
3. Right click on the lighthouse layer and select “Create Clipping Mask”. Your image should look like the one below. Quick export as a PNG and post to basecamp for review.
Part 2: Texture Overlays
This part of the training will teach you how to turn an image of a texture into an overlay that can be layered onto other images using the various layer modes in Photoshop.
- In the same Photoshop file as part 1, place “papertexture.jpg” and enlarge it so that it covers the entire lighthouse image. Right click and select “Create clipping mask” so that the paper texture has the torn paper border. Do not rearrange the layers.
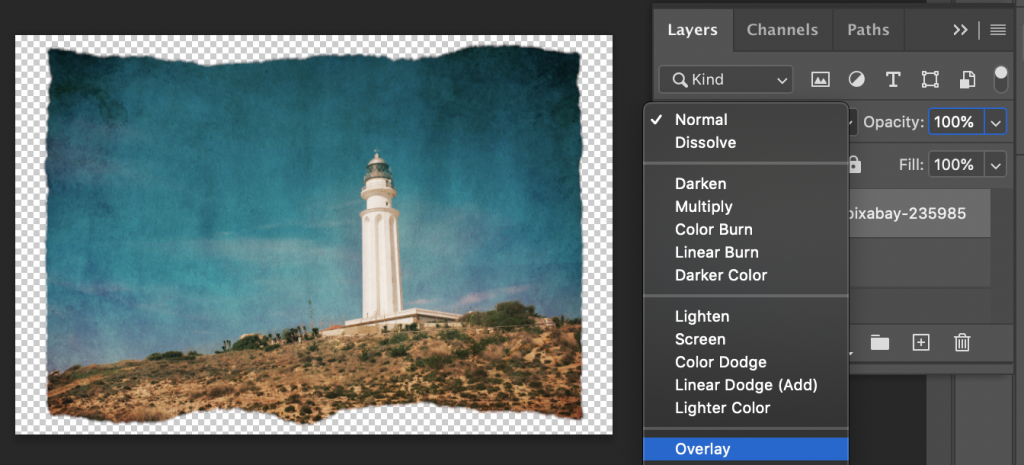
2. In the Layers panel, click on the drop down menu next to the word “Normal” and select “Overlay”. Your lighthouse image now has texture!
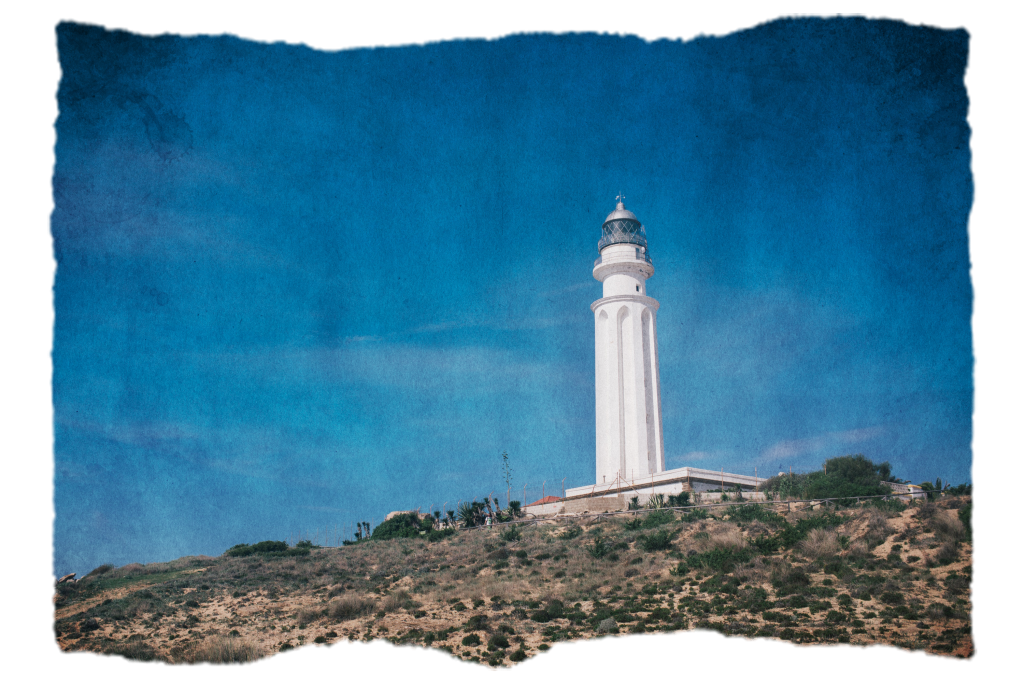
4. You may notice the color of the image changed to become more green/yellow. This is because the texture image itself is yellow-toned, and the Overlay effect blends color as well as texture into whatever layers sit below it. To convert this layer to black and white, click Image > Mode > Grayscale. (shortcuts: Alt+Shift+Ctrl+B on PC, Option+Shift+Cmd+B on Mac) with the layer selected. Your image should now look more blue. Quick export as a PNG and post on Basecamp for review.
Part 3: Selective Texture Overlays
Let’s say you only want part of an image to have texture. You can pick and choose where your texture overlay is visible using a layer mask. This is just one of many ways to manipulate selected portions of an image; you can review other methods here, in the Cutting Objects Out in Photoshop tutorial.
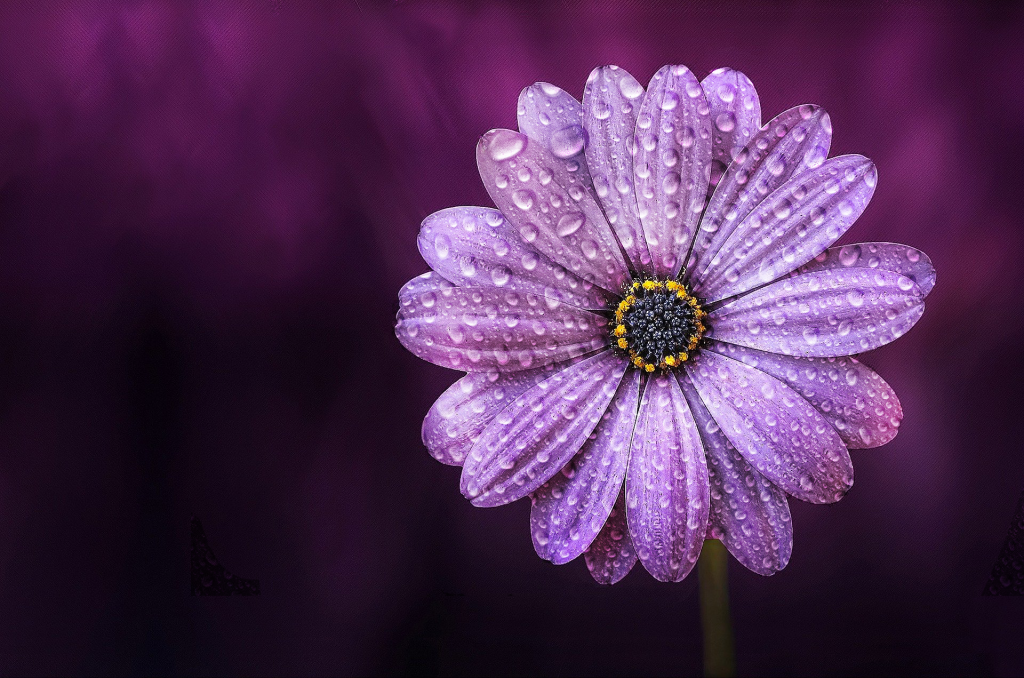
Let’s try adding water droplets to this flower while leaving the background dry.
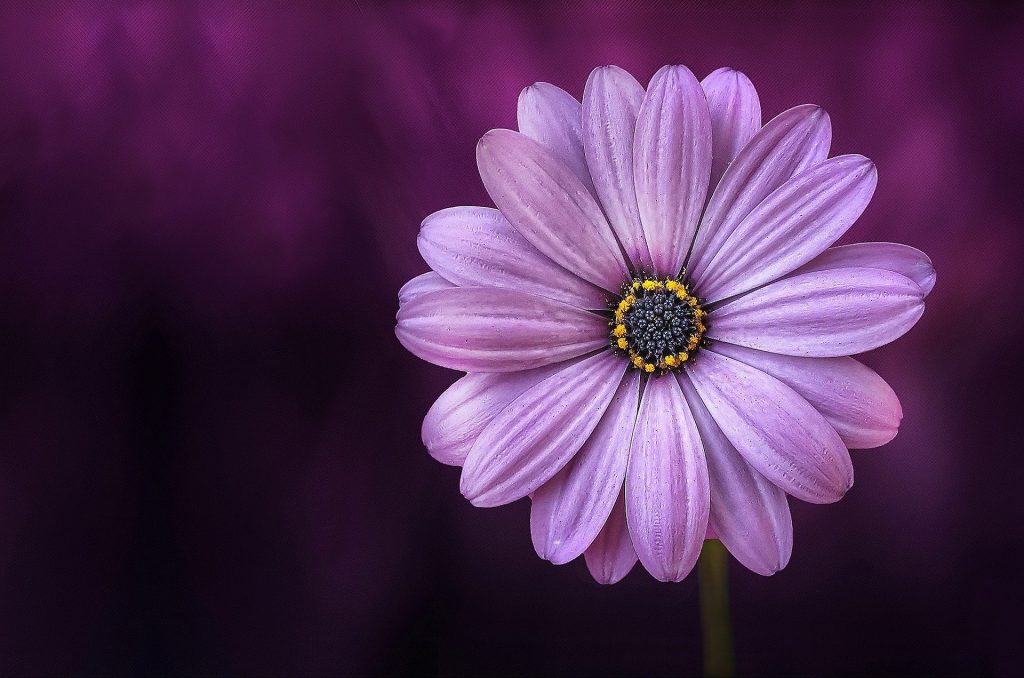
- First, open “purpleflower.jpg” in Photoshop and place “waterdroplets.jpg” into that file. Using the skills gained from part 2, create a texture overlay from the water droplets and adjust the size so that the water droplets cover the flower.
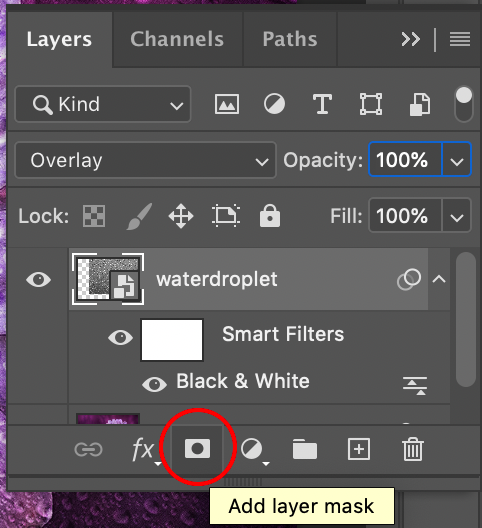
2. With the texture layer selected, click the “Add Layer Mask” icon in the Layers Panel.
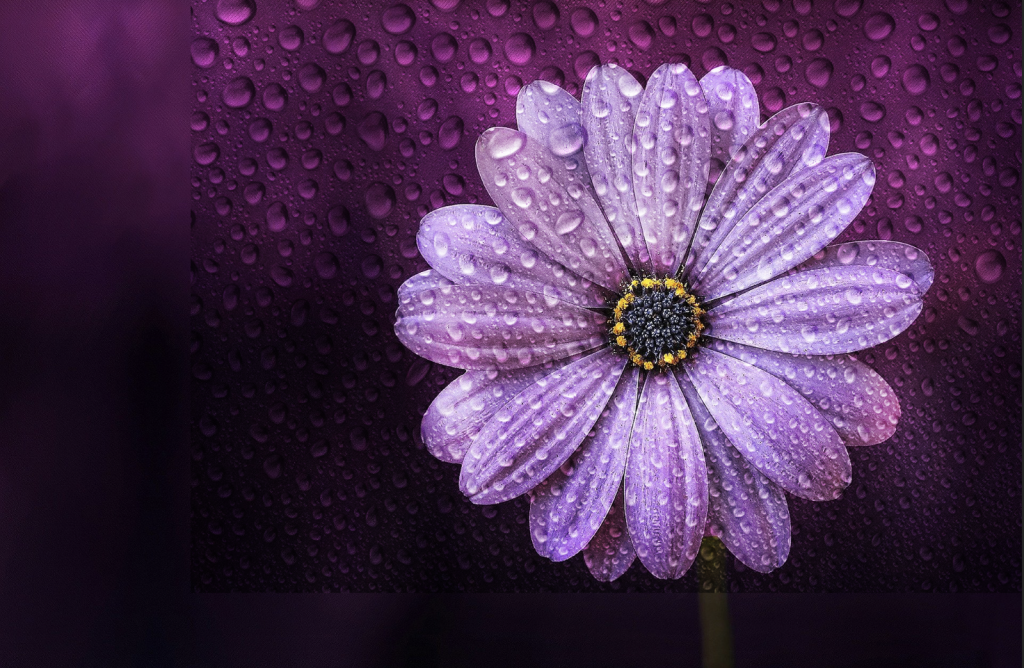
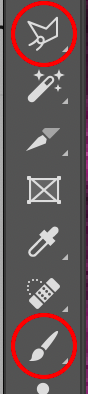
3. With the layer mask selected, click the brush tool in the left toolbar. “Paint” around the flower to remove the water droplets from the background. You can also use the polygon lasso tool to select hard to reach corners. Select the area that you would like to paint with the polygon lasso tool selected, then select the brush tool and paint over that area.
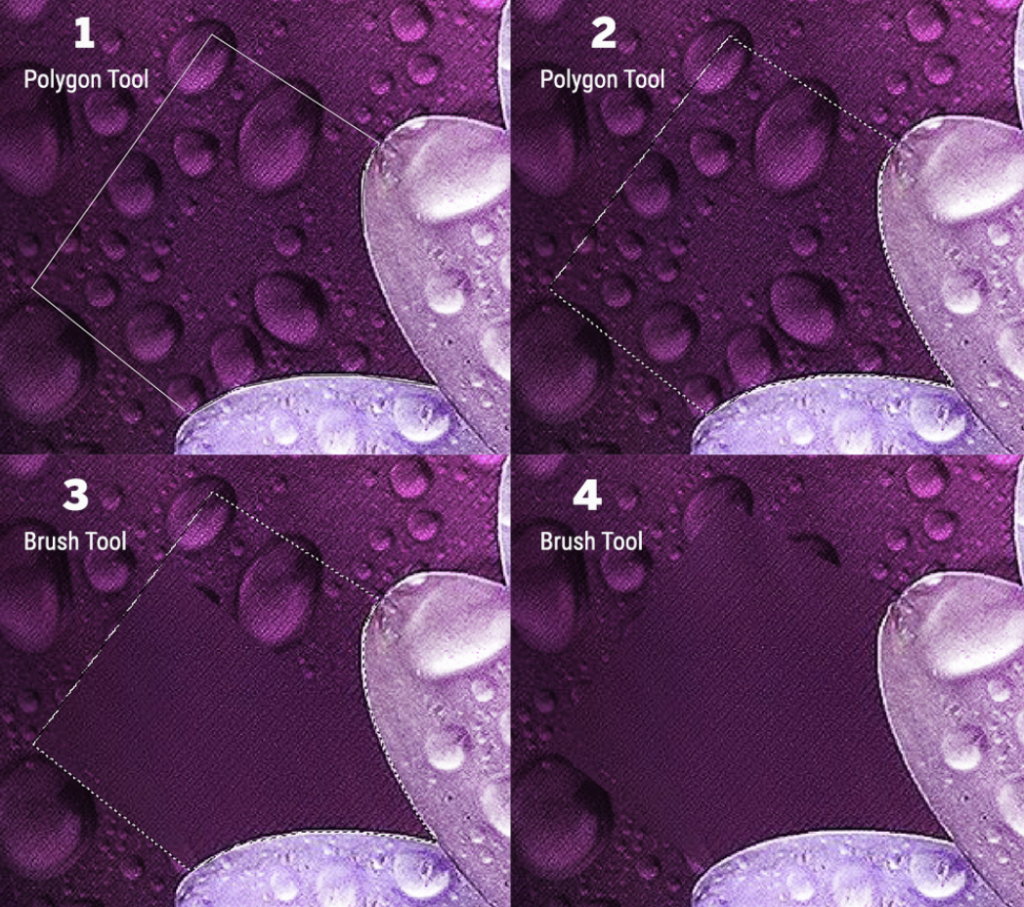
4. Select sections and paint until the entire background is free of water droplets. Quick export as a PNG and upload to basecamp for review.
Part 4: 3-D Textures
What if you want to apply a texture to a 3-D object in a flat image, and you want the texture to wrap around the object? You can distort an image to appear 3-D using the Perspective Warp tool. Let’s try giving the walls of this room some brick texture.
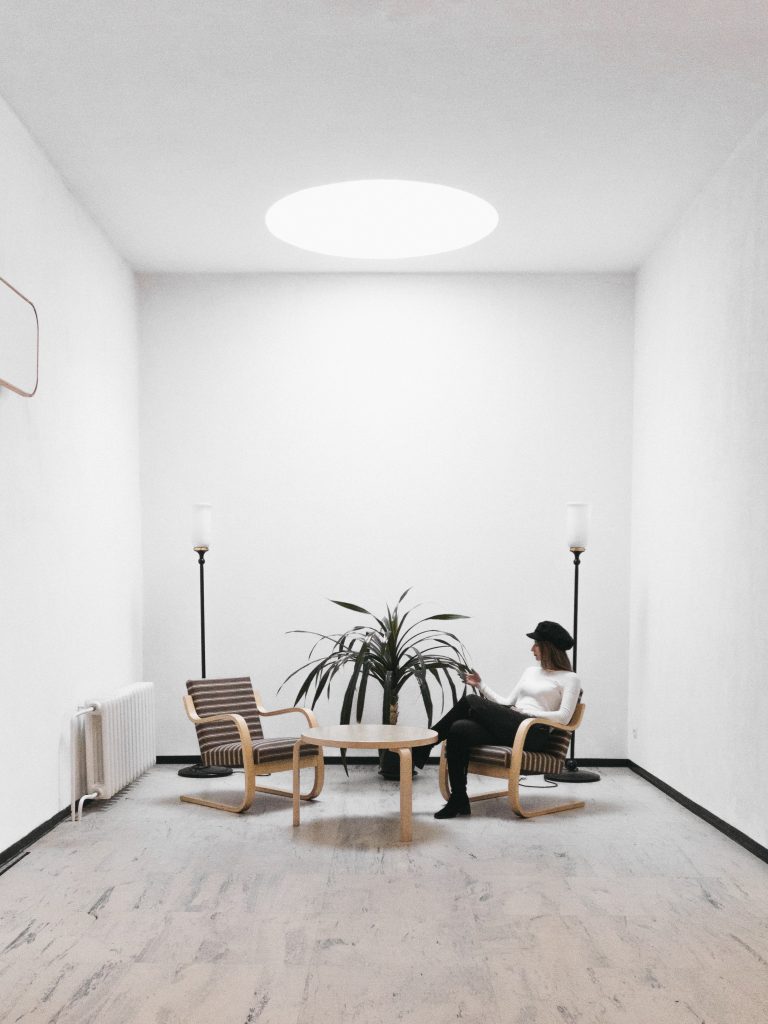
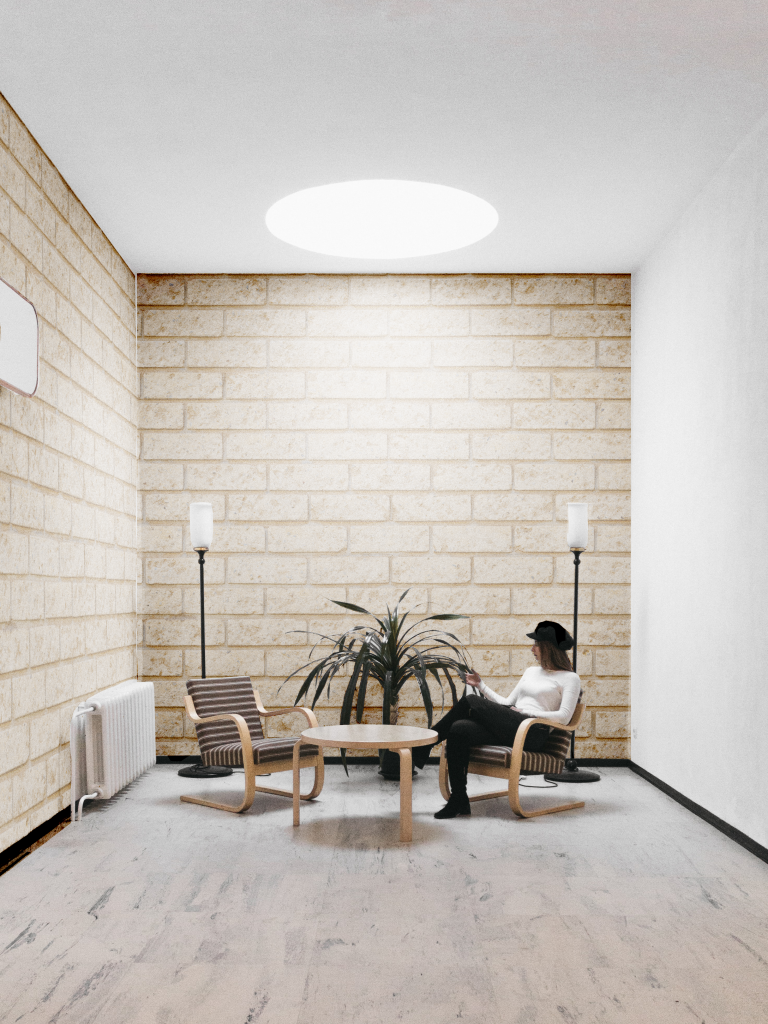
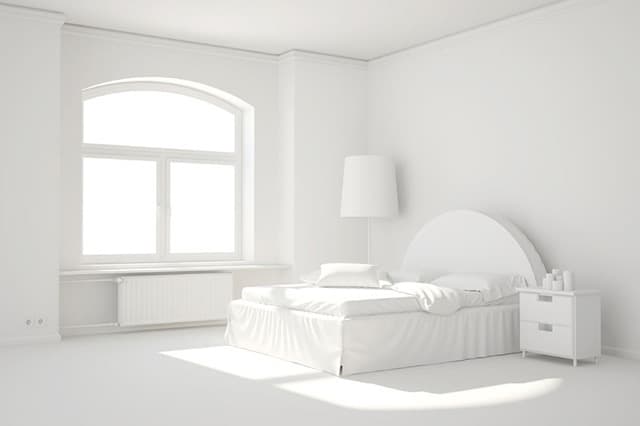
- Open “whiteroom.jpg” in Photoshop and place “brickwall.jpg” into that file. Use the skills gained in parts 2 and 3 of this training to give the center wall a brick background, using a layer mask to keep the woman, plant, and furniture untextured. For this overlay, I used the “Color Burn” layer mode.
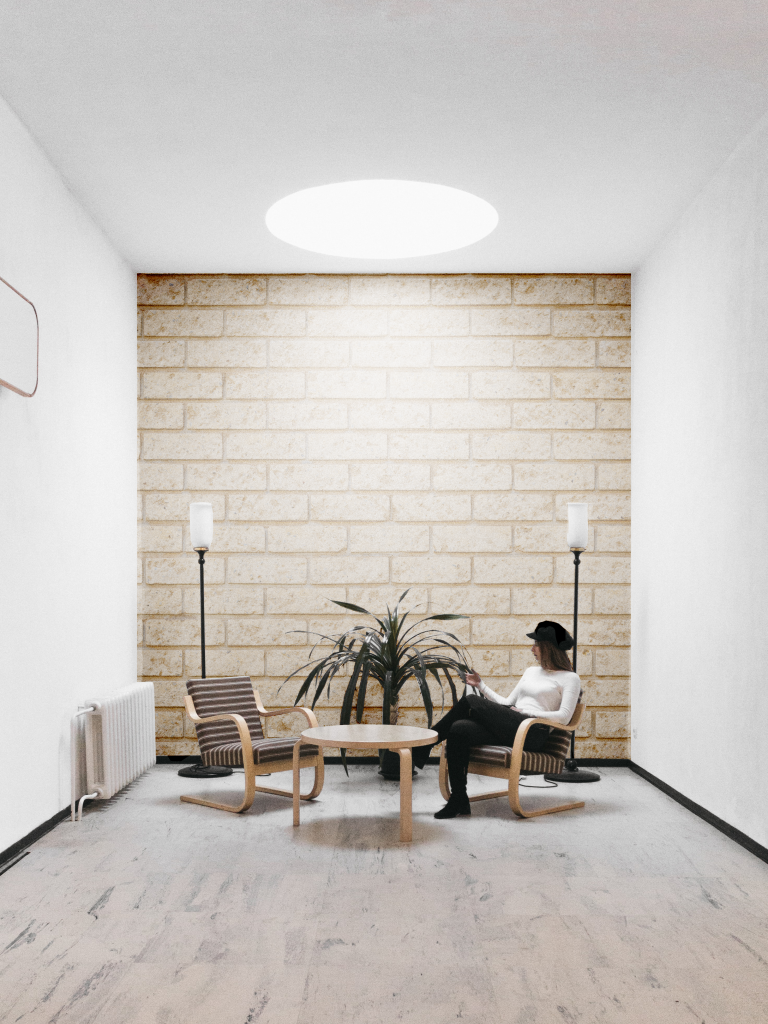
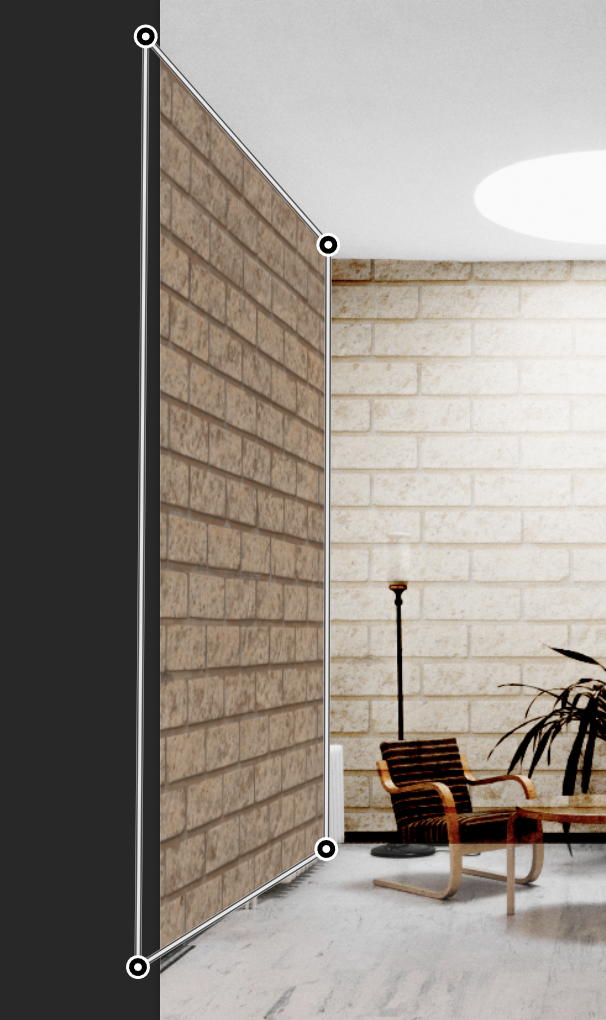
2. Next, place “brickwall.jpg” into the file once more. With this layer selected, click Edit > Perspective Warp. Click and drag to select the entire brick wall image, then click “Warp” in the left of the top toolbar. Now, when you drag the corners of the image, it will slant and distort like a 3D object.


3. Drag the corners of the brick to fit the left wall. It is okay if it overlaps with the other wall – you will be able to use a layer mask to clean this up. Once you’re happy with where the image is placed, click the checkmark in the top toolbar.

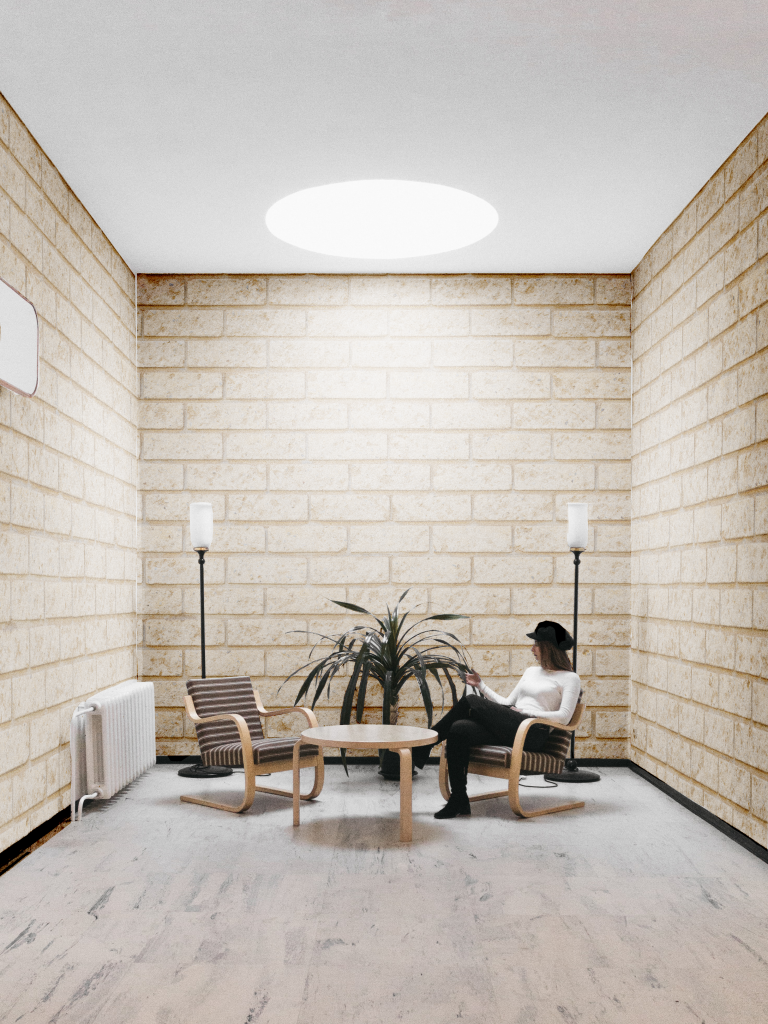
4. Change the layer mode to “Color Burn” and use a layer mask to clean up the edges.
5. Repeat steps 2-3 for the right wall, and you’re done! Post your finished image on basecamp for review.
Activity
For this lesson’s activity, you have two options. For either activity, please post a brief plan on basecamp for approval before beginning.
- Decorate this room using various textures and color overlays. You should use at least four different textures, at least one of which should use the perspective warp tool.
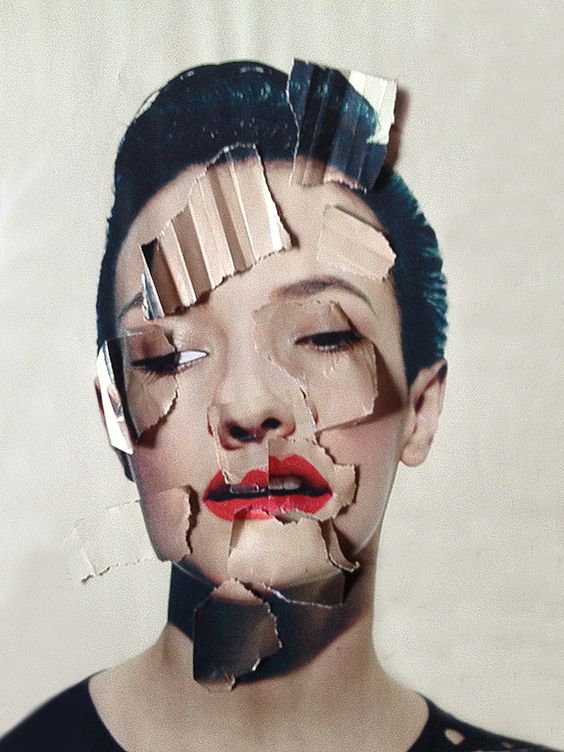
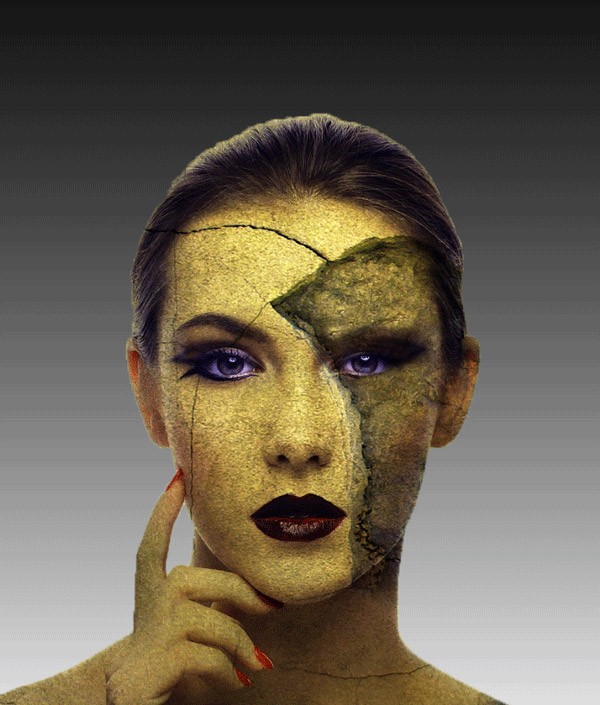
2. Use texture to add visual intrigue to a high quality, portrait-style image of yourself or someone you know, or using image titled “portrait.jpg” in the box folder. This portrait should feature at least four different textures, one of which should use the perspective warp tool. Here are some examples of textured portraits:
Post your bedroom renovation or portrait on Basecamp for review, and you’re done!