

In this training, you will be introduced to HTML and CSS, the languages that can be used as tools to help you develop simple websites.
This training is designed for those who do not have a background in programming / not familiar with HTML and CSS.
If this is your first time writing code, welcome! Writing code can be frustrating and confusing at times, so please reach out to a team lead for help if you get stuck at any point. Good luck and have fun!
Introduction
HTML
HTML stands for Hypertext Markup Language, and it is the standard markup language for documents to be displayed in a web browser.
CSS
CSS stands for Cascade Style Sheets, and it is a style sheet language used for describing the presentations of HTML. In other words, CSS is used to style the written HTML.
Setting Up
You will be writing code and sharing it with JSFiddle. Go to https://jsfiddle.net/ and create a new account if you don’t already have one.
After you’ve successfully created an account and login, you should see this playground:
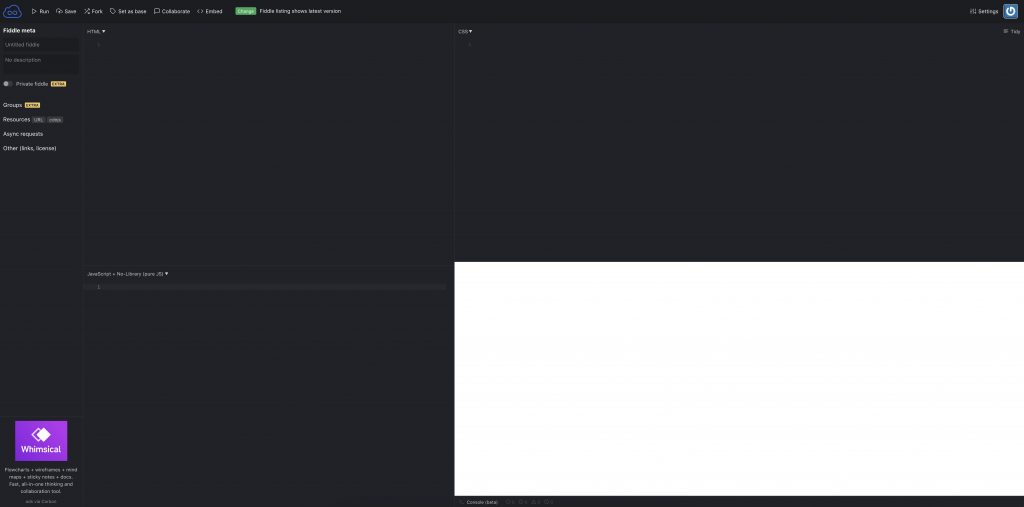
Click Ctrl / Cmd + S or “Save” in the top left corner and make sure that the JSFiddle URL is something like “https://jsfiddle.net/[your_JSFiddle_username]/[some_random_string]/”. If your username is not present in the URL, you might not be logging in. Make sure that you are logged in so that your work is saved.
Writing Basic HTML
HTML describes the layout of the page. An HTML file essentially “lists” out all of the elements that a web page has. Each element is contained within a a pair of tags. Take a look at this HTML block:
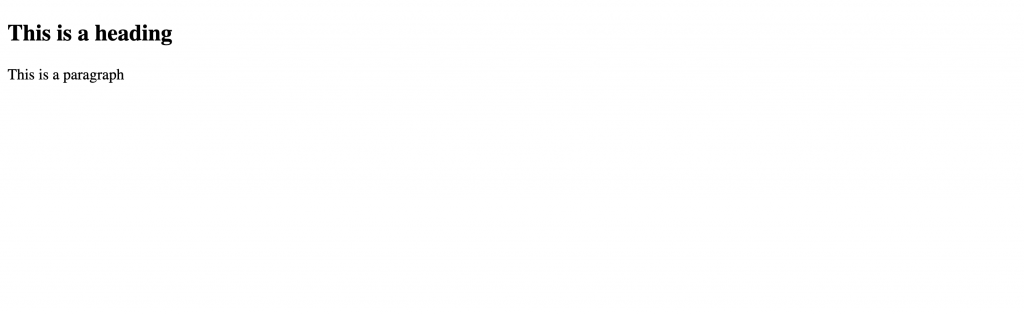
<h2>This is a heading</h2>
<p>This is a paragraph</p>
The tags <h2></h2> encloses a heading element (of size 2), where as the <p></p> encloses a paragraph element. Notices how the closing tag has the form </tag_name> (with the forward slash in front of it). This is to distinguish it against the opening tag with the form <tag_name>.
The above HTML block turns out like this:
Exercise: Basic HTML Elements
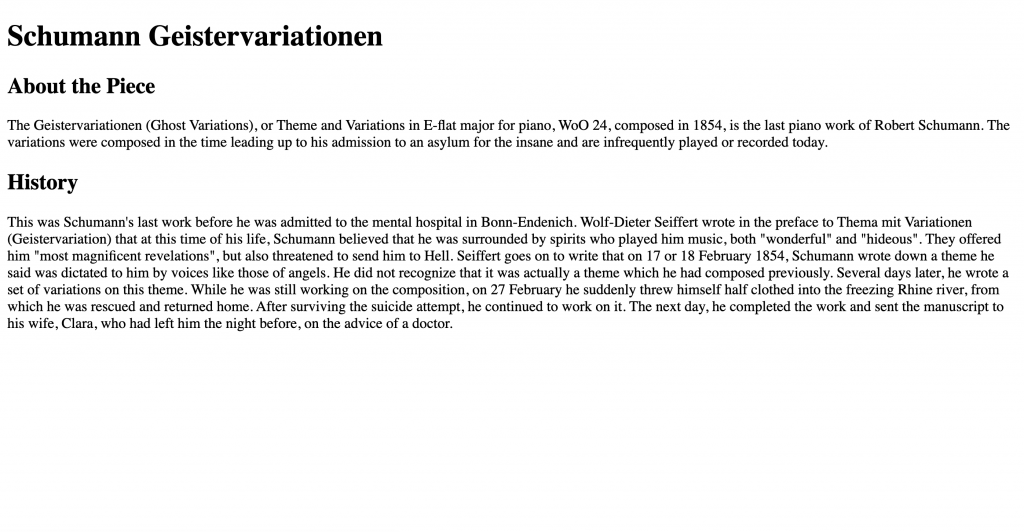
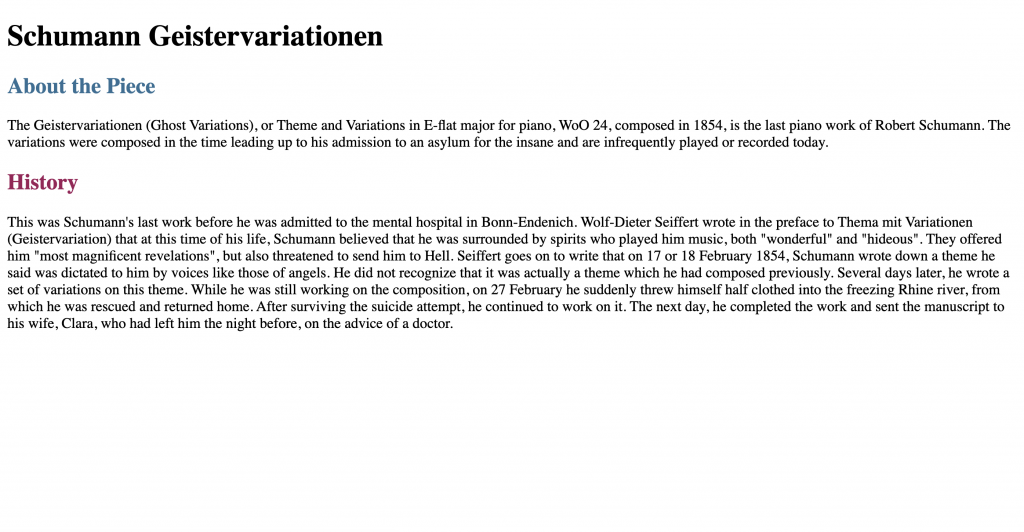
Add some headers and some paragraphs. You can center your content around anything you’d like. Here’s an example:
<h1>
  Schumann Geistervariationen
</h1>
<h2>
  About the Piece
</h2>
<p>
  The Geistervariationen (Ghost Variations), or Theme and Variations in
E-flat major for piano, WoO 24, composed in 1854, is the last piano work of
Robert Schumann. The variations were composed in the time leading up to his
admission to an asylum for the insane and are infrequently played or recorded
today.
</p>
<h2>
  History
</h2>
<p>
  This was Schumann's last work before he was admitted to the mental hospital
in Bonn-Endenich. Wolf-Dieter Seiffert wrote in the preface to Thema mit
Variationen (Geistervariation) that at this time of his life, Schumann
believed that he was surrounded by spirits who played him music, both
"wonderful" and "hideous". They offered him "most magnificent revelations",
but also threatened to send him to Hell. Seiffert goes on to write that on 17
or 18 February 1854, Schumann wrote down a theme he said was dictated to him
by voices like those of angels. He did not recognize that it was actually
a theme which he had composed previously. Several days later, he wrote a set
of variations on this theme. While he was still working on the composition,
on 27 February he suddenly threw himself half clothed into the freezing
Rhine river, from which he was rescued and returned home. After surviving the
suicide attempt, he continued to work on it. The next day, he completed the
work and sent the manuscript to his wife, Clara, who had left him the
night before, on the advice of a doctor.
</p>
And this is how it turns out:
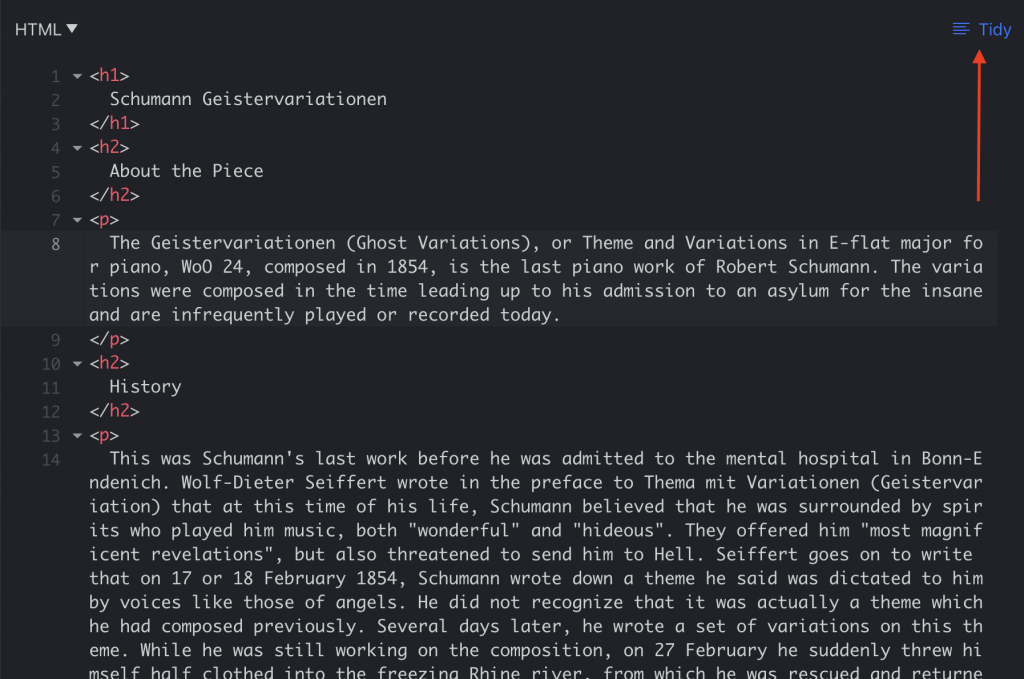
Tips:
- Click the “Run” button on the top left corner to render the HTML, or Ctrl / Cmd + S.
- You can click the “Tidy” button to beautify your code.
Writing Basic CSS
CSS is used to style HTML elements. How do we know which HTML element to style? By selecting them!
In CSS, we use selectors to select the HTML element we’d like to style, and apply styling to it. There are a few types of CSS selectors:
CSS Element Selector
With this selector, you select the HTML element directly and apply stylings to it. Here’s the syntax:
[element_name] {
    /* some stylings */
}
So for example, to make the text of the <h1></h1> element red:
h1 {
    color: red;
}
CSS ID Selector
The CSS Element Selector selects all of the elements of that type. Maybe you’ll ask the question: what if I want to style a specific element, and that element only?
The answer is using the CSS ID selector. As the name suggested, this selector identifies a specific element by its ID. For example:
HTML:
<h2 id="about-header">
About the Piece
</h2>
<h2 id="history-header">
History
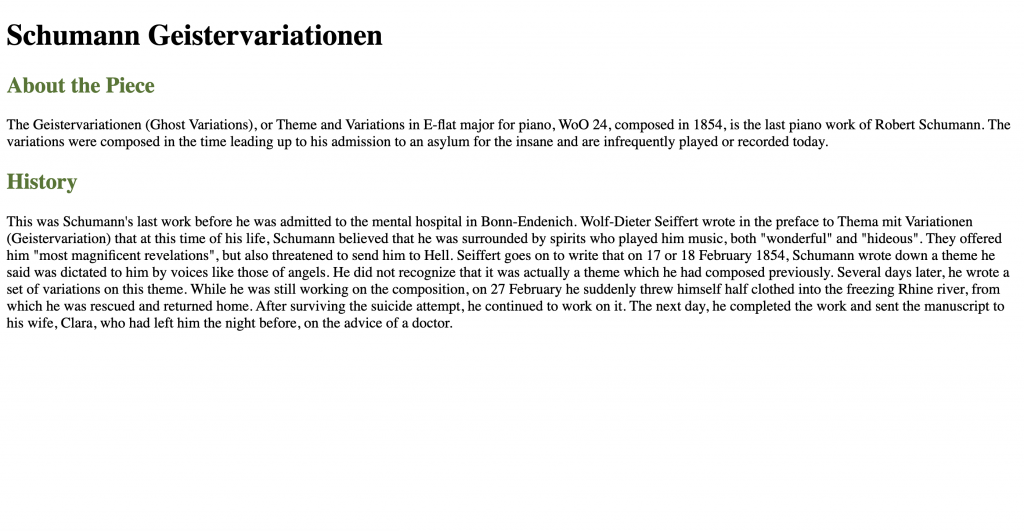
</h2>and CSS:
#about-header {
    color: #2e6f95;
}

#history-header {
    color: #a01a58;
}
renders:
CSS Class Selector
Okay, but what if I want to style a group of elements (for uniformity). CSS offers the class selector that helps you achieve this effect. For example:
HTML:
<h2 class="header">
    About the Piece
</h2>
<h2 class="header">
    History
</h2>
CSS:
.header {
    color: #4f772d;
}
renders:
Exercise: Select and Style your Elements
In the CSS section of the JSFiddle, type in your CSS stylings for your existing headers and paragraphs. You can simply just change the color of the text, or do more fancy things with it. Use the element / ID / class selector as appropriate. Refer to this CSS Reference for all CSS Attributes. Not all attributes are applicable to all elements, so if something doesn’t work, try using something else for now.
Tip: you can use hex code to specify the color as well! The syntax:
h1 {
    color: #c32f27;
}
Styling Text
Exercise: Using Google Fonts
- Go to Google Fonts and pick 1 – 2 fonts that you like.
- Click “Select this style” for the all of the font styles that want to use.
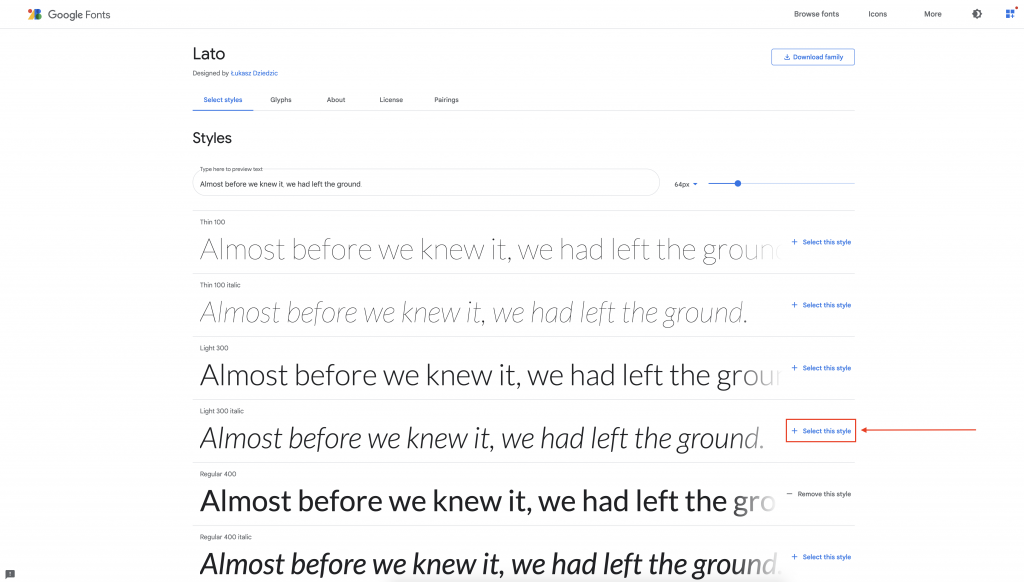
- Once you’re done selecting all of the styles you like, click “View your selected families.”
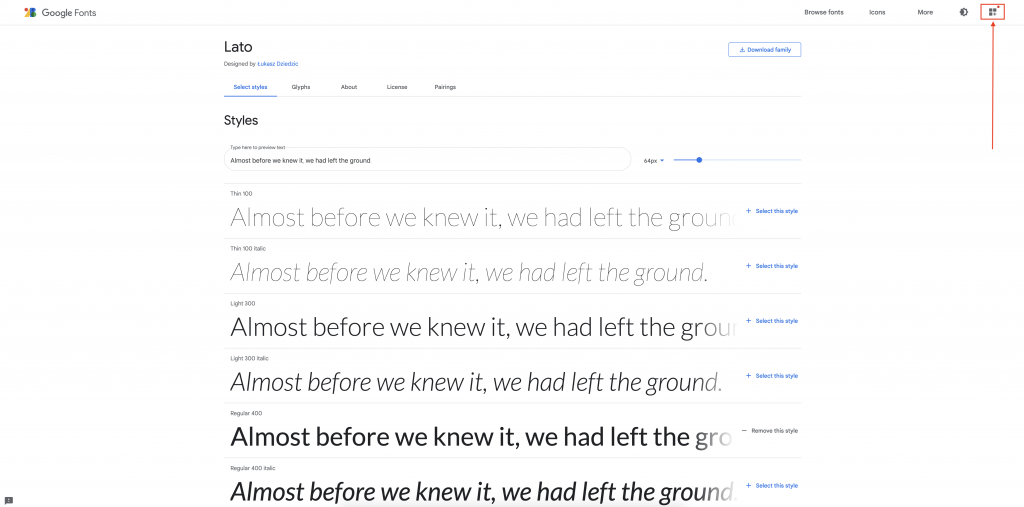
- Copy the HTML embed code here.
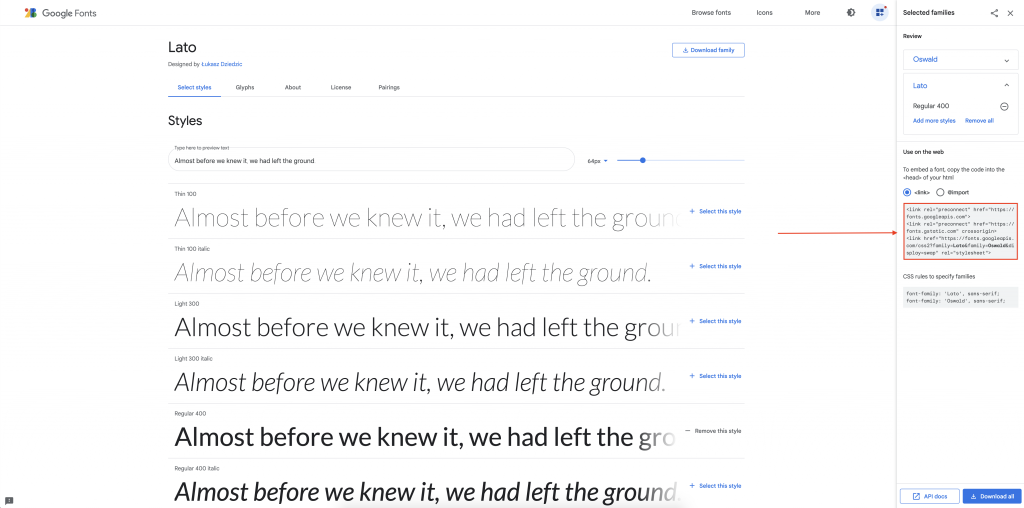
- Paste it in the beginning of your HTML code and wrap it in a
<head></head>tag. Your code might look something like this.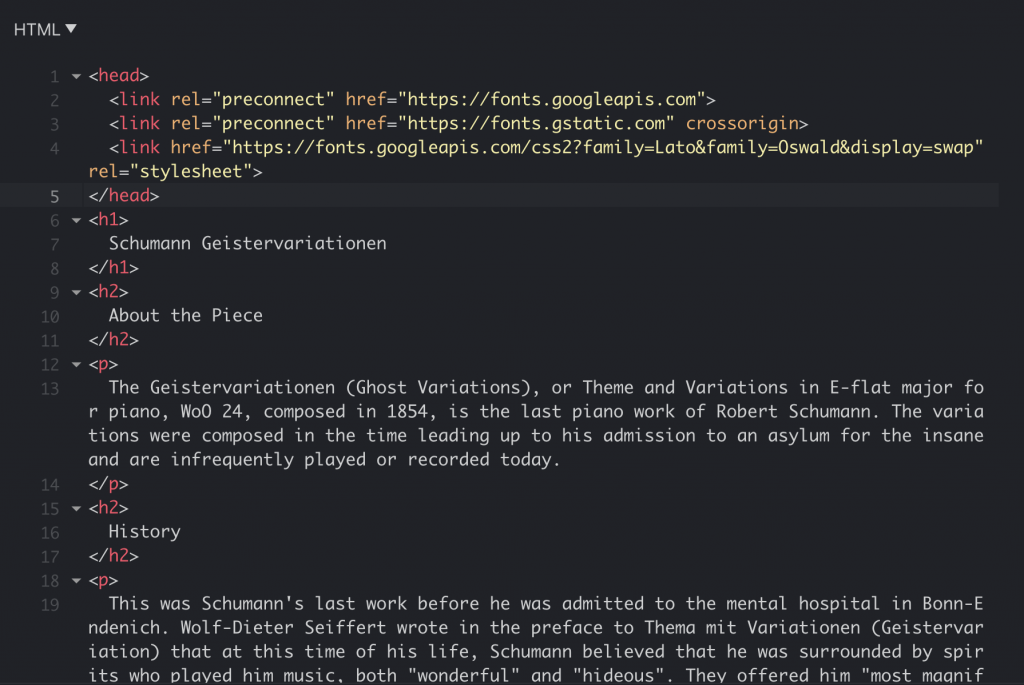
- Copy the
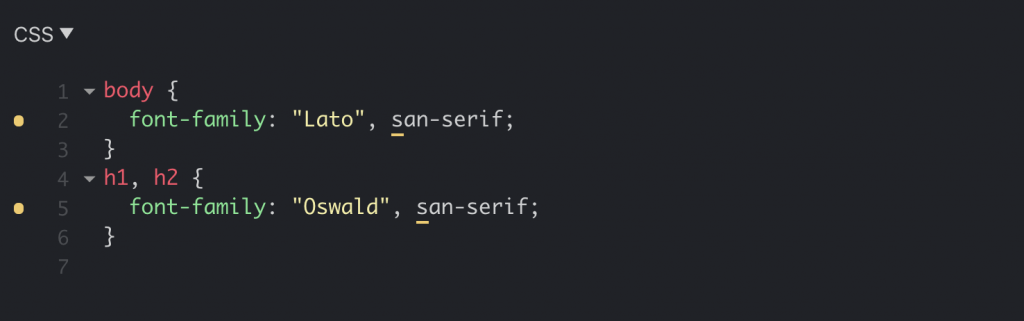
font-familyattribute and place it in the selector that you desire.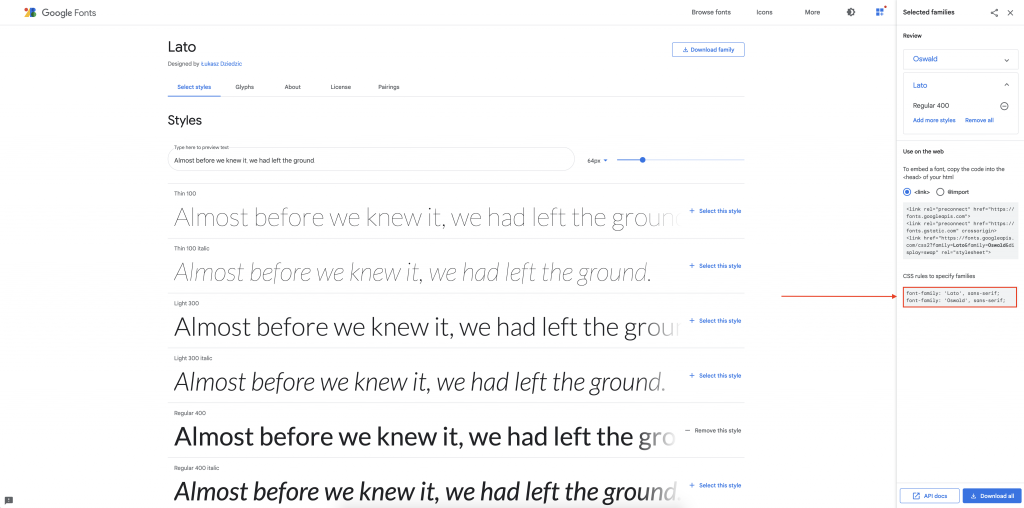
- You only want to place the font you want for each selector (not both fonts). For example, here I’ve used Oswald for the headers, and Lato for body text.
Exercise: Bold, Italics, and Underline
HTML has specific tags for these stylings. Take a look at this example:
<p>
    This is a paragraph. <b>This text is bolded.</b> Then there's some
normal text. <i>This text is italicized.</i> Some more normal text. <u>This
text is underlined.</u>
</p>
Use these tags and style your paragraph text.
Useful Functionality / Common Stylings
Exercise: Embed a Link
Add a hyperlink to your text following this format:
<p>
This is a paragraph, with a <a
href="https://en.wikipedia.org/wiki/Geistervariationen">hyperlink</a>.
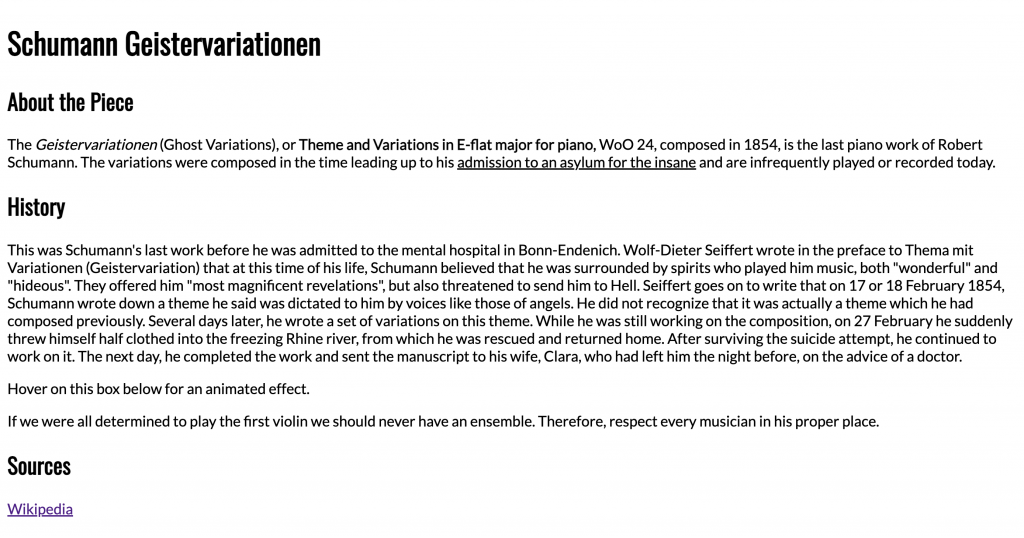
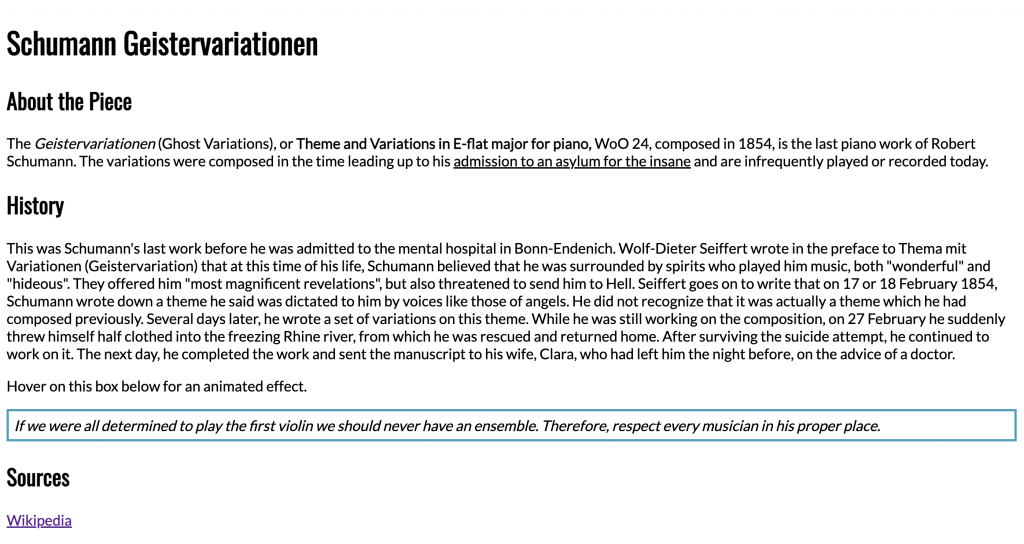
</p>Exercise: Style a Box
Create a box using the <div></div> tag like so:
<div id="box">
    Some text here . . .
</div>
Add some CSS:
#box {
    border: [thickness] [border style] [color]
}
So for example, this CSS:
#box {
  border: 3px solid #219ebc;
  padding: 5px;
  font-style: italic;
}
renders:
Now it’s your turn!
Use what you’ve learned and the resources provided to style a simple page on JSFiddle. Save the JSFiddle on the site (not on your local computer), and share the JSFiddle URL on your Basecamp for feedback.
If you’d like some inspirations, check out this example of the page I’ve made: https://jsfiddle.net/nhaithuy/ptuaw8by/229/
W3School is also a really good place to look for how to do something in HTML / CSS: https://www.w3schools.com/html/default.asp.
